

knitspiration: knit snowman ornament maker photos

last week, i posted the instructions to make your own knit snowman ornament using my free pattern. today, i wanted to share some serious snowman knitspiration!
this pattern has been live since last year, so i've seen so many talented knitters posting photos of their snowmen. it's so awesome to see the way other makers interpret your designs and make them all their own. check out these super cute creations!
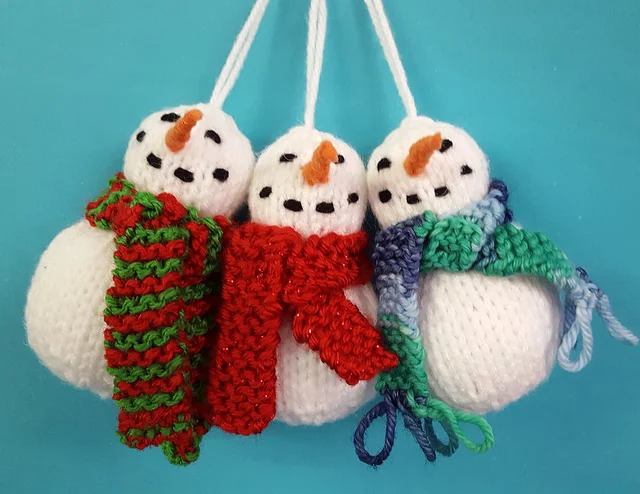
made by deborasoule on ravelry
those chunky scarves look so cozy! I love the loopy ends on the blue and green one.

made by ah2 on ravelry
so much innovation on this one...put a knit hat on everything! i love the addition of the bobby pin arms! french knot eyes is such a great idea!

made by initsox3 on ravelry
i love the super long scarf on this little guy, and the excellent job on the face embroidery!

made by marthajane73 on ravelry
the whole gang!!! love the creativity of using buttons and beads for the faces, and i'm dying over that tiny knitting basket!!!

made by marthajane73 on ravelry
the first fan snowman! love the hat and scarf combos and the knit carrot nose.

made by borntopat on ravelry
i love how this maker embroidered some singing mouths on this snowman family!

made by vtnora on ravelry
last but not least, the 12th snowman in seahawks-themed winter garb! i love this idea, it would be super easy to customize it for the sports fan in your life!
download my free pattern from ravelry here or check out my blog post from last week! happy knitting and be sure to share your creations with #elisemade!
-Elise

DIY: free knit snowman ornament pattern

it is december 1st and that means gift knitting season is upon us! there's still time to cast on a few projects before christmas, and plenty of time to make a few knit snowmen ornaments using my free pattern!
if you're not a knitter, no worries...you can purchase a ready-made snowman ornament from my shop!
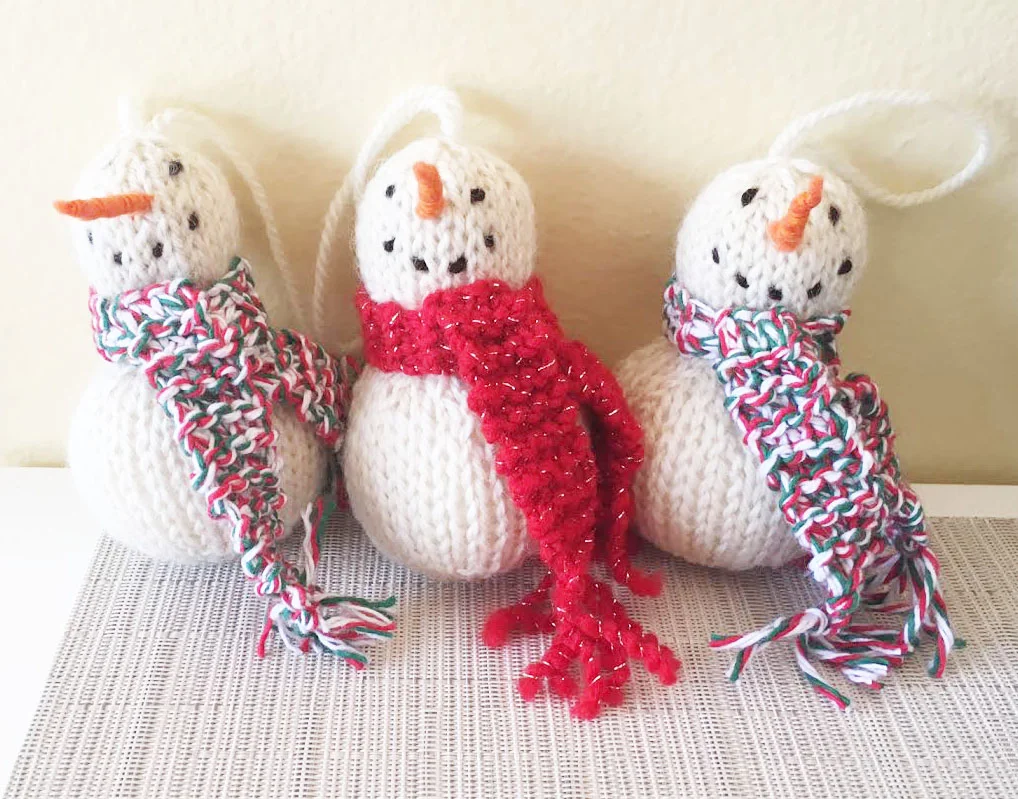
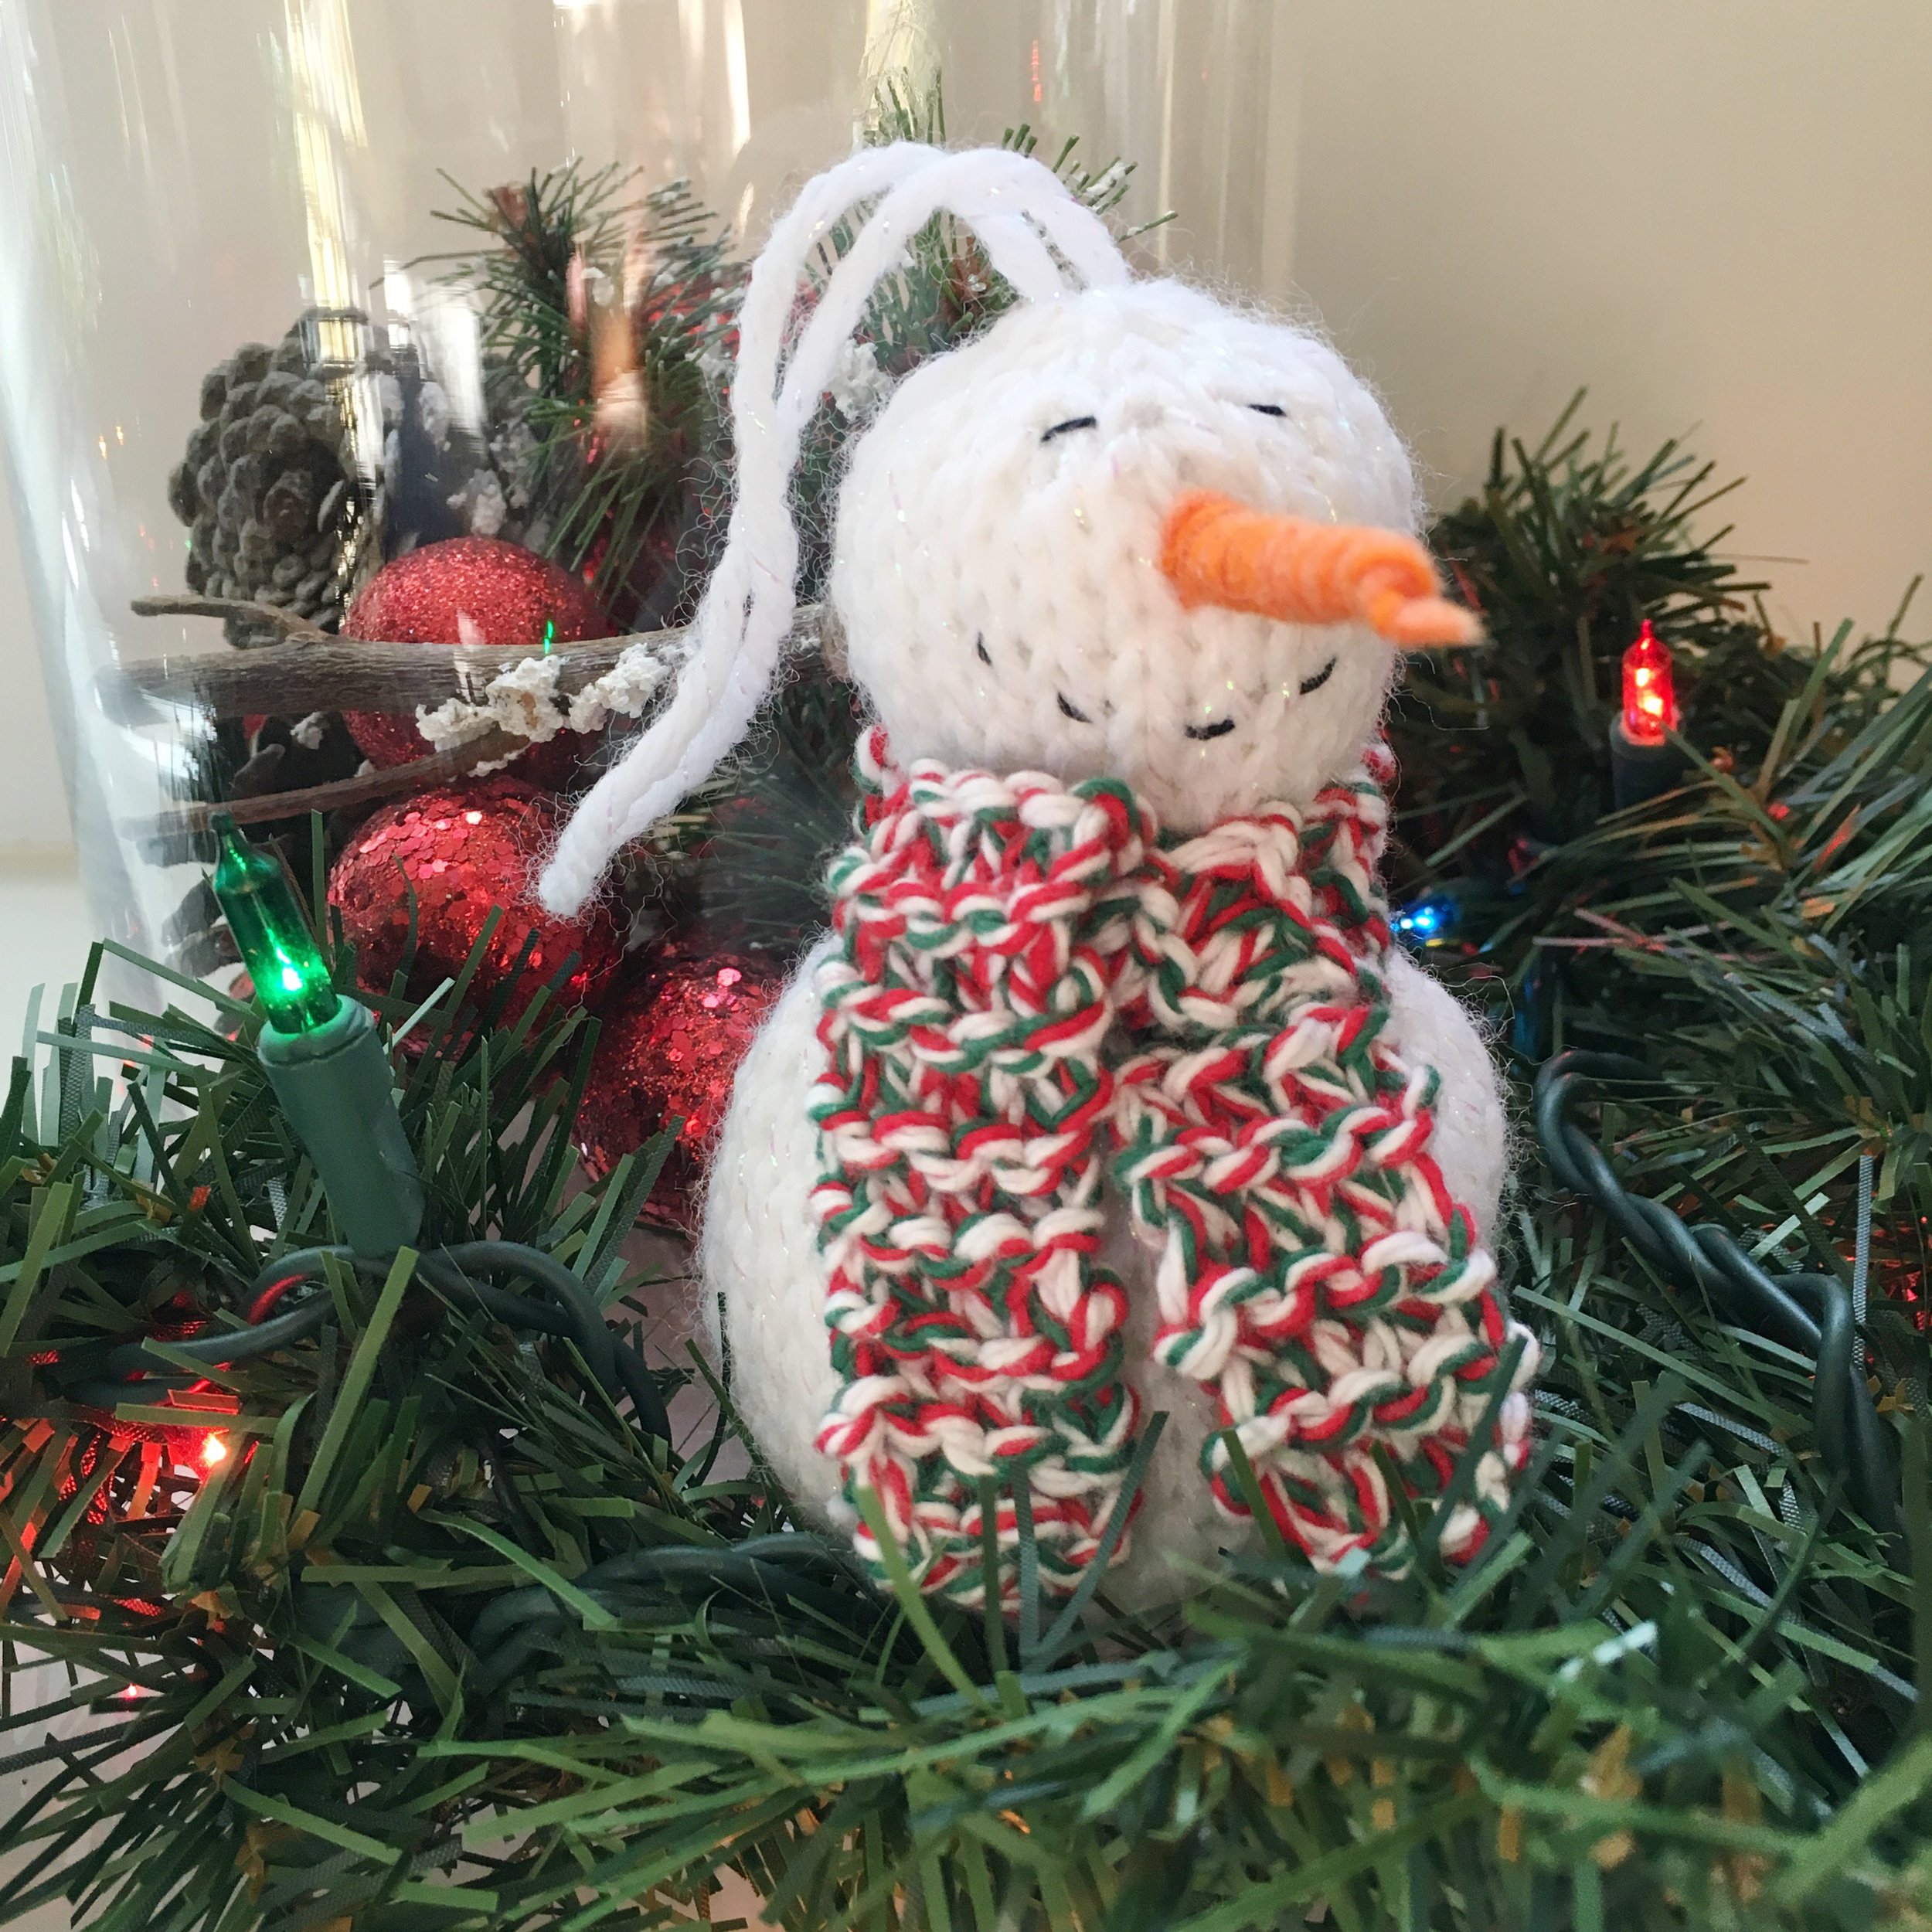
these snowmen are knit in the round in one piece and are easy and fast to make. use up scraps of worsted or fingering weight yarn for the cozy scarf embellishment! add these to your tree, give as a gift, or use as a present topper.
supplies:
size us 6 (4.0 mm) double-pointed needles
worsted weight yarn in white (i like patons classic worsted wool in aran)
contrast yarn (black or brown for eyes and mouth, worsted or fingering weight scraps for the scarf)
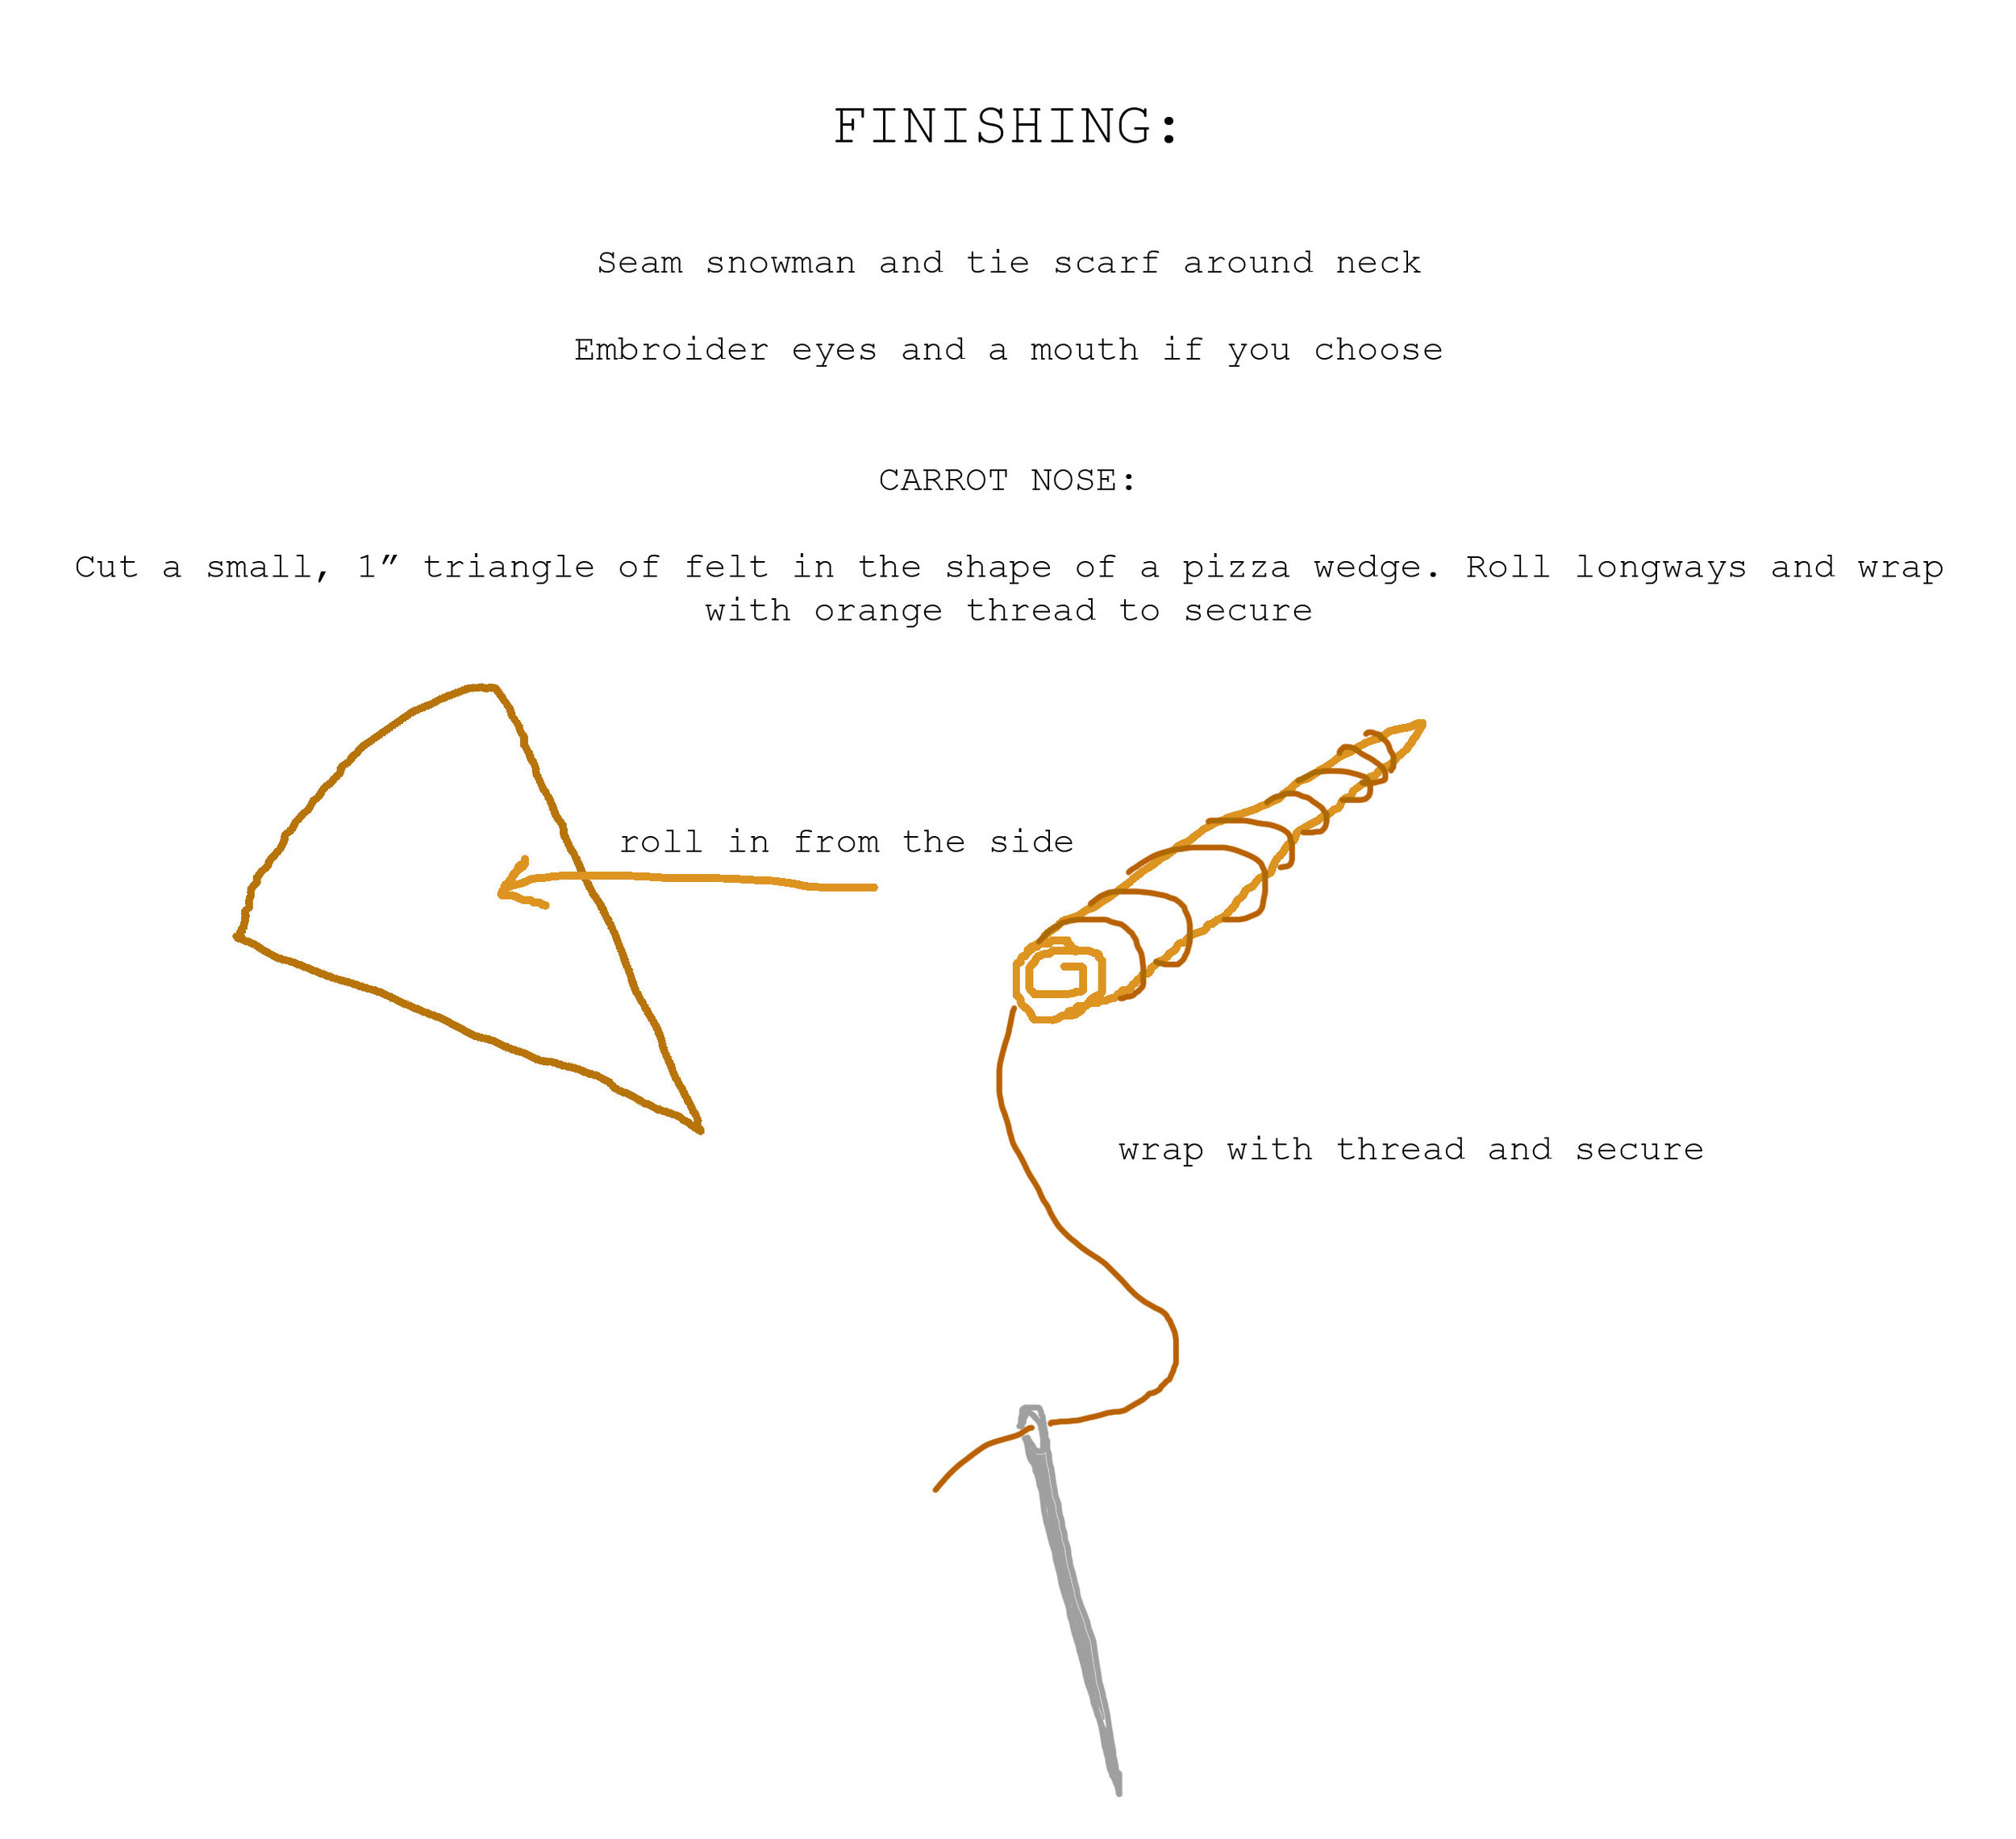
orange felt (to make carrot nose, or use orange yarn to knit one!)
tapestry needle
sewing needle and orange thread (for felt nose)
instructions:


click here to download a PDF copy of this free pattern from ravelry!
stay tuned next week for some fun variations on this pattern that you can use to make more gifts and decorations. happy knitting!
-Elise
DIY: save-the-date banner


my best friend sammie recently got engaged, and i'm so excited for her to get married next year! since i love any excuse to break out the craft supplies, i made a banner with their wedding date for the engagement photoshoot she has planned next month.
this banner was super easy to make, and i'm already thinking of all the different kinds of banners i could make with this process. it would be great for birthdays, baby showers, seasonal decorations...really anything you can think of!
to make your own banner, you will need:
1. a computer and printer. i used photoshop, but you can use microsoft word or any word processing software.
2. two (or more) sheets of 12x12" decorative cardstock/foil/scrapbooking papers. the scrapbooking section of michael's has an incredible selection of different colors and patterns to choose from. how many sheets you'll need depends on how many numbers or letters you need to complete your banner.
3. (optional) one (or more) 12x12" contrast paper. since i created a banner with a date, i wanted to use a contrast color to separate the month, day, and year.
4. twine, string, yarn, or ribbon. choose a string color and material that fits with the design of your banner. i chose this navy paper twine:

5. scissors.
6. glue stick. i think a "traditional" glue stick would work great on most scrapbooking paper, but since i chose glitter cardstock i knew i'd need something a little more heavy-duty. i like ones like this:

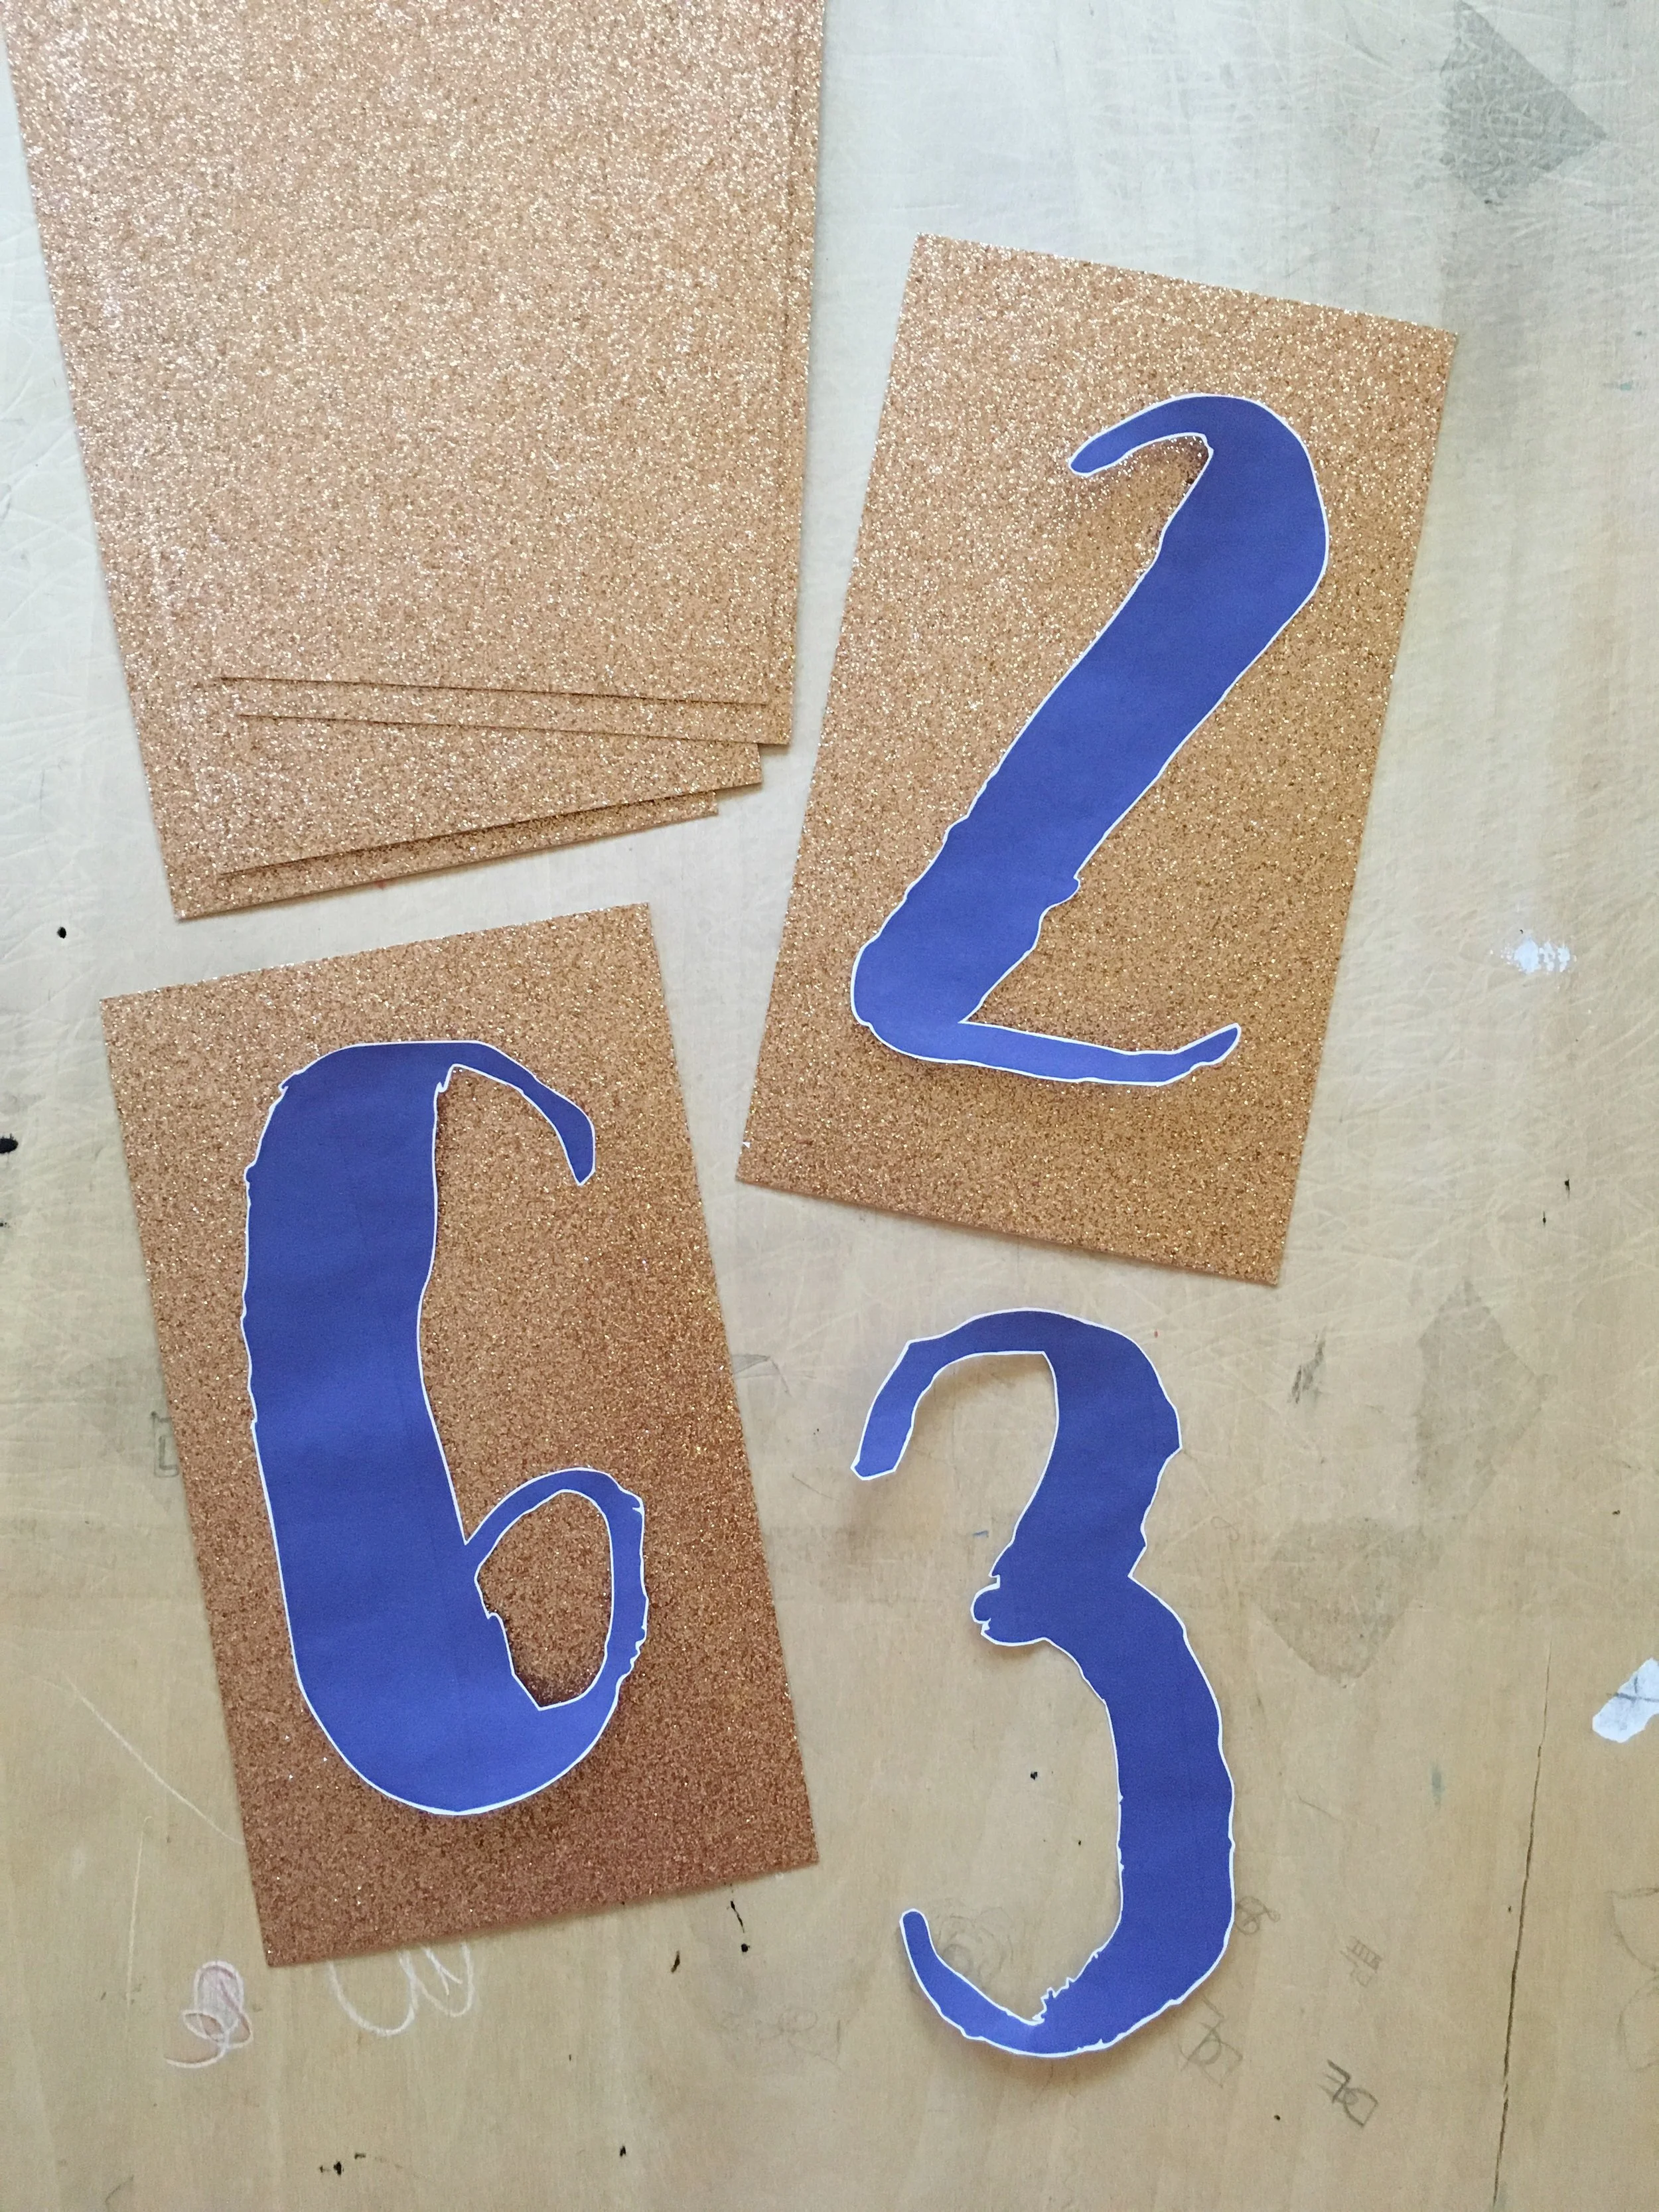
the first thing i did was pick a font (i chose one with a hand-lettered feel), typed out the wedding date in 250pt, and printed it out in a navy color. if you need some font-spiration, check out dafont, where you can choose from and download a huge variety of font styles for free.

next, i carefully cut out the numbers. some fonts will be easier to cut out than others! the font i chose has some interesting brush marks, so i kept a very thin white border around the numbers to make sure the details of the font would pop against the background and in photos.

for the next step, i measured out and cut the glitter cardstock. i measured out 4x7" rectangles to keep my design simple. i love the idea of measuring out triangles to make it look like a flag bunting, or cutting out a small triangle in the bottom of a rectangle to make it look like cut ribbon. you could also cut the backing paper around the number or letter for a more free-floating look.
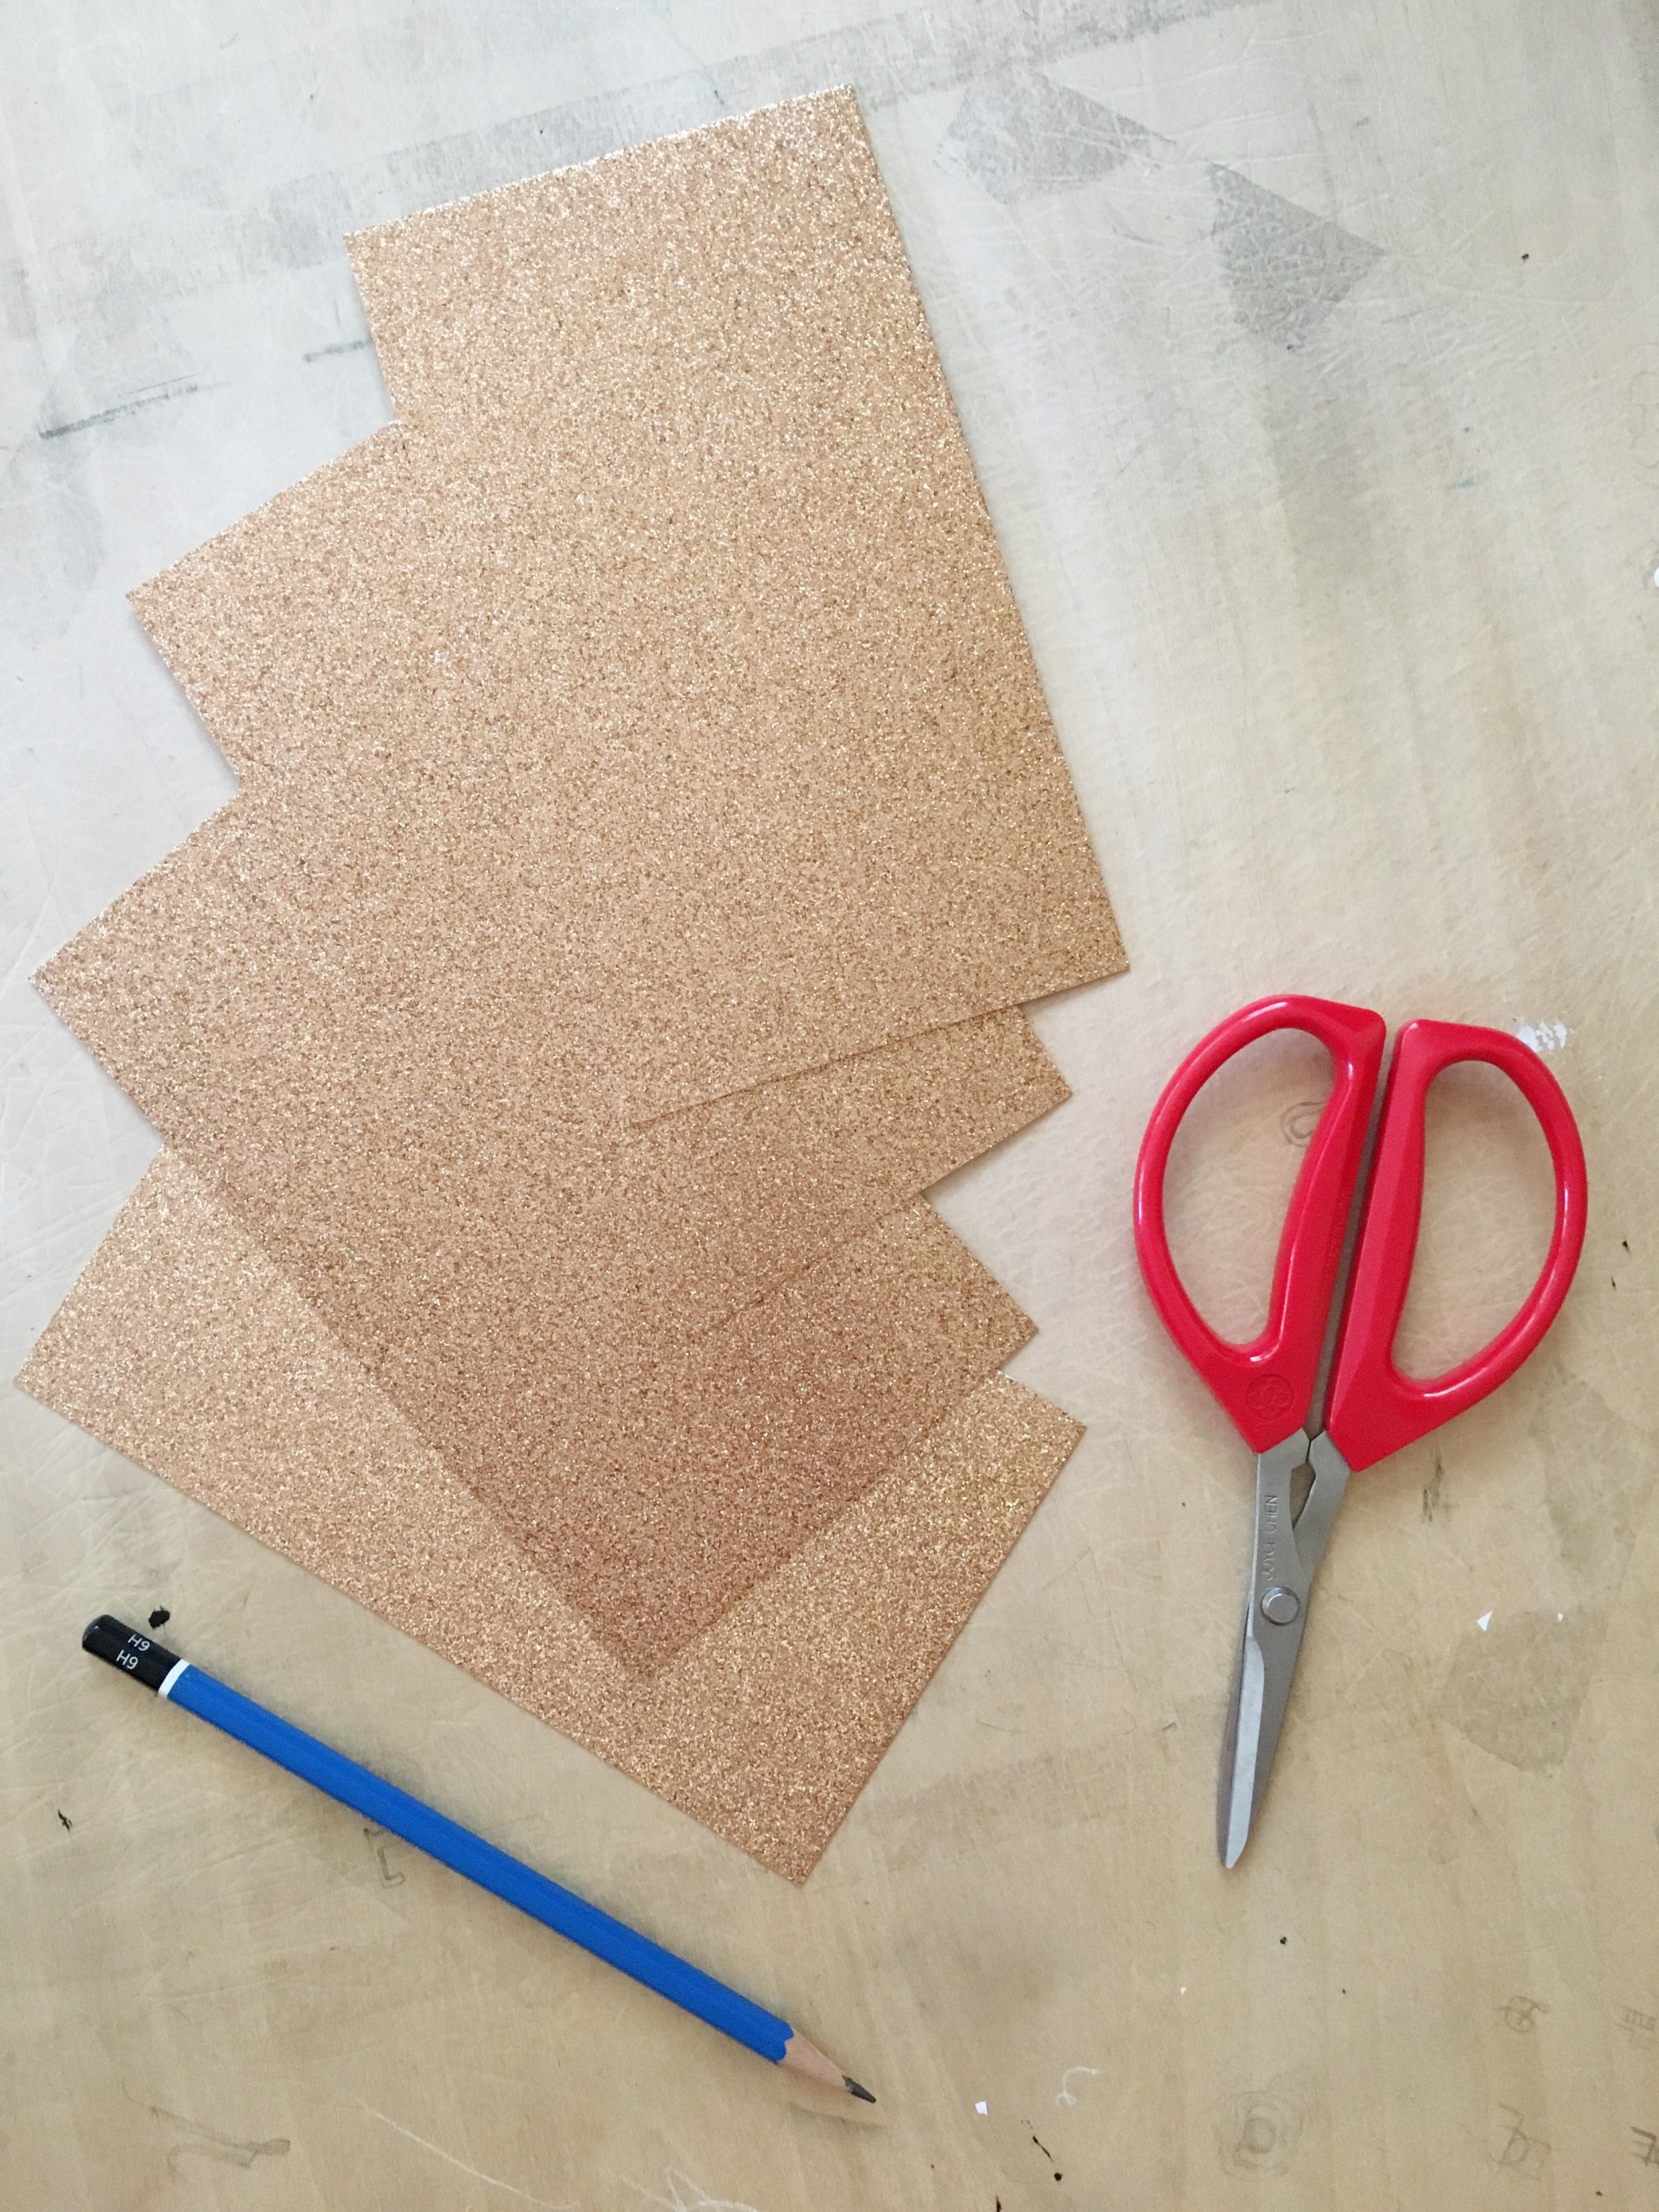
once all my glitter cardstock pieces were cut, i simply glued the cut-out number on top. to prevent any buckling in the paper, i immediately put them under a few heavy books and left it to dry for a few hours.
to separate the day, month, and year, i chose a rose gold foil paper and cut out two hearts using a template i printed out.


the last step is to attach the string. i used clear gift wrapping tape...super easy!


what kind of banner would you make?

#WIDN: patching jeans with crocheted lace
i follow and admire so many amazing artists on instagram, so my feed is a constant source of inspiration for knitting, crochet, weaving, embroidery, hand-lettering, illustration, and more. the visual candy is so good and there is so much that sometimes (okay maybe a lot) it takes me down crazy art-overload time warps that i emerge from, wide-eyed and blinking, wondering where the hour went and why i haven't made anything yet.
but every once in a while, i come across a really cool idea that makes me put down my phone and run to my stash. this time, it was a post from lion brand yarn linking to a great blog tutorial showing how to use a bit of crocheted lace to patch holey jeans.
i gasped! it was exciting for two reasons: first, anyone that knows me knows that i'm desperately searching for any excuse to embellish things with yarn (#PutASweaterOnIt), and secondly, i recently taught myself to crochet so i loved the idea of playing around with some lace! having just patched a hole in the crotch my vintage 501s with some shibori embroidery, i knew a knee hole patch was the next step in their fibery customization.
the blog tutorial references and links to the original blog post that inspired her, and wow...talk about inspo!

but, being stubborn and wanting to try my luck at a freehand pattern (and also admittedly not knowing how to read crochet patterns very well), i grabbed a 3.75mm hook and some variegated fingering-weight silk wool and just started going for it.
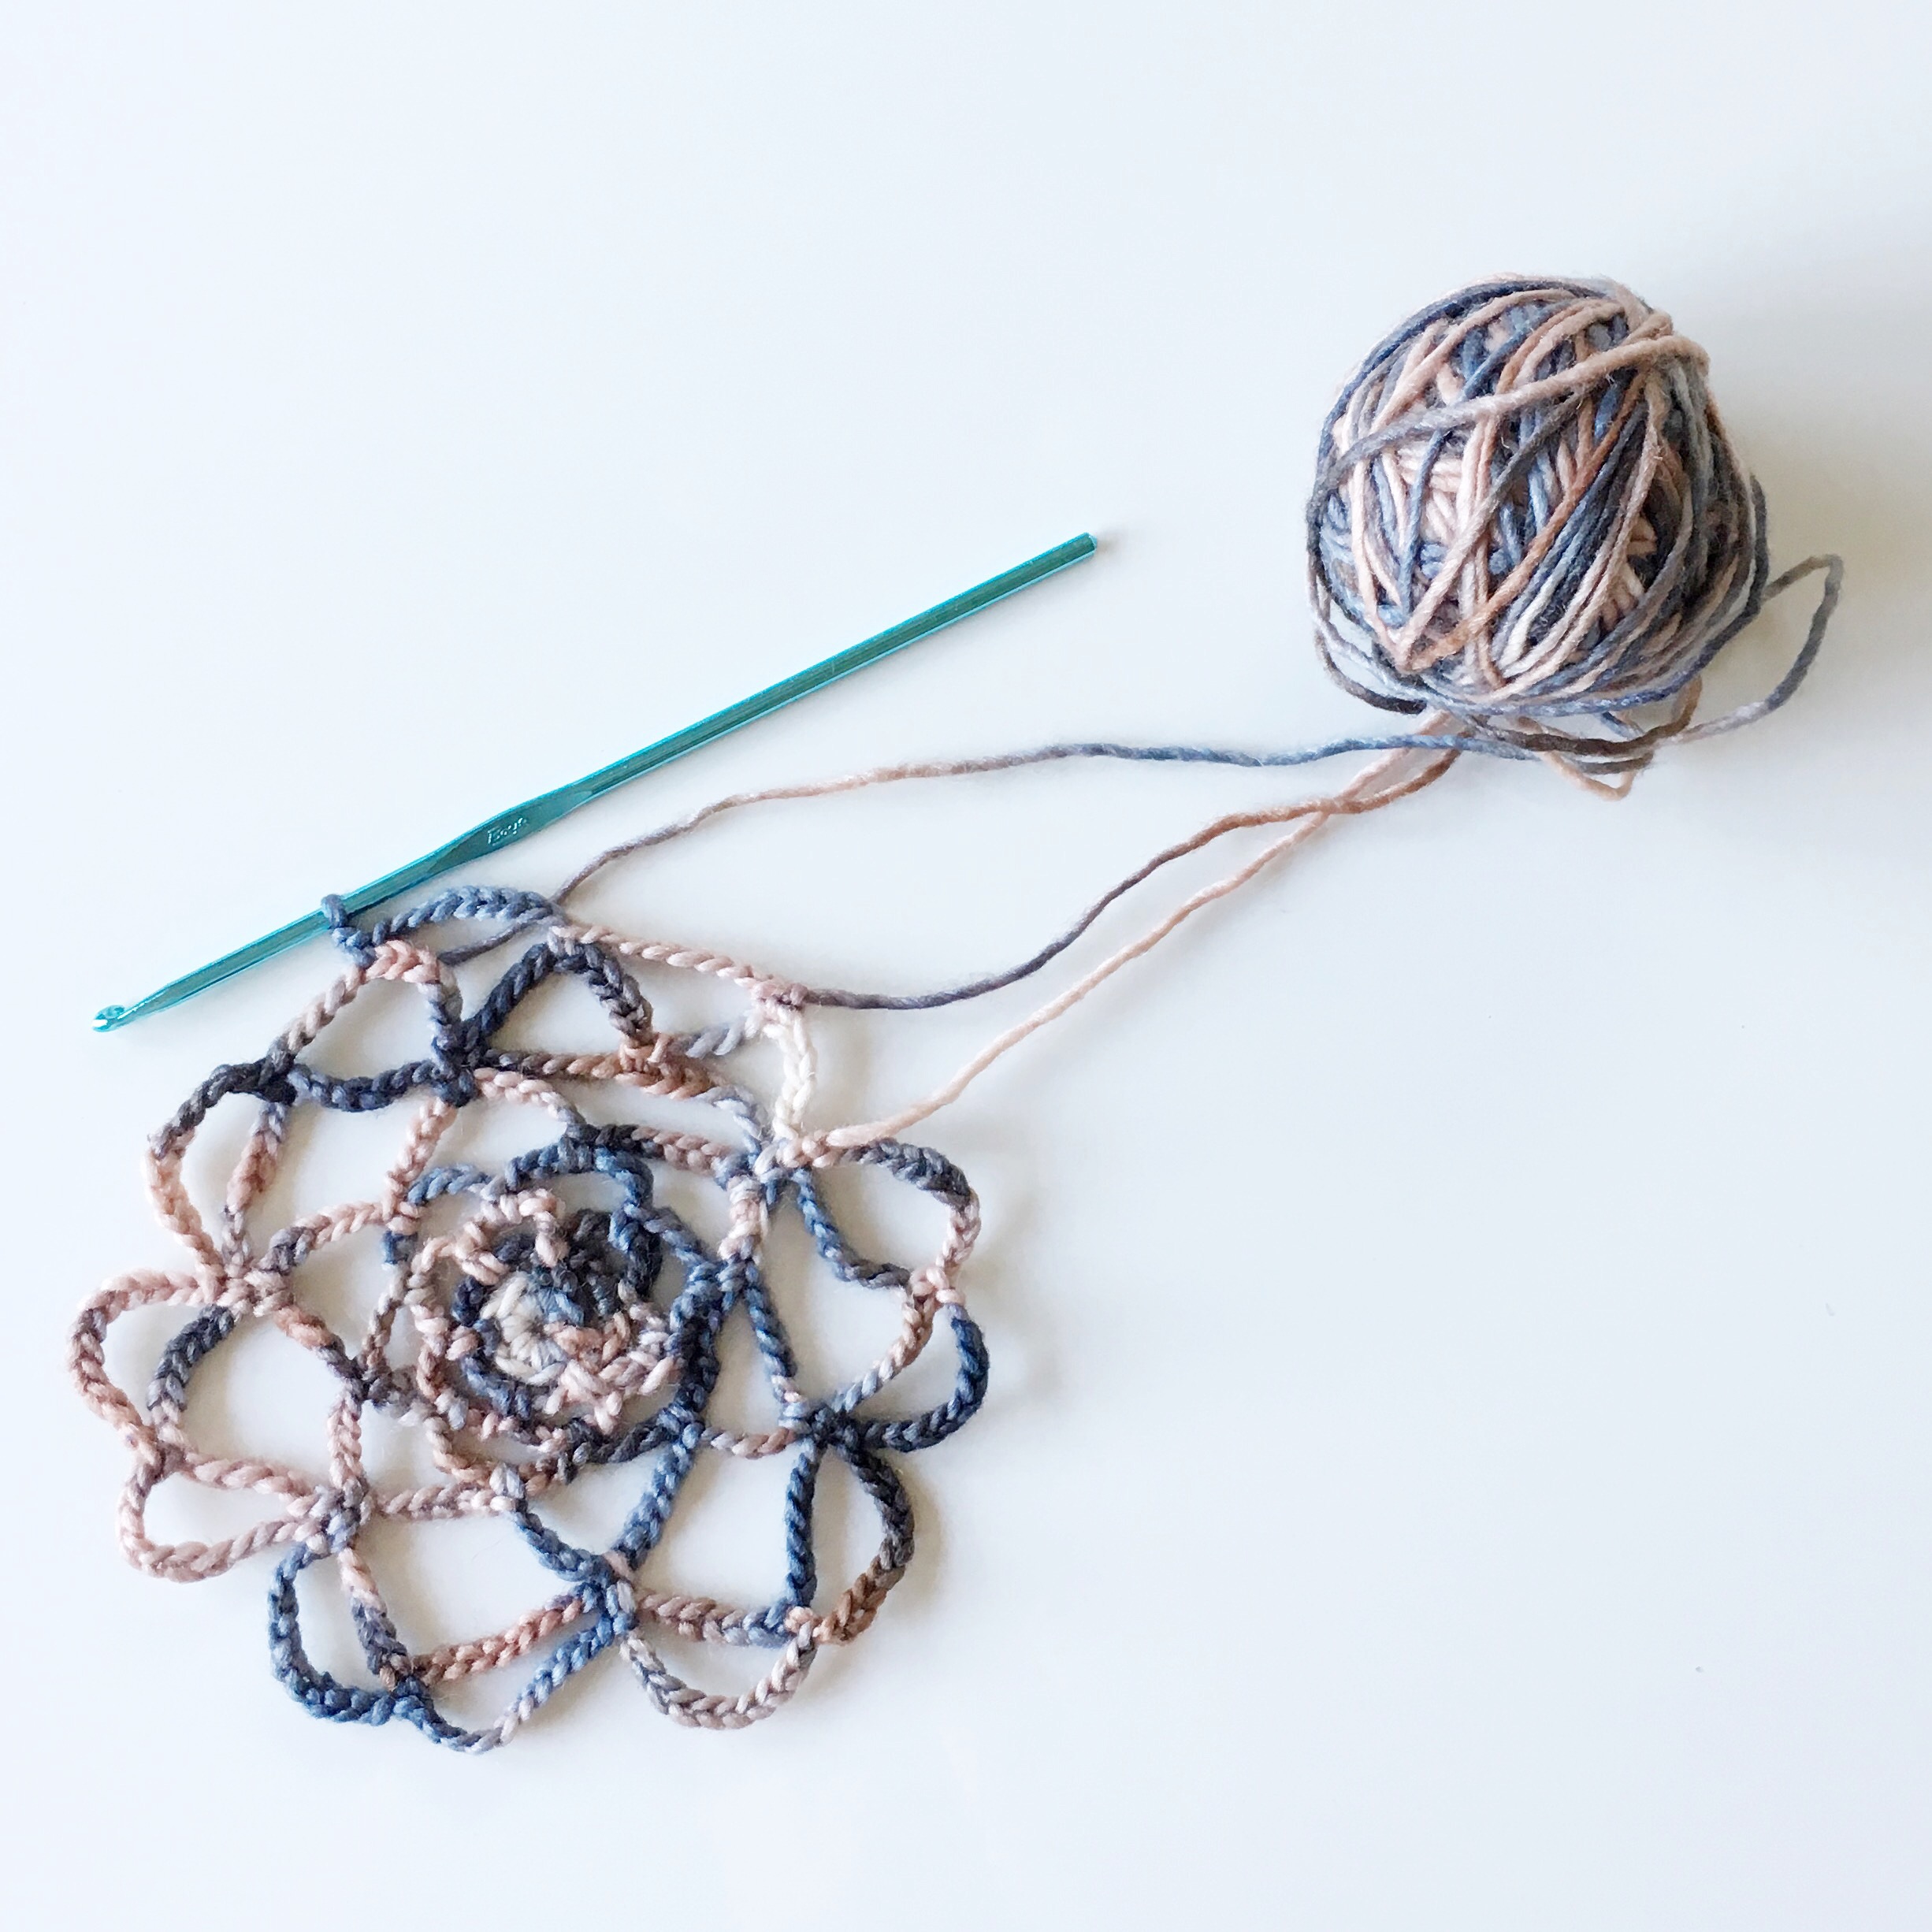
now bear with me, i don't really understand crochet patterns and have never written one, and there are certainly a million better doily patterns around (like here's one from the aforementioned blog post that's great) but i will try to explain my process as best i can. i started with a beginning chain of 4 stitches, joined in the round, and single-crocheted 6 stitches around the circle. marking my starting point with a bulb safety pin, i made a chain of 6 stitches and anchored it two circle stitches away, and repeated it twice more so there were 3 anchored chains around the inner circle. to start the next round, i anchored my yarn to the middle arch of the first loop with a single crochet stitch, and then increased the amount of chain stitches to 8, anchoring each in the middle of each prior 6-chain loop. as i went around the circle, i kept increasing the chain stitches by 2 and anchored them to the middle of the previous row. i just kind of kept going until the size of my lace stretched over the knee hole in my jeans.
it's important to note that you'll need to be wearing the jeans as you patch them, to ensure the patch and your stitches are properly placed and attached to withstand bending and stretching. i sat on the edge of my couch with my knee comfortably bent and attached the lace with some embroidery floss and a simple running stitch.
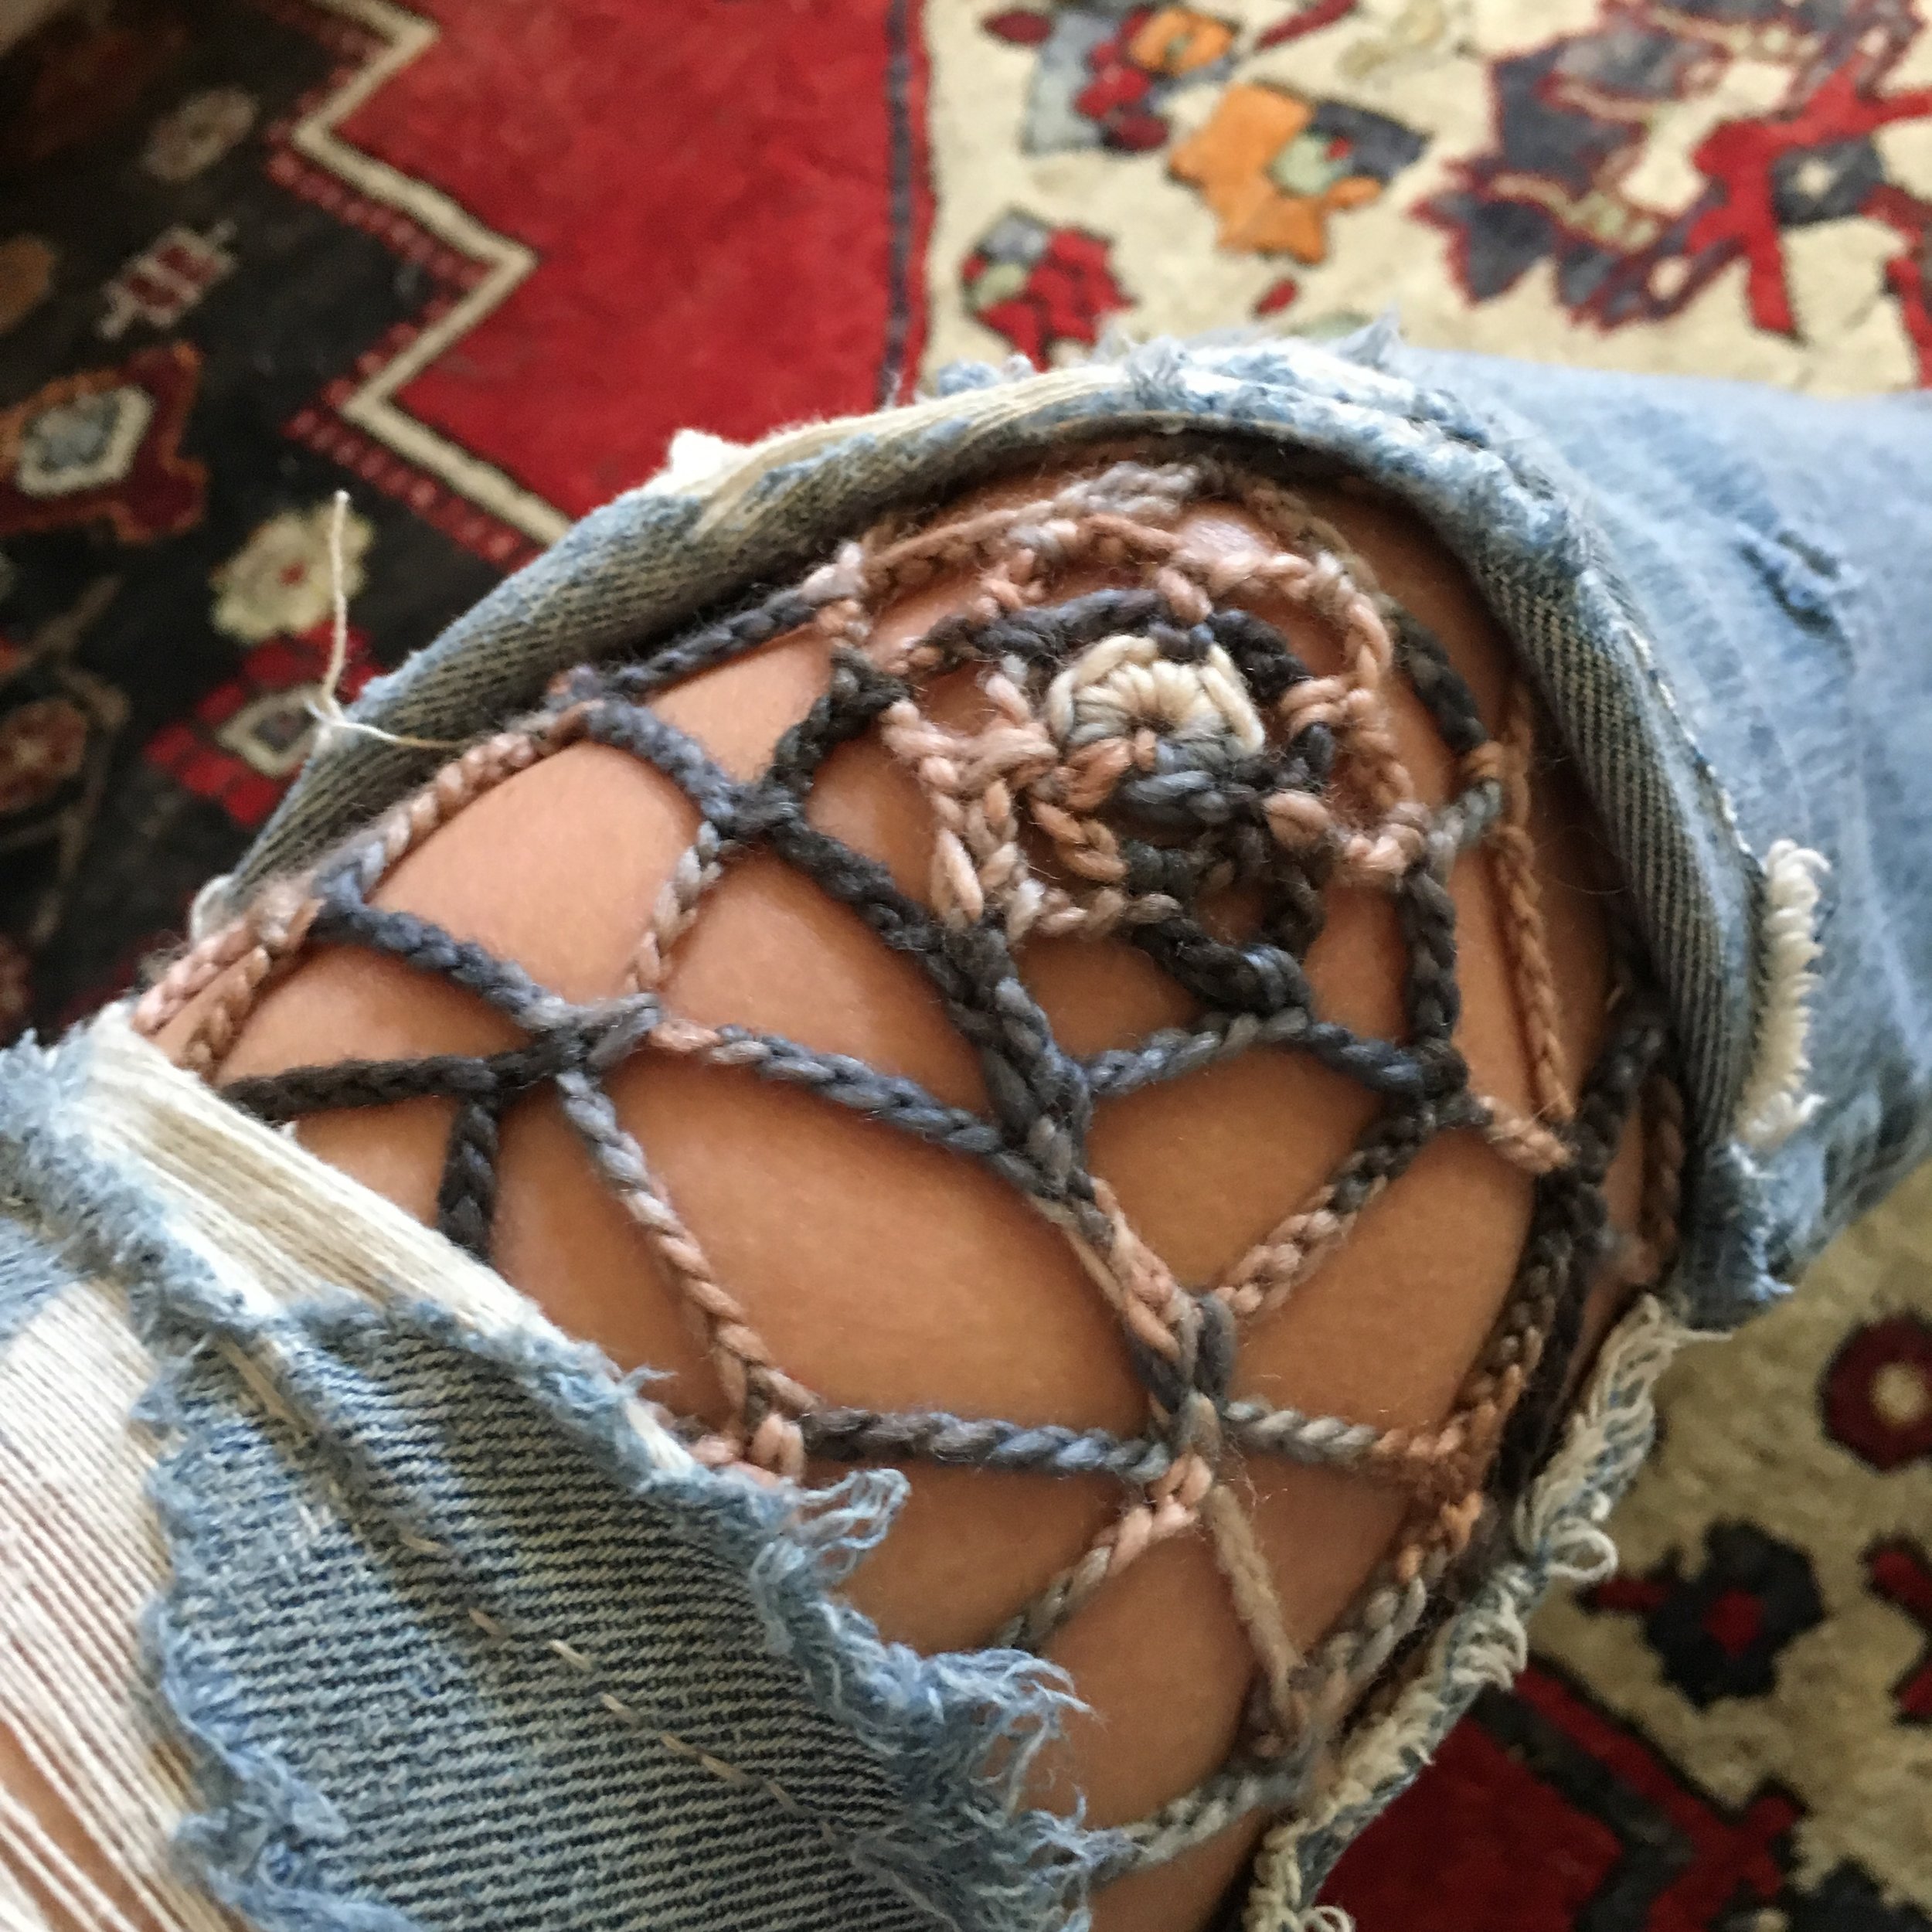
i love the way it turned out! the pretty, neutral colors of the variegated silk wool i chose blend in nicely with the faded jeans, but i love the unexpected lacy, fishnet-like look.

will you try patching your jeans with some crocheted lace?