
DIY: Steek With Me - Steeking (Cutting) a Pullover Sweater into a Cardigan

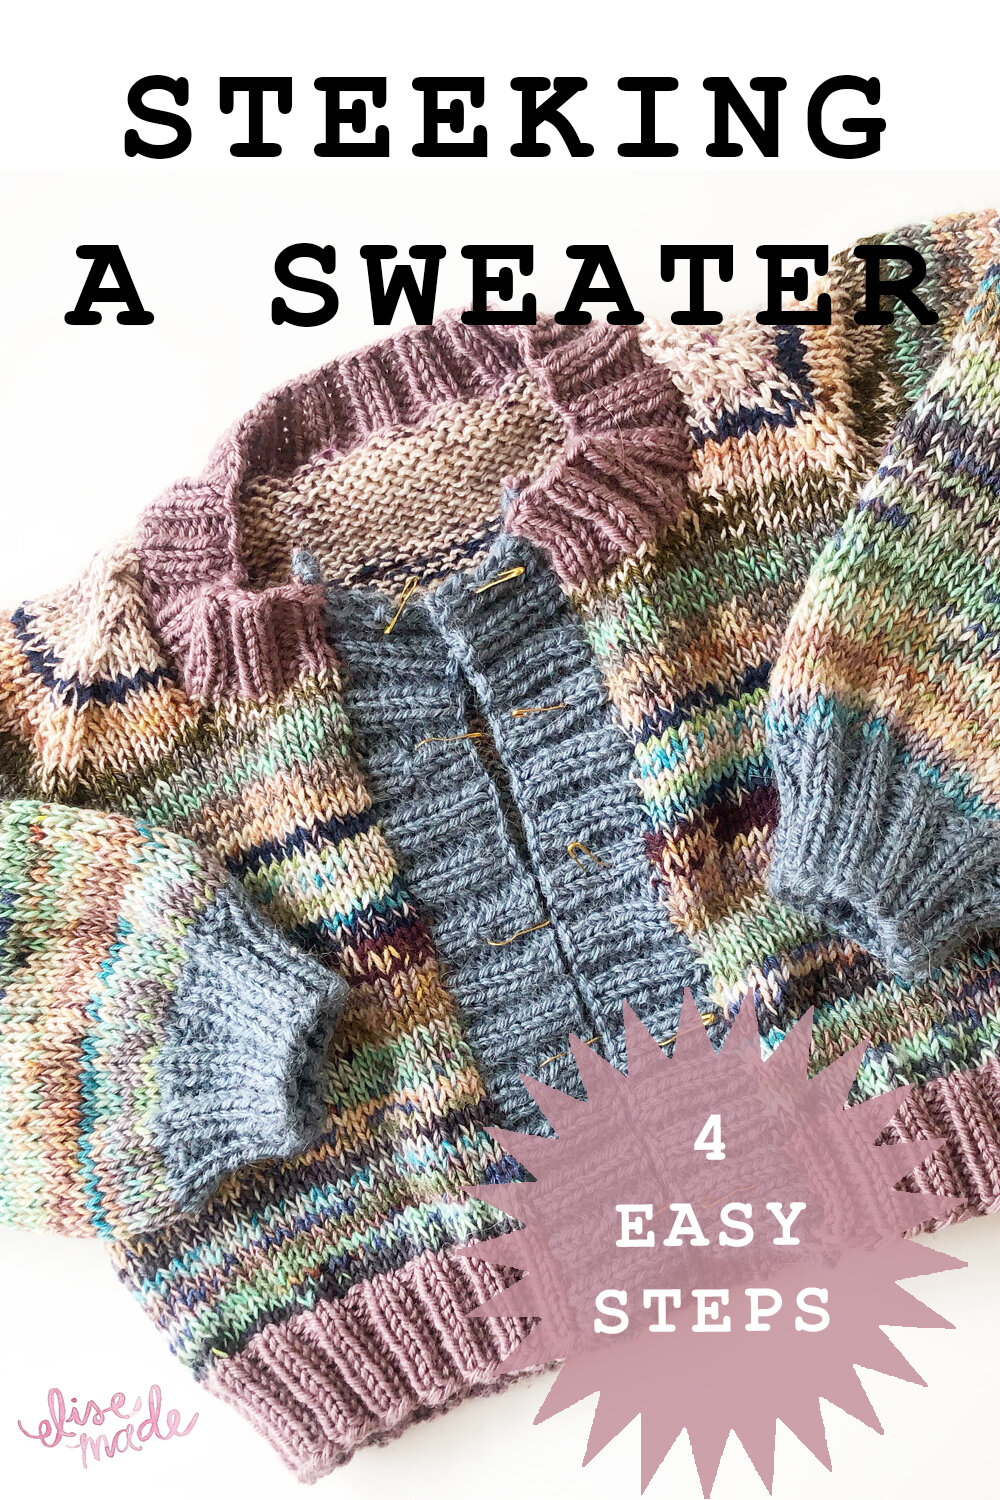
I’d been planning a super scrappy baby cardigan project since the beginning of this year, and quarantine times just felt like the perfect opportunity to teach myself a new skill. So I settled on my go-to baby sweater pattern, the FinnleyMarline by Park Williams, with plans to steek it into a cardigan.

Steeking looks and sounds super scary but I’m here to report that it’s actually really simple, and you likely already have the skills necessary to give it a try! I really enjoyed the learning process on a scrappy baby sweater - the project was a quick knit made entirely from scraps, so committing to cutting it in half felt a little less scary.
Follow the progression of sweater to cardigan in my four-part video series documenting my first steek!
Step 1: Mark the center
Some knitting patterns are written specifically for steeking, and thus the center lines and reinforcement lines are made clear in some way and should be easy to locate. I chose a regular raglan pullover, a pattern not written specifically for steeking, so my first step after knitting and weaving in all the ends was to locate the center. Since this pattern doesn’t have a perfect center, this first video talks about how I found the center line of the FinnleyMarline and how I plan to maintain symmetry. I also show close up the location of stitches on both sides of the center line that will be reinforced with crochet stitches in video 2.
Step 2: Reinforce stitches with crochet
I chose a crochet hook size slightly smaller than the needle I used to knit the sweater, and the same scrap yarn I used on the sweater edging.
Step 3: Pick up stitches for the button band
In this video I explain how I will pick up stitches for the button band, and how I used the gauge of the sweater band to figure out how many stitches to pick up.
Step 4: Cutting the center line!
The prep steps are so simple and straightforward - it’s clear the big reason people are intimidated by steeking is the final cut. Fear not! Your crochet reinforcements will hold tight. Watch in this video as I cut my work on camera!
I hope you enjoyed watching this process and feel inspired to try steeking yourself!