
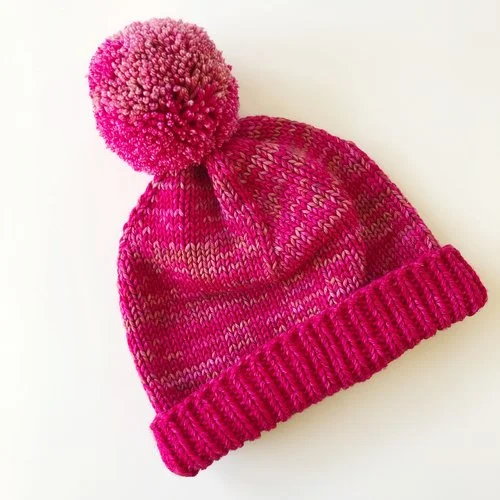
#WIDN: Custom Hat in Malabrigo Rios

One of my recent commissions was a request for a special winter hat, and after being deep in Turkey Hat orders for the last two months I couldn’t think of anything better than taking a break from stuffing and seaming legs than to refresh my brain with some beautiful yarn and a quick new project.
I went to pick out yarn at one of my local yarn stores, The Altered Stitch. It was my first time visiting despite driving by all the time, and I’m so grateful for the commission that sent me there seeking yarn...they have the most amazing selection of indie-dyed yarn from a large range of makers and it was hard not to desperately covet all the sock yarn (Hedgehog Fibres Typewriter was particularly calling to me!)
I ended up choosing two skeins of Malabrigo Rios, an incredibly beautiful 4-ply superwash merino. My client particularly wanted something very fun and bright, and these colors jumped out at me almost immediately.

I chose two skeins of color 093 Fucsia (a solid color with some very, very subtle variances that make it very rich and interesting) and one skein of 057 English Rose, just a mind-blowing variegated in all the colors that make me drool.
In true Elise fashion, I didn’t reference or use any patterns…I just kind of jumped right in. I’ve made so many hats at this point in my life that I have a pretty good idea of how many stitches to cast on depending on the yarn weight. Using two strands of Rios at the same time felt to me similar to worsted weight. So I grabbed some US 6 (4.0 mm) double-pointed needles and got right to work!
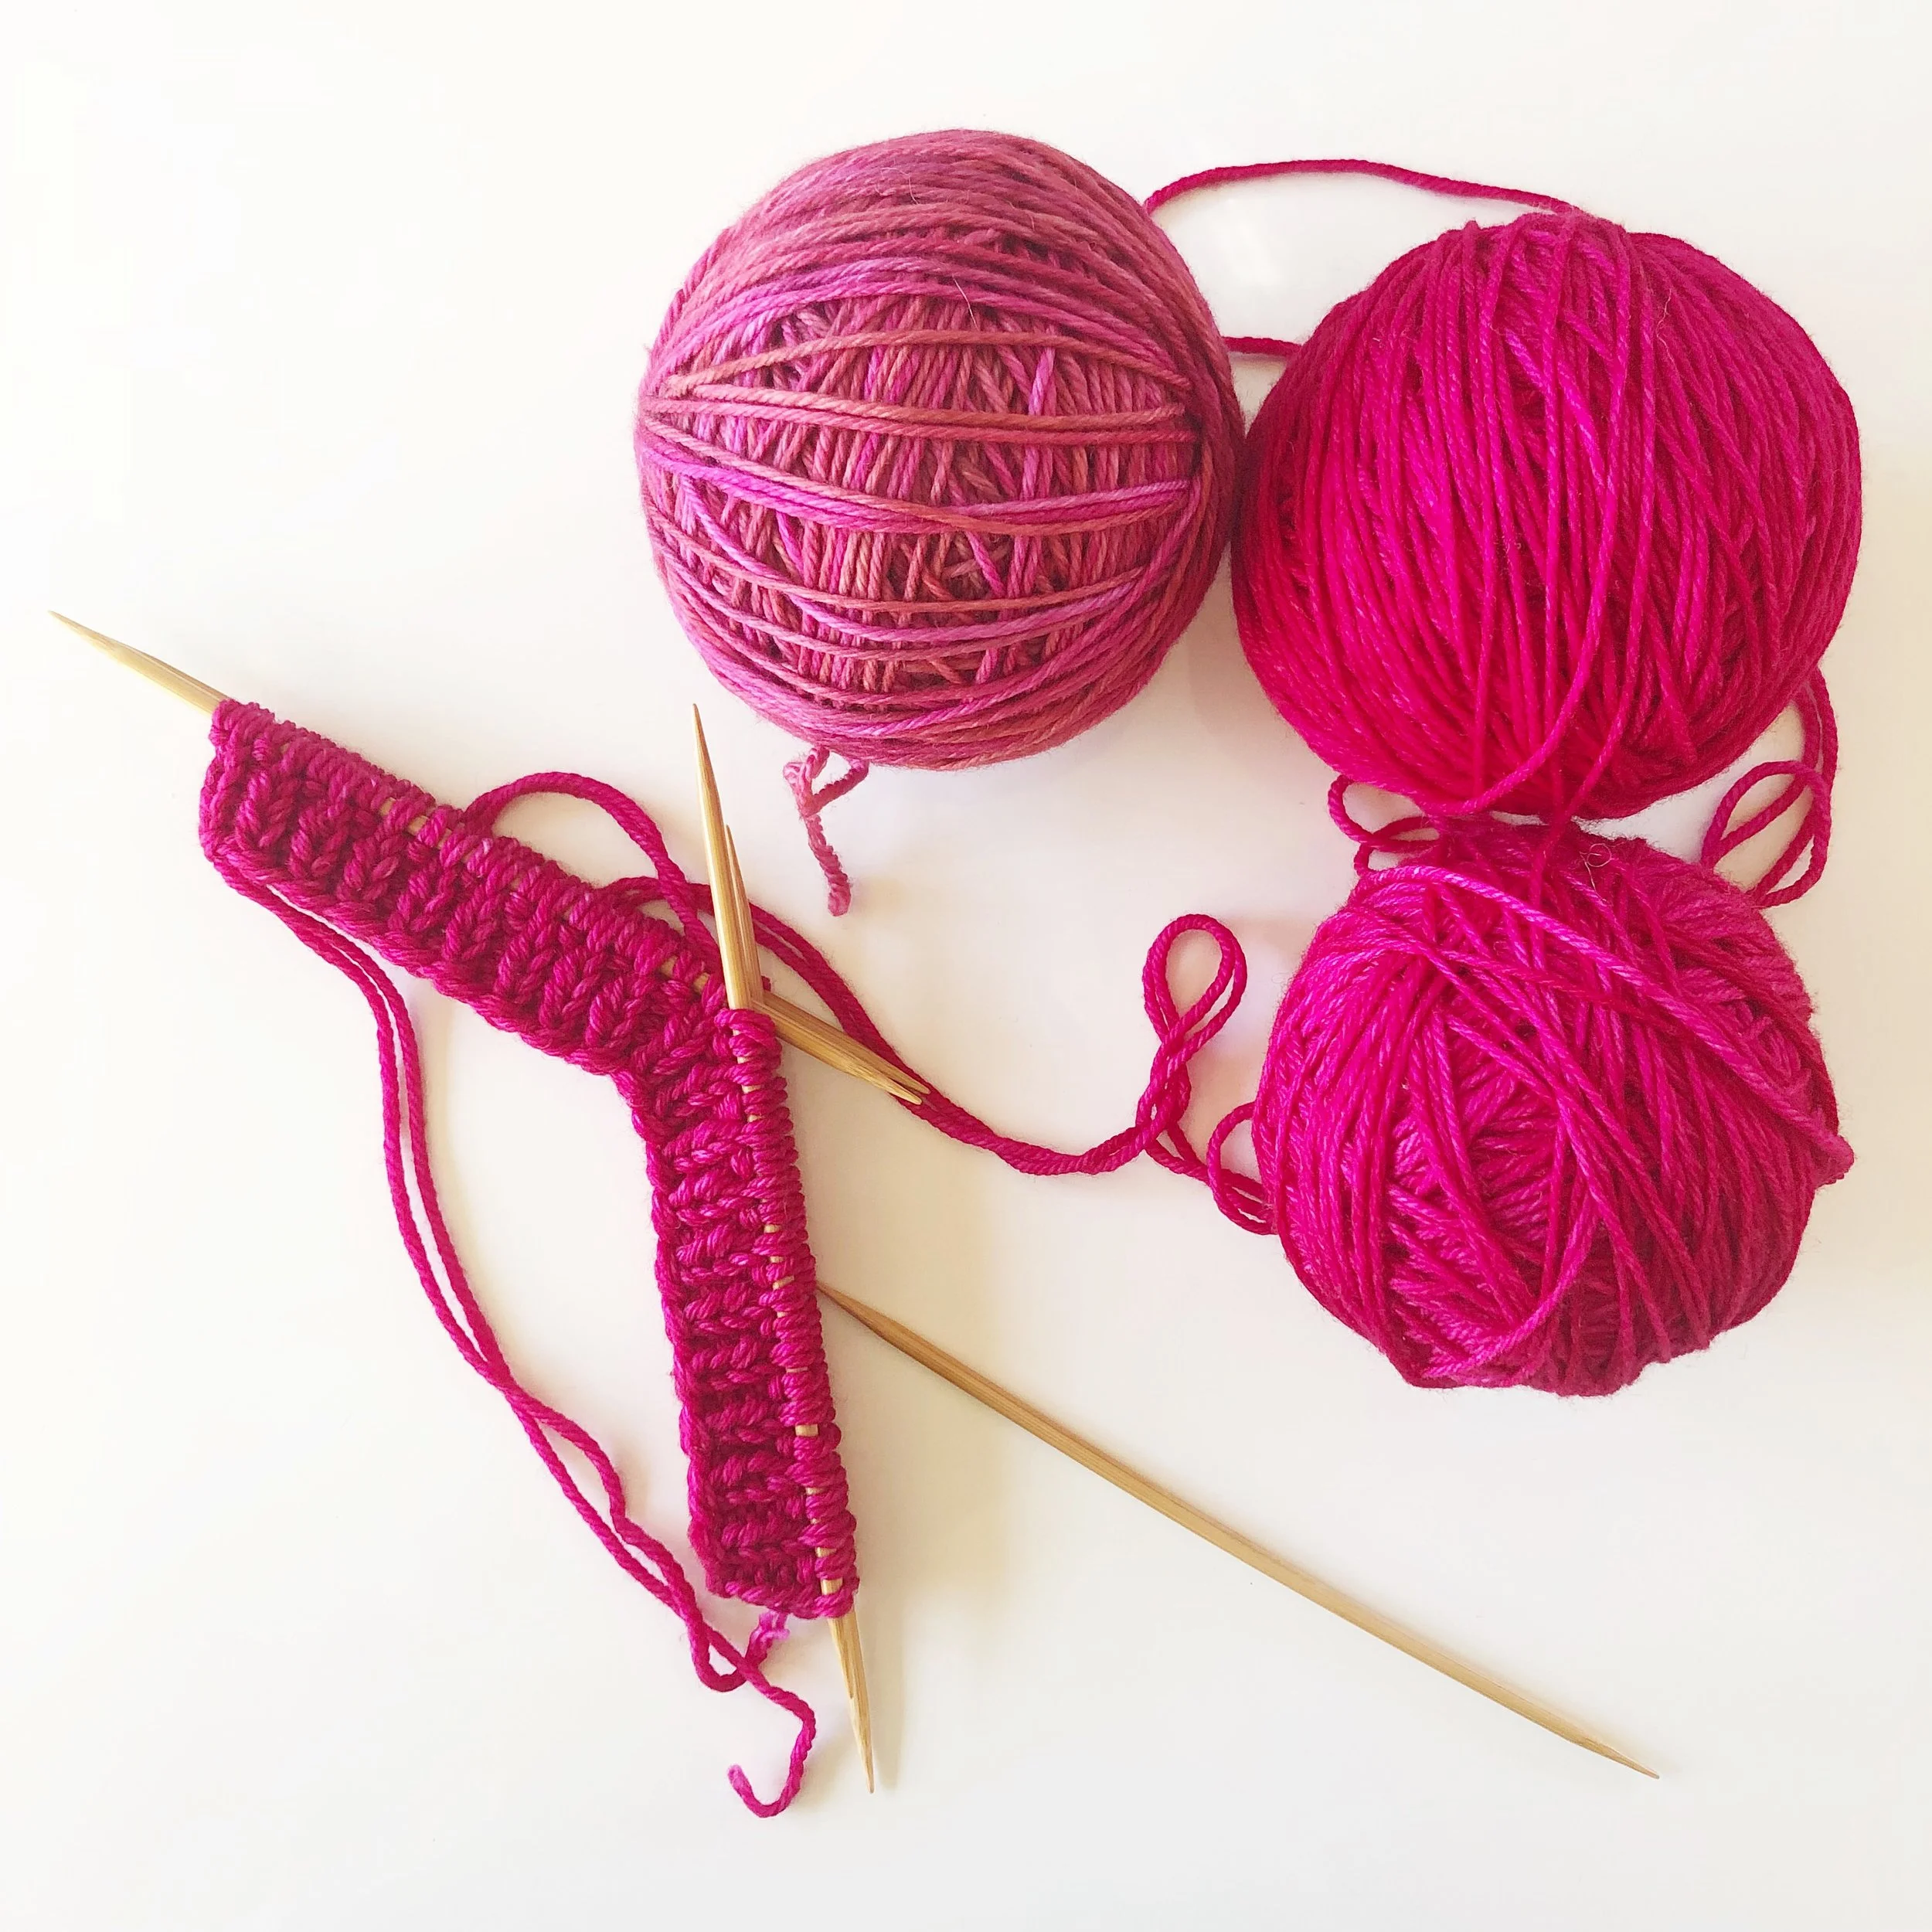
I held two strands of Fucsia together and knit a simple 1x1 rib for the brim. I just love a 1x1 rib...I love how it looks, and I love that it helps the brim keep from getting too stretched out.

For the body of the hat I originally wanted to do a fun stitch pattern like seed/moss stitch or skinny cables, but after I did a quick swatch that all went out the window. The yarn is so pretty and the colors are so vibrant that I thought it looked best showcased in simple stockinette. I finished the body of the hat holding one strand of Fucsia and one strand of English Rose together. I knit the body to make a slouchy fit, long enough so it could also be worn with the brim flipped up for some extra warmth.

And then of course I finished it off with a large pompom, made with a mix of both colors. It’s seriously the best part.


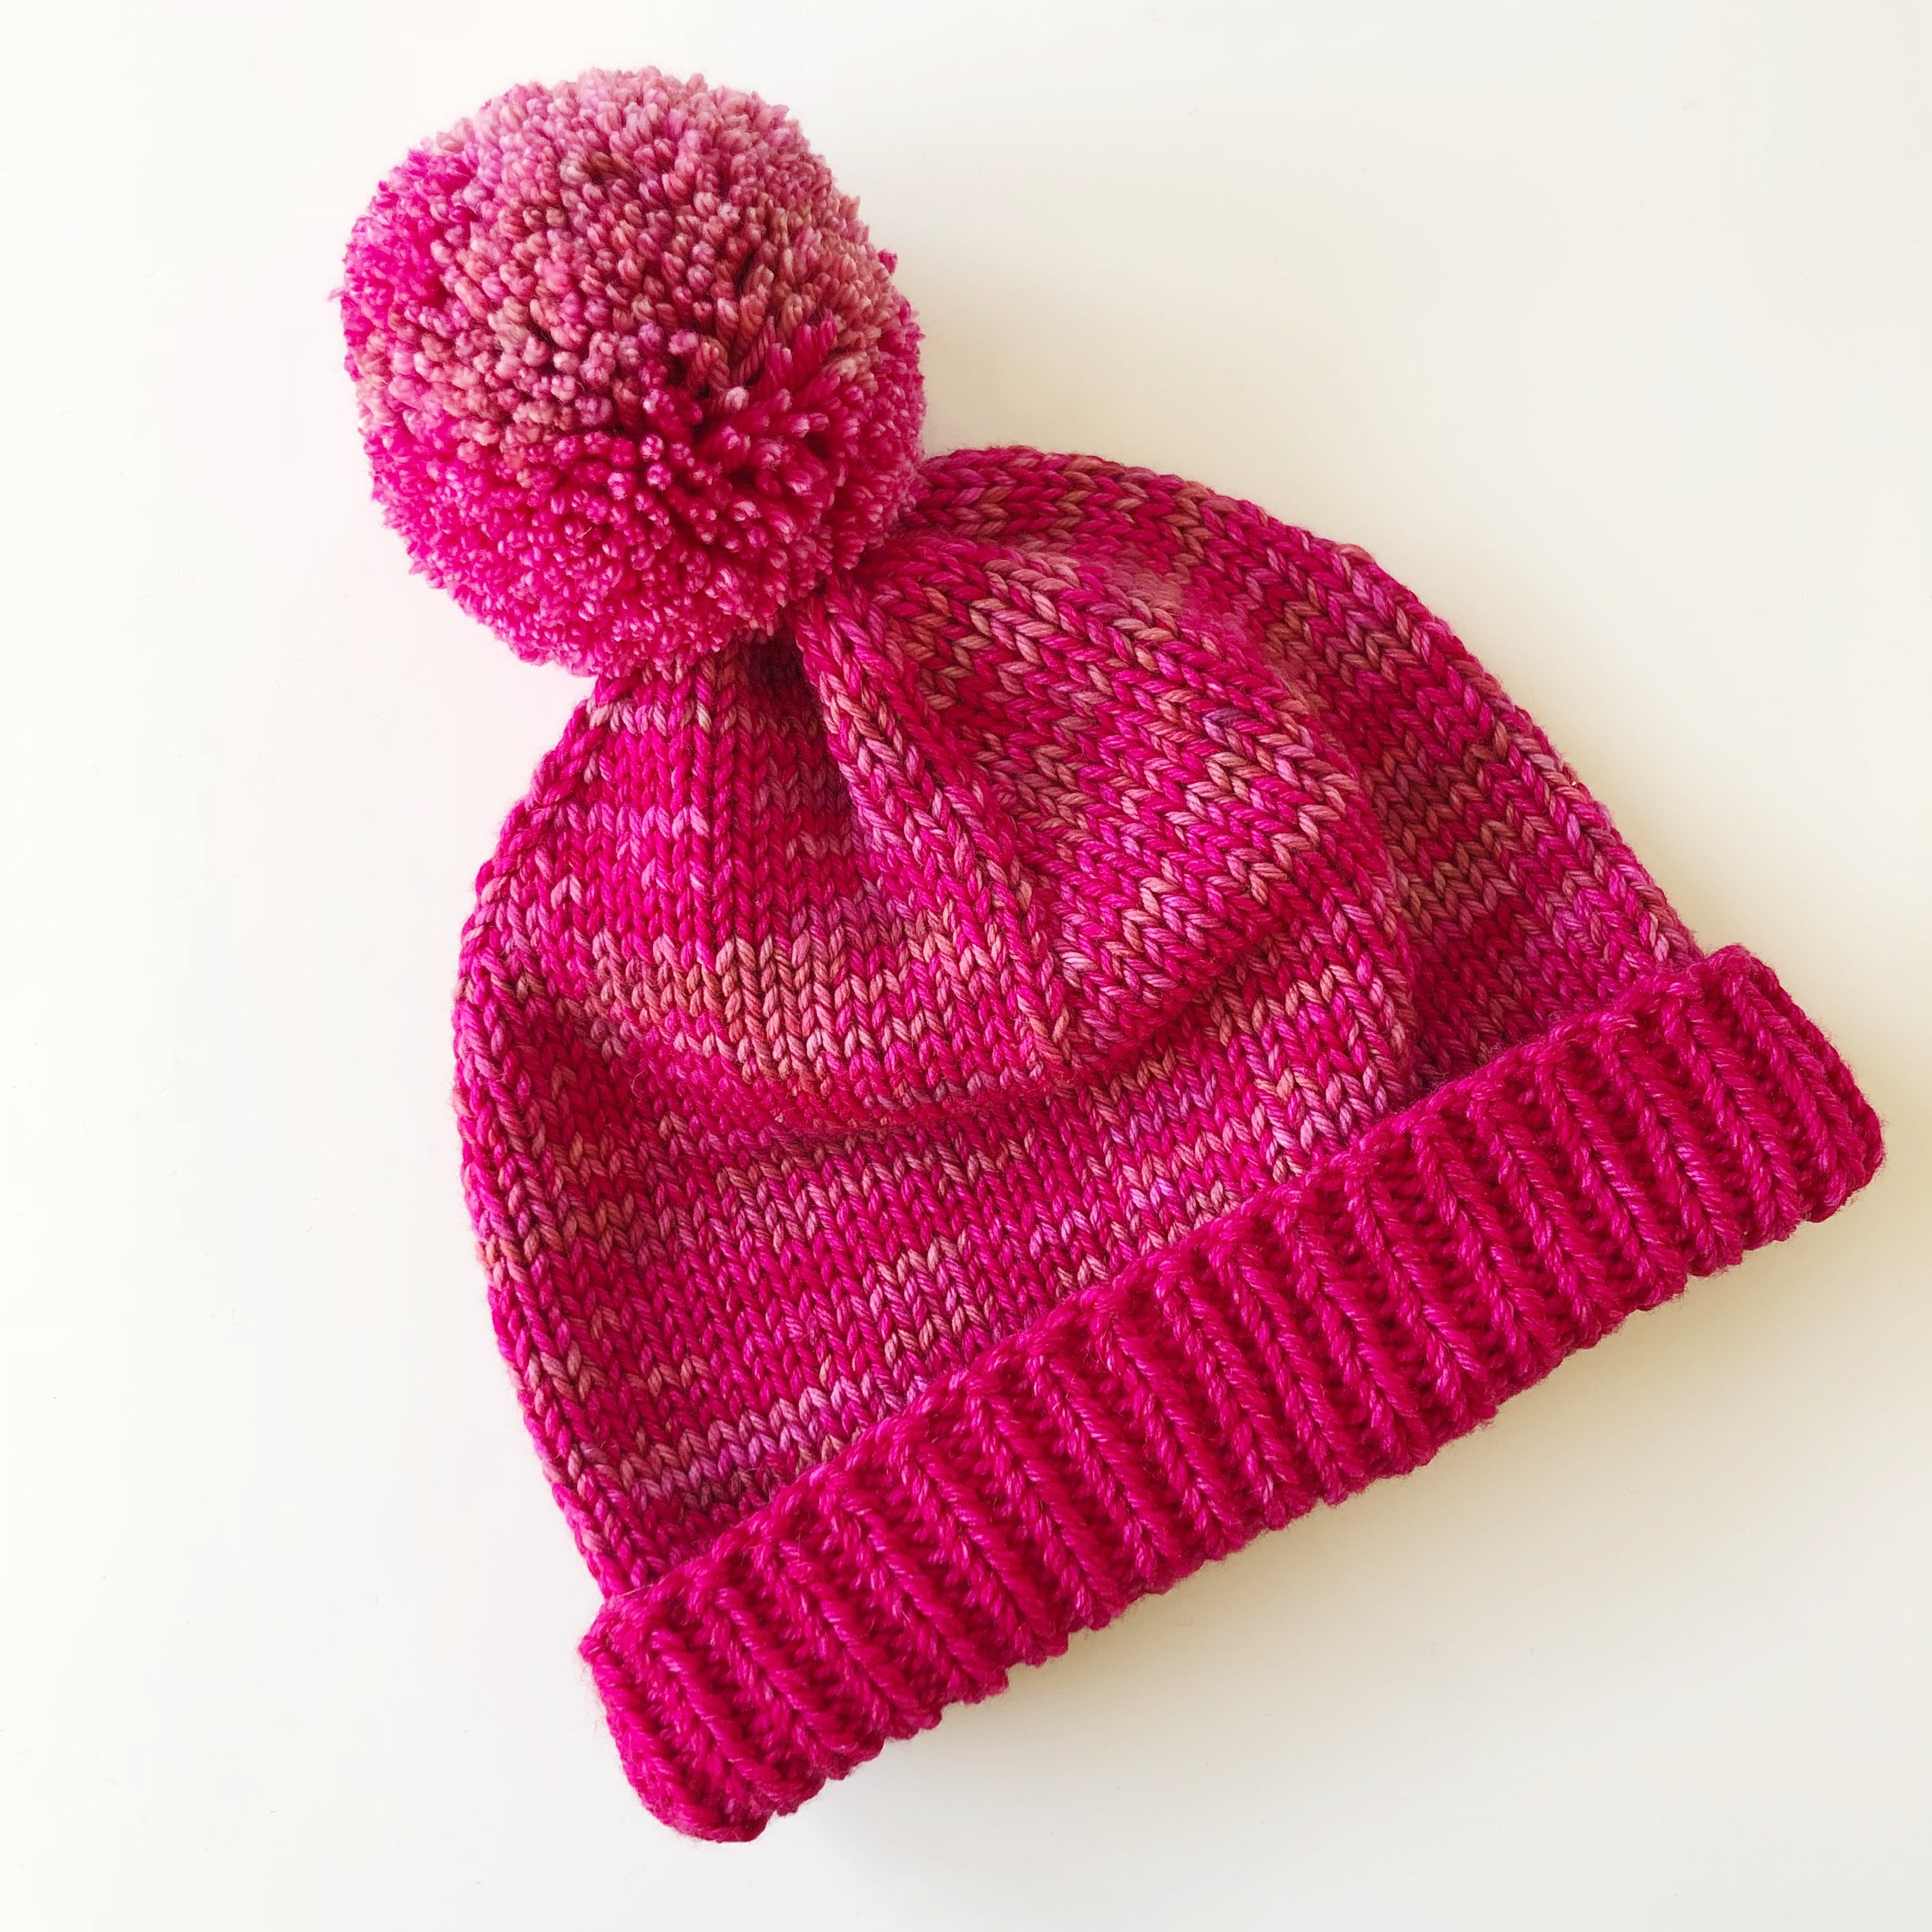
I love how it turned out! The Malabrigo Rios was such a dream to knit with, I’m already scoping out other colorways.
What do you think? Have you knit with this yarn before?

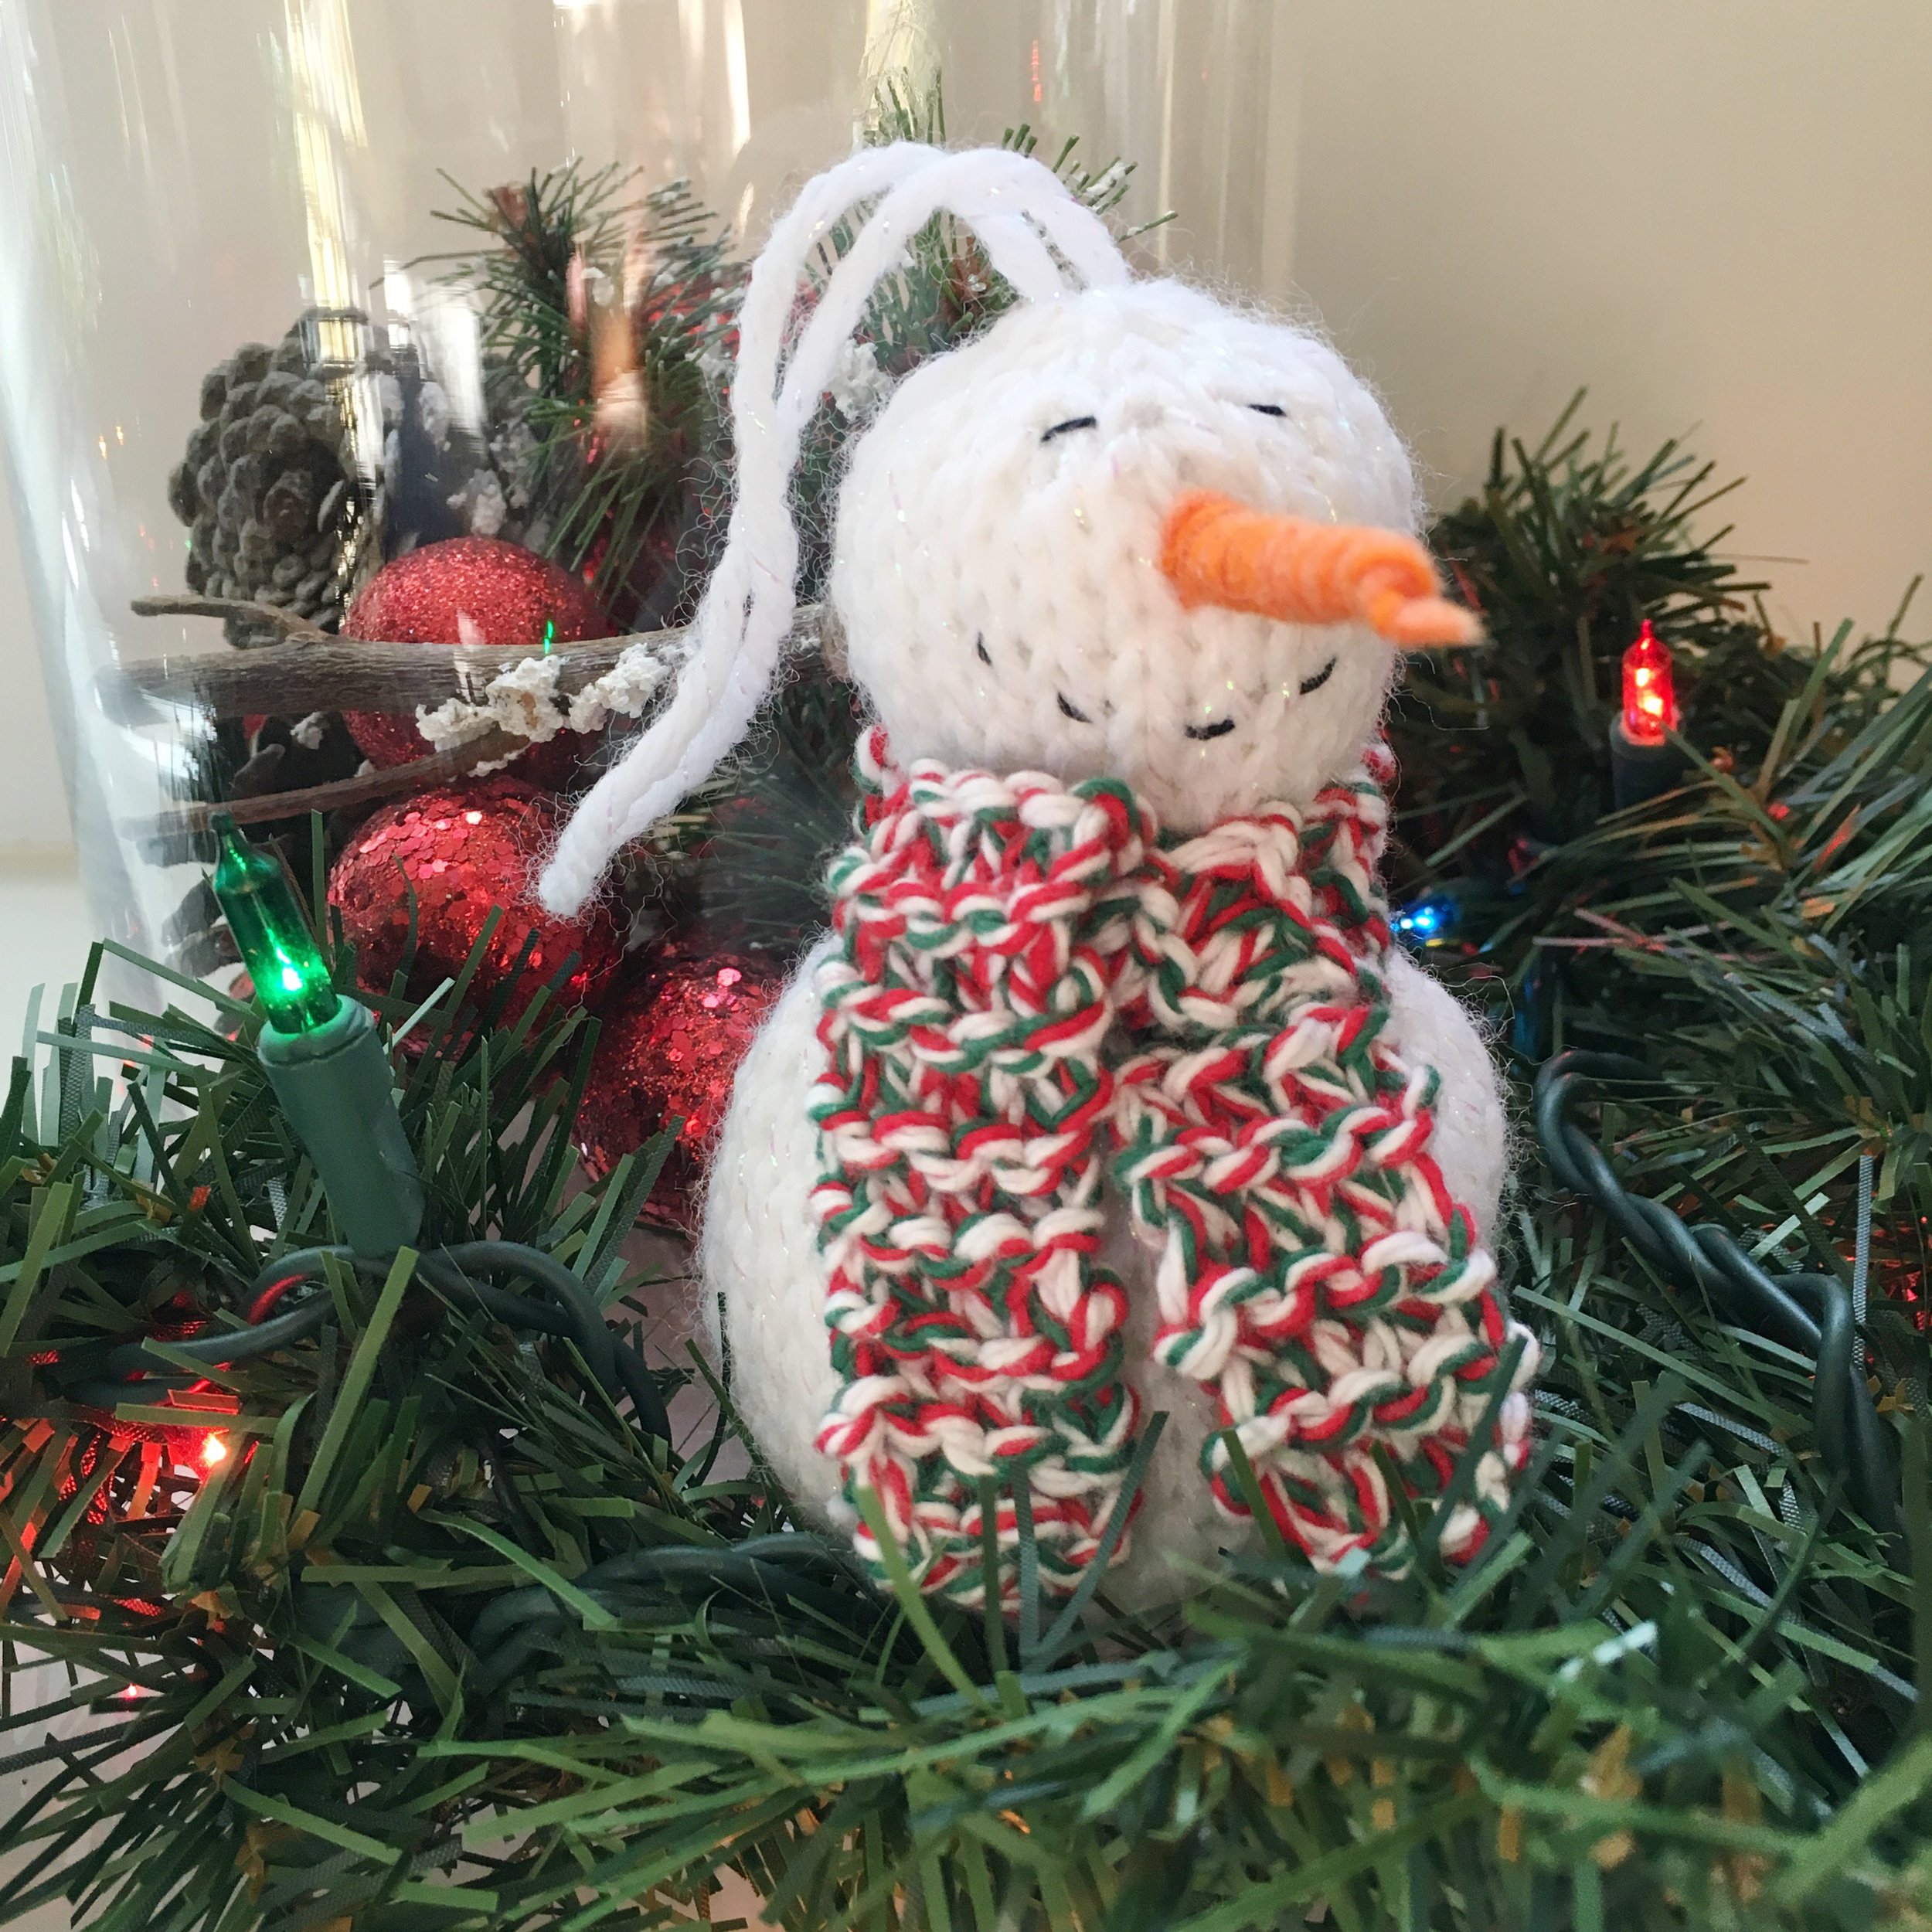
DIY: free knit snowman ornament pattern

it is december 1st and that means gift knitting season is upon us! there's still time to cast on a few projects before christmas, and plenty of time to make a few knit snowmen ornaments using my free pattern!
if you're not a knitter, no worries...you can purchase a ready-made snowman ornament from my shop!
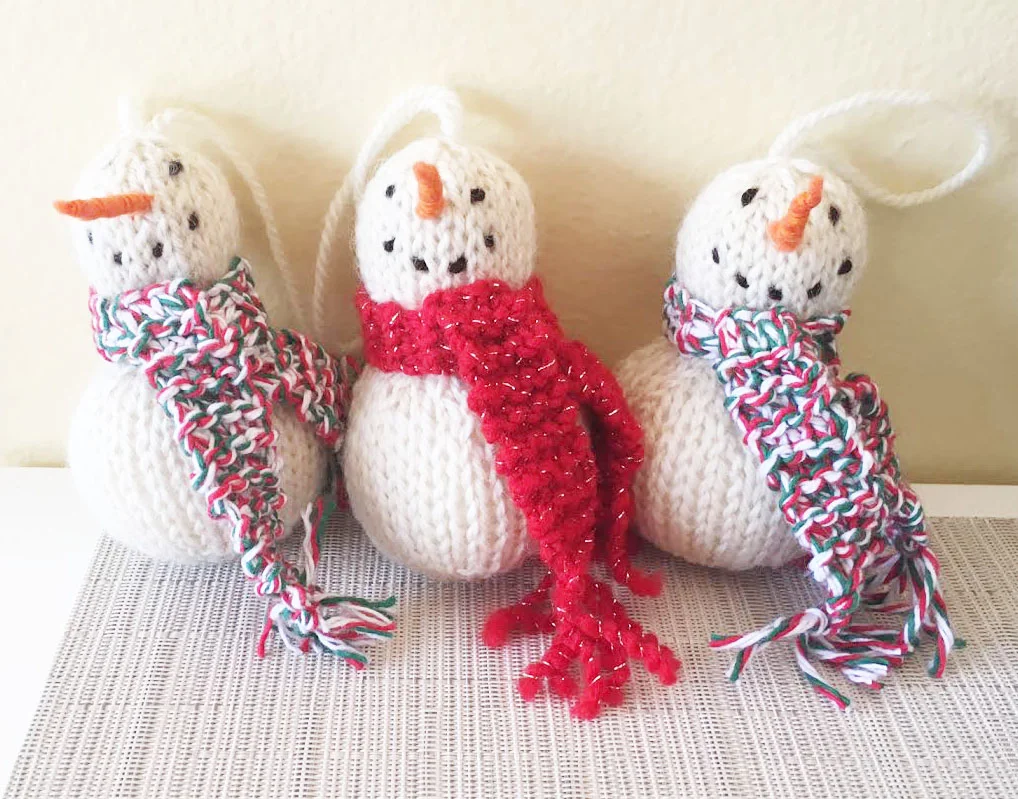
these snowmen are knit in the round in one piece and are easy and fast to make. use up scraps of worsted or fingering weight yarn for the cozy scarf embellishment! add these to your tree, give as a gift, or use as a present topper.
supplies:
size us 6 (4.0 mm) double-pointed needles
worsted weight yarn in white (i like patons classic worsted wool in aran)
contrast yarn (black or brown for eyes and mouth, worsted or fingering weight scraps for the scarf)
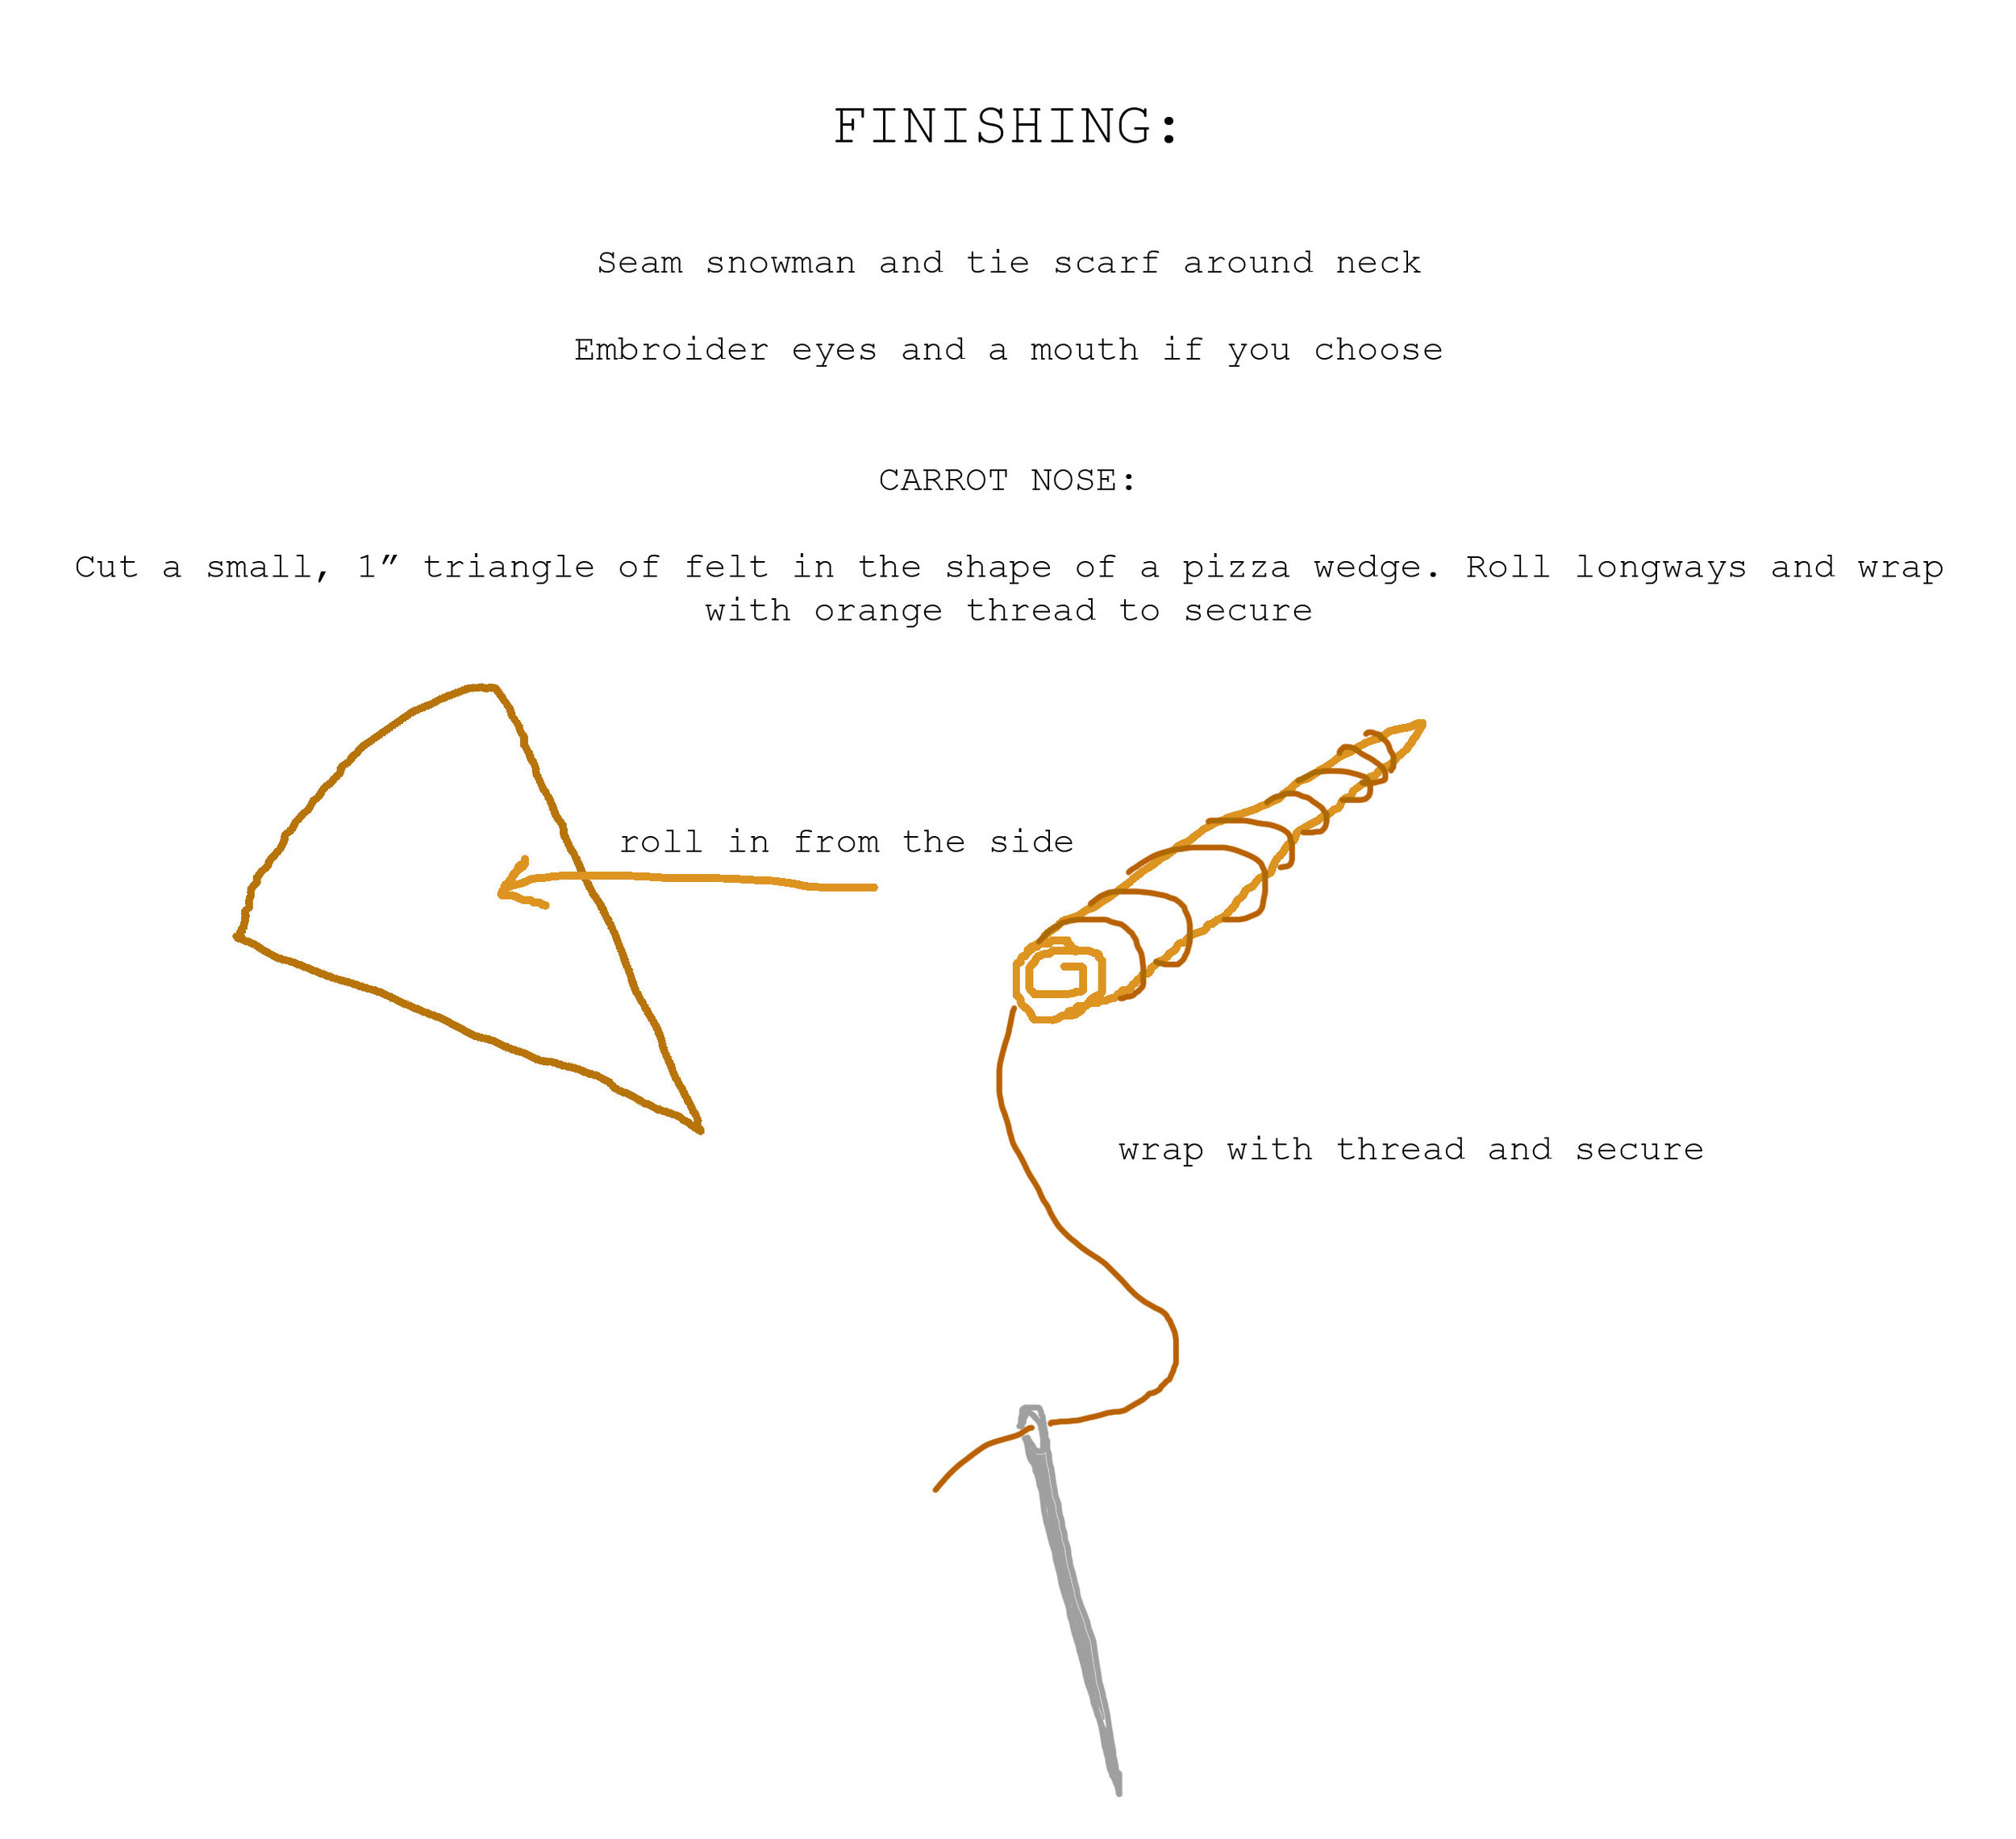
orange felt (to make carrot nose, or use orange yarn to knit one!)
tapestry needle
sewing needle and orange thread (for felt nose)
instructions:


click here to download a PDF copy of this free pattern from ravelry!
stay tuned next week for some fun variations on this pattern that you can use to make more gifts and decorations. happy knitting!
-Elise
ravelry roundup: 5 amazing knitting projects for baby

for this month's roundup, i am highlighting my favorite projects for babies and kids! i don't know about you but i've reached that age where all my friends are having kids, and i'm constantly trying to think of cool ideas to knit for them. i scoured ravelry, and here are 5 of my favorite projects that i found:
1. this sweet shark plushie:
my go-to for new babies is stuffed animals, because they won't grow out of them too fast. this looks like a quick and easy project!

© Two Sisters Teddy Bear Co.
2. this incredible rainbow baby blanket:
would i ever have the patience to knit this? i'm not sure, but it. is. goals.
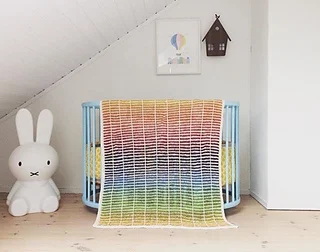
© Tine Holilökk
3. this super cute pair of shorts:
i'm already thinking of different color combos and ways to personalize these. how cute would it be to make each element a different color or make stripes in the garter stitch?

© Rosa Gröszer
4. this totally hip pair of moccasins:
i can't get over how cute and creative these are! the perfect project for stylish babies.

© Katherine Teixeira
5. this speed racer hat:
i love the applique and embellishment on this pattern. super cute and creative!

© Fiddlestyx™
which project is your favorite?
DIY: save-the-date banner


my best friend sammie recently got engaged, and i'm so excited for her to get married next year! since i love any excuse to break out the craft supplies, i made a banner with their wedding date for the engagement photoshoot she has planned next month.
this banner was super easy to make, and i'm already thinking of all the different kinds of banners i could make with this process. it would be great for birthdays, baby showers, seasonal decorations...really anything you can think of!
to make your own banner, you will need:
1. a computer and printer. i used photoshop, but you can use microsoft word or any word processing software.
2. two (or more) sheets of 12x12" decorative cardstock/foil/scrapbooking papers. the scrapbooking section of michael's has an incredible selection of different colors and patterns to choose from. how many sheets you'll need depends on how many numbers or letters you need to complete your banner.
3. (optional) one (or more) 12x12" contrast paper. since i created a banner with a date, i wanted to use a contrast color to separate the month, day, and year.
4. twine, string, yarn, or ribbon. choose a string color and material that fits with the design of your banner. i chose this navy paper twine:

5. scissors.
6. glue stick. i think a "traditional" glue stick would work great on most scrapbooking paper, but since i chose glitter cardstock i knew i'd need something a little more heavy-duty. i like ones like this:

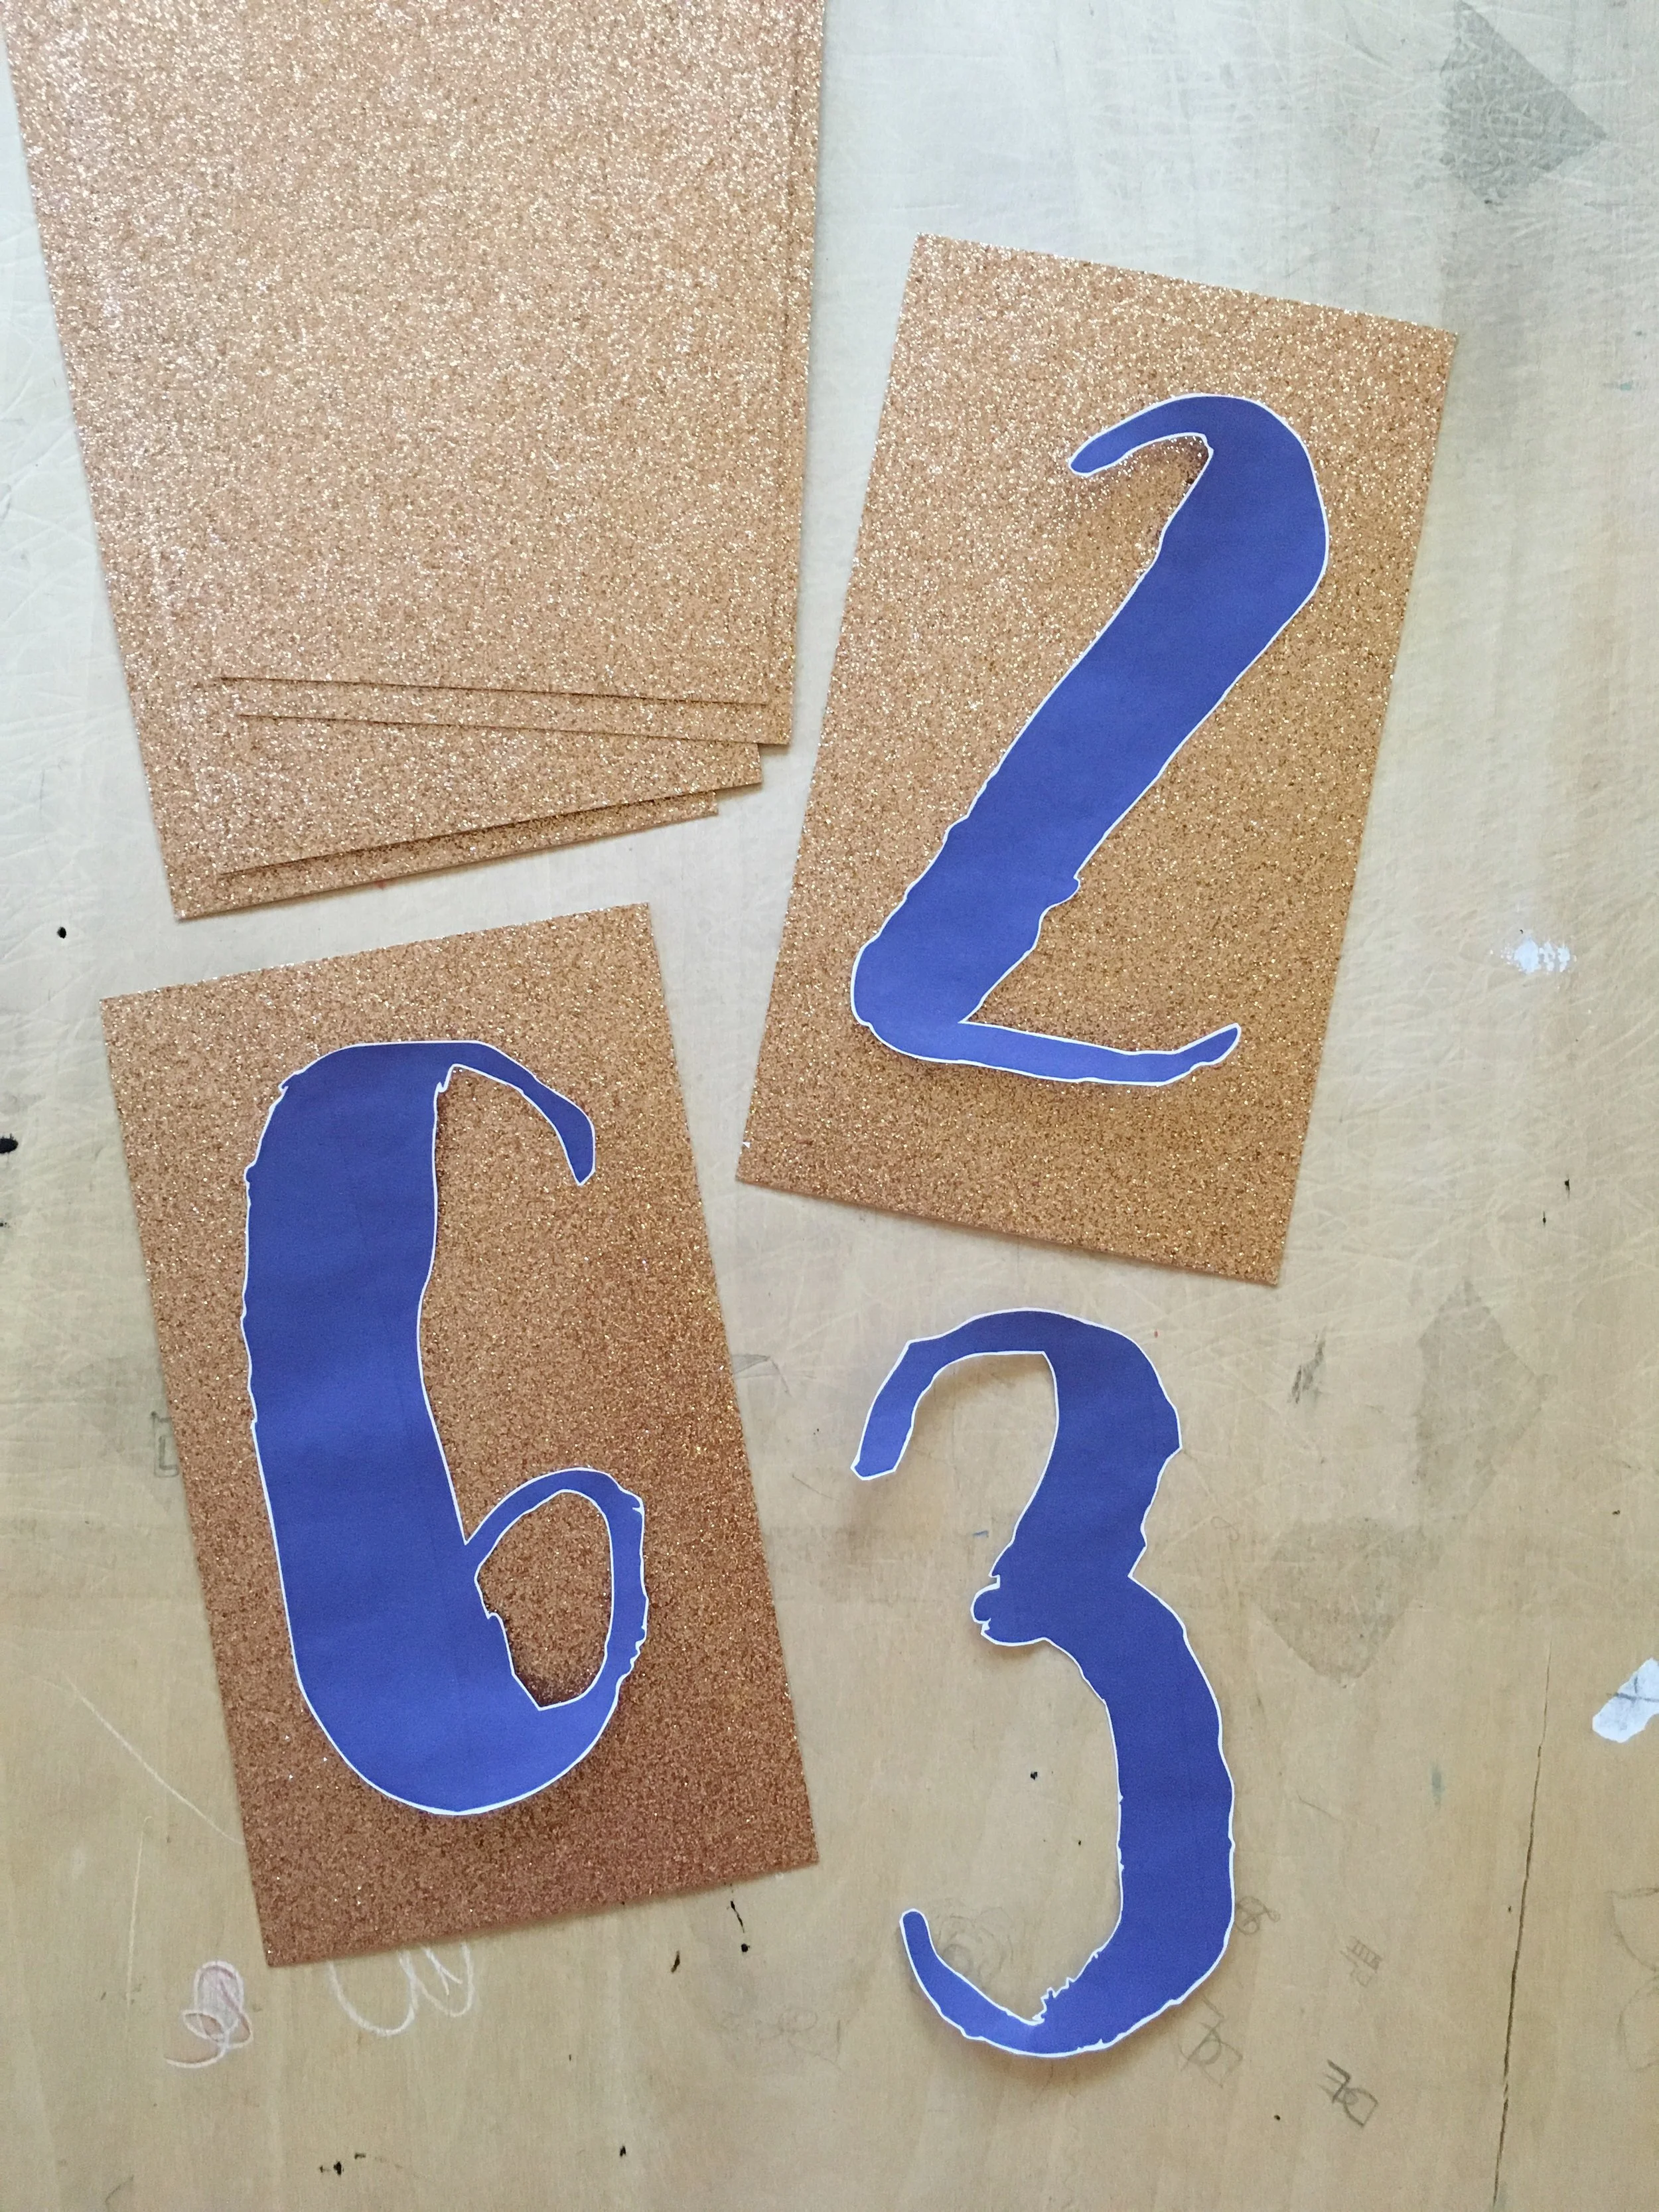
the first thing i did was pick a font (i chose one with a hand-lettered feel), typed out the wedding date in 250pt, and printed it out in a navy color. if you need some font-spiration, check out dafont, where you can choose from and download a huge variety of font styles for free.

next, i carefully cut out the numbers. some fonts will be easier to cut out than others! the font i chose has some interesting brush marks, so i kept a very thin white border around the numbers to make sure the details of the font would pop against the background and in photos.

for the next step, i measured out and cut the glitter cardstock. i measured out 4x7" rectangles to keep my design simple. i love the idea of measuring out triangles to make it look like a flag bunting, or cutting out a small triangle in the bottom of a rectangle to make it look like cut ribbon. you could also cut the backing paper around the number or letter for a more free-floating look.
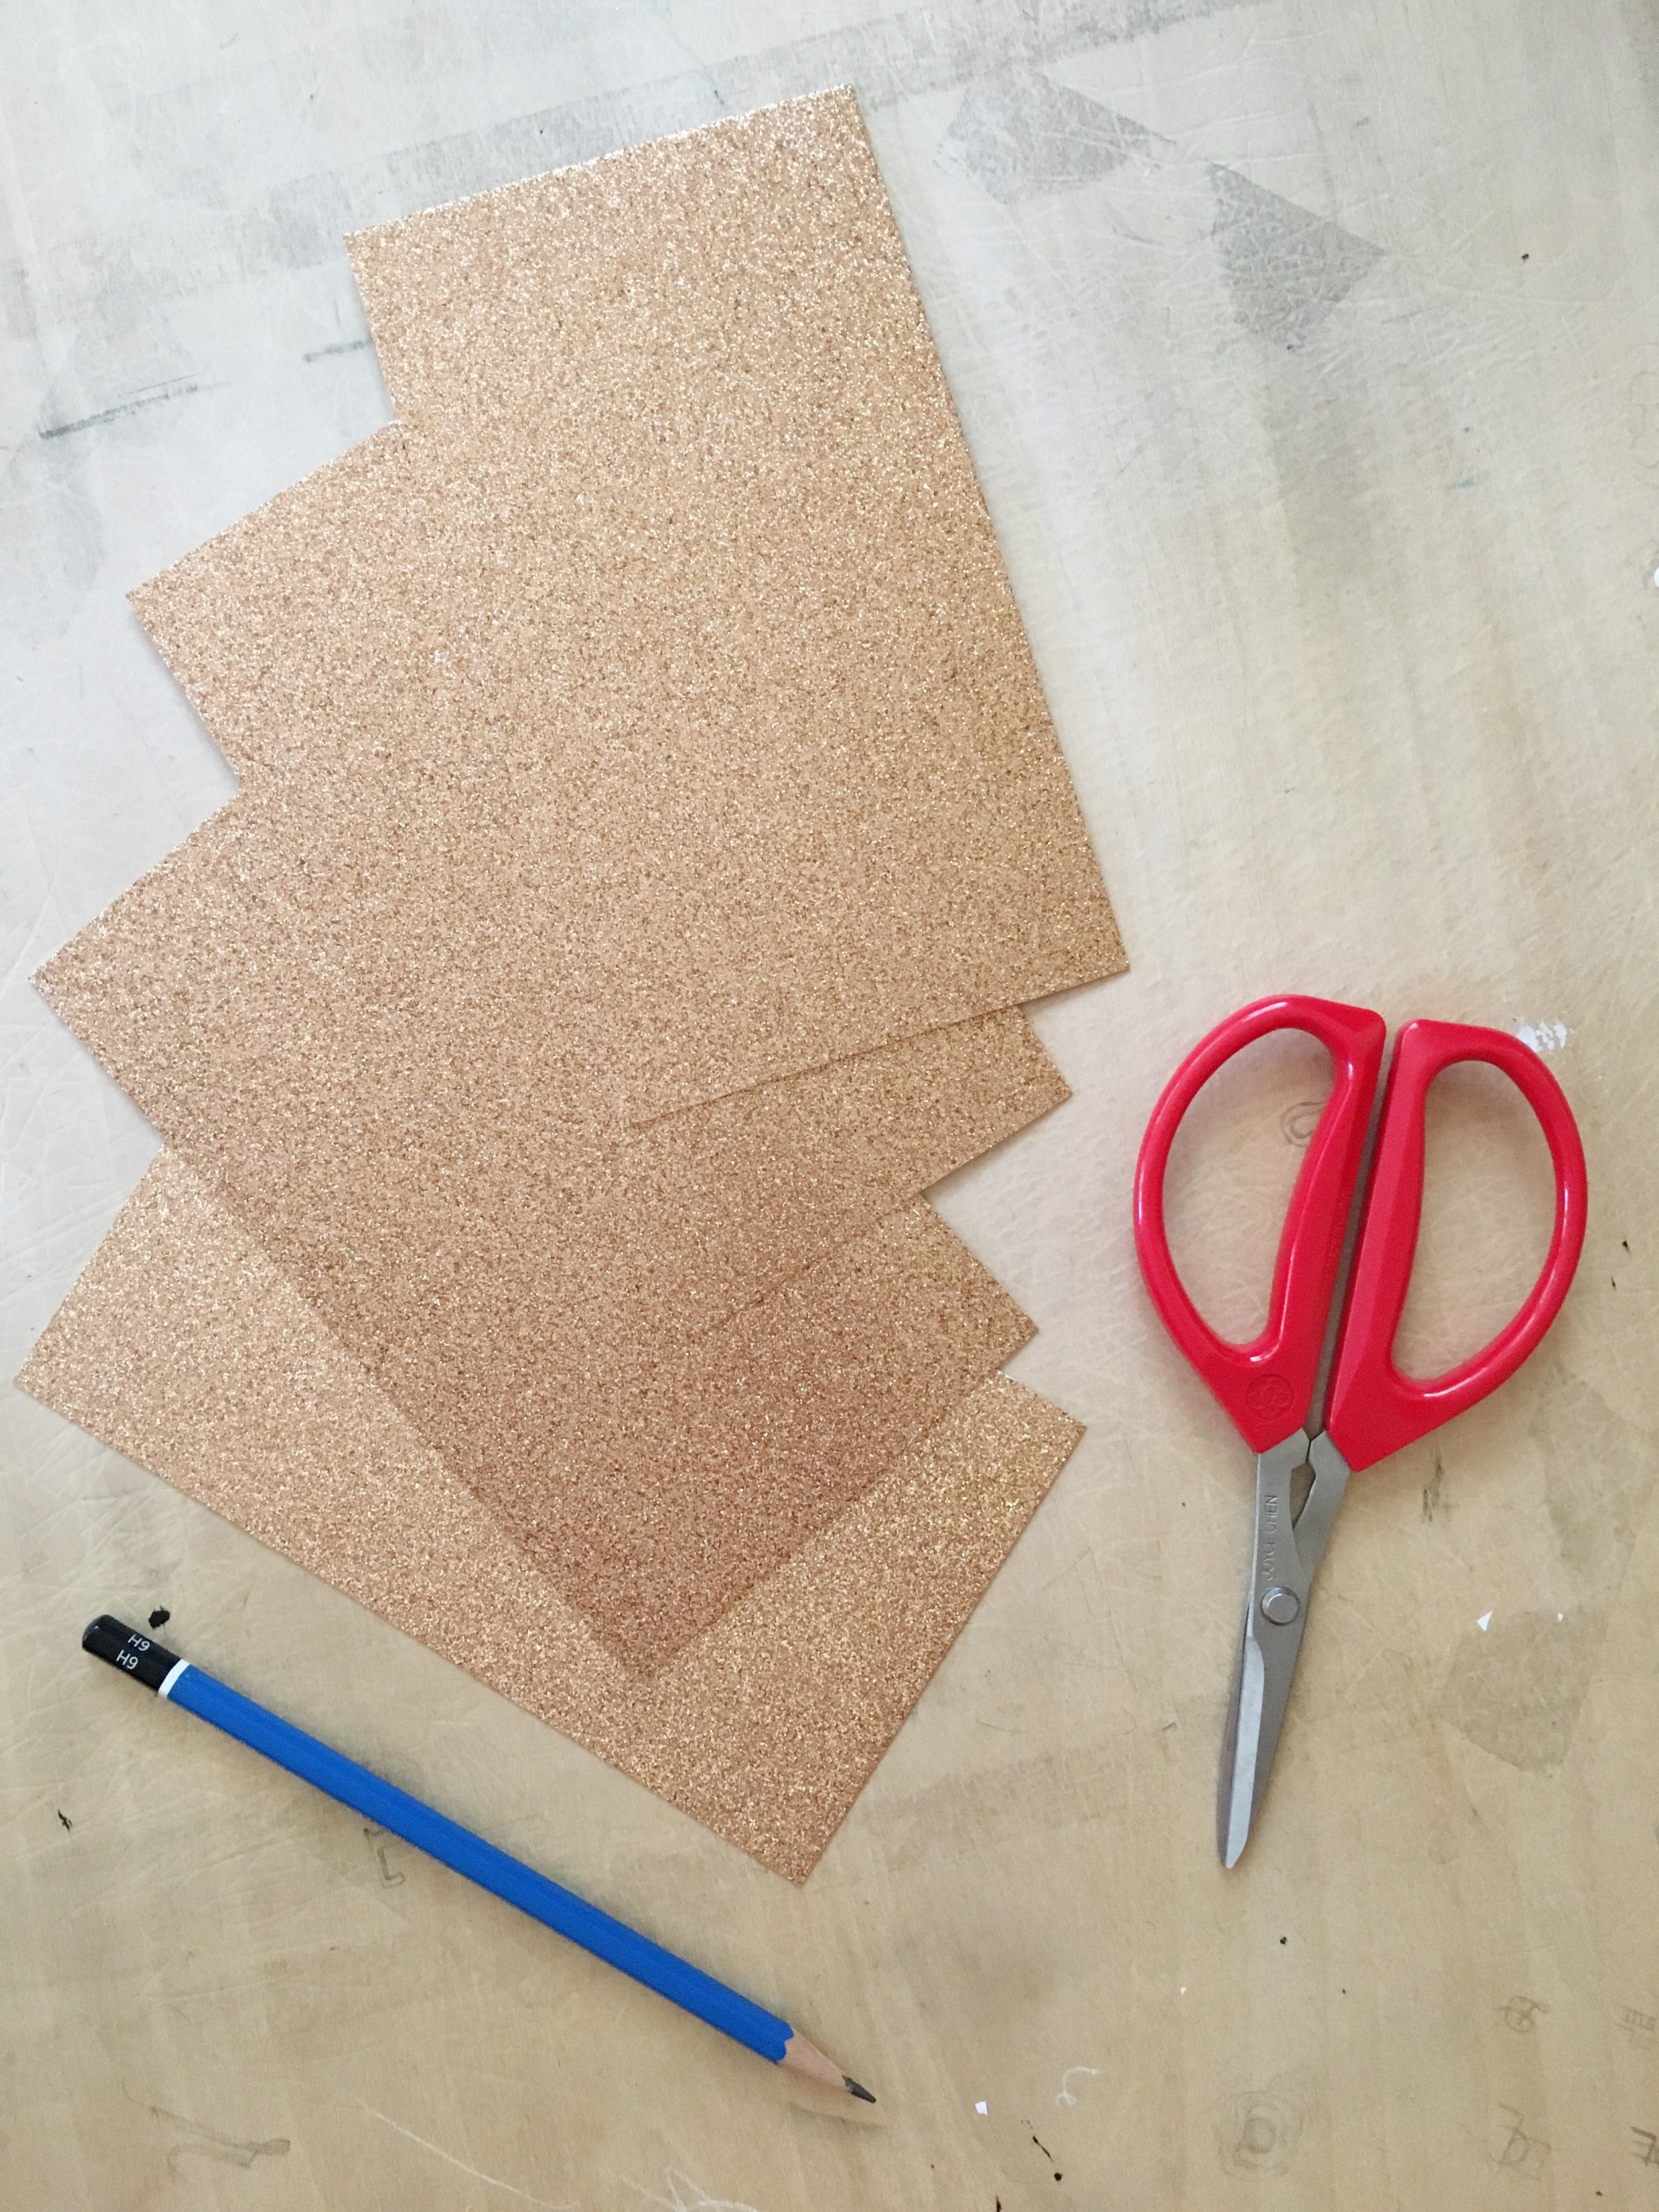
once all my glitter cardstock pieces were cut, i simply glued the cut-out number on top. to prevent any buckling in the paper, i immediately put them under a few heavy books and left it to dry for a few hours.
to separate the day, month, and year, i chose a rose gold foil paper and cut out two hearts using a template i printed out.


the last step is to attach the string. i used clear gift wrapping tape...super easy!


what kind of banner would you make?
#WIDN: custom pet portraits in watercolor pencil

This week, as I'm working on some pet portrait commissions, I thought it would be nice to share my process and some of my favorite drawing materials. i absolutely love animals, so i started making pet portraits with the desire to capture their personalities and commemorate their friendship with us. i chose to render them in watercolor pencils with a brush pen outline, to give them both detail and whimsy.
my portrait process starts with a great reference photo, selected from what my client sends to me. i like to choose a well-lit photo where the pet looks super happy! sometimes i will print out the photo and sometimes i just use my phone as a reference. i make most of my art in my apartment living room using a big drawing board, and i prefer to listen to podcasts with headphones while i draw and paint to eliminate distractions and keep me focused.
here is a collection of my most-used drawing tools:

blue painter's tape
this is the best tape ever, and useful for so many different projects. i use it mostly to attach paper and reference photos to my drawing board because it won't tear or rip the paper. i also love to use it for watercolors when i want to maintain a clean, white border.
find it here: http://www.homedepot.com/p/3M-ScotchBlue-1-88-in-x-60-yds-Original-Multi-Use-Painter-s-Tape-2090-48N/100550611
watercolor paper
i recently discovered ready-cut sheets and i'm wondering how i ever did commissions without it. i like using strathmore watercolor paper, it's affordable for the quality and easy to find. for larger-scale works i like to spring for arches paper.
pencils and eraser
i'm pretty sure i have more pencils that i could ever hope to use in a lifetime (and still i find excuses to collect more), but i always find myself reaching for my favorite staedtler mars lumograph 100s. when making the initial drawing for a pet portrait, i like to use a light 6h. of course a white vinyl eraser is also key for when you're not satisfied with a mark.
find them here: https://www.staedtler.us/en/products/pencils-accessories/pencils/mars-lumograph-100-premium-quality-pencil/
ruler, viewfinder
i use these tools to help me place my composition and measure out my drawing space. i obviously love a clear ruler so i can see what's happening underneath it.
here's a great tutorial to make your own viewfinder:
paintbrushes
my go-to brushes for pet portraits are windsor and newton sceptre golds, series 101. they're great pointed rounds for detail made from a blend of sable and synthetic. i'm not saying they paint like the finest sable brushes, but they're a great compromise for the price!
find them here: https://www.dickblick.com/products/winsor-and-newton-sceptre-gold-ii-brushes/
brush pen
i know i'm not the only artist who loves the pentel pocket brush pen. if you don't already have one, do yourself a favor and buy one immediately!
once i've sketched out my drawing with a light 6h pencil, it's time for the most important part: the color!
watercolor pencils
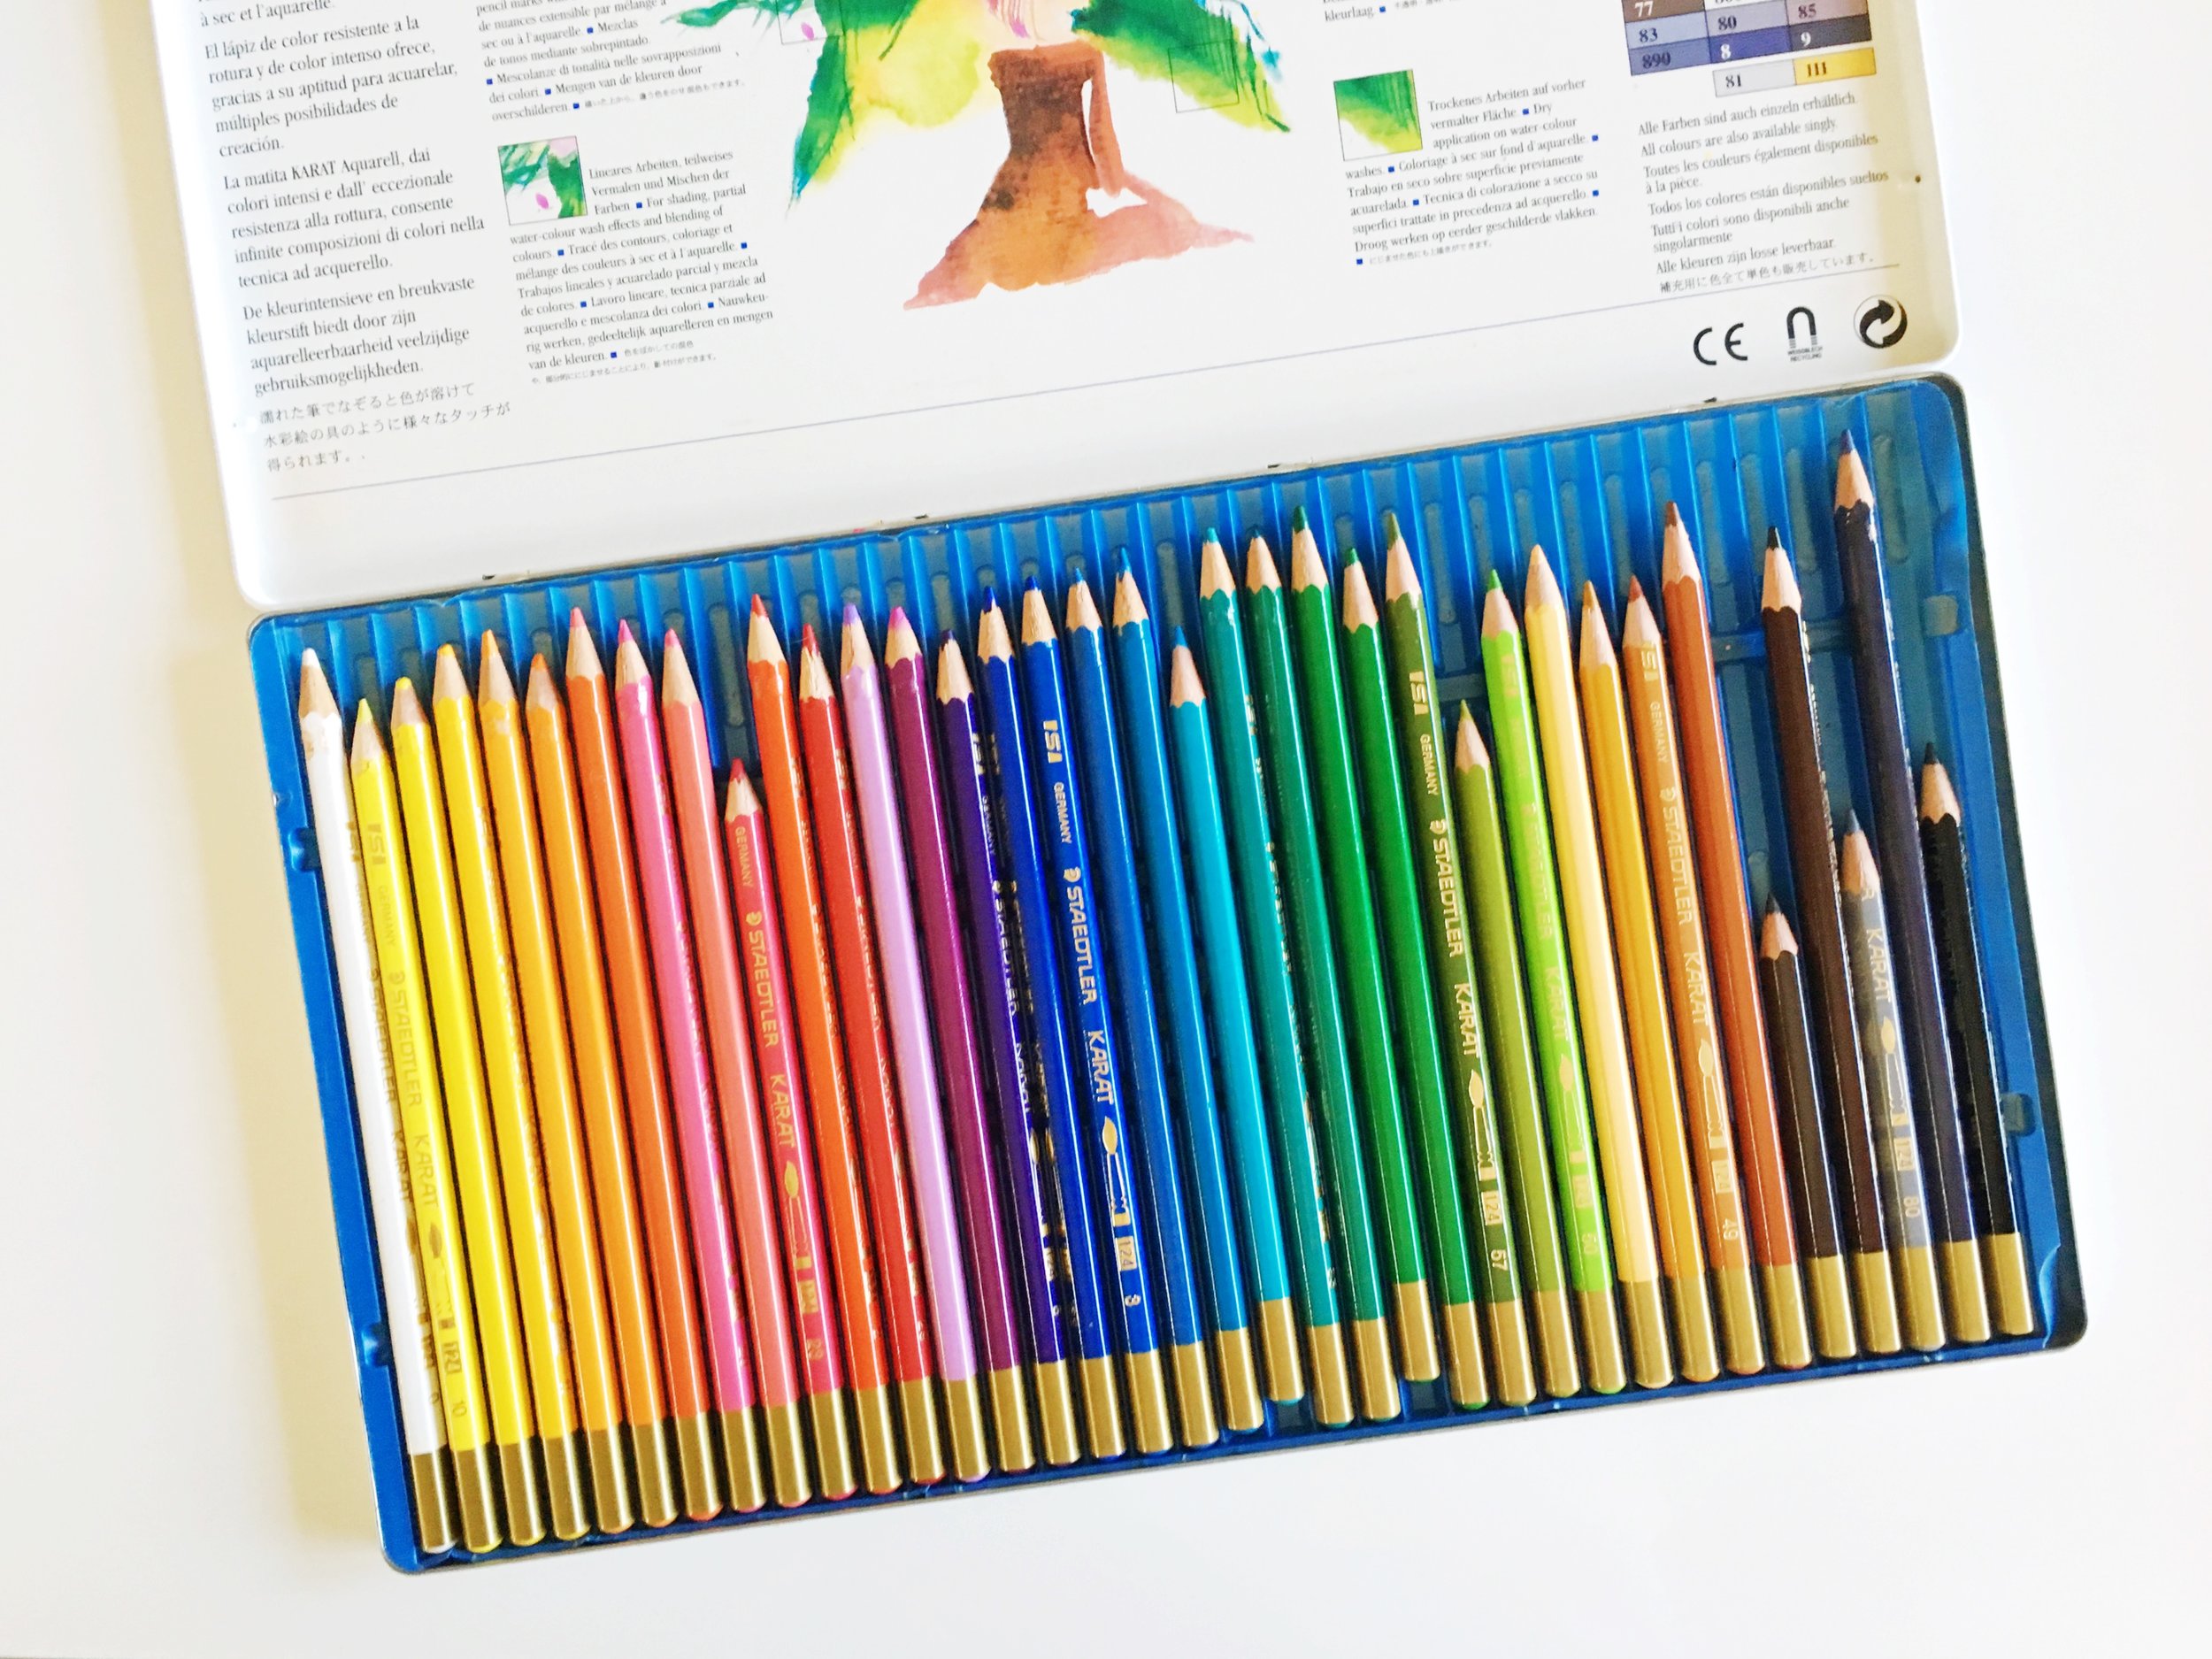
i've had my set of staedtler karat aquarell watercolor pencils for the better part of a decade, and they continue to be one of my favorite mediums. you can use them dry as regular pencils, but once you brush water over your drawing it magically turns into beautiful watercolors. i like the control you get from using a pencil, and finishing with a brush and water makes blending colors really easy.
after using the watercolor pencils to color in my drawing, i use a brush and clean water to blend the colors. once it dries, the drawing gets outlined in black brush pen, finishing with the pet's name in a ribbon banner at the bottom.
check out my gallery of commissioned pet portraits here!