DIY: Crochet Fruit Slice Bags


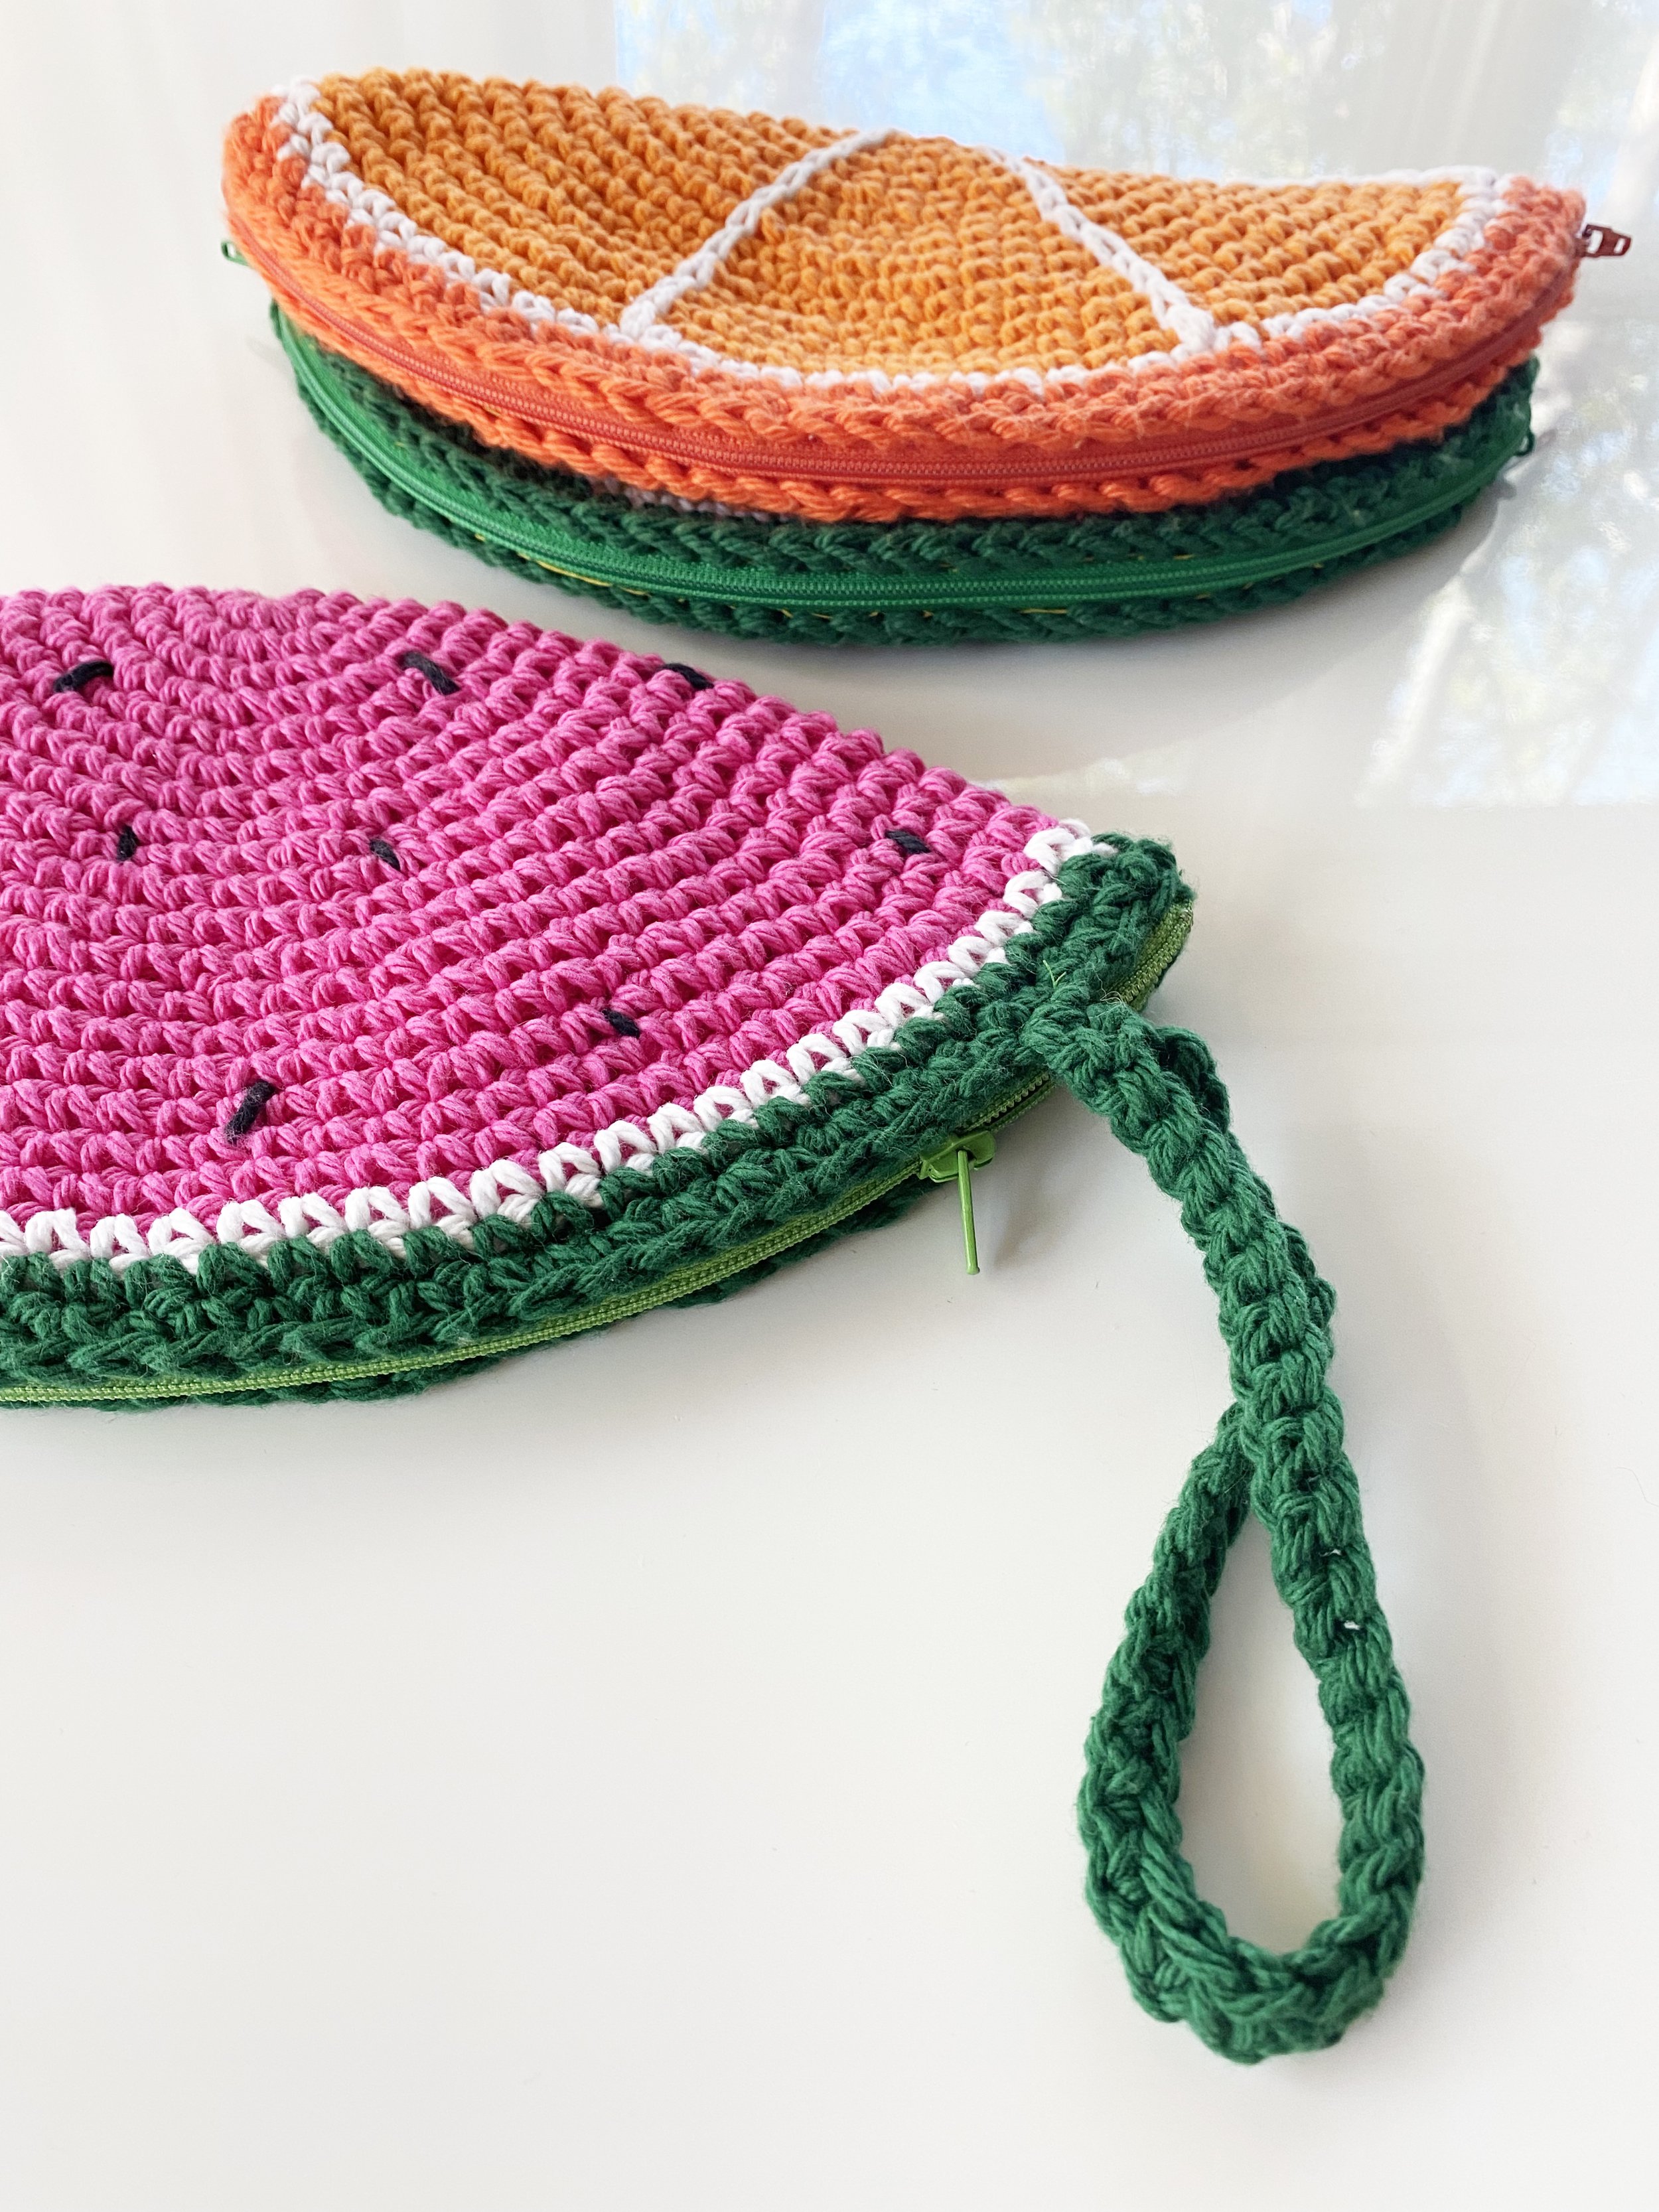
I’ve been trying to use up a lot of stash and scraps lately, and got the inspiration to crochet these fruit slice bags. I used up so many scraps and they are just so cute!
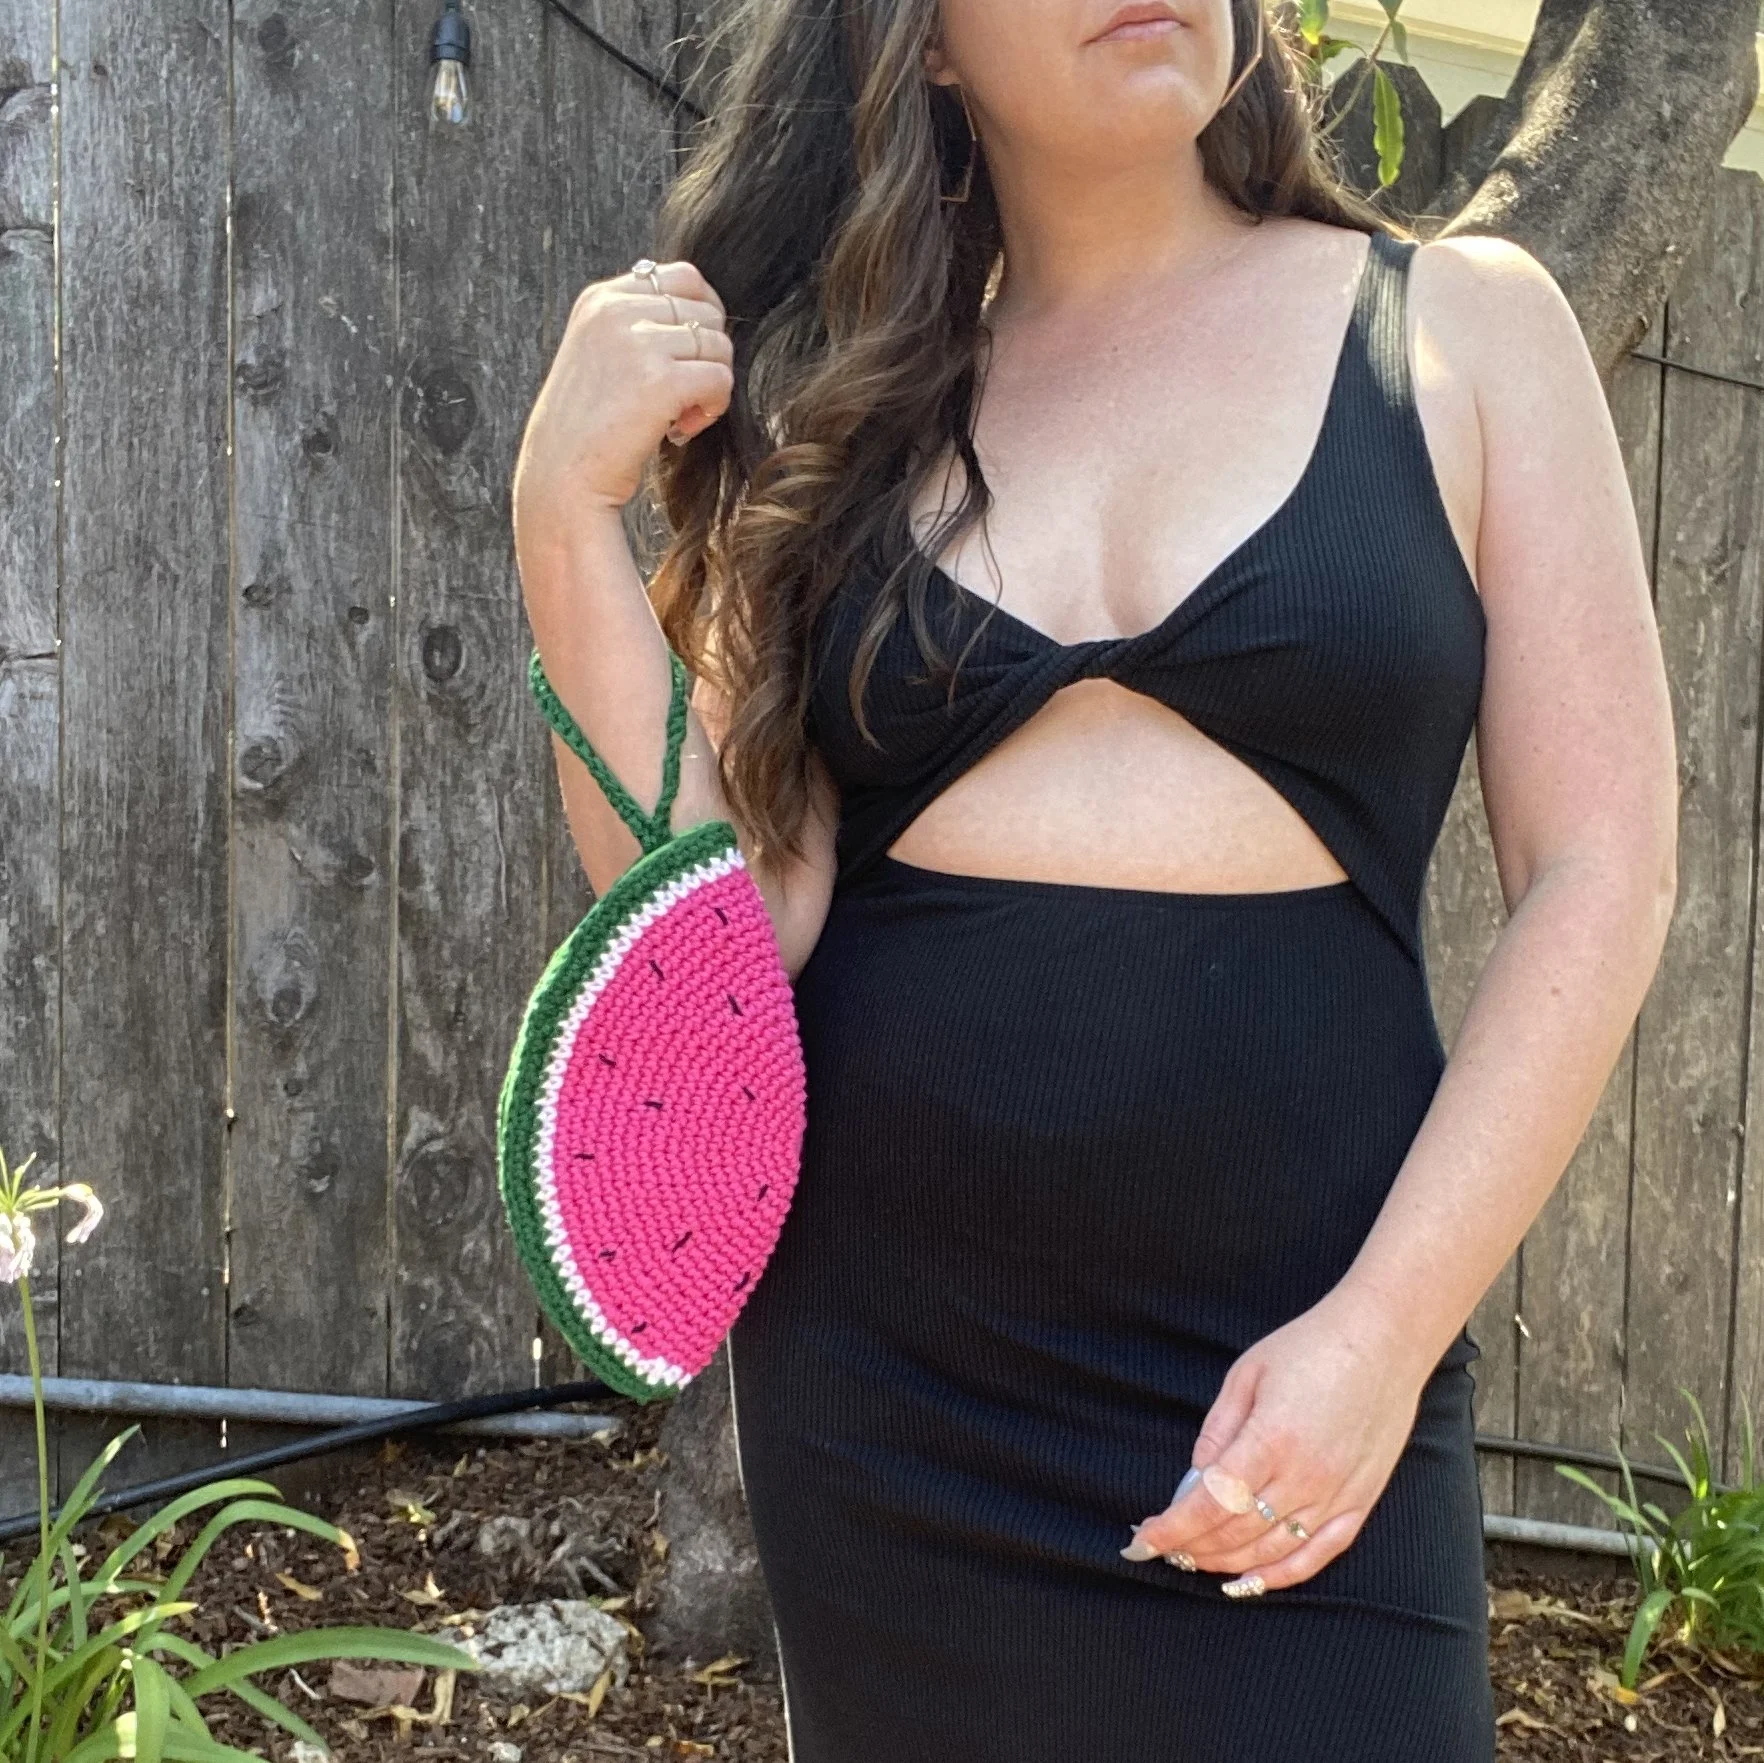
I think these would make great notions or makeup bags, or perfect to carry as a little clutch. you could add a wrist strap like i did on the watermelon version, or a longer strap to make it a crossbody!
The construction is super simple: just a crocheted circle, folded in half with a zipper and a simple lining.
I didn’t put together an official pattern for this design, but here are my notes for how I made these! I also have a short tutorial video showing how i sewed in the zipper and lining.
happy crocheting!
Materials
Worsted weight yarn in 1-4 (or more) colors, depending on what kind of fruit you’d like to make, or any another design idea (rainbow, stripes, etc.)
H/8-5.00mm crochet hook
Tapestry needle
sewing needle
14” zipper
Scrap fabric for lining, approx. 12x12”
sewing thread
Pattern
in main color, chain 4 and join to make a circle. work 8 single crochet stitches into the circle.
Setup: on the next round, increase every stitch by working 2 single crochet sts into each previous stitch.
complete 1 round in single crochet, with no increases.
r1: *Increase one stitch, single crochet 2 (3, 4, 5, 6, 7) sts* and repeat * to * across the round.
r2: complete 1 round in single crochet, with no increases.
Note: on each r1, you will add one stitch in between increases. so the first time you will *increase, sc 2* and the second time *Increase, sc 3*, until you reach 7 sts between increases. finish on a r2 row.
(depending on design, switch to contrast color and) work 1 round of single crochet.
(depending on design, switch to contrast color and) work 2 rounds of single crochet.
break yarn and weave in ends.
fold in half and sew in 14” zipper in color that matches the fruit rind. Trim scrap fabric into a circle with at least 1” of allowance over the zipper. cut 1/4” notches around the edge of the fabric circle, and pin to the inside of the crocheted circle (right side of fabric facing up). fold the edges under and pin along the edge of the zipper. use an invisible stitch to secure fabric.



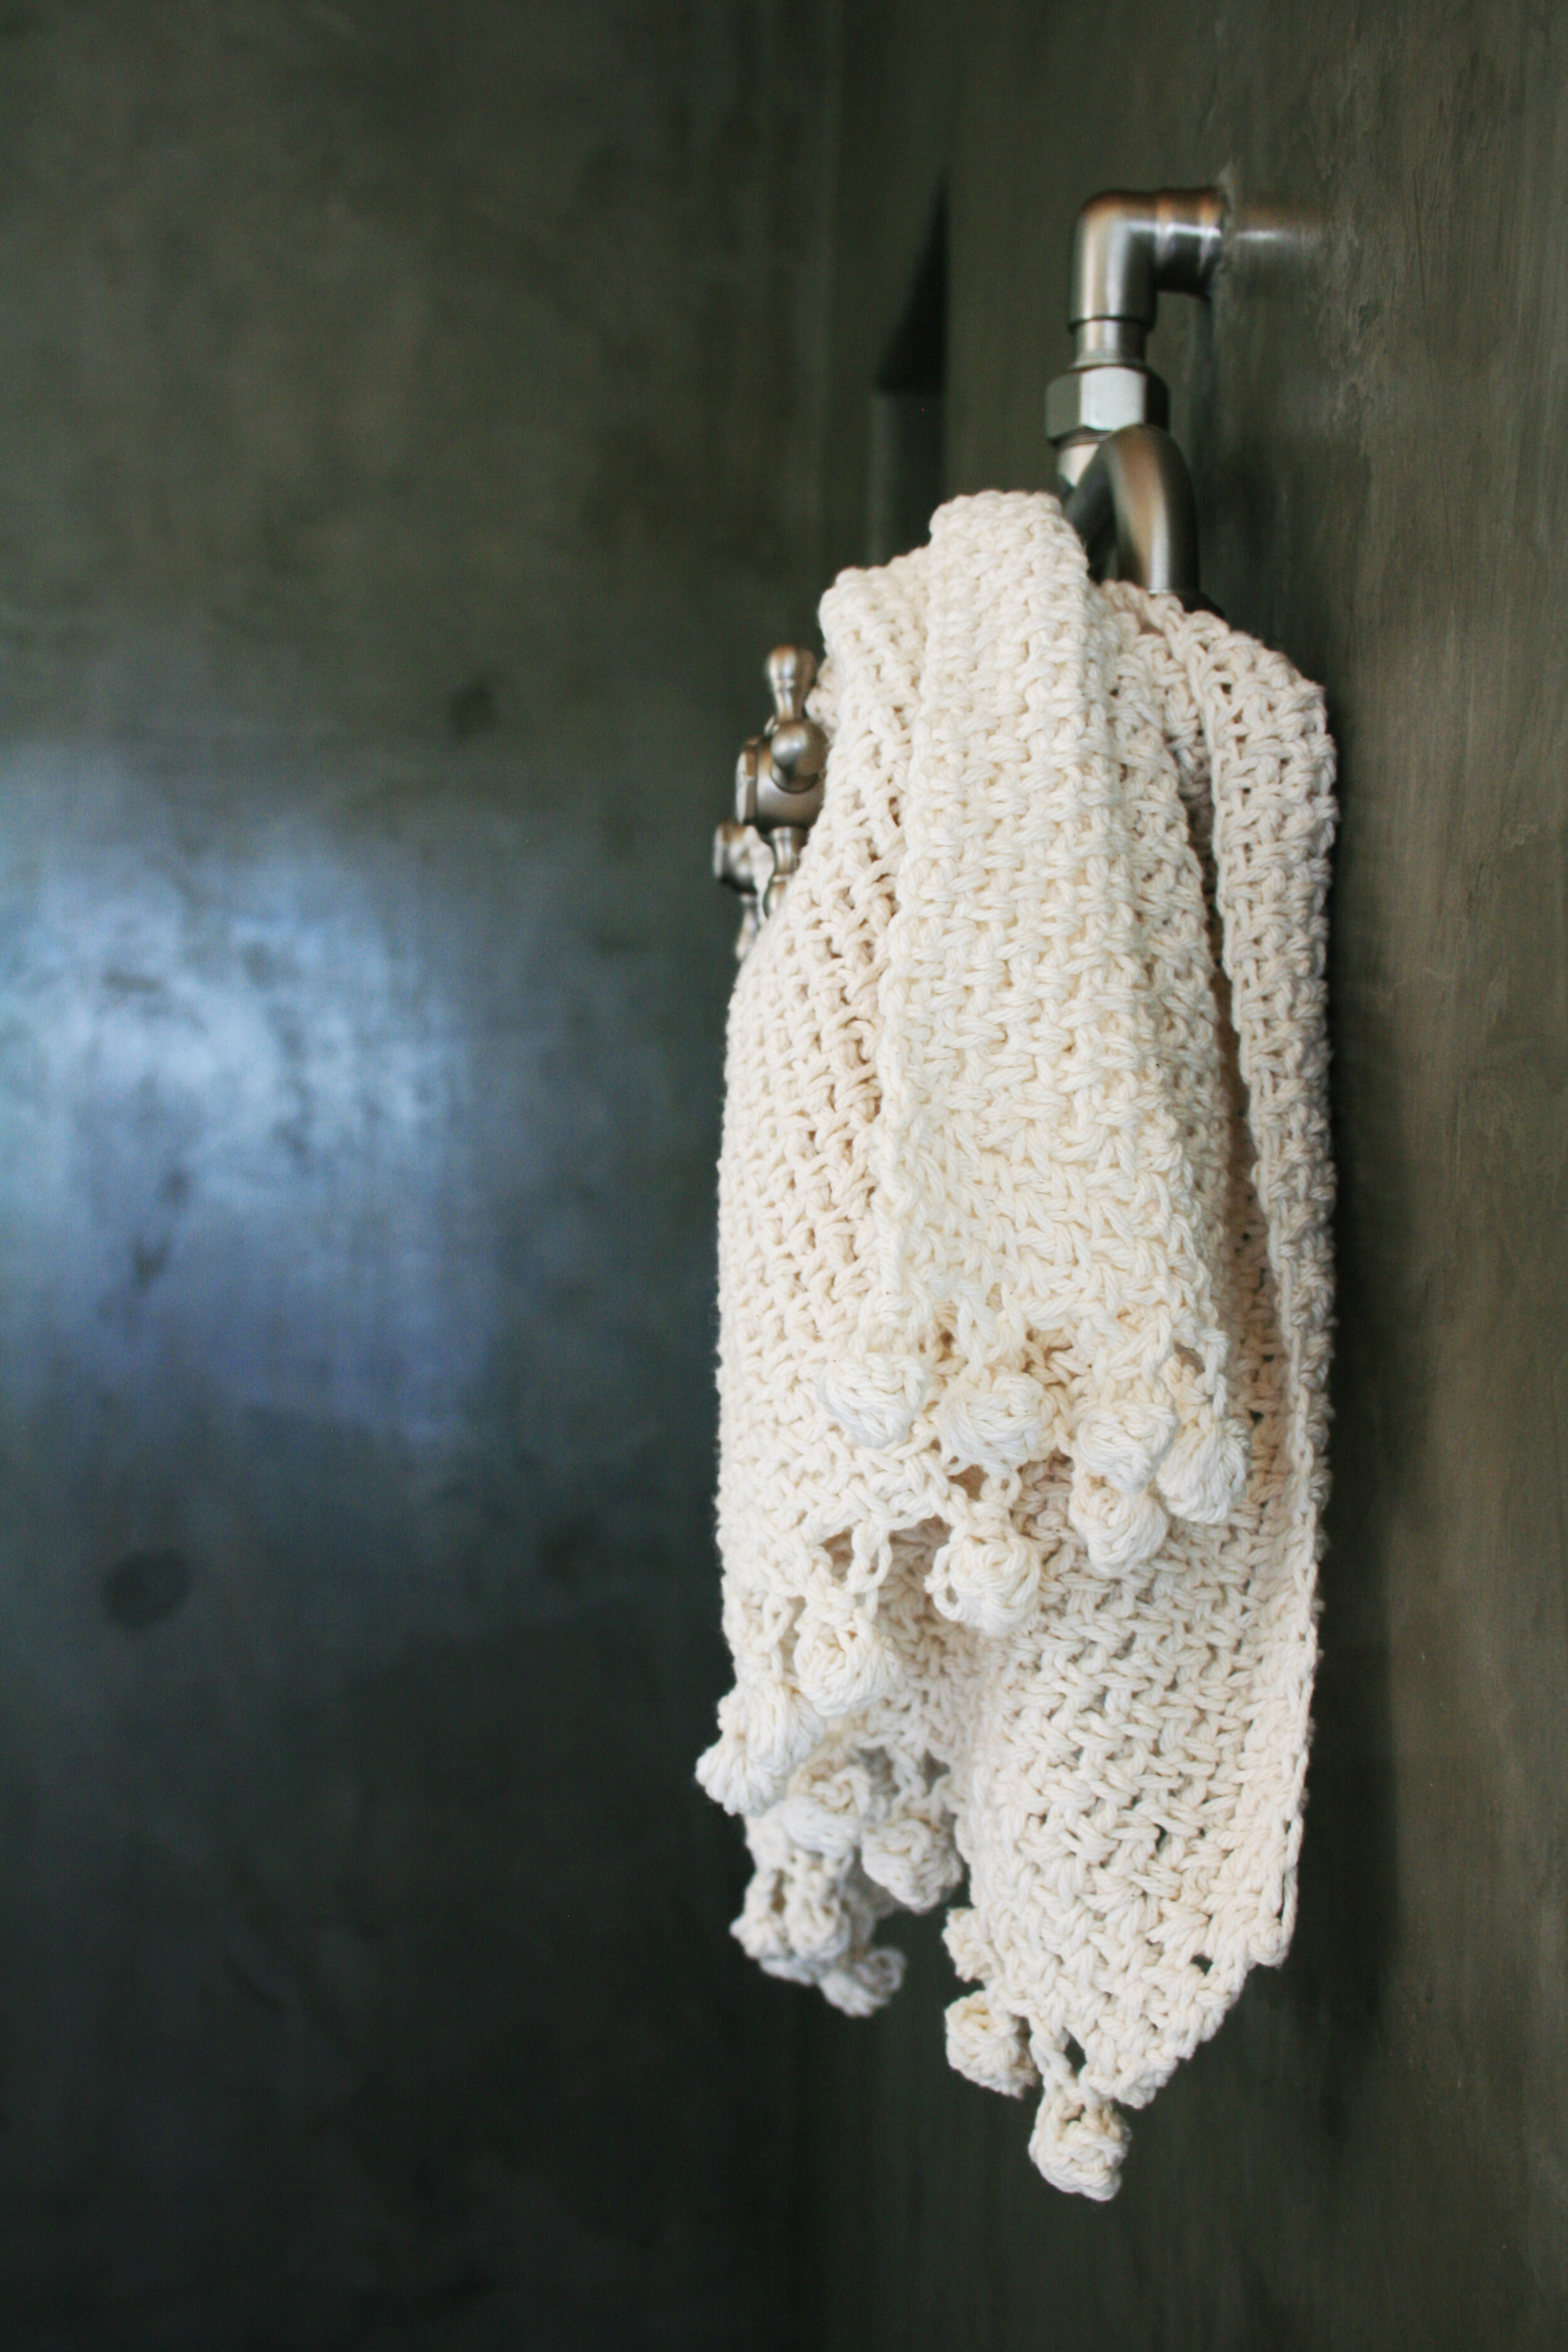
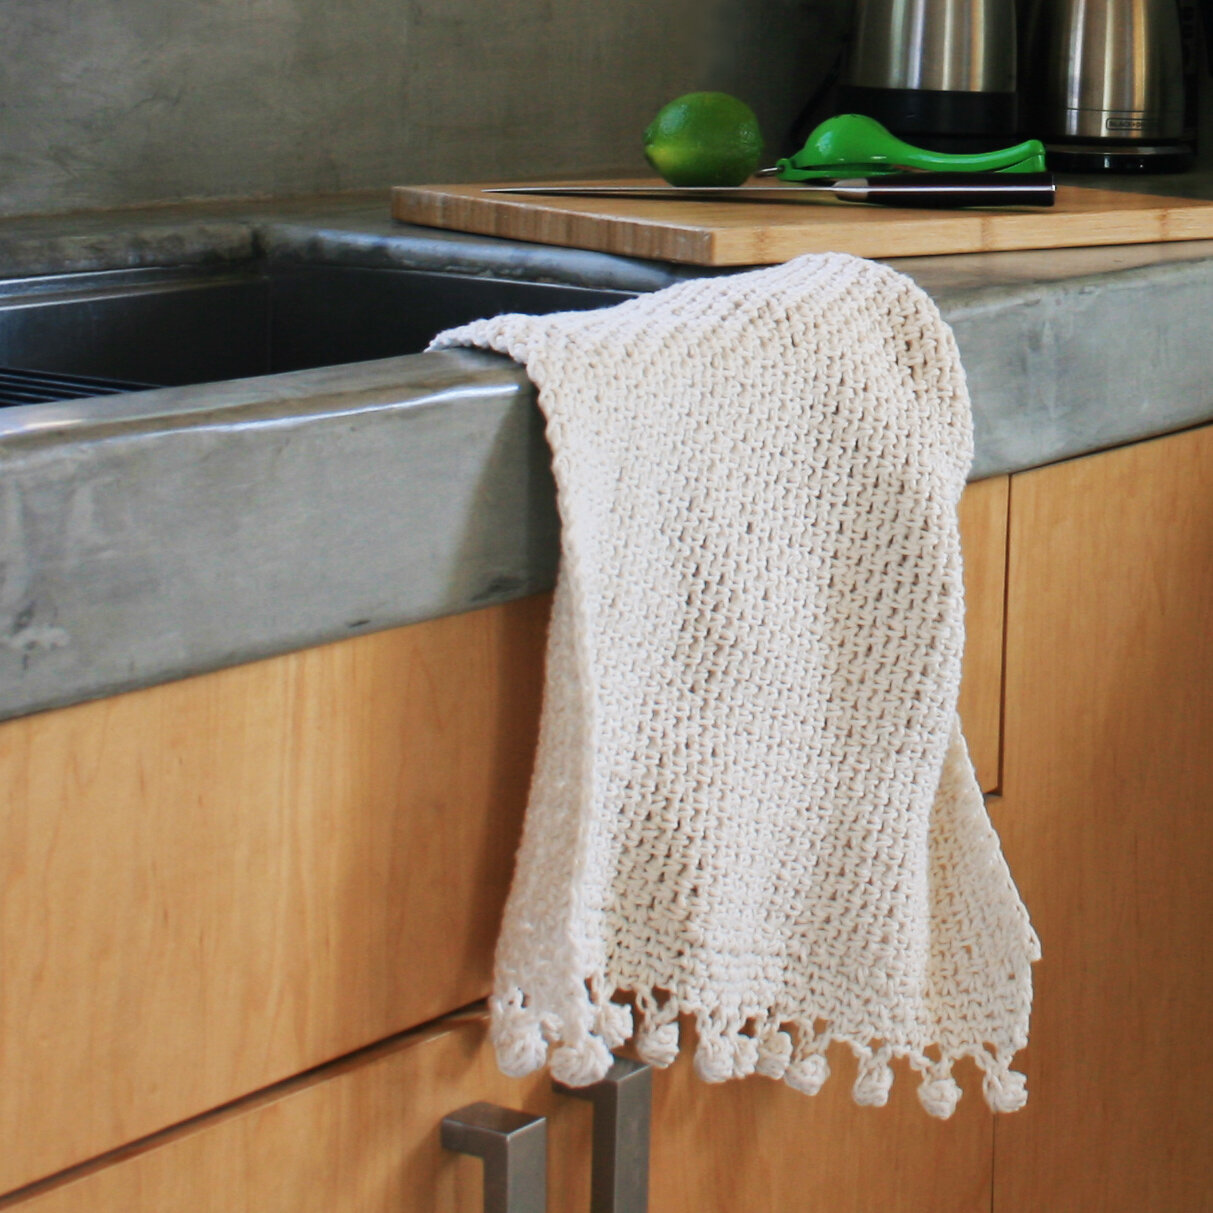
DIY: Crochet Bobble Hand Towel

i absolutely love cotton yarn, and lily sugar’n’cream remains my undefeated favorite. it’s the perfect yarn for making home accessories: it comes in the best colors, washes and wears exceptionally well, is widely and easily available, and best of all, it’s like $3 a ball.
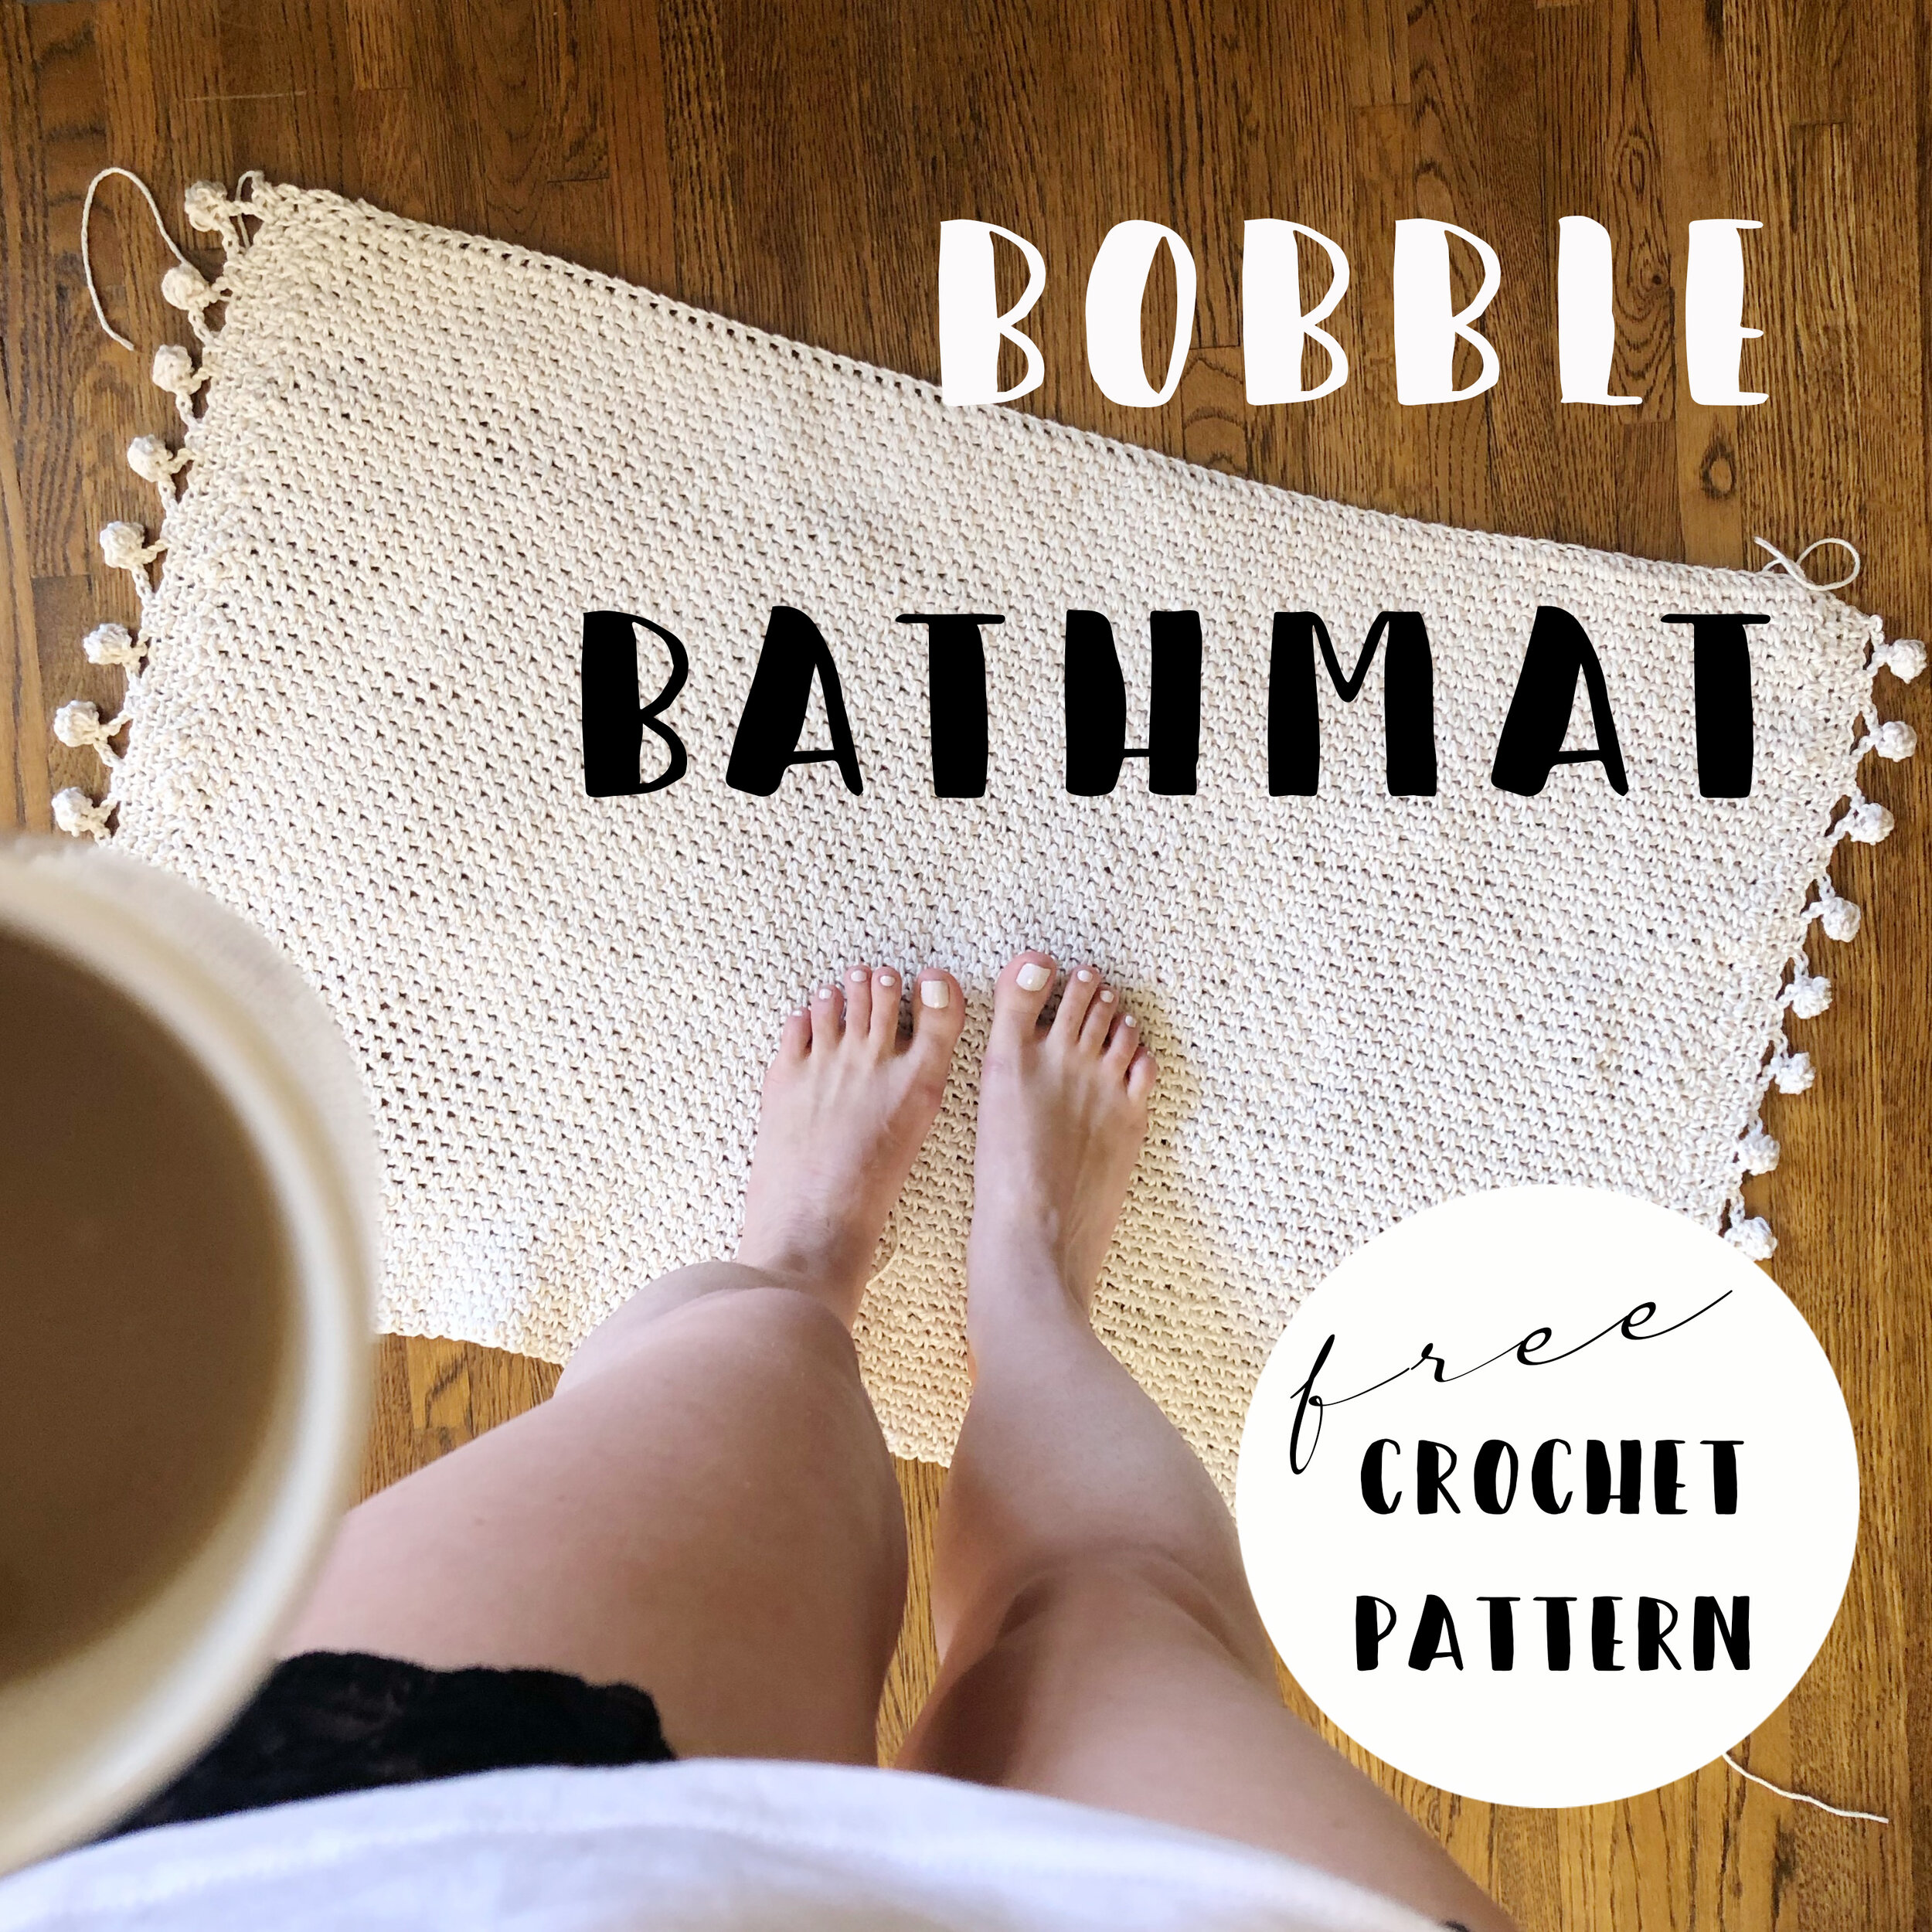
after designing the perfect potholder pattern, i realized how easy it is to transform this humble cotton yarn into luxurious and expensive-looking accessories. next came the perfect tea towel pattern, and then my favorite to-date, the crochet bobble bathmat and the embellished geometric version. i’m so obsessed with the bathmat i knew i had to make a matching hand towel.
whether you use it in the bathroom or the kitchen, this towel is the perfect mix of functional and stylish.

MATERIALS
YARDAGE/YARN: approx. 350 YARDS, 4-PLY WORSTED WEIGHT 100% COTTON
SUGGESTED: 2 supersize balls of LILY SUGAR’N CREAM (I USED COLOR ECRU)
HOOKS: MAIN HOOK/BOBBLE HOOK: H/8-5.00MM
TRIM HOOK: F/5-3.75MM
FINISHED DIMENSIONS: 24x16”
PAttern

the hand towel uses the same hook sizes and is worked in the same stitch pattern as the original bath mat.
you can reference the bath mat pattern instructions and tutorial photos in the original blog post here.
hand towel modifications:
WITH MAIN HOOK, FOUNDATION CHAIN 44 STS
WORK FLAT SINGLE CROCHET MOSS/LINEN/GRANITE STITCH UNTIL PIECE MEASURES approx. 16”.
USING THE TRIM HOOK, JOIN YARN TO THE SIDE EDGE AND WORK MOSS/LINEN/GRANITE STITCH FOR 4 ROWS.
SWITCH TO MAIN HOOK SIZE AND WORK 6 STITCH BOBBLES ACROSS THE ROW:
CHAIN 4, 6 ST BOBBLE INTO 3RD CHAIN, FINISH BOBBLE ON 4TH CHAIN. CHAIN 1 AND ATTACH 1 SPOT AWAY, THEN 1 MOSS ST BEFORE NEXT BOBBLE. 13 BOBBLES TOTAL.
REPEAT TRIM ROWS AND BOBBLES ON OTHER SIDE.
DIY: Crochet Bath Mat with Geometric Design

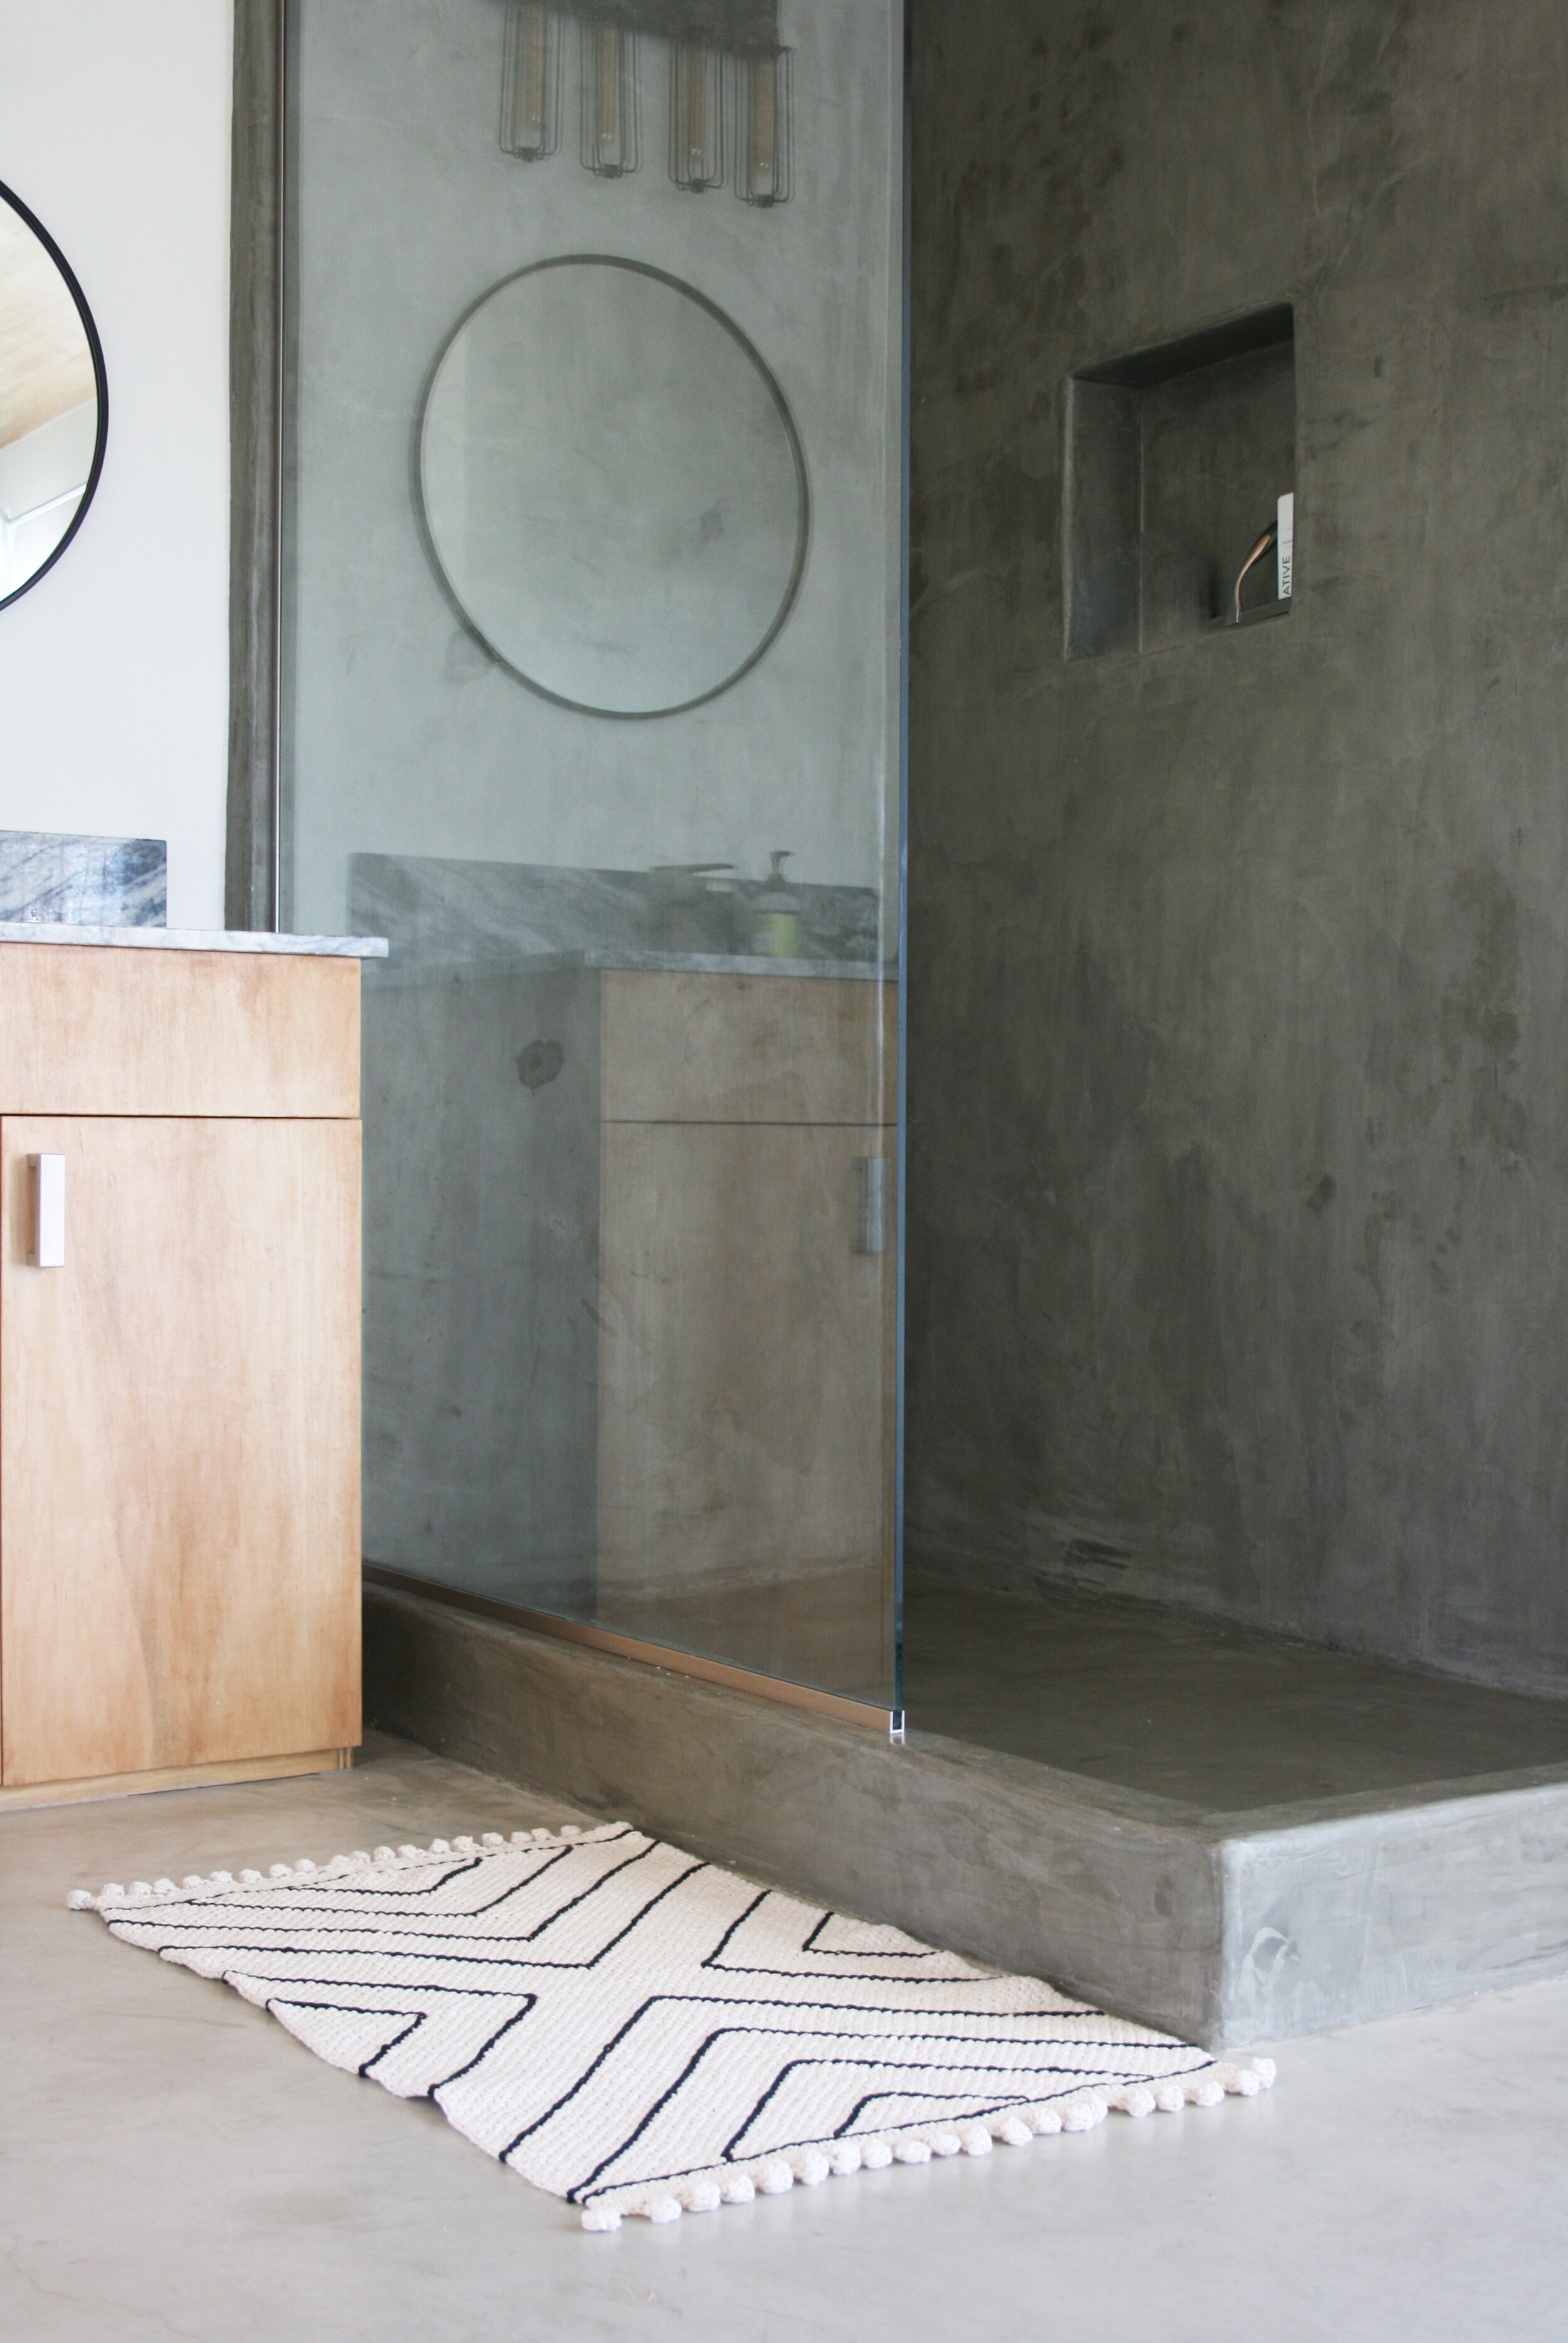
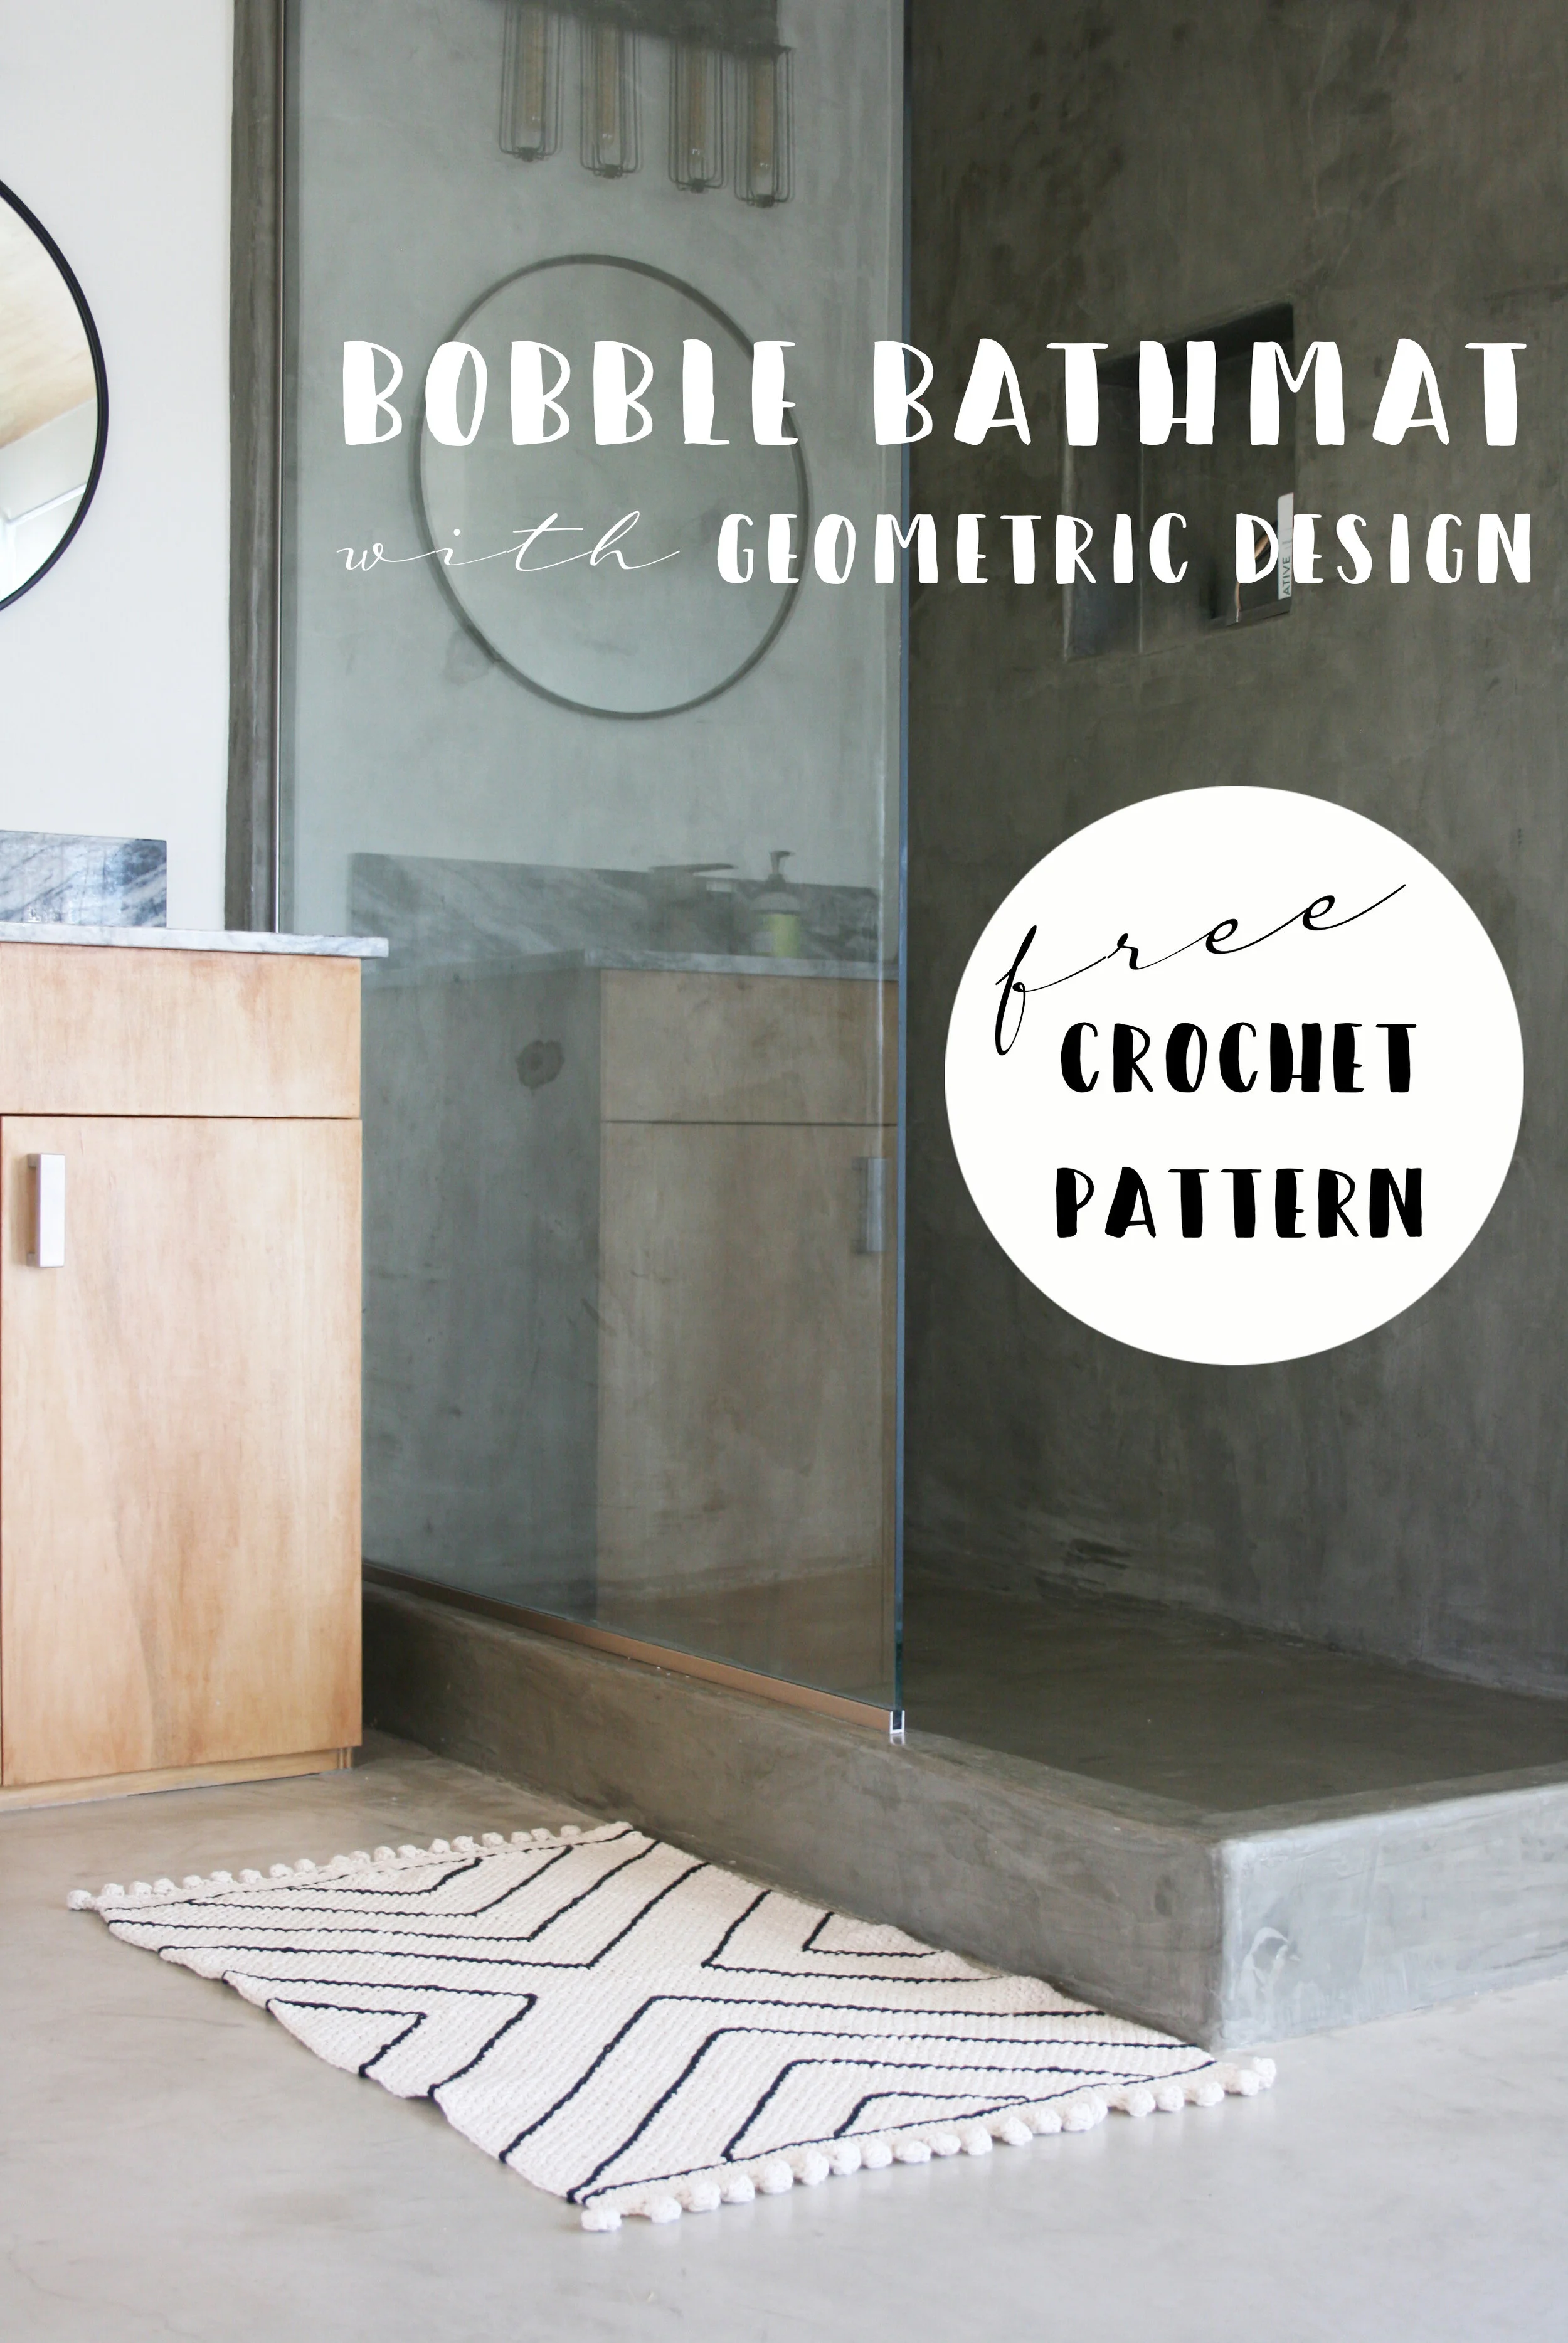
I’ve been really into making knit and crochet home goods lately, and one of my favorite recent creations is a super easy and cute cotton bath mat with bobbles. I recently whipped up another one adding a contrast geometric design and I am obsessed. grab some worsted weight cotton and a crochet hook and get ready to turn out a super chic and modern bath accessory in no time.

Materials
YARDAGE/YARN: 690 YARDS, 4-PLY WORSTED WEIGHT 100% COTTON in main color
approx. 100 yards, 4-ply worsted weight 100% cotton in contrast color
a few yards of waste yarn
SUGGESTED: LILY SUGAR’N CREAM (I USED main COLOR ECRU and contrast color black)
HOOKS: MAIN HOOK/BOBBLE HOOK: H/8-5.00MM
TRIM HOOK: F/5-3.75MM
surface stitch hook: j/10-6.00mm
TOOLS: tapestry needle
FINISHED DIMENSIONS: 38X22”
Pattern
Step 1
to start, you’ll need to make the original crochet bath mat with bobbles.
Complete all instructions and weave in all ends.
Step 2
once you’ve completed the basic bathmat, the next step is to mark the center lines so the geometric design is evenly spaced. start by marking the vertical center line:
thread a few yards of waste yarn onto a tapestry needle, and then fold the bathmat in half so the two bobble edges are together. identify the hole in the stitch pattern that is centered in the fold and thread your needle through.
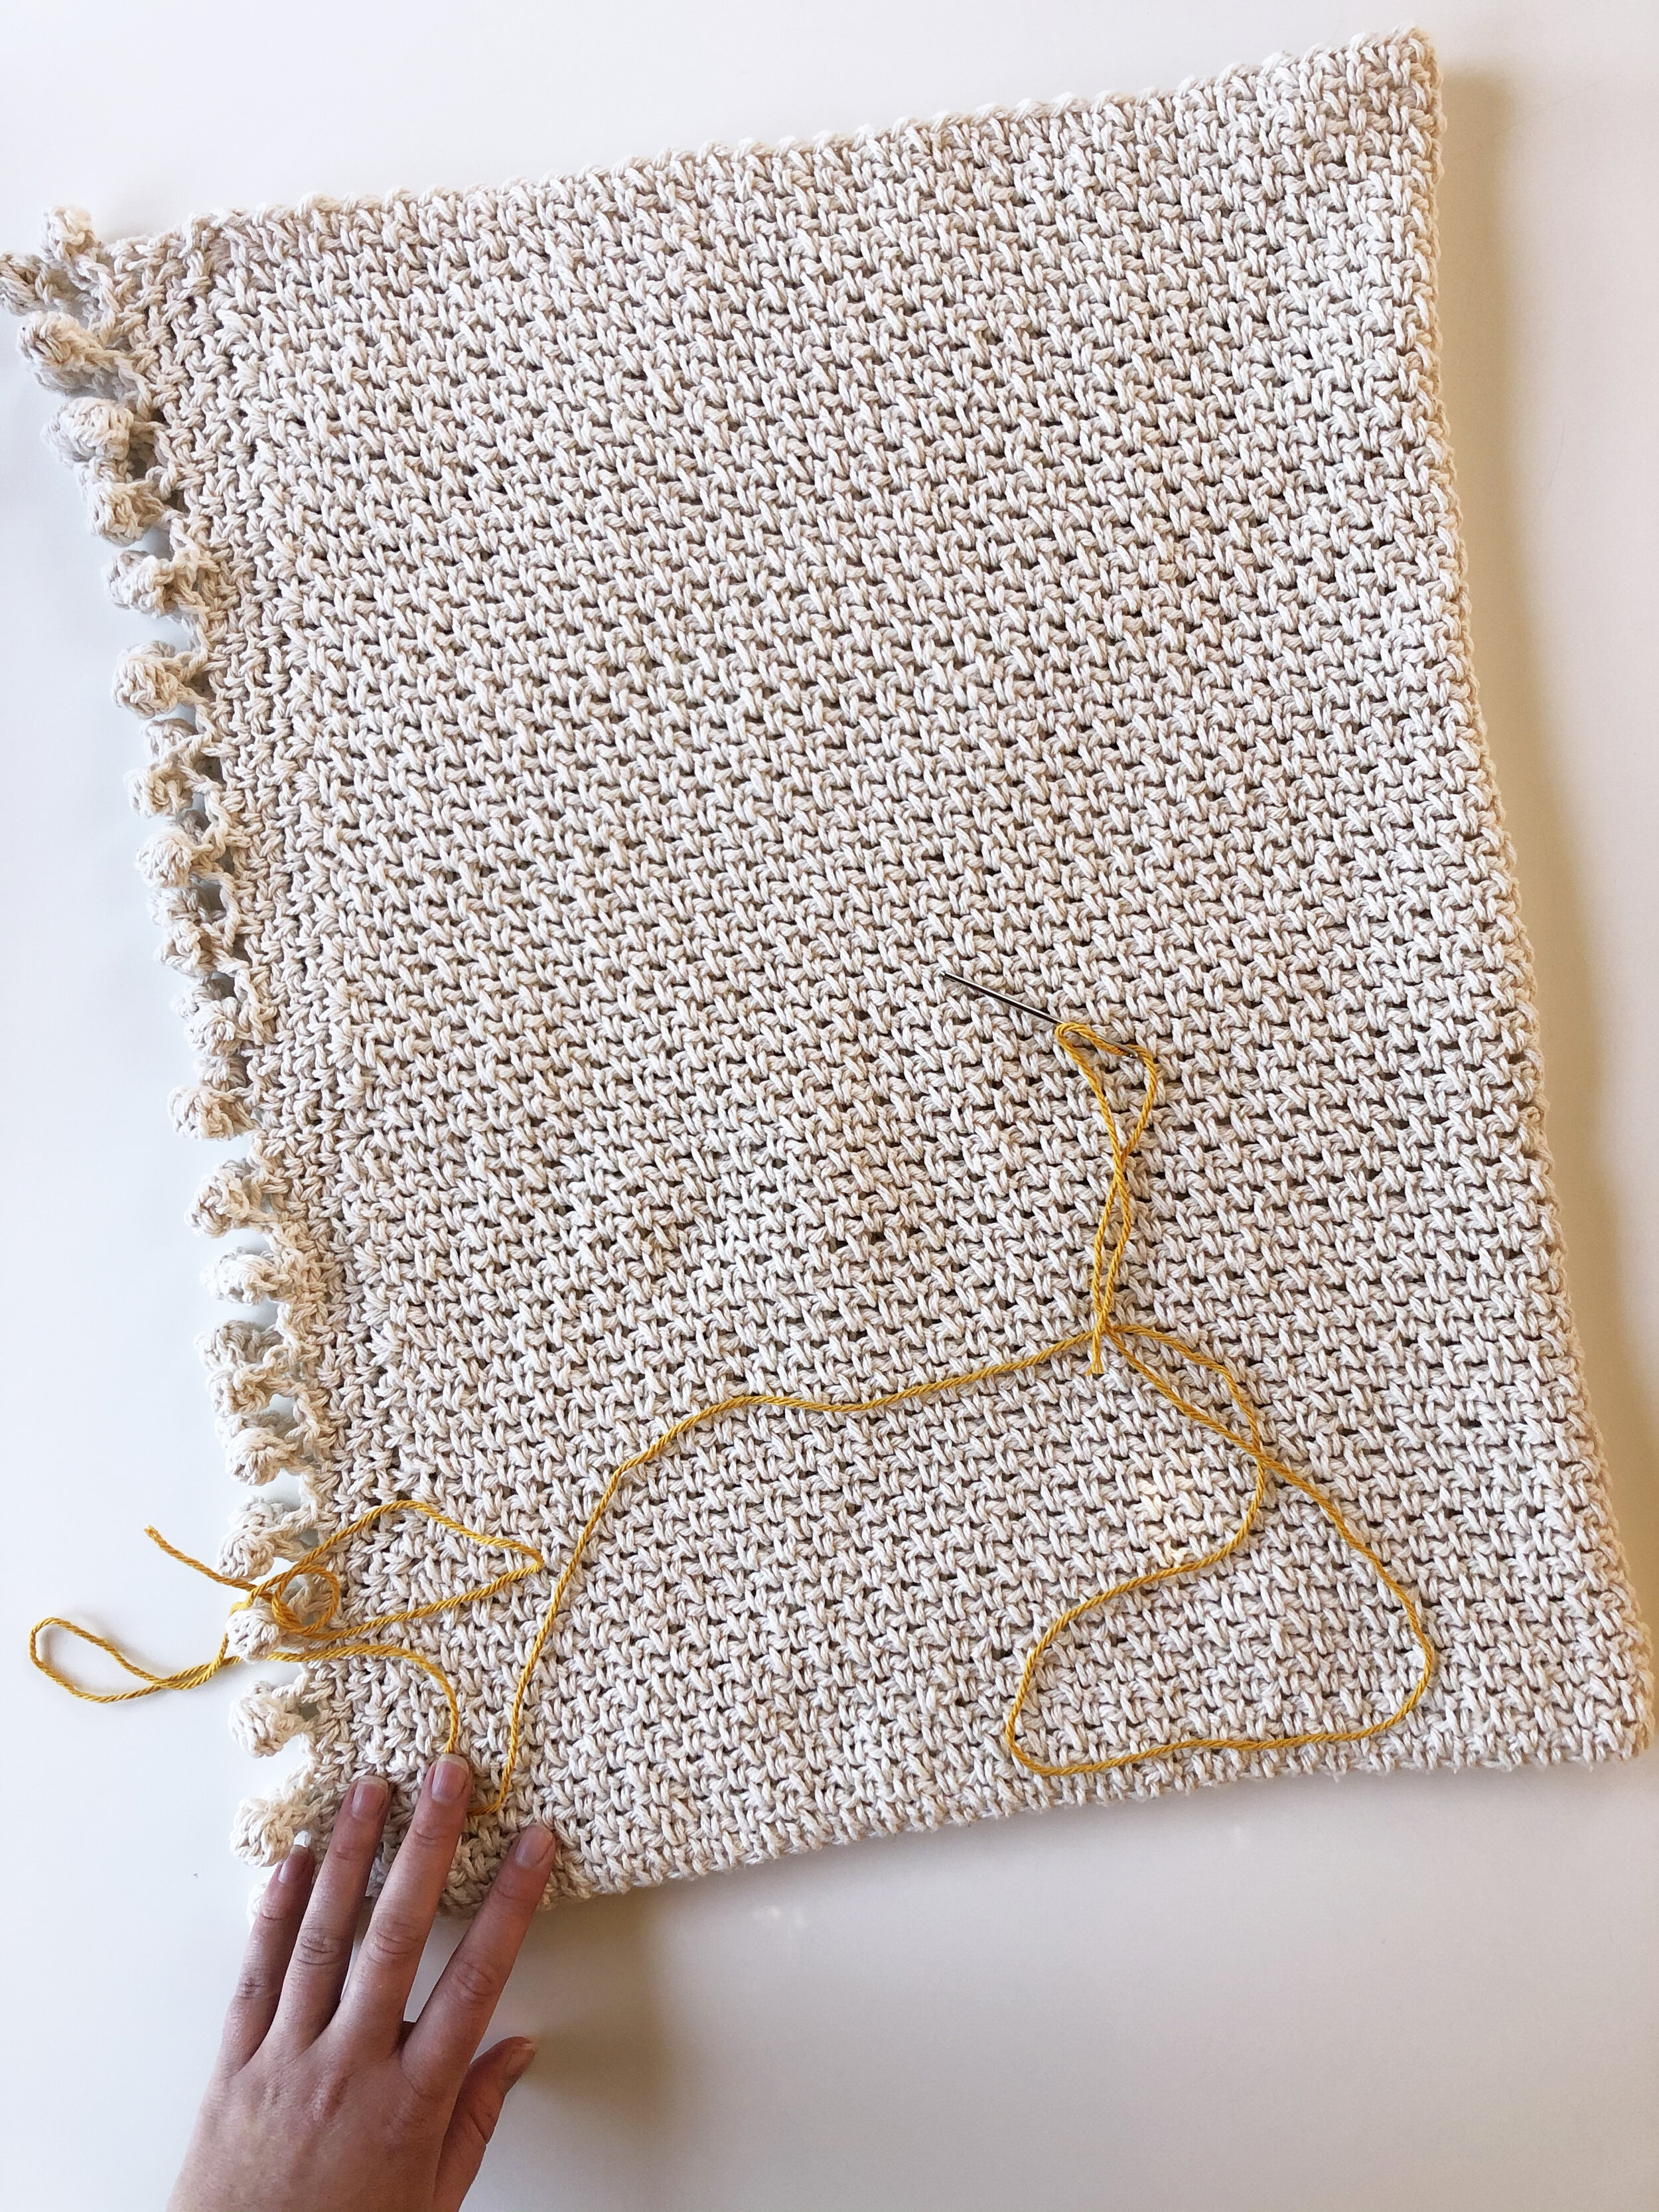
begin weaving the waste yarn vertically, through the holes in the stitch pattern and over and under the crochet stitches.

continue weaving the waste yarn in this way all the way up the vertical center line of the bath mat.

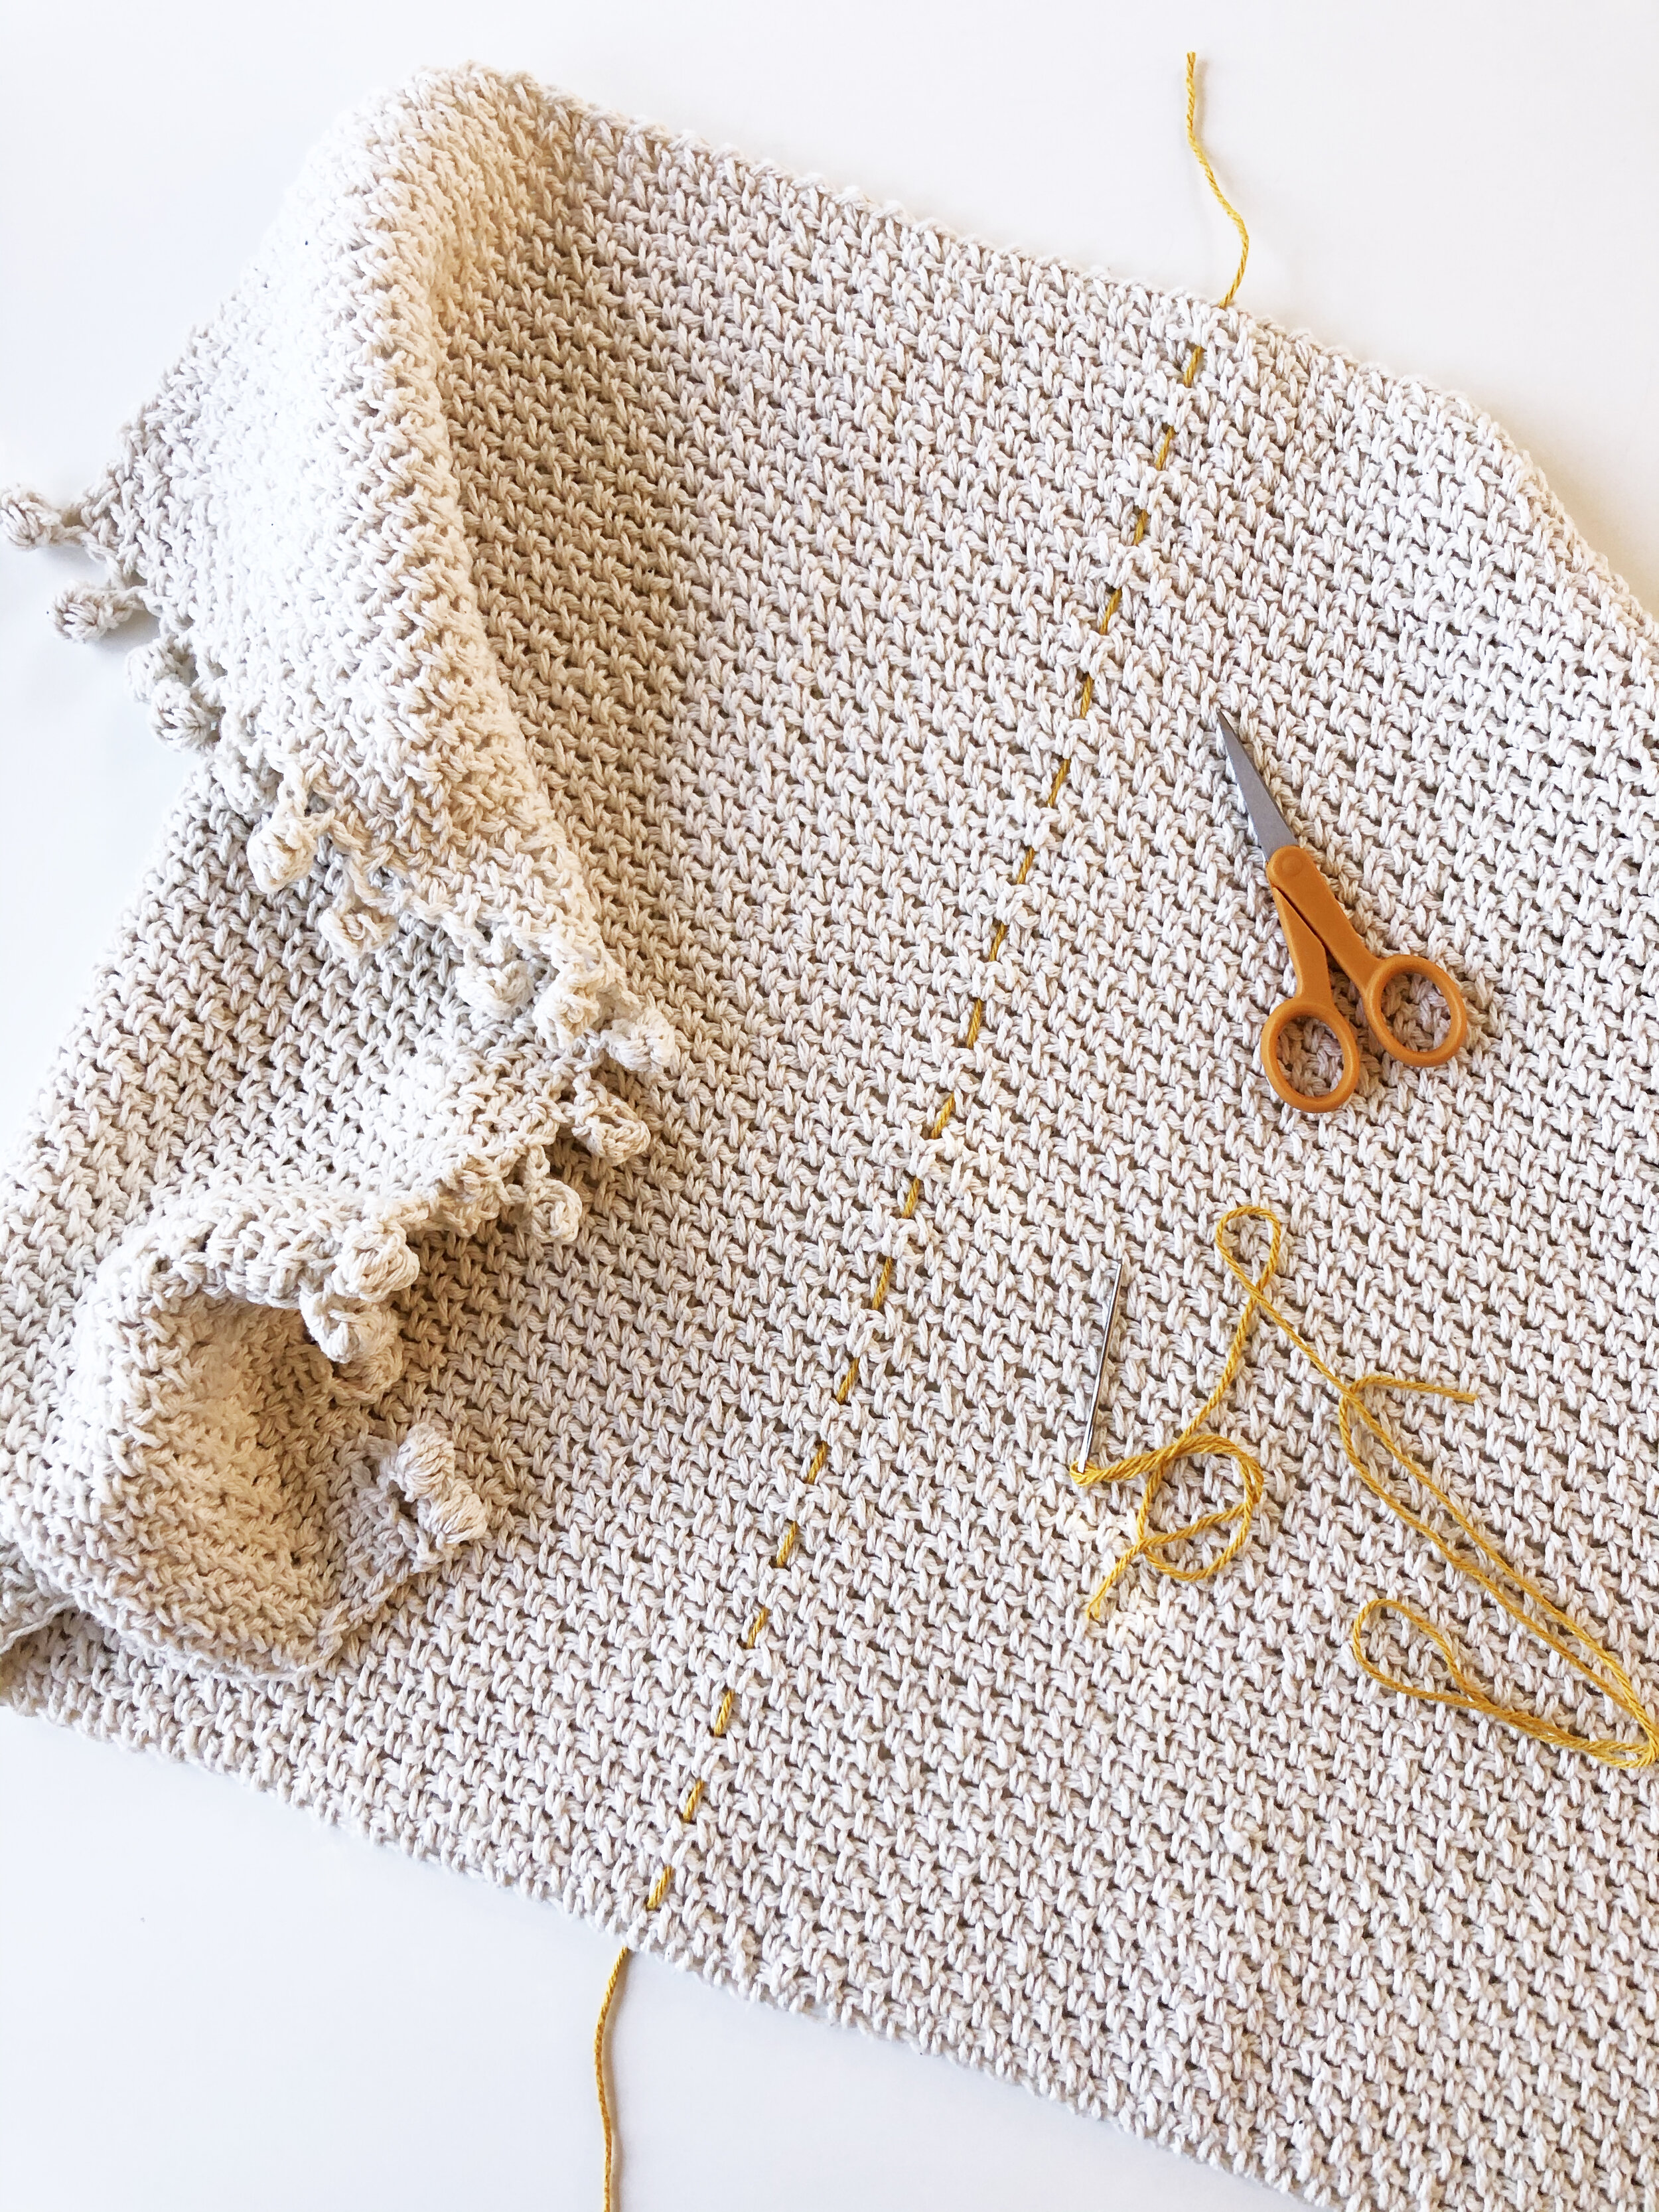

continue weaving the waste yarn horizontally, through the holes in the stitch pattern and over and under the crochet stitches, across the horizontal center line of the mat.

step 3
next, use the same method to mark the horizontal center line. fold the bathmat in half the long way so the top and bottom non-bobbled edges are together. thread another few yards of waste yarn on the tapestry needle and find a hole in the stitch pattern that is centered in the fold. thread the needle through.

Step 4
Now that the center lines have been marked, you are ready to start working surface stitches in the contrast color, with the J/10-6.00mm crochet hook (if you don’t have this size, the main mat hook size H/8-5.00MM would also work here).
begin by locating the crochet stitch that sits in the center of both vertical and horizontal center lines. along the horizontal line, count four (4) stitch pattern holes to the left of the center and mark it with your tapestry needle (see reference photo: the red dashes show the holes in the stitch pattern and the red square is around the fourth hole to the left). this is the left side starting point (red squarE).
next, find the diagonal line of stitch pattern holes running down and to the left from the starting point - each next stitch pattern hole will be one row down and one hole directly left of the one above (represented by the red arrow). follow this line all the way to the last hole on the edge of the mat. anchor your contrast yarn here.
begin working surface stitches back up this diagonal line in a “v” shape until you reach the center point. At the center point, turn the work 90 degrees and continue working surface stitches in a diagonal line moving up and to the left (along the blue arrow).


step 6
using the same method as steps 4 and 5, you will now work surface stitches three more times on each side, in the same “v” shape pattern.
to find each next starting point, measure six (6) stitch pattern holes back from the apex of your starting “v.”
when finished, you will have four “v” shape lines on the left side and four on the right side.
step 5
repeat step 4 on the right side of the horizontal center line, marking the fourth stitch pattern hole from the middle with your tapestry needle.
follow a diagonal line (see blue arrows) to the last hole on the edge and anchor your contrast yarn there.
work surface stitches back along the diagonal line to the starting point, turn 90 degrees and continue in a “v” shape diagonally in the upward direction until you reach the edge.


Step 7
You will now repeat the same steps to create the same shapes along the vertical center line of the mat.
to find the first starting point, locate the center crochet stitch and count six (6) stitch pattern holes below that center stitch. mark this hole with your tapestry needle.
repeat steps 4 and 5, creating the bottom “v” shape. locate the top “V” starting point by counting six (6) stitch pattern holes above the center stitch, and Repeat Steps 4 and 5.
step 8
repeat step 6 to WORK SURFACE STITCHES two MORE TIMES ON EACH SIDE, IN THE SAME “V” SHAPE PATTERN.
to find each next starting point, measure six (6) stitch pattern holes back from the apex of your starting “v.”
when finished, you will have two “v” shape lines on the top side and two on the bottom side.


step 9
work a straight line of surface stitches in your contrast color along the left-side edge of the mat, where the trim meets the main body of the mat.
turn mat and repeat on the right-side edge.
weave in all ends and enjoy your new crochet bath mat!


Topography Hat Pattern Collection: The Taiga Colorwork Hat

Taiga is the third hat design in my Topography pattern collection, and the second colorwork design. evoking traditional nordic sweater motifs and chilly winters, the Taiga hat is a unique and modern unisex accessory.

Worked up in worsted-weight yarn, Taiga is a versatile accessory that transitions well from fall to winter, and through the chilly transition into spring.

A bit more challenging than the colorwork for the Architrave hat, the design for Taiga is still approachable for stranded colorwork beginners. With consistent color changes every few stitches through each row of the chart, carrying color floats and maintaining good tension is easy.


pattern details:
Yarn
1 skein of worsted weight (category 4) yarn
Suggested: Patons Classic Wool Worsted
Needles
Size US 6 (4mm) circular or double-pointed needles
Tools
Tapestry needle for finishing
Gauge
Work 15 stitches in stockinette over 20 rows
Finished swatch should measure 3.25 x 3.5”
Finished Dimensions
Completed hat measures approximately 9 x 9.5”
Special Techniques:
To ensure there are no color jogs in the finished work, a “no color jog” technique should be applied after very row of the chart. check back in tomorrow for a step-by-step tutorial!


Topography Hat Pattern Collection: The Architrave Hat

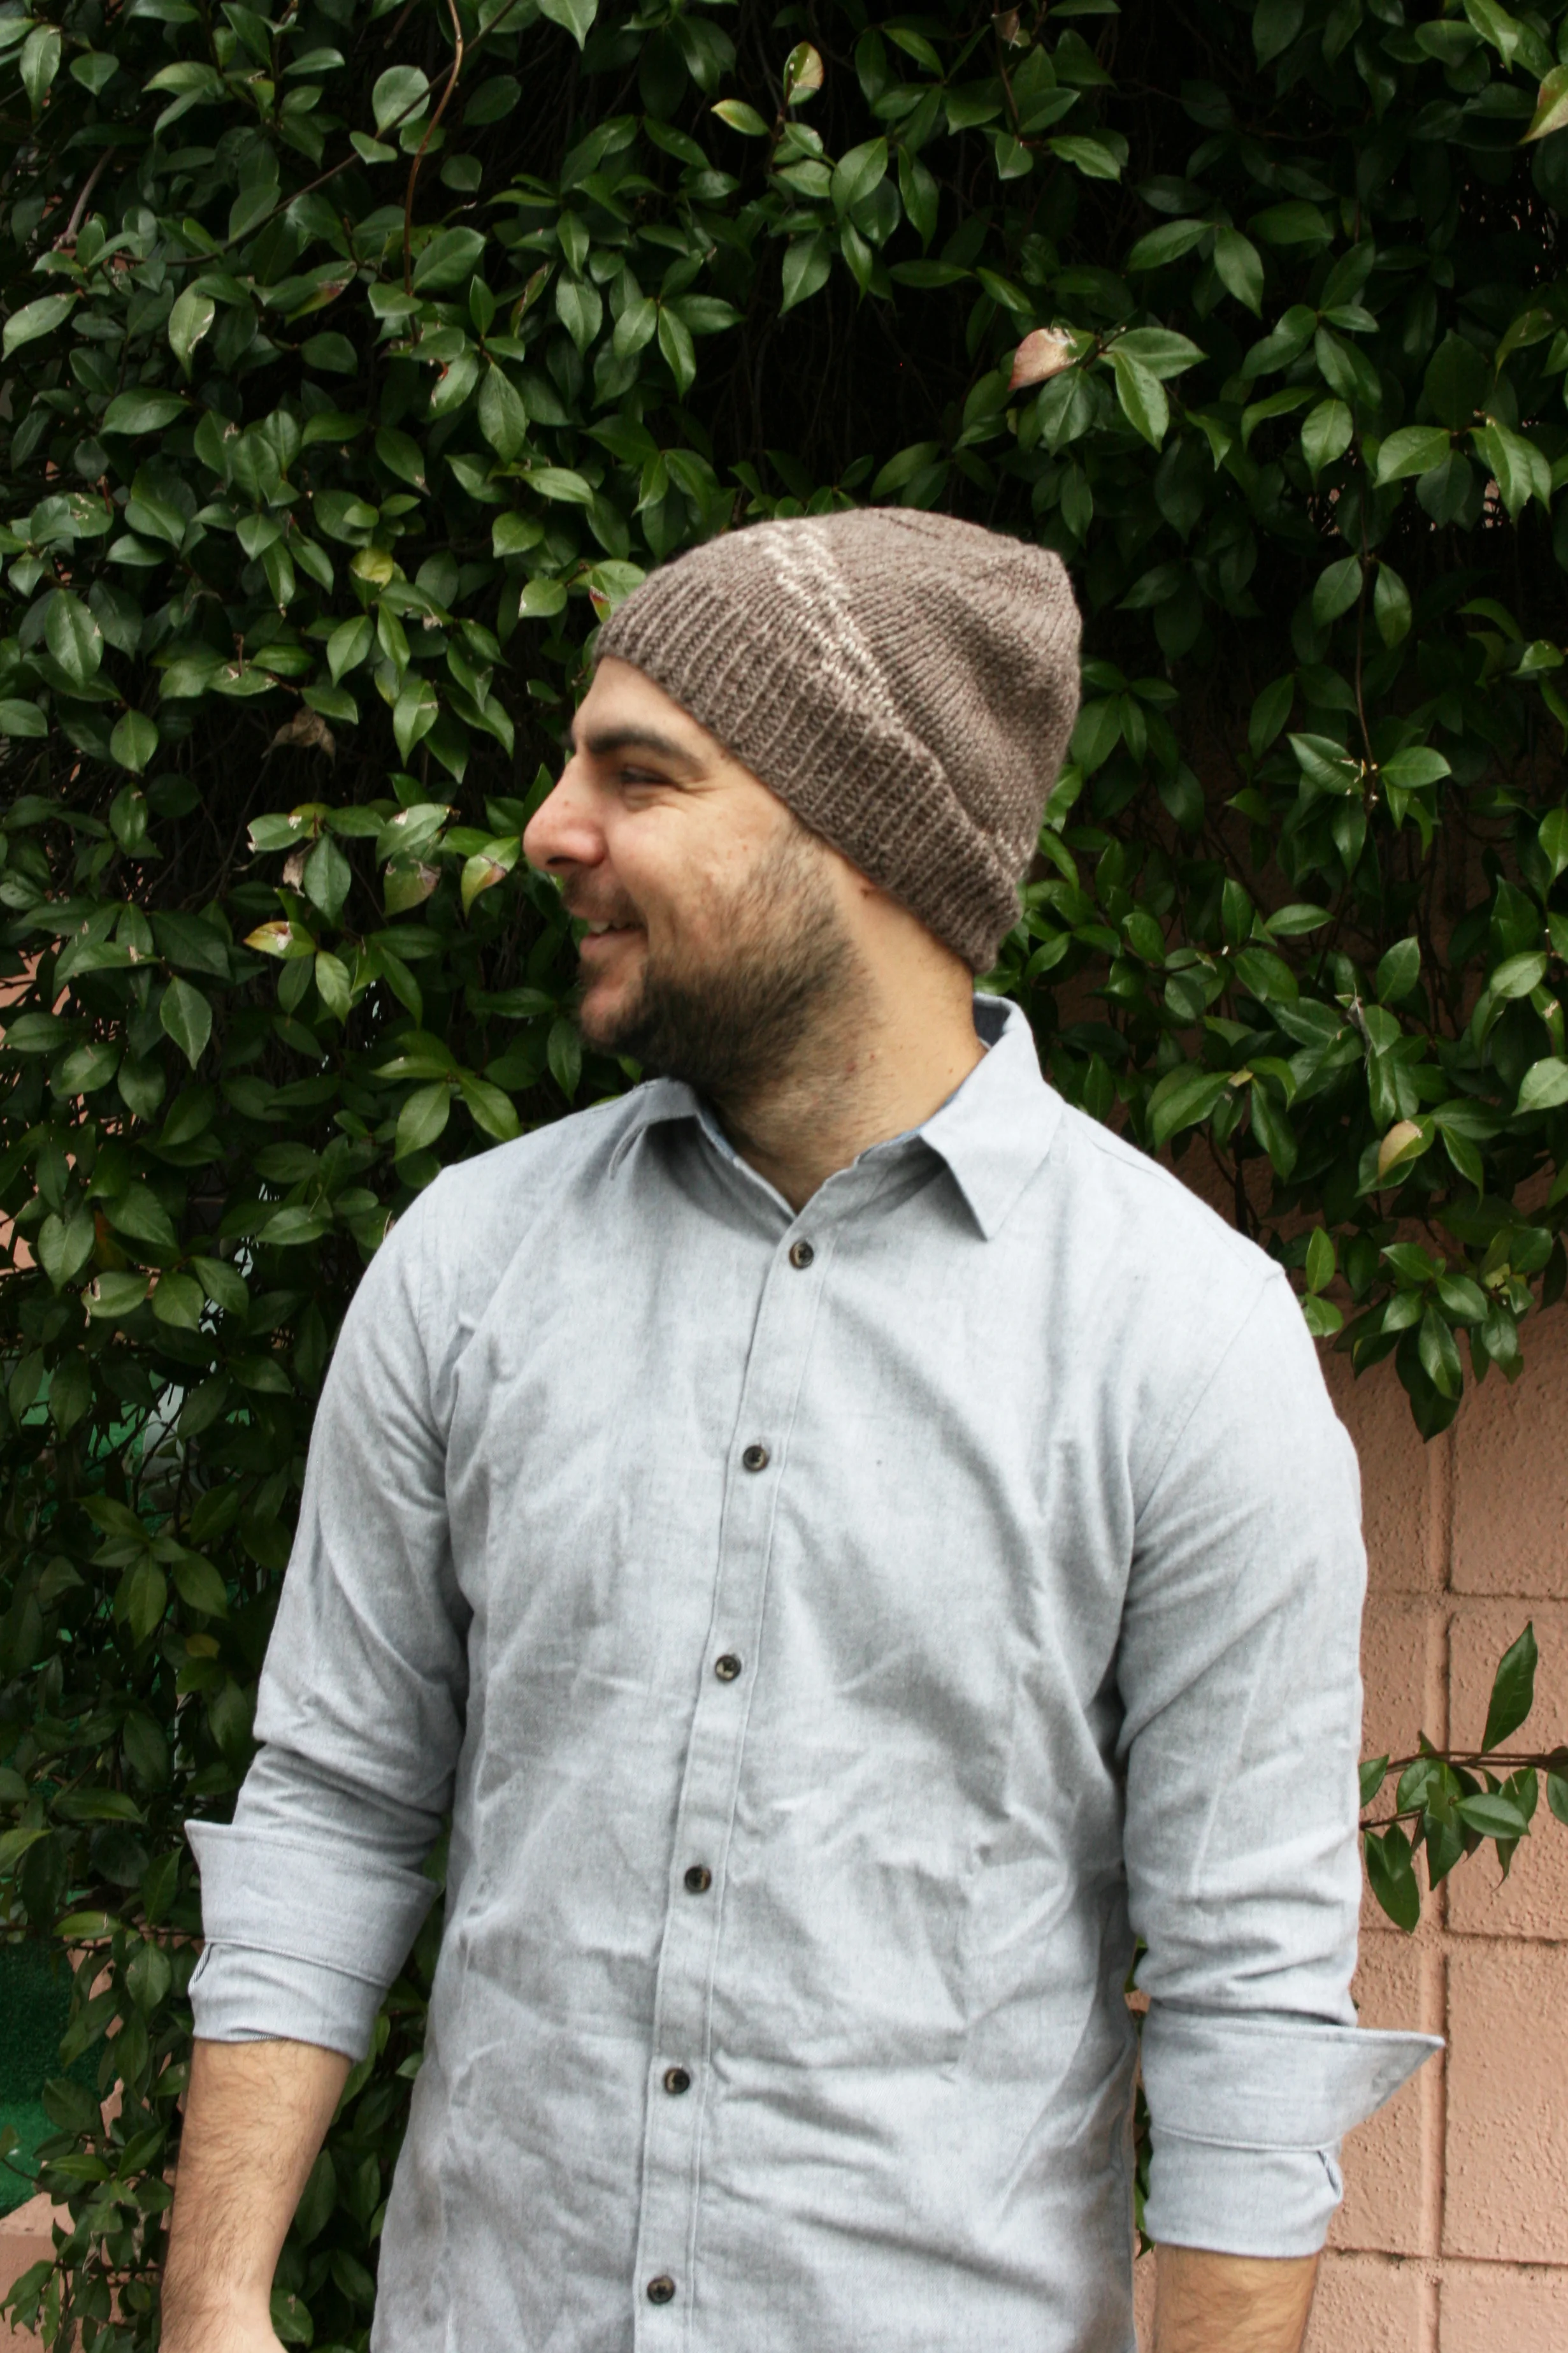
The first hat pattern release of my new collection is the Architrave hat! Inspired by geological and architectural features, the modern stranded colorwork design uses one skein of worsted weight wool for the body of the hat and less than 3 yards of scrap wool for the colorwork.

Worked from the bottom up starting with 1x1 ribbing, the body of the hat is knit in stockinette working up to a series of simple K2T decreases. With only a few rows of stranded colorwork to knit, the design is easy and approachable for colorwork beginners.
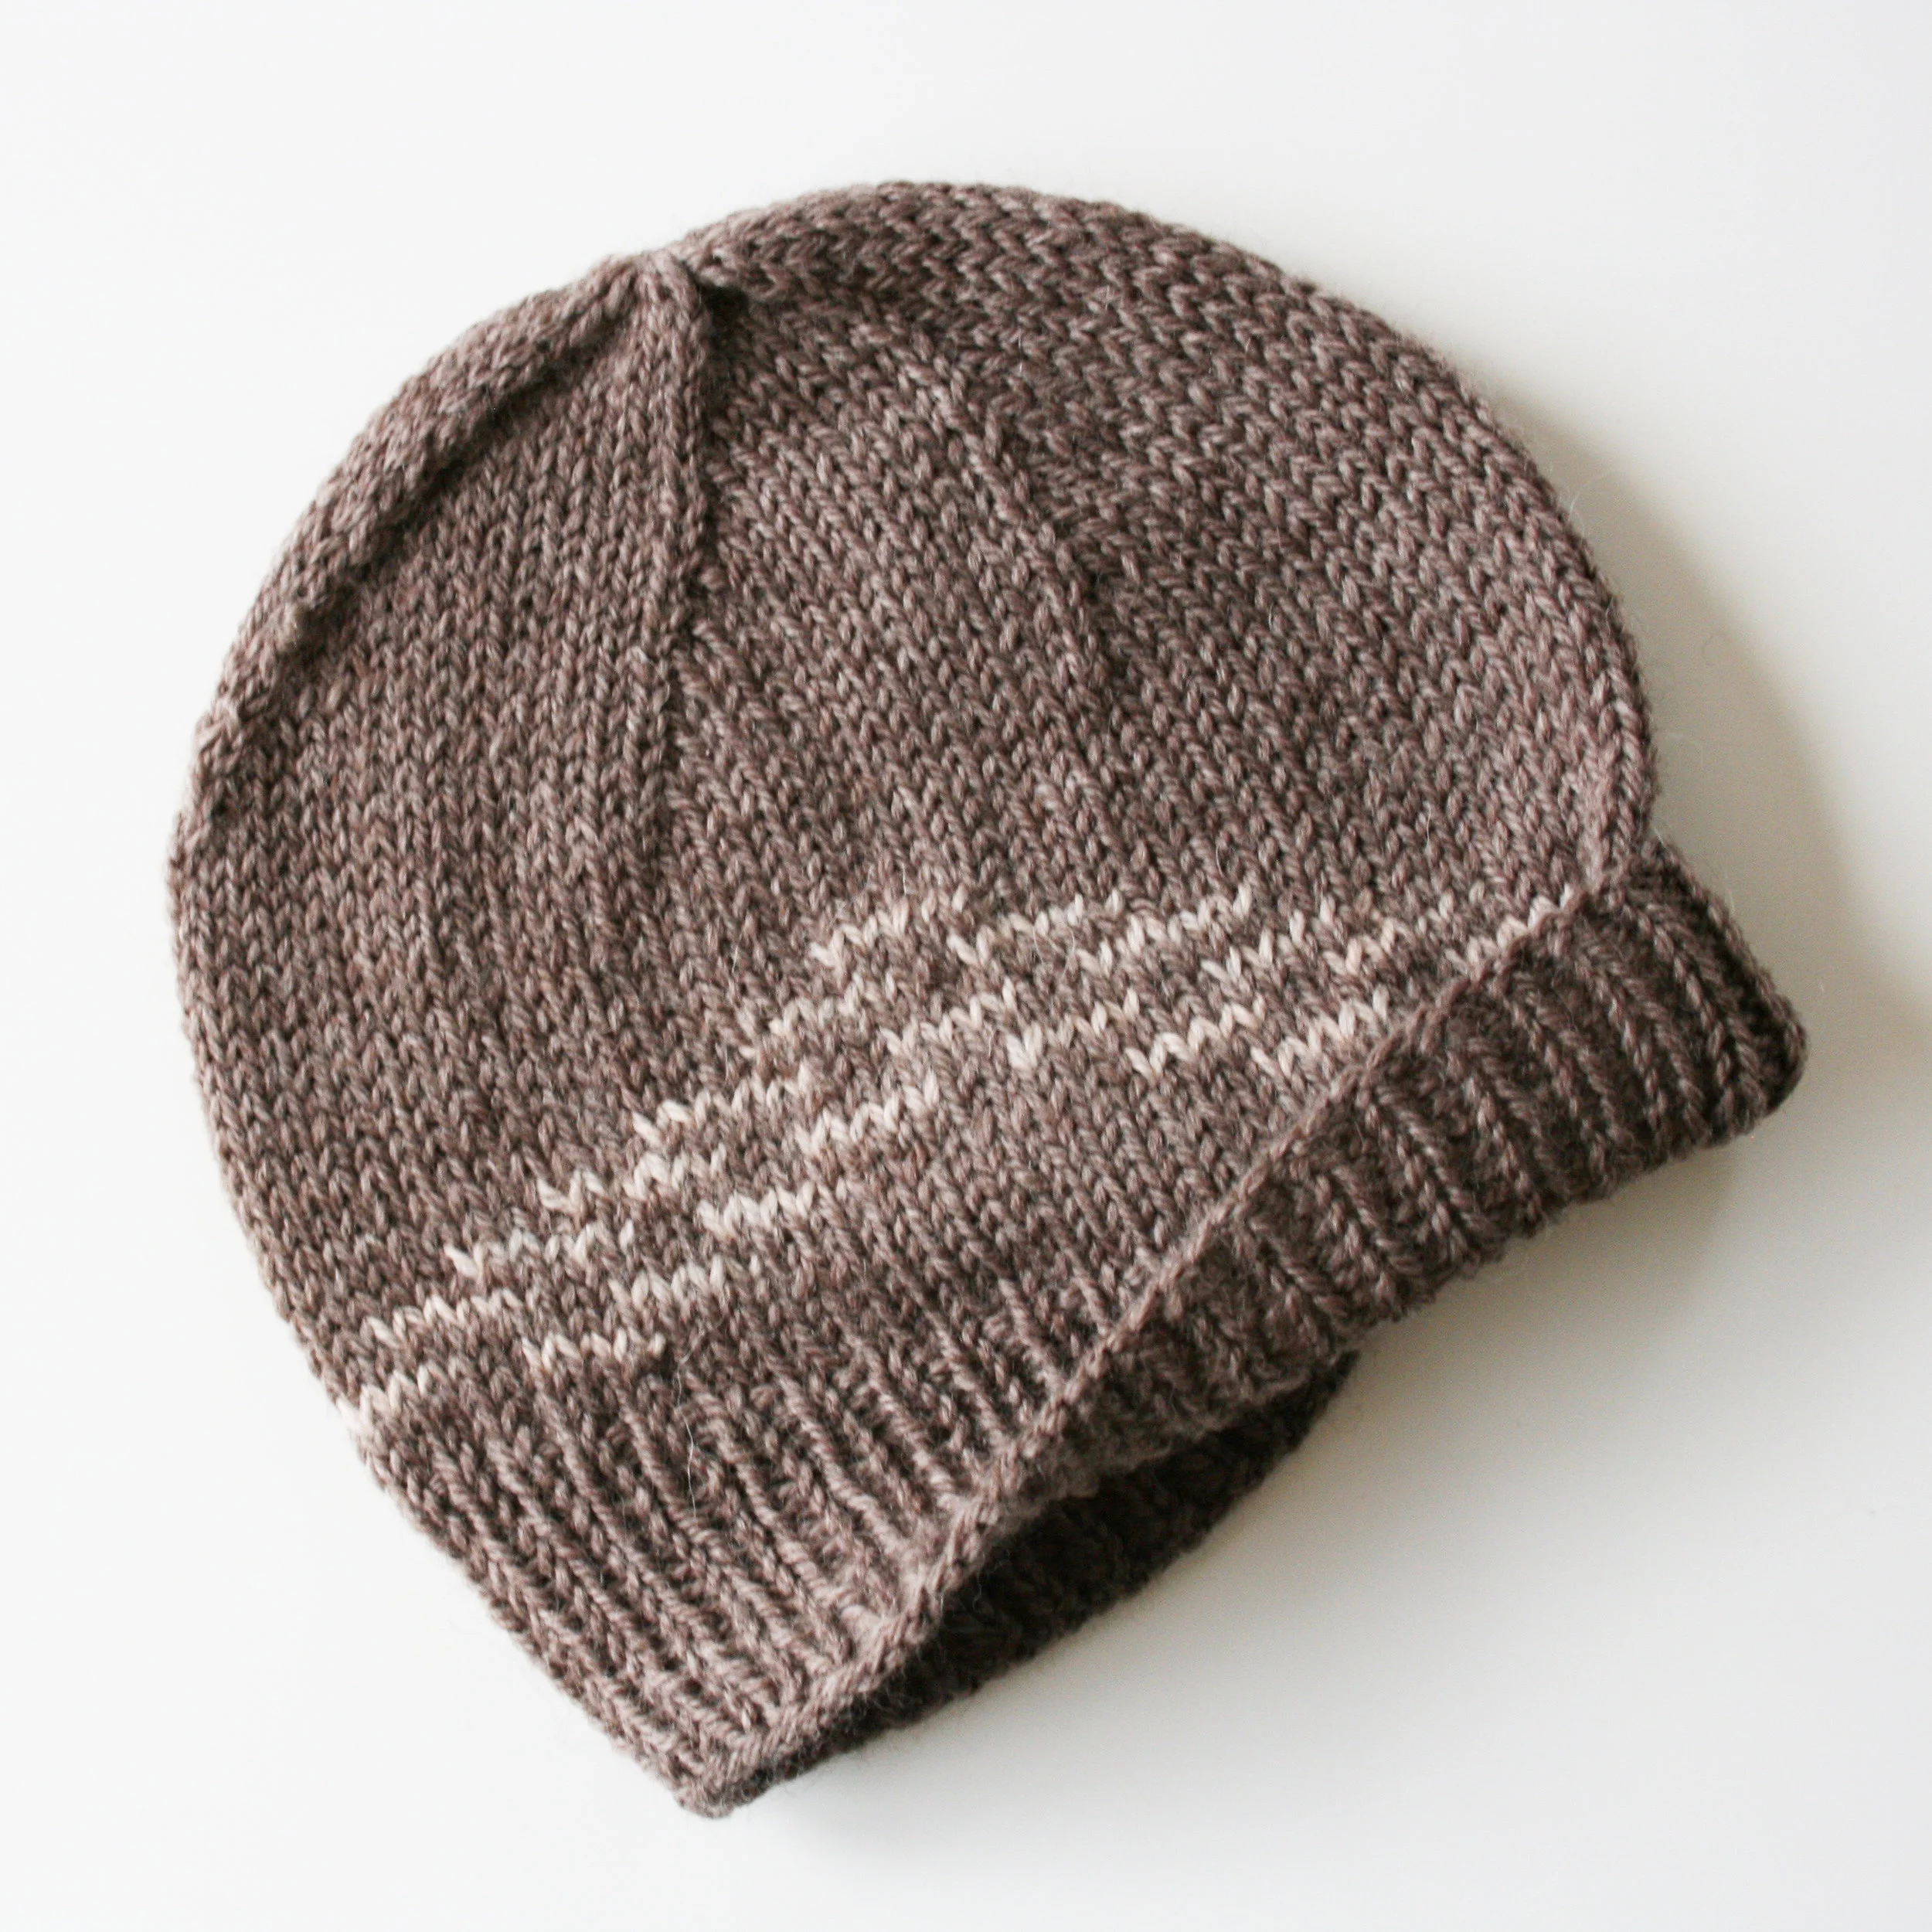
Architrave is a timeless unisex design reminiscent of desert mesas and pyramids built by ancient civilizations. The simple alternating colors create a unique and interesting design that is still neutral and easy to wear.
pattern details:
Yarn
1 skein of worsted weight (category 4) yarn
Suggested: Patons Classic Wool Worsted
Needles
Size US 6 (4mm) circular or double-pointed needles
Tools
Tapestry needle for finishing
Gauge
Work 15 stitches in stockinette over 20 rows
Finished swatch should measure 3.25 x 3.5”
Finished Dimensions
Completed hat measures approximately 9 x 9.5”