
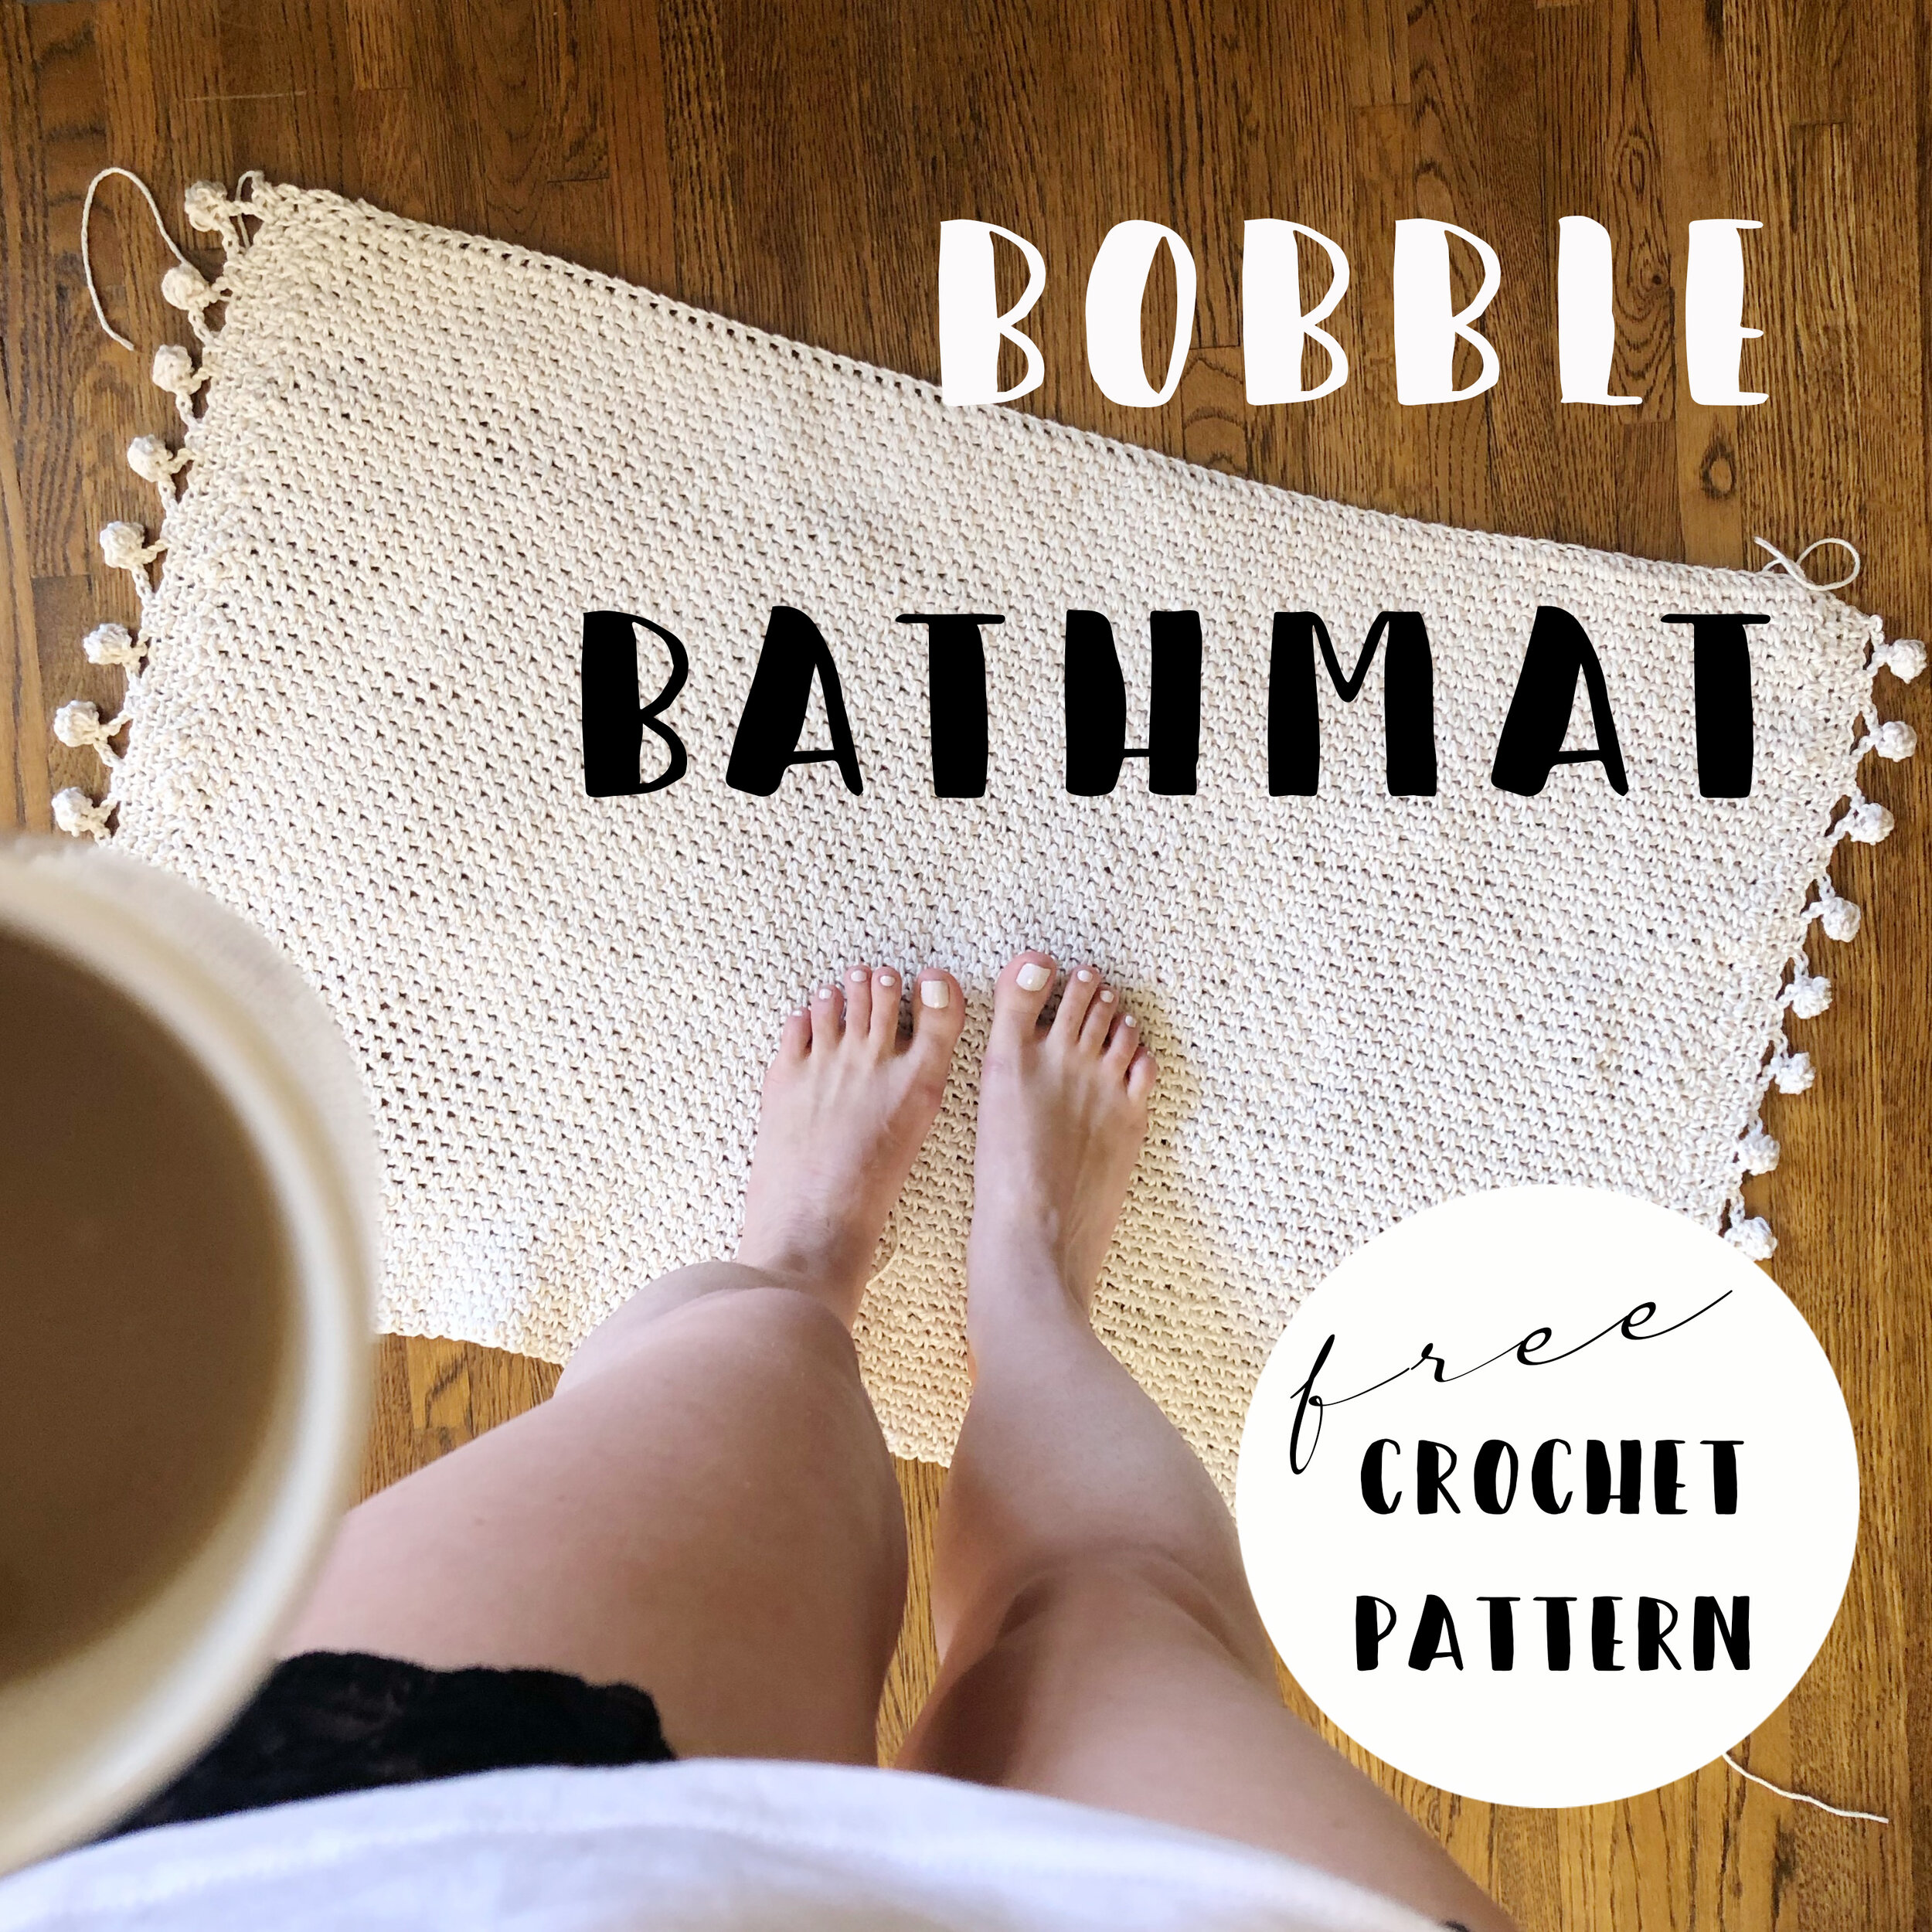
DIY: Crochet Bath Mat with Geometric Design

I’ve been really into making knit and crochet home goods lately, and one of my favorite recent creations is a super easy and cute cotton bath mat with bobbles. I recently whipped up another one adding a contrast geometric design and I am obsessed. grab some worsted weight cotton and a crochet hook and get ready to turn out a super chic and modern bath accessory in no time.

Materials
YARDAGE/YARN: 690 YARDS, 4-PLY WORSTED WEIGHT 100% COTTON in main color
approx. 100 yards, 4-ply worsted weight 100% cotton in contrast color
a few yards of waste yarn
SUGGESTED: LILY SUGAR’N CREAM (I USED main COLOR ECRU and contrast color black)
HOOKS: MAIN HOOK/BOBBLE HOOK: H/8-5.00MM
TRIM HOOK: F/5-3.75MM
surface stitch hook: j/10-6.00mm
TOOLS: tapestry needle
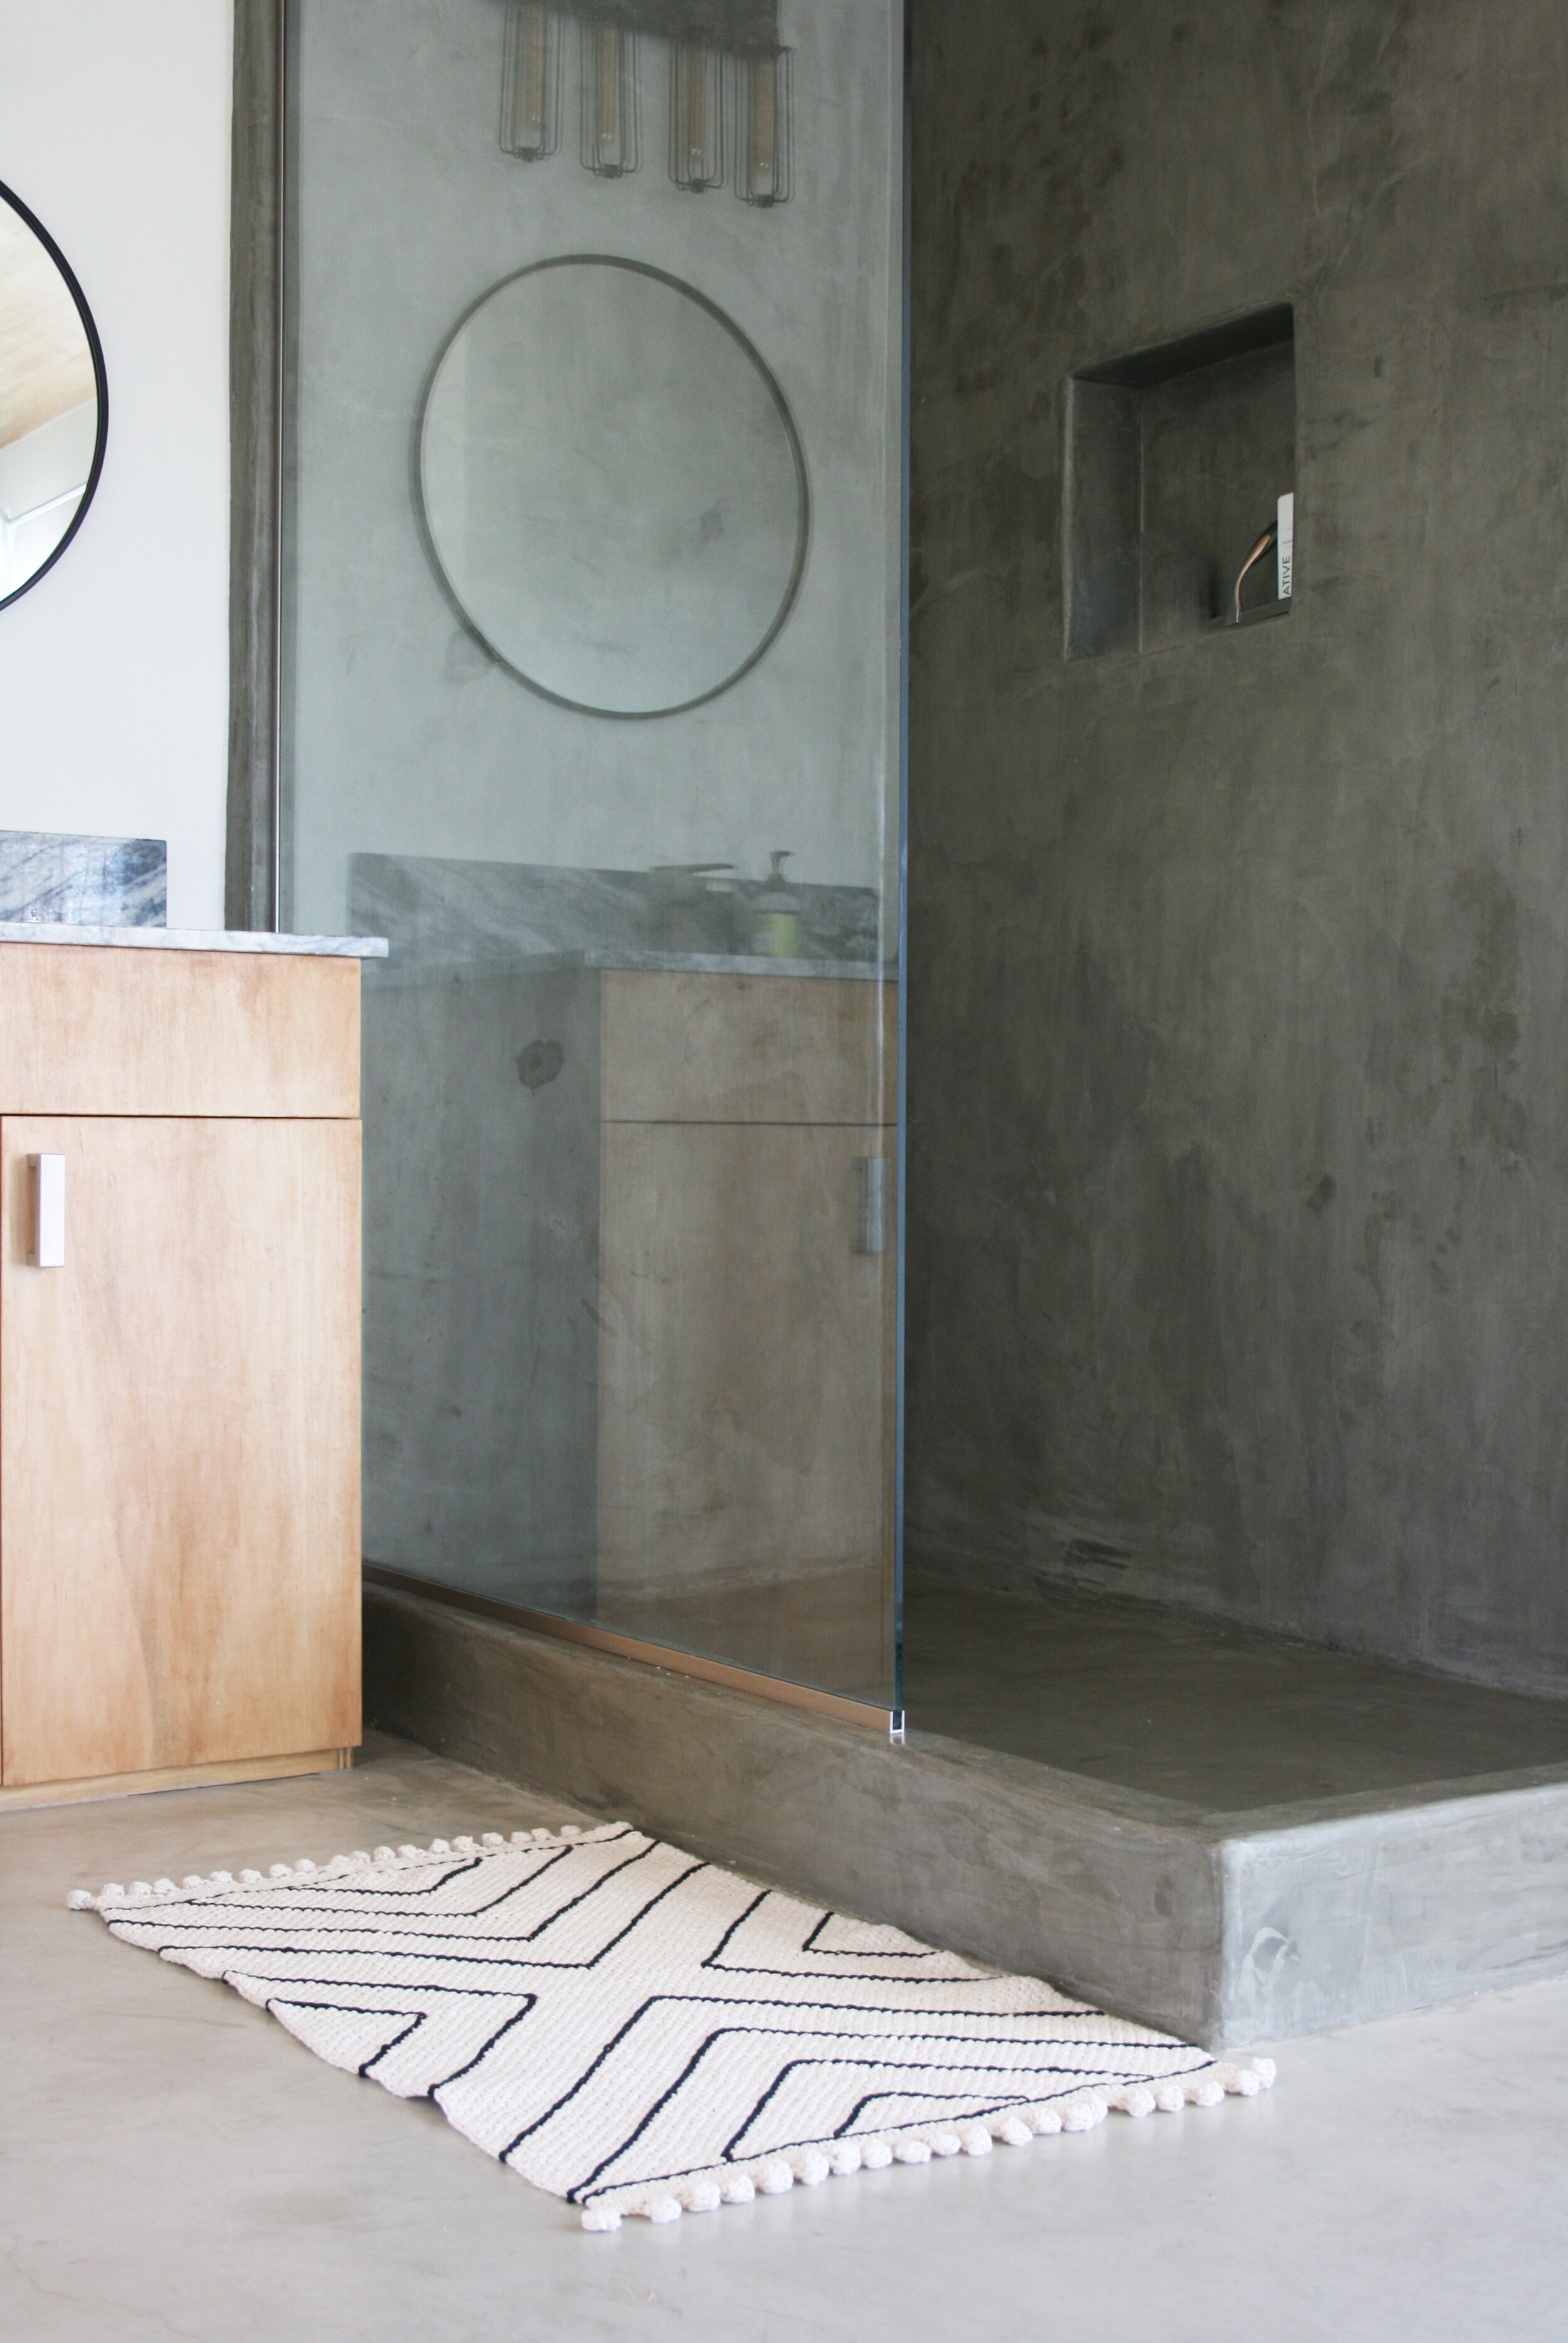
FINISHED DIMENSIONS: 38X22”
Pattern
Step 1
to start, you’ll need to make the original crochet bath mat with bobbles.
Complete all instructions and weave in all ends.
Step 2
once you’ve completed the basic bathmat, the next step is to mark the center lines so the geometric design is evenly spaced. start by marking the vertical center line:
thread a few yards of waste yarn onto a tapestry needle, and then fold the bathmat in half so the two bobble edges are together. identify the hole in the stitch pattern that is centered in the fold and thread your needle through.
begin weaving the waste yarn vertically, through the holes in the stitch pattern and over and under the crochet stitches.
continue weaving the waste yarn in this way all the way up the vertical center line of the bath mat.
continue weaving the waste yarn horizontally, through the holes in the stitch pattern and over and under the crochet stitches, across the horizontal center line of the mat.
step 3
next, use the same method to mark the horizontal center line. fold the bathmat in half the long way so the top and bottom non-bobbled edges are together. thread another few yards of waste yarn on the tapestry needle and find a hole in the stitch pattern that is centered in the fold. thread the needle through.
Step 4
Now that the center lines have been marked, you are ready to start working surface stitches in the contrast color, with the J/10-6.00mm crochet hook (if you don’t have this size, the main mat hook size H/8-5.00MM would also work here).
begin by locating the crochet stitch that sits in the center of both vertical and horizontal center lines. along the horizontal line, count four (4) stitch pattern holes to the left of the center and mark it with your tapestry needle (see reference photo: the red dashes show the holes in the stitch pattern and the red square is around the fourth hole to the left). this is the left side starting point (red squarE).
next, find the diagonal line of stitch pattern holes running down and to the left from the starting point - each next stitch pattern hole will be one row down and one hole directly left of the one above (represented by the red arrow). follow this line all the way to the last hole on the edge of the mat. anchor your contrast yarn here.
begin working surface stitches back up this diagonal line in a “v” shape until you reach the center point. At the center point, turn the work 90 degrees and continue working surface stitches in a diagonal line moving up and to the left (along the blue arrow).
step 6
using the same method as steps 4 and 5, you will now work surface stitches three more times on each side, in the same “v” shape pattern.
to find each next starting point, measure six (6) stitch pattern holes back from the apex of your starting “v.”
when finished, you will have four “v” shape lines on the left side and four on the right side.
step 5
repeat step 4 on the right side of the horizontal center line, marking the fourth stitch pattern hole from the middle with your tapestry needle.
follow a diagonal line (see blue arrows) to the last hole on the edge and anchor your contrast yarn there.
work surface stitches back along the diagonal line to the starting point, turn 90 degrees and continue in a “v” shape diagonally in the upward direction until you reach the edge.
Step 7
You will now repeat the same steps to create the same shapes along the vertical center line of the mat.
to find the first starting point, locate the center crochet stitch and count six (6) stitch pattern holes below that center stitch. mark this hole with your tapestry needle.
repeat steps 4 and 5, creating the bottom “v” shape. locate the top “V” starting point by counting six (6) stitch pattern holes above the center stitch, and Repeat Steps 4 and 5.
step 8
repeat step 6 to WORK SURFACE STITCHES two MORE TIMES ON EACH SIDE, IN THE SAME “V” SHAPE PATTERN.
to find each next starting point, measure six (6) stitch pattern holes back from the apex of your starting “v.”
when finished, you will have two “v” shape lines on the top side and two on the bottom side.
step 9
work a straight line of surface stitches in your contrast color along the left-side edge of the mat, where the trim meets the main body of the mat.
turn mat and repeat on the right-side edge.
weave in all ends and enjoy your new crochet bath mat!
