

DIY: Crochet Fruit Slice Bags


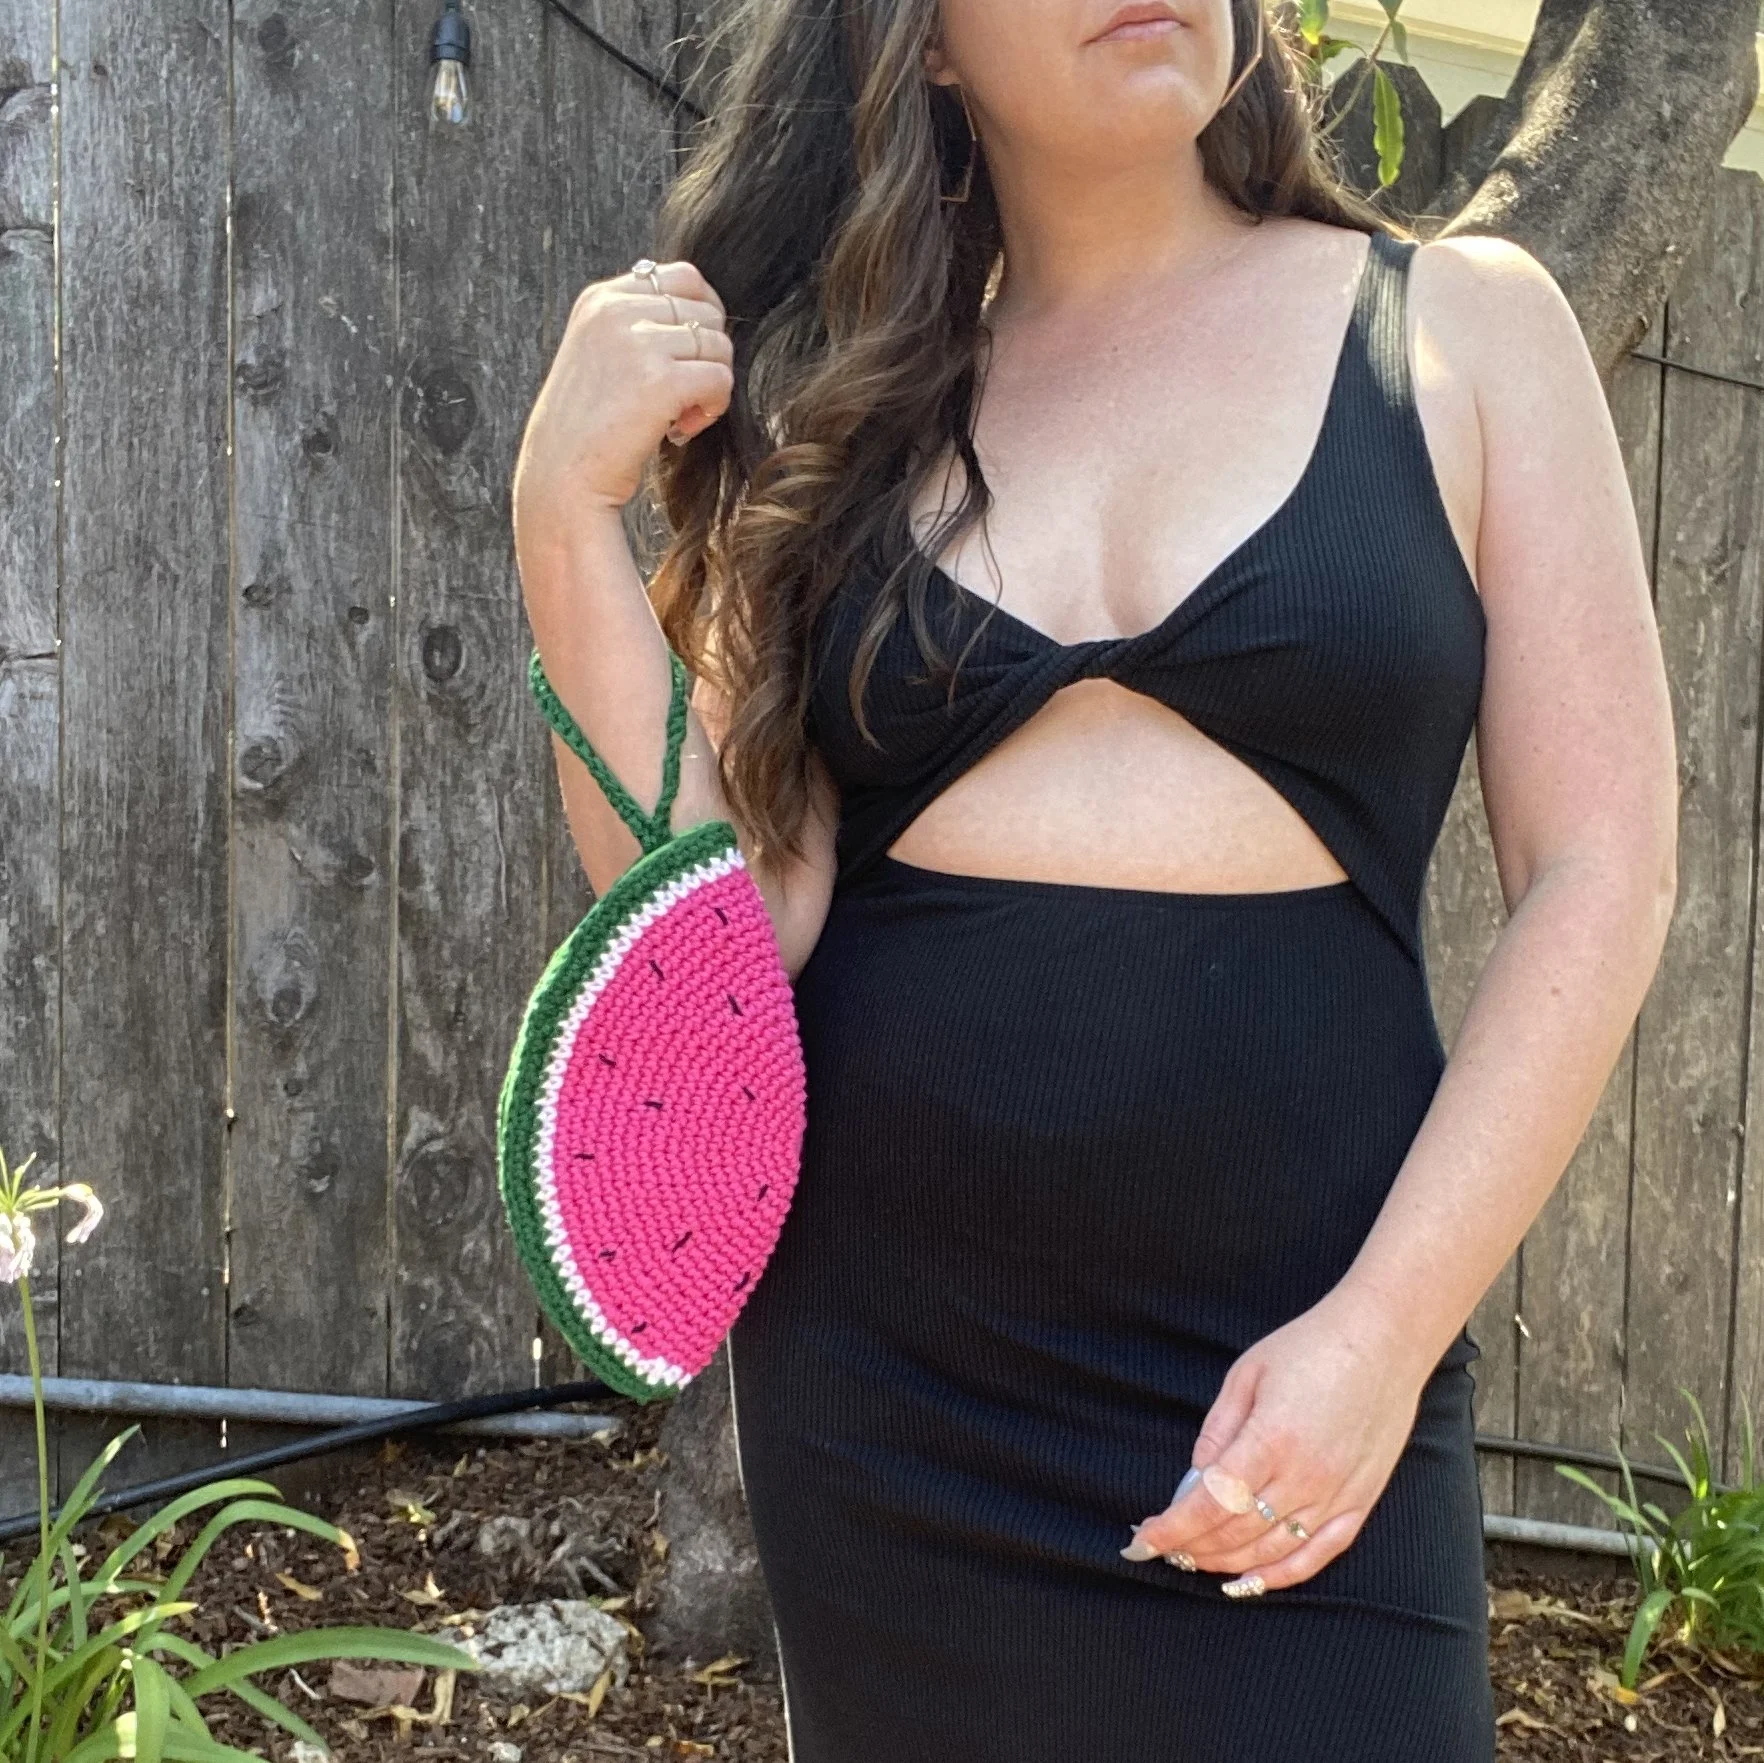
I’ve been trying to use up a lot of stash and scraps lately, and got the inspiration to crochet these fruit slice bags. I used up so many scraps and they are just so cute!
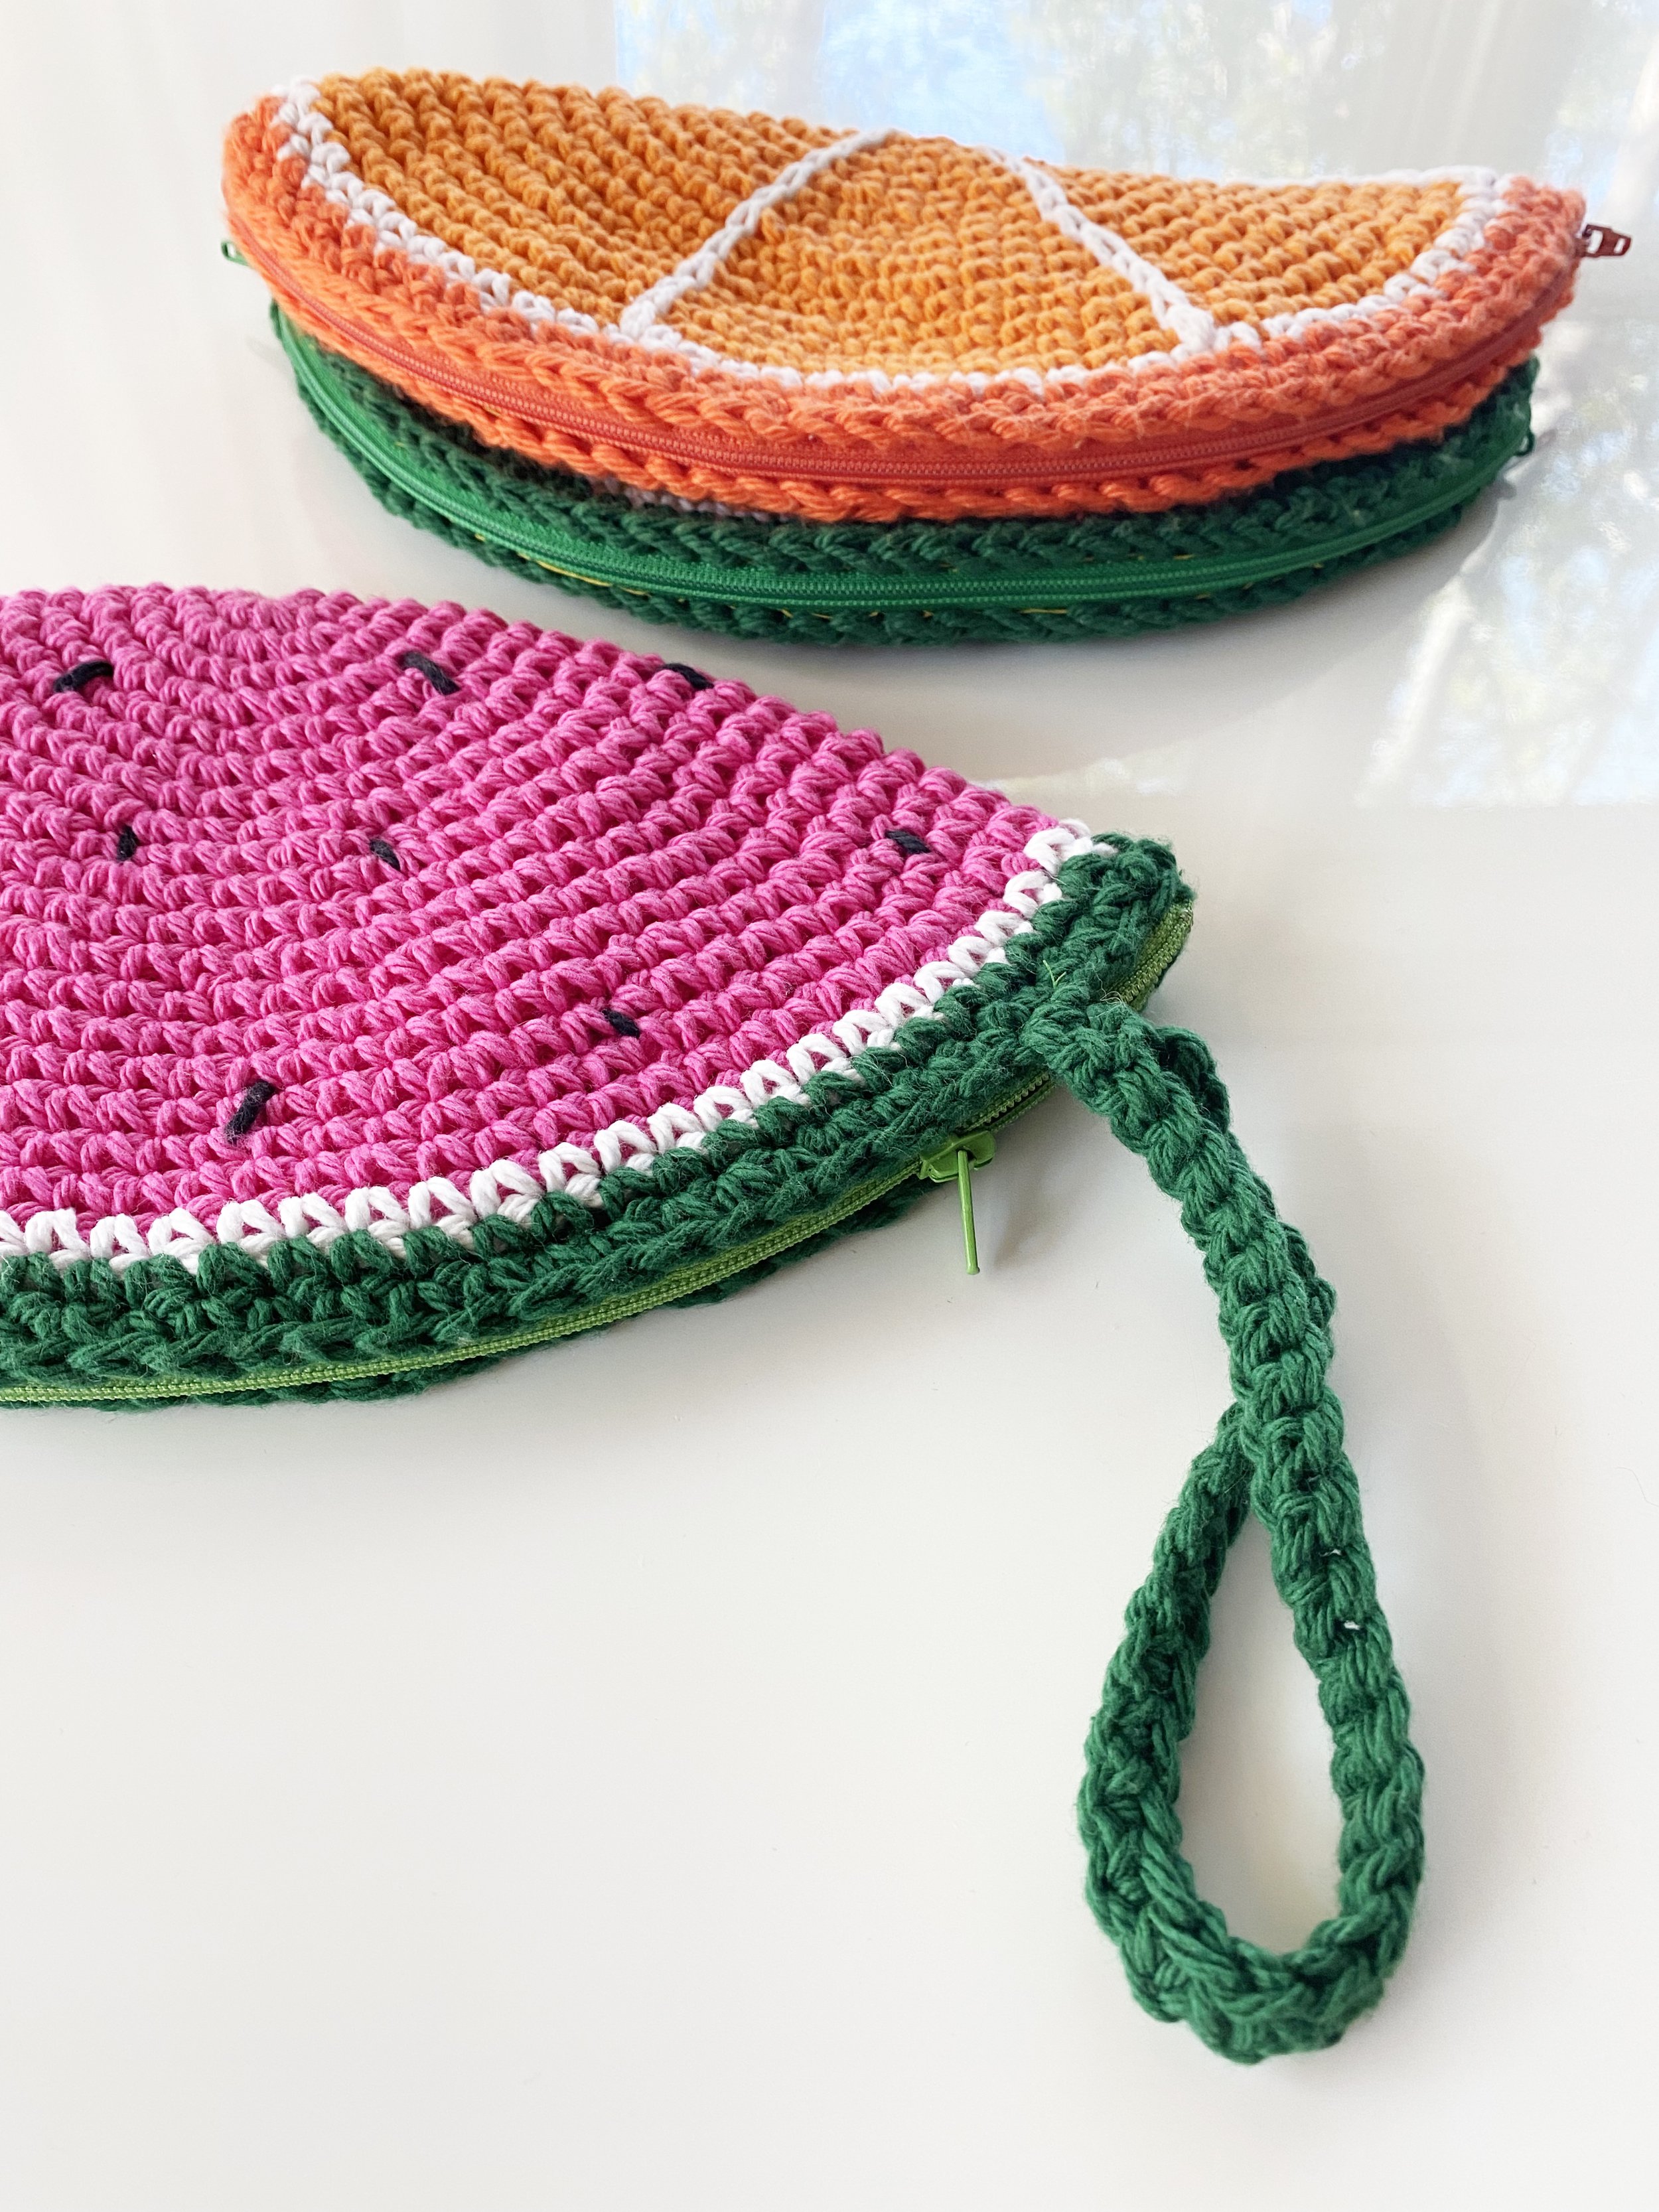
I think these would make great notions or makeup bags, or perfect to carry as a little clutch. you could add a wrist strap like i did on the watermelon version, or a longer strap to make it a crossbody!
The construction is super simple: just a crocheted circle, folded in half with a zipper and a simple lining.
I didn’t put together an official pattern for this design, but here are my notes for how I made these! I also have a short tutorial video showing how i sewed in the zipper and lining.
happy crocheting!
Materials
Worsted weight yarn in 1-4 (or more) colors, depending on what kind of fruit you’d like to make, or any another design idea (rainbow, stripes, etc.)
H/8-5.00mm crochet hook
Tapestry needle
sewing needle
14” zipper
Scrap fabric for lining, approx. 12x12”
sewing thread
Pattern
in main color, chain 4 and join to make a circle. work 8 single crochet stitches into the circle.
Setup: on the next round, increase every stitch by working 2 single crochet sts into each previous stitch.
complete 1 round in single crochet, with no increases.
r1: *Increase one stitch, single crochet 2 (3, 4, 5, 6, 7) sts* and repeat * to * across the round.
r2: complete 1 round in single crochet, with no increases.
Note: on each r1, you will add one stitch in between increases. so the first time you will *increase, sc 2* and the second time *Increase, sc 3*, until you reach 7 sts between increases. finish on a r2 row.
(depending on design, switch to contrast color and) work 1 round of single crochet.
(depending on design, switch to contrast color and) work 2 rounds of single crochet.
break yarn and weave in ends.
fold in half and sew in 14” zipper in color that matches the fruit rind. Trim scrap fabric into a circle with at least 1” of allowance over the zipper. cut 1/4” notches around the edge of the fabric circle, and pin to the inside of the crocheted circle (right side of fabric facing up). fold the edges under and pin along the edge of the zipper. use an invisible stitch to secure fabric.



DIY: The daily walk bag - Free Crochet Pattern

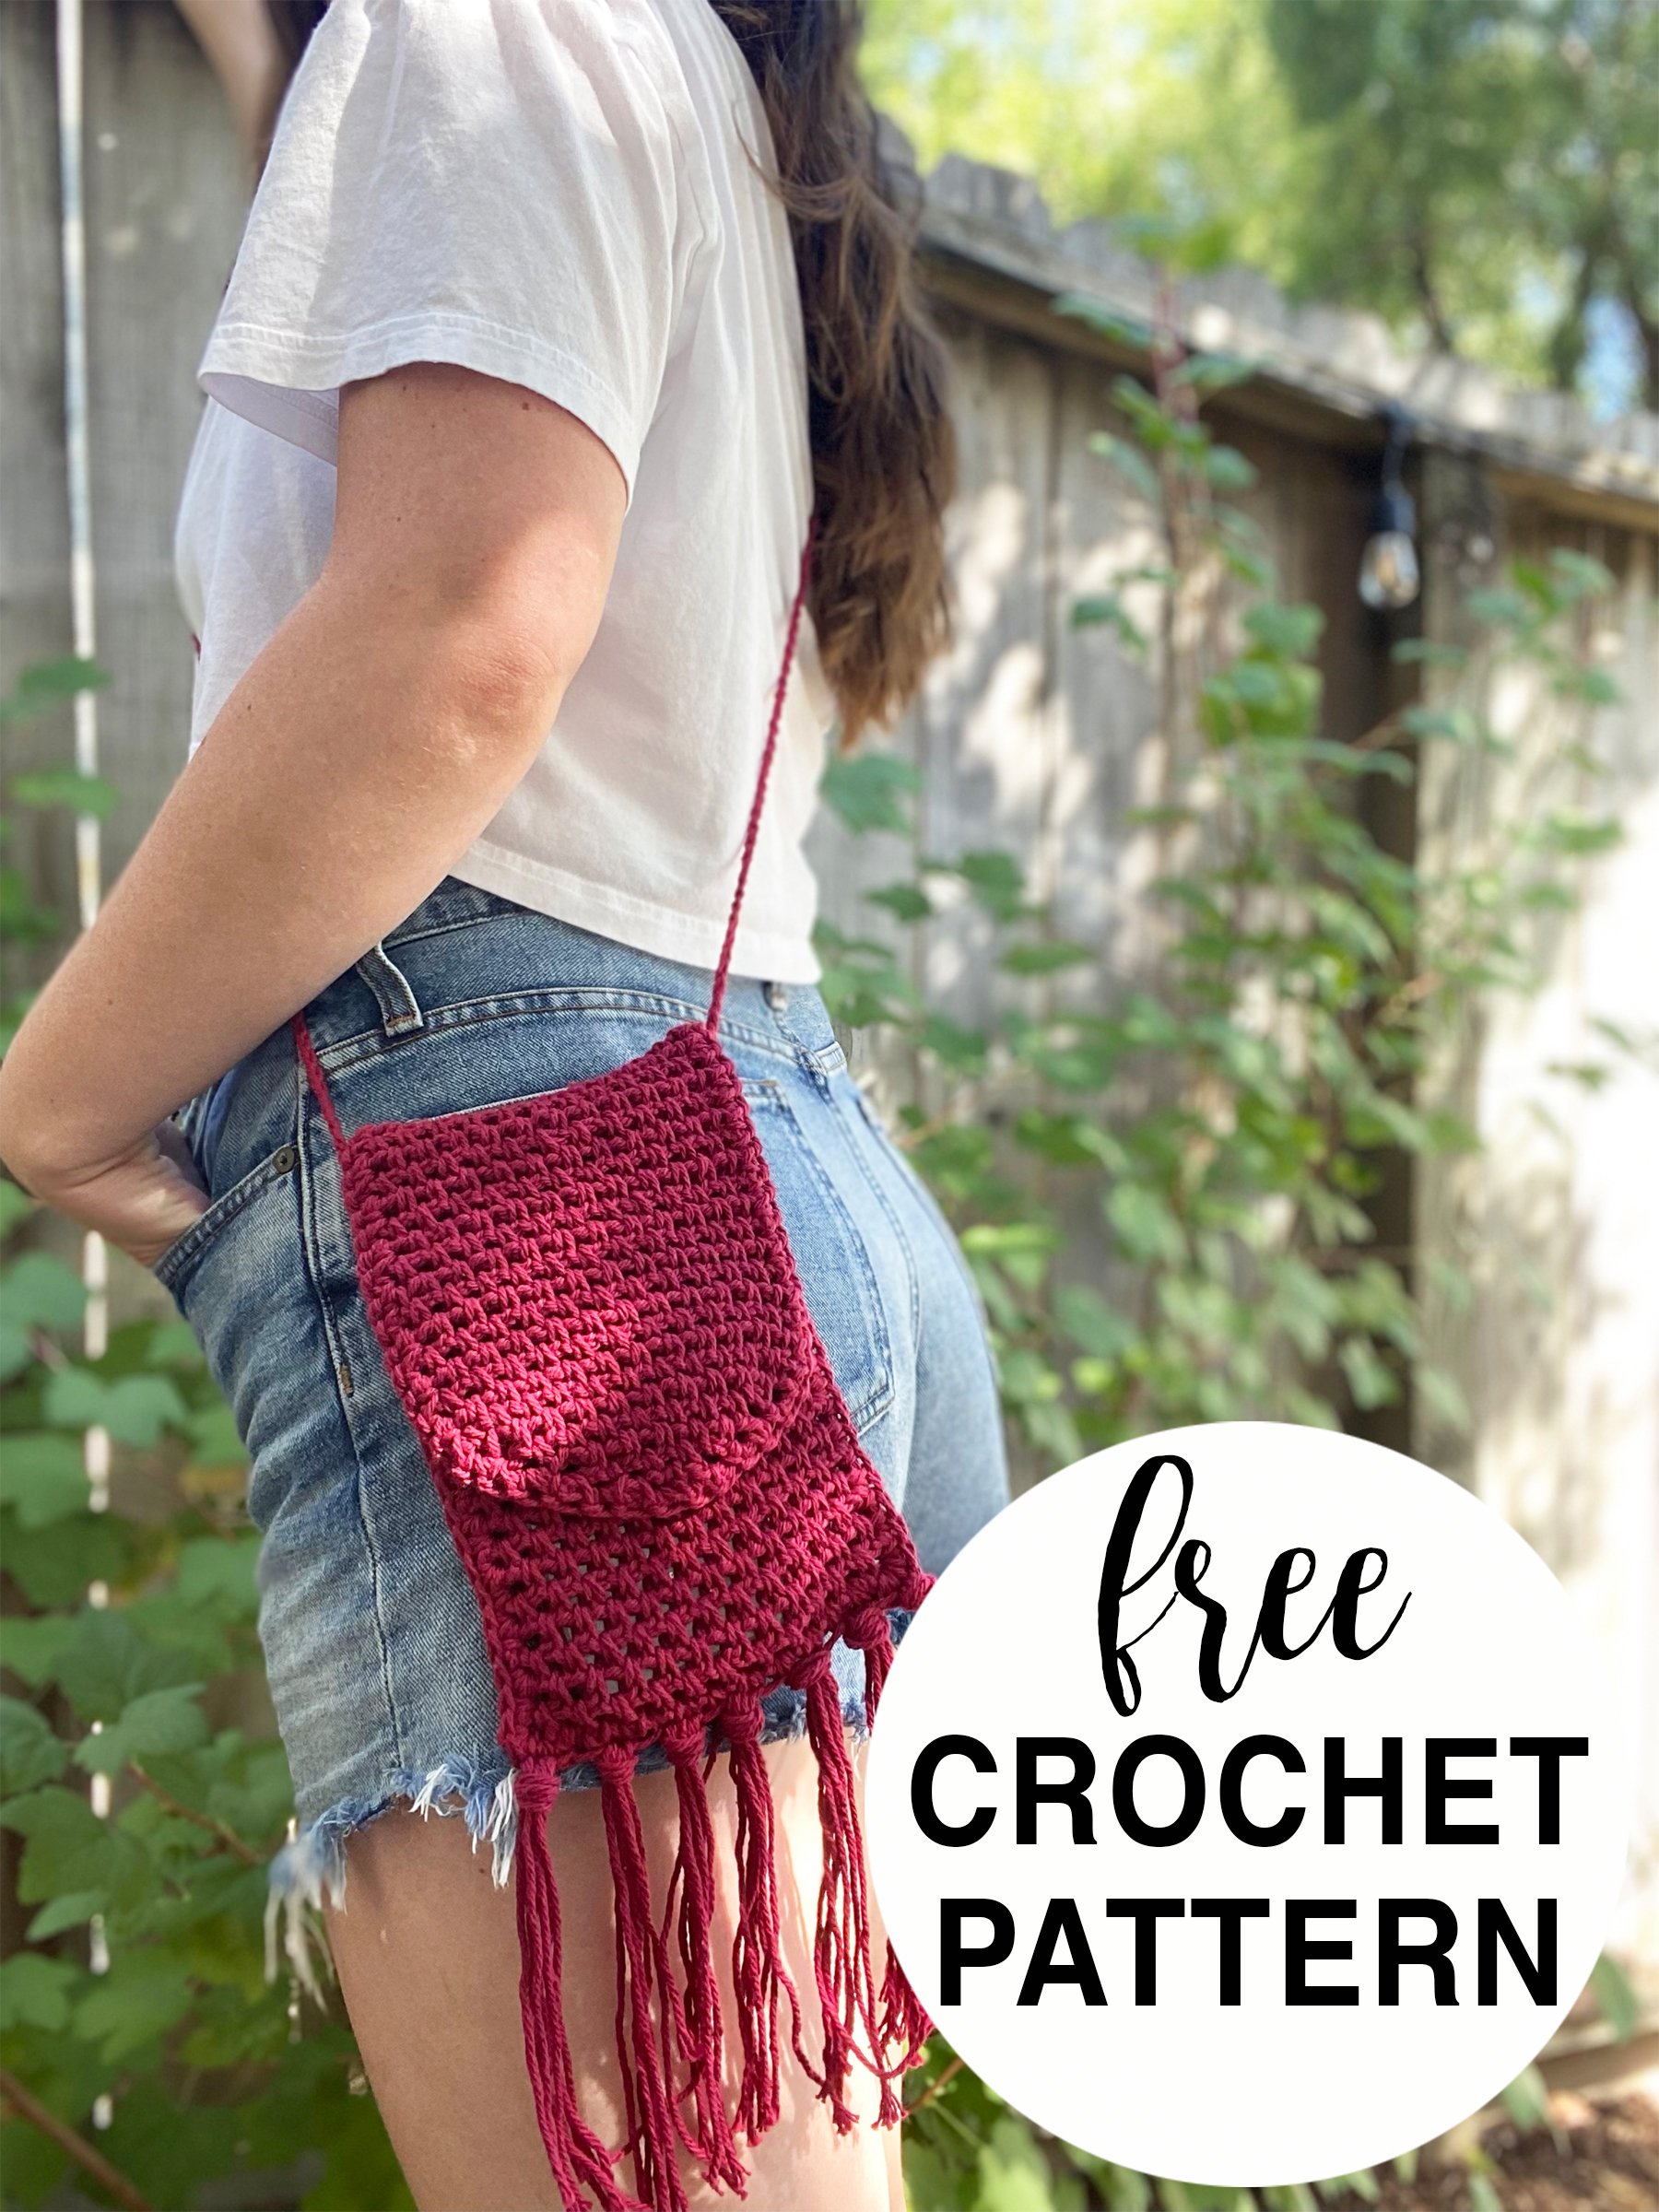
I have been crocheting a lot lately and It is sitting right with my soul. I just love how immediate it is, how easy it is to pick up and put down, and how you can so easily freestyle. I also love that you can start making really amazing things with the most basic crochet knowledge.
This kind of freedom brings me a lot of joy, because even if i don’t have a destination in mind i almost always end up with something successful and functional. it’s a really nice departure from designing knitting patterns or even following them for personal projects because there are no stakes. it’s the perfect activity when i don’t have the bandwidth for knitting, but am not tired enough to not keep my hands busy.
and it was in this spirit that the daily walk crochet bag was created.
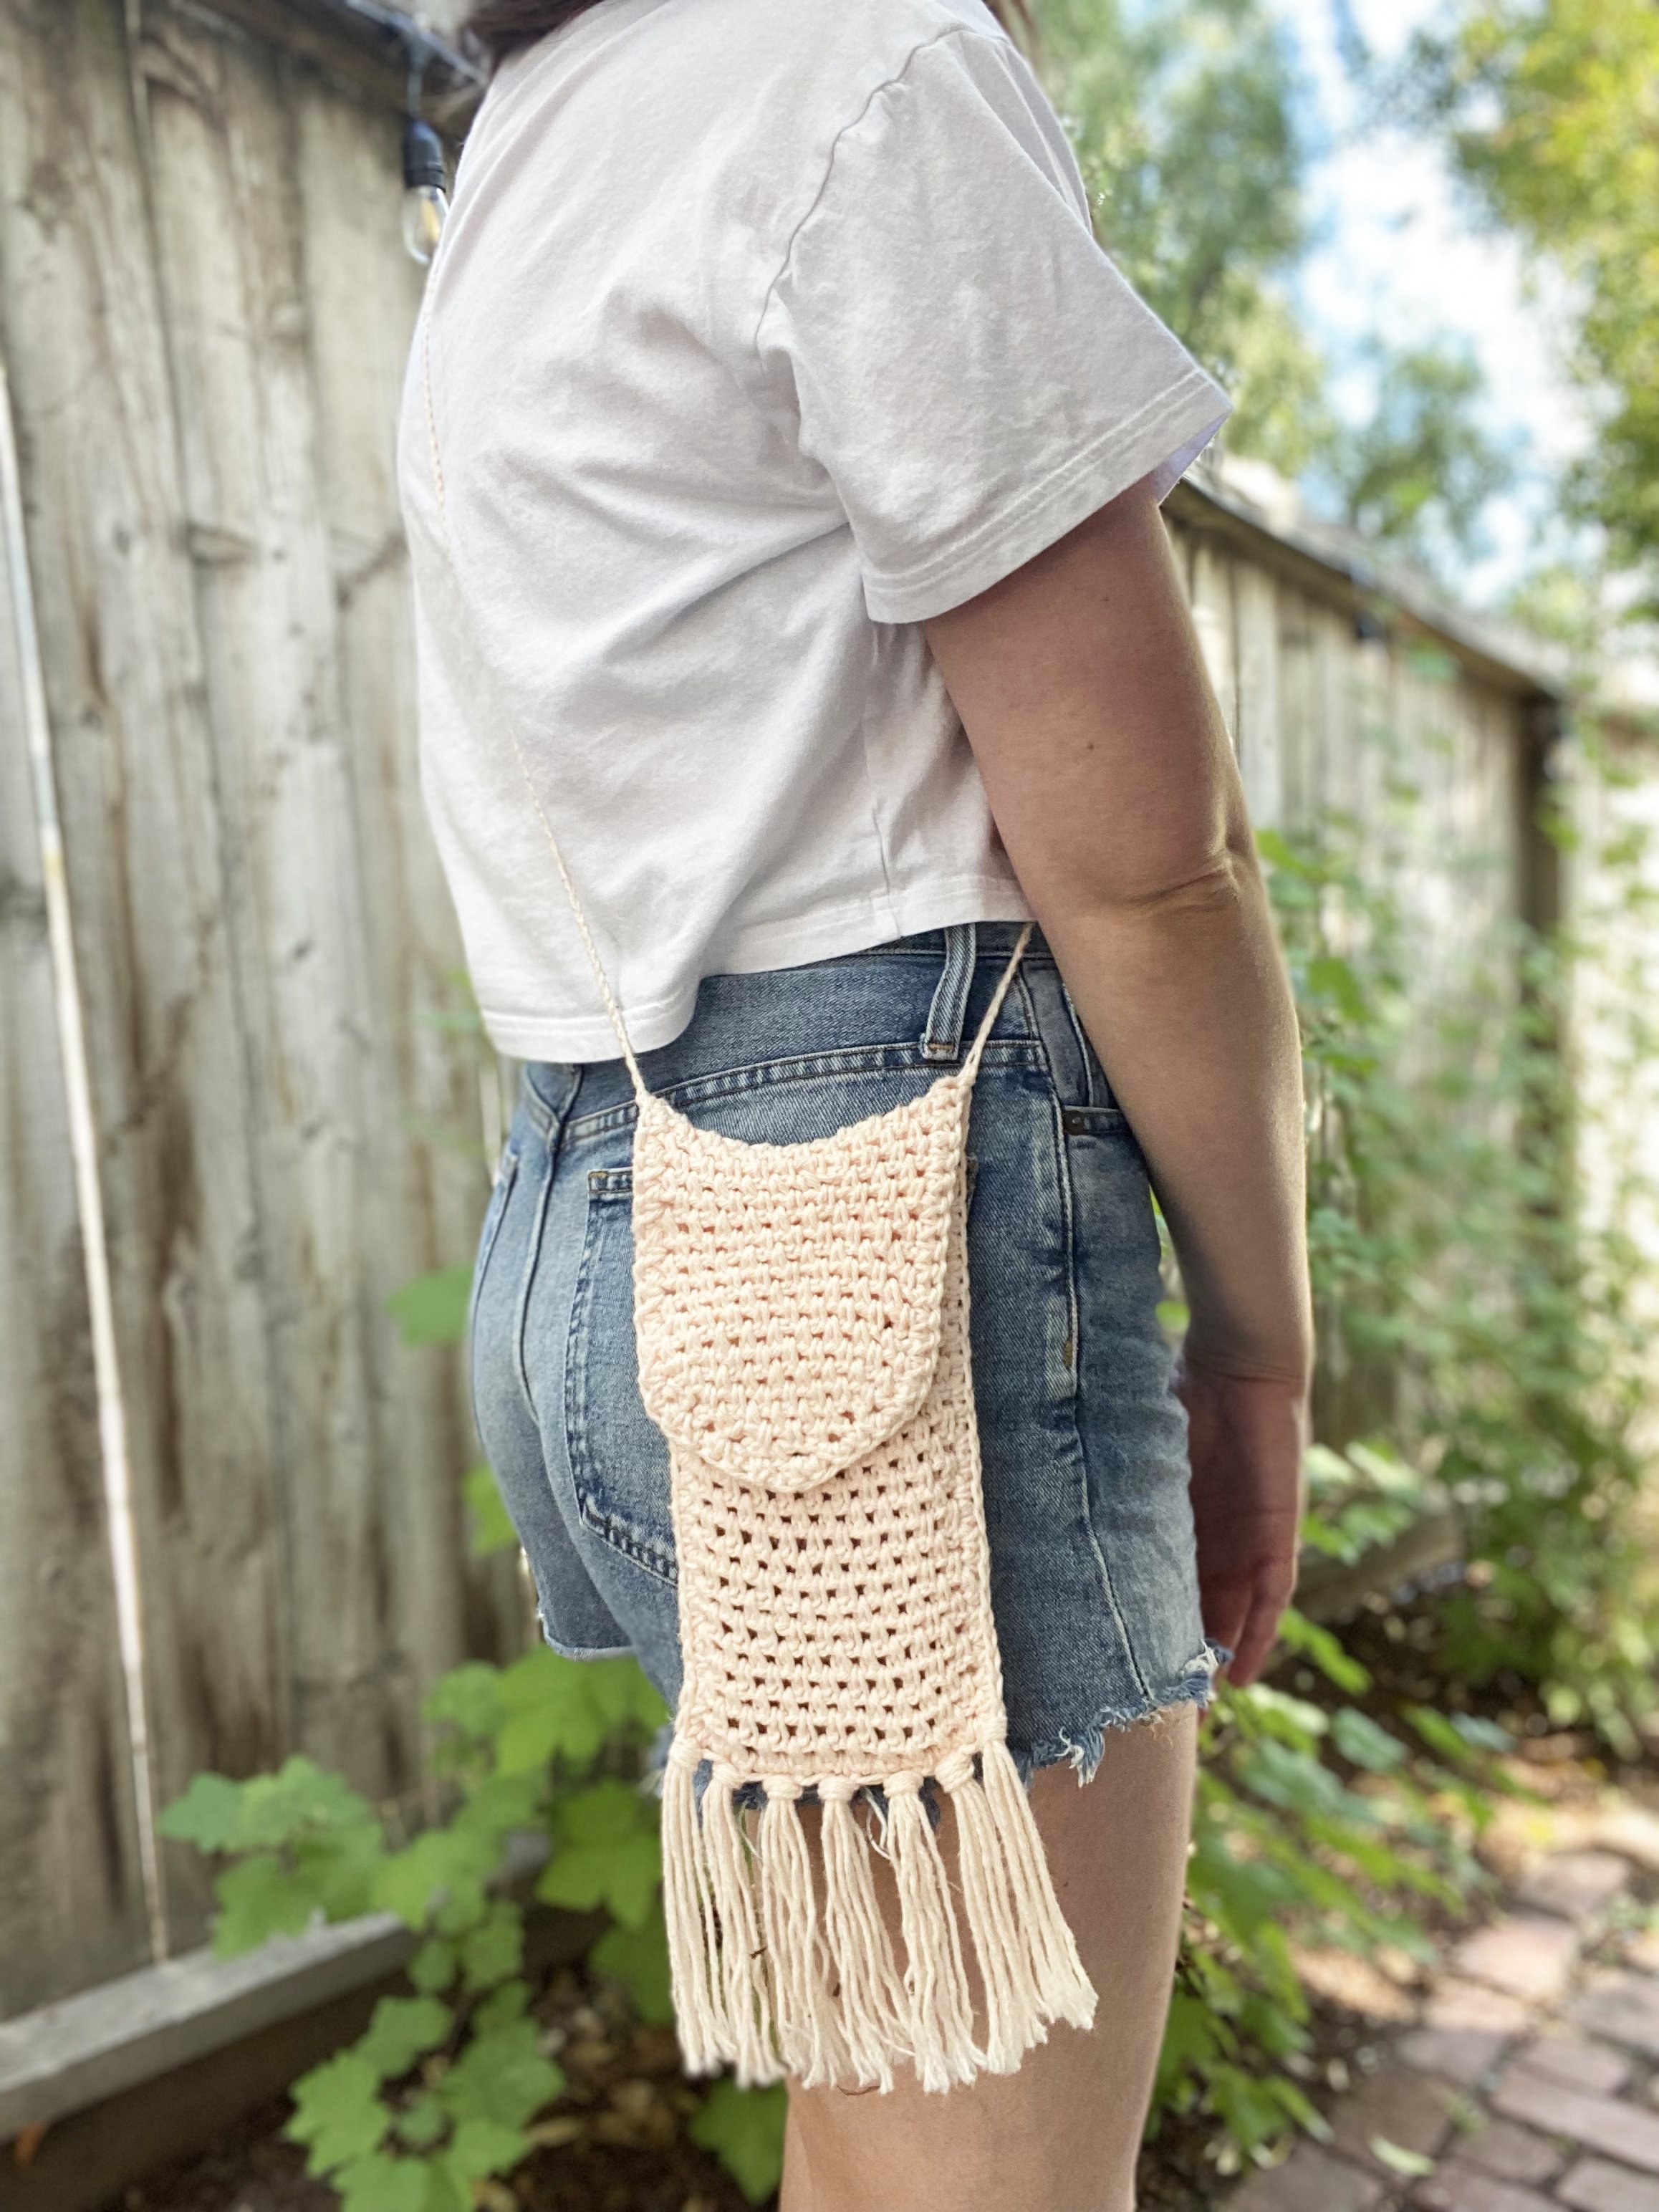
I whipped up this little bag because I needed something to put my phone in on walks when I don’t have any pockets. it has such simple construction and finishing details, and yet it is so cute and useful to me!
it inspired me to not only share how i made this bag with you, but also to create some simple tutorials to help if you’ve never wielded a crochet hook before. it’s my hope that maybe these instructions can help you complete your first crochet project!
continue reading below for the free pattern! follow me on instagram to get the first look at each tutorial video, and stay tuned for the final wrap-up blog post where you will be able to access all of the videos in one spot.

MATERIALS
YARDAGE/YARN: 120 YARDS, 4-PLY WORSTED WEIGHT 100% COTTON IN MAIN COLOR
SUGGESTED: LILY SUGAR’N CREAM,
100% cotton; 120 yds/109 m; 2.5 oz/70.9 g
HOOKS: MAIN HOOK: H/8-5.00MM
strap HOOK: F/5-3.75MM
TOOLS: TAPESTRY NEEDLE, scissors
gauge: 10 sts & 14 rows in 4” (10 cm), worked flat in moss/linen/granite stitch
FINISHED DIMENSIONS: approximately 5 x 14” (12.5 x 35.5 cm)

PATTERn
bag
WITH MAIN HOOK, FOUNDATION CHAIN 12 STS.
WORK FLAT SINGLE CROCHET MOSS/LINEN/GRANITE STITCH UNTIL PIECE MEASURES 20.5” (52 cm).
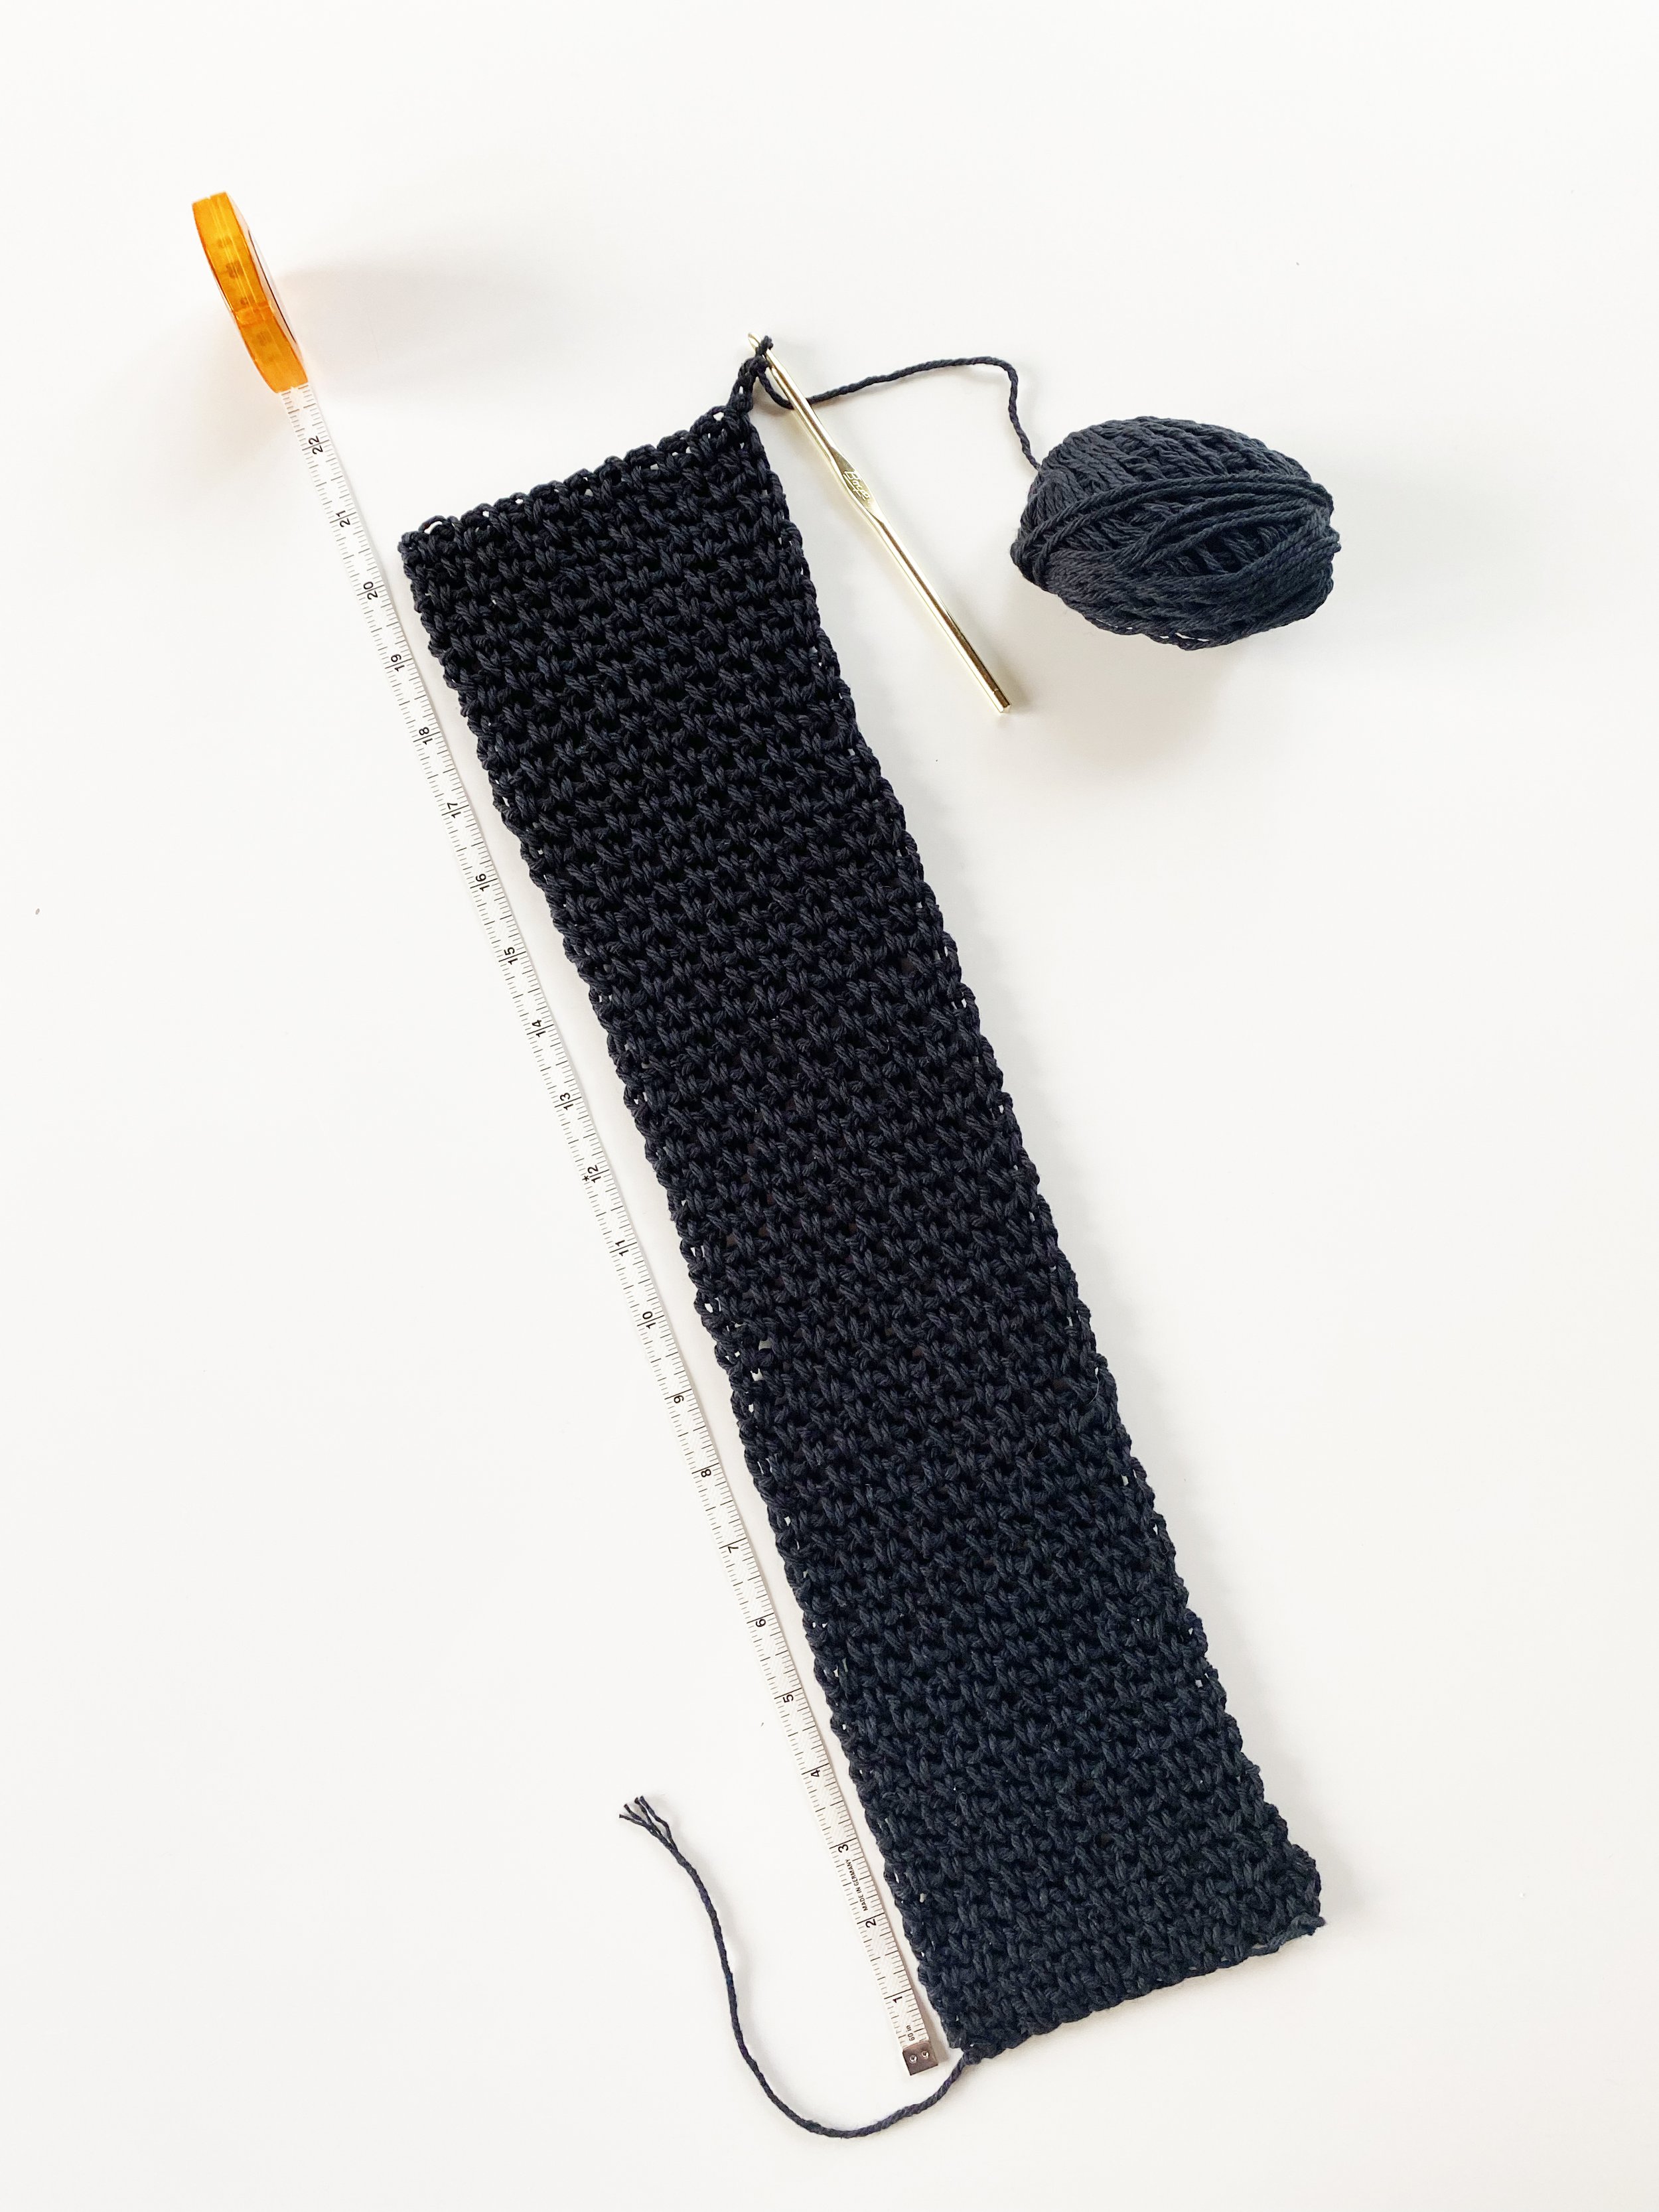
WORK UNTIL PIECE MEASURES 20.5” (52 cm)
next you will work a few rows of decreases to shape the top of the flap.
on the next row, skip the first hole and work your first stitch into the second hole. continue working across the row as normal until you reach the last two holes; skip one and work last stitch into the last hole.

on the first row of decreases, skip the first hole and work your first stitch into the second hole

continue working across the row as normal until you reach the last two holes; skip one and work last stitch into the last hole
turn work and continue decreasing in this way until you finish with 3 stitches (decrease stitch, regular stitch, decrease stitch). Break yarn leaving a 6” tail.
Weave in ends and move on to seaming section.
Seaming
fold up the bottom edge of your work until the folded portion measures 7.5” (19 cm). make a new slip knot and join yarn to the left hand side, where the bottom left corner has been folded up to.
TIP: I recommend loosely pinning the folded section together to help you seam it up evenly. i used two cable needles, but metal stitch holders, extra tapestry needles, extra crochet hooks, or anything you have would work perfectly fine.

fold up the bottom edge of your work until the folded portion measures 7.5” (19 cm)

join yarn to the left hand side, where the bottom left corner has been folded up to
begin working single crochet stitches through both layers of fabric, down the left side edge, joining them together.
don’t worry about it being perfect; insert your hook through the holes nearest to the left side edge, wherever it feels natural and easiest to grab and pull yarn through.
when you reach the last “hole” before the bottom edge, make sure to work two single crochet stitches there (work one as normal, and then simply work another through the same hole), to turn the corner.

when you reach the bottom edge corners, make sure to work two single crochet stitches through those holes (work one as normal, and then simply work another through the same hole).
continue working single crochet stitches across the bottom folded edge of the bag. when you reach the last hole along the bottom edge work two single crochet stitches into that hole, and then continue working single crochet stitches up the right-hand side of the bag, joining the two layers of fabric together.
then continue working single crochet stitches up and around the top flap of the bag, until you reach your original starting point. Work one extra crochet stitch into the starting point where two layers of fabric meet, then switch to F/5-3.75mm hook. work single chain stitches until strap measures approximately 40” (101.5 cm).

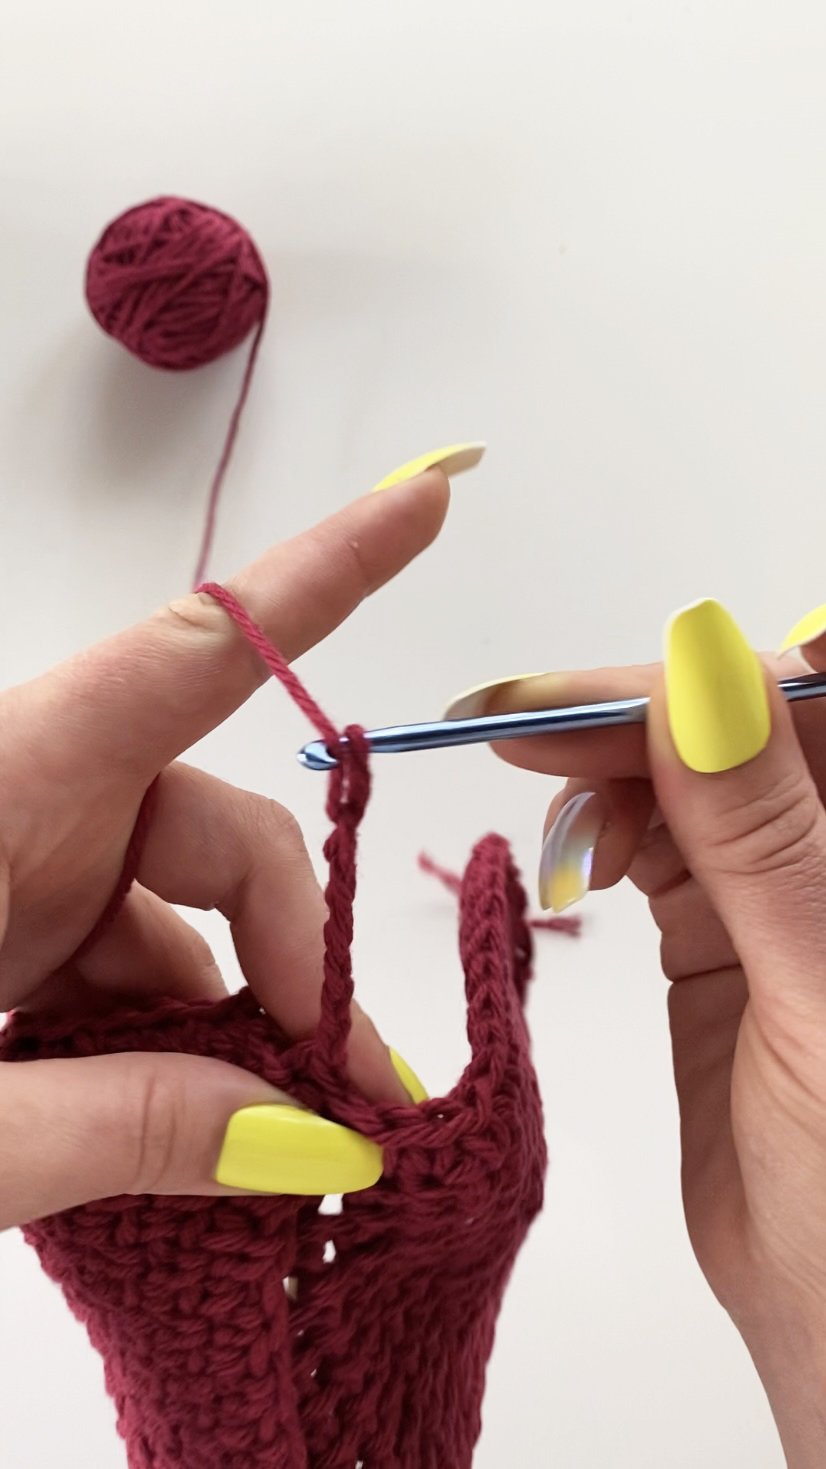
switch to F/5-3.75mm hook and work singel chain stitches until strap measures approximately 40” (101.5 cm)
then join strap to opposite (right-hand) side of bag. Break yarn leaving a 6” (15 cm) tail.
weave in all ends and move on to trim section.
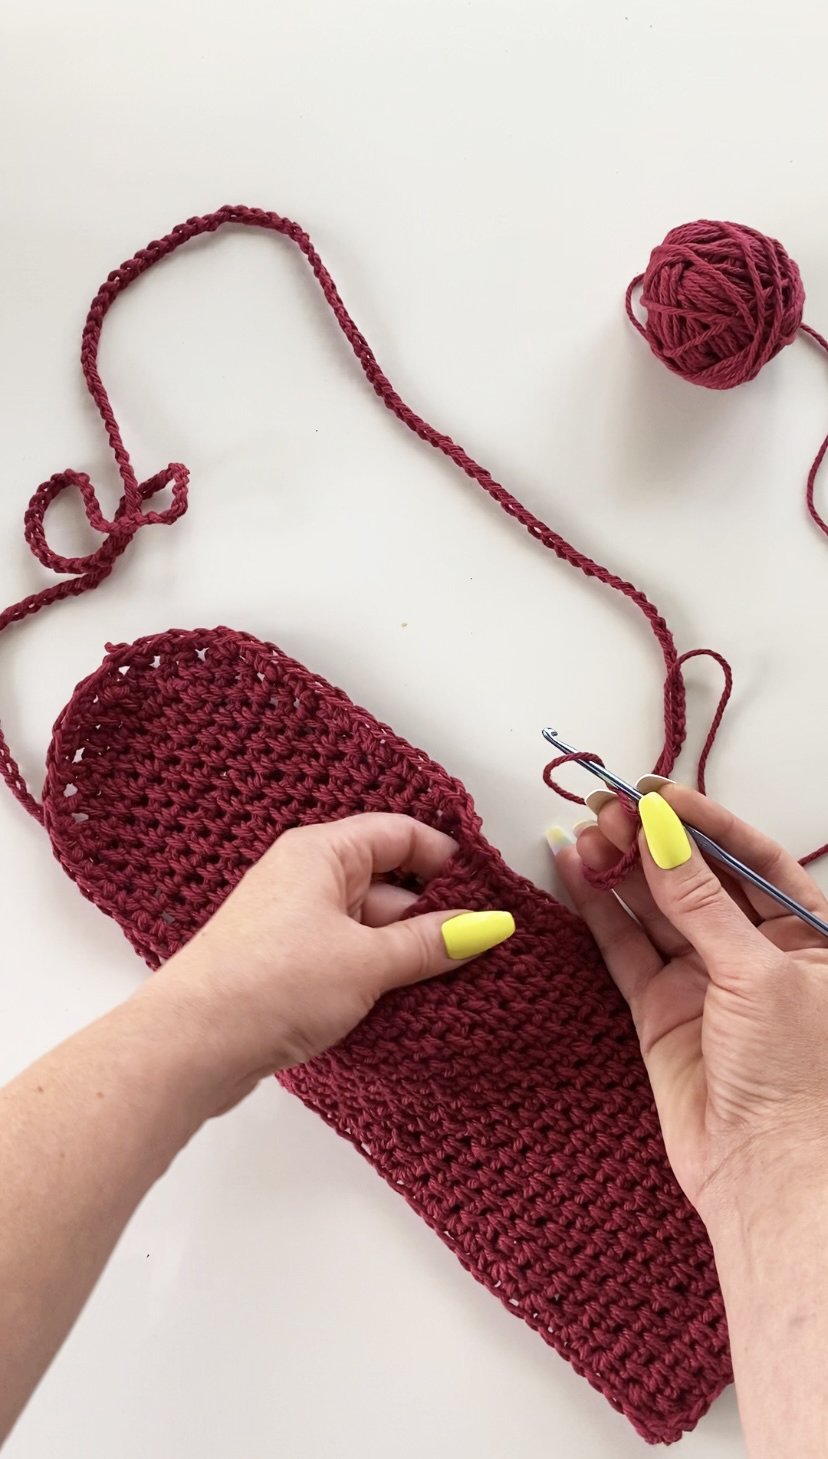
join strap to opposite (right-hand) side of bag
Trim
To make fringe trim, cut 28 lengths of yarn approximately 13” long. separate strands into bundles of 4 (you will have 7 bundles total). find the approximate center of each bundle, fold in half around your finger, and arrange on a flat surface with the middle clearly distinguished (see photo).

To make fringe trim, cut 28 lengths of yarn approximately 13” long. separate strands into bundles of 4, fold in half around your finger, and arrange on a flat surface with the middle clearly distinguished
you will now attach fringe to the bottom “seam.” Start by attaching one bundle into each corner, then one in the middle. evenly place two bundles between the corner and middle fringe piece on both sides.
to attach, insert main hook underneath the seam stitch loop from backside of the bag to the front side (See photo).

to attach, insert main hook underneath the seam stitch loop from back to front
grab the center “loop” of fringe bundle and pull it carefully underneath the seam stitch until the loop is just accessible on the other side. grab the free ends of the fringe and thread them through the loop on the other side of the stitch. gently pull the free ends to secure the fringe knot.

grab the center “loop” of fringe bundle and pull it carefully underneath the seam stitch until the loop is just accessible on the other side

thread free ends of the fringe through the loop and pull gently to secure the knot

add one piece to each corner, then one in the middle. evenly space the rest between the corner and middle fringe on both sides
comb out the fringe with your fingers to straighten and Trim the ends evenly with sharp scissors.
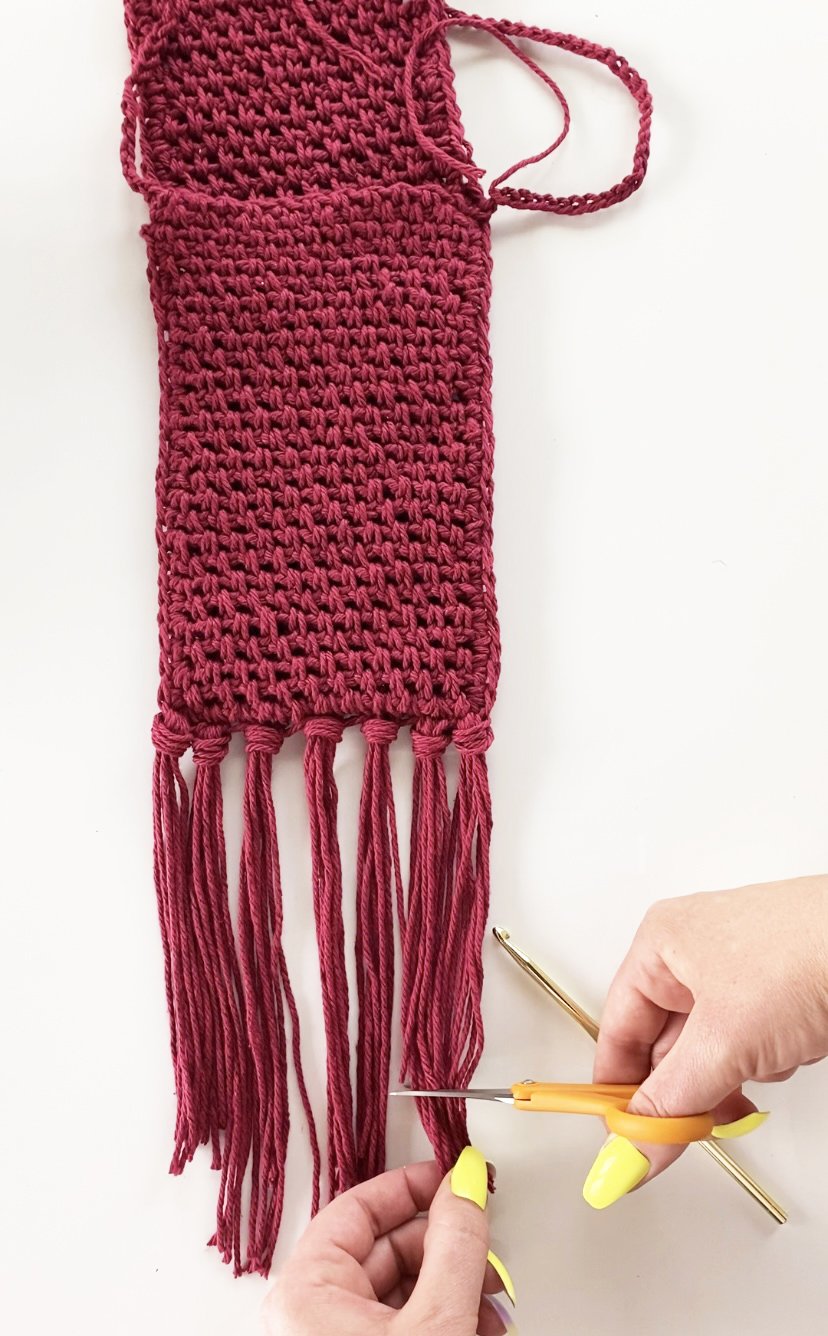
trim fringe ends evenly with sharp scissors

share your creations with me on instagram using the hashtag #dailywalkbag !
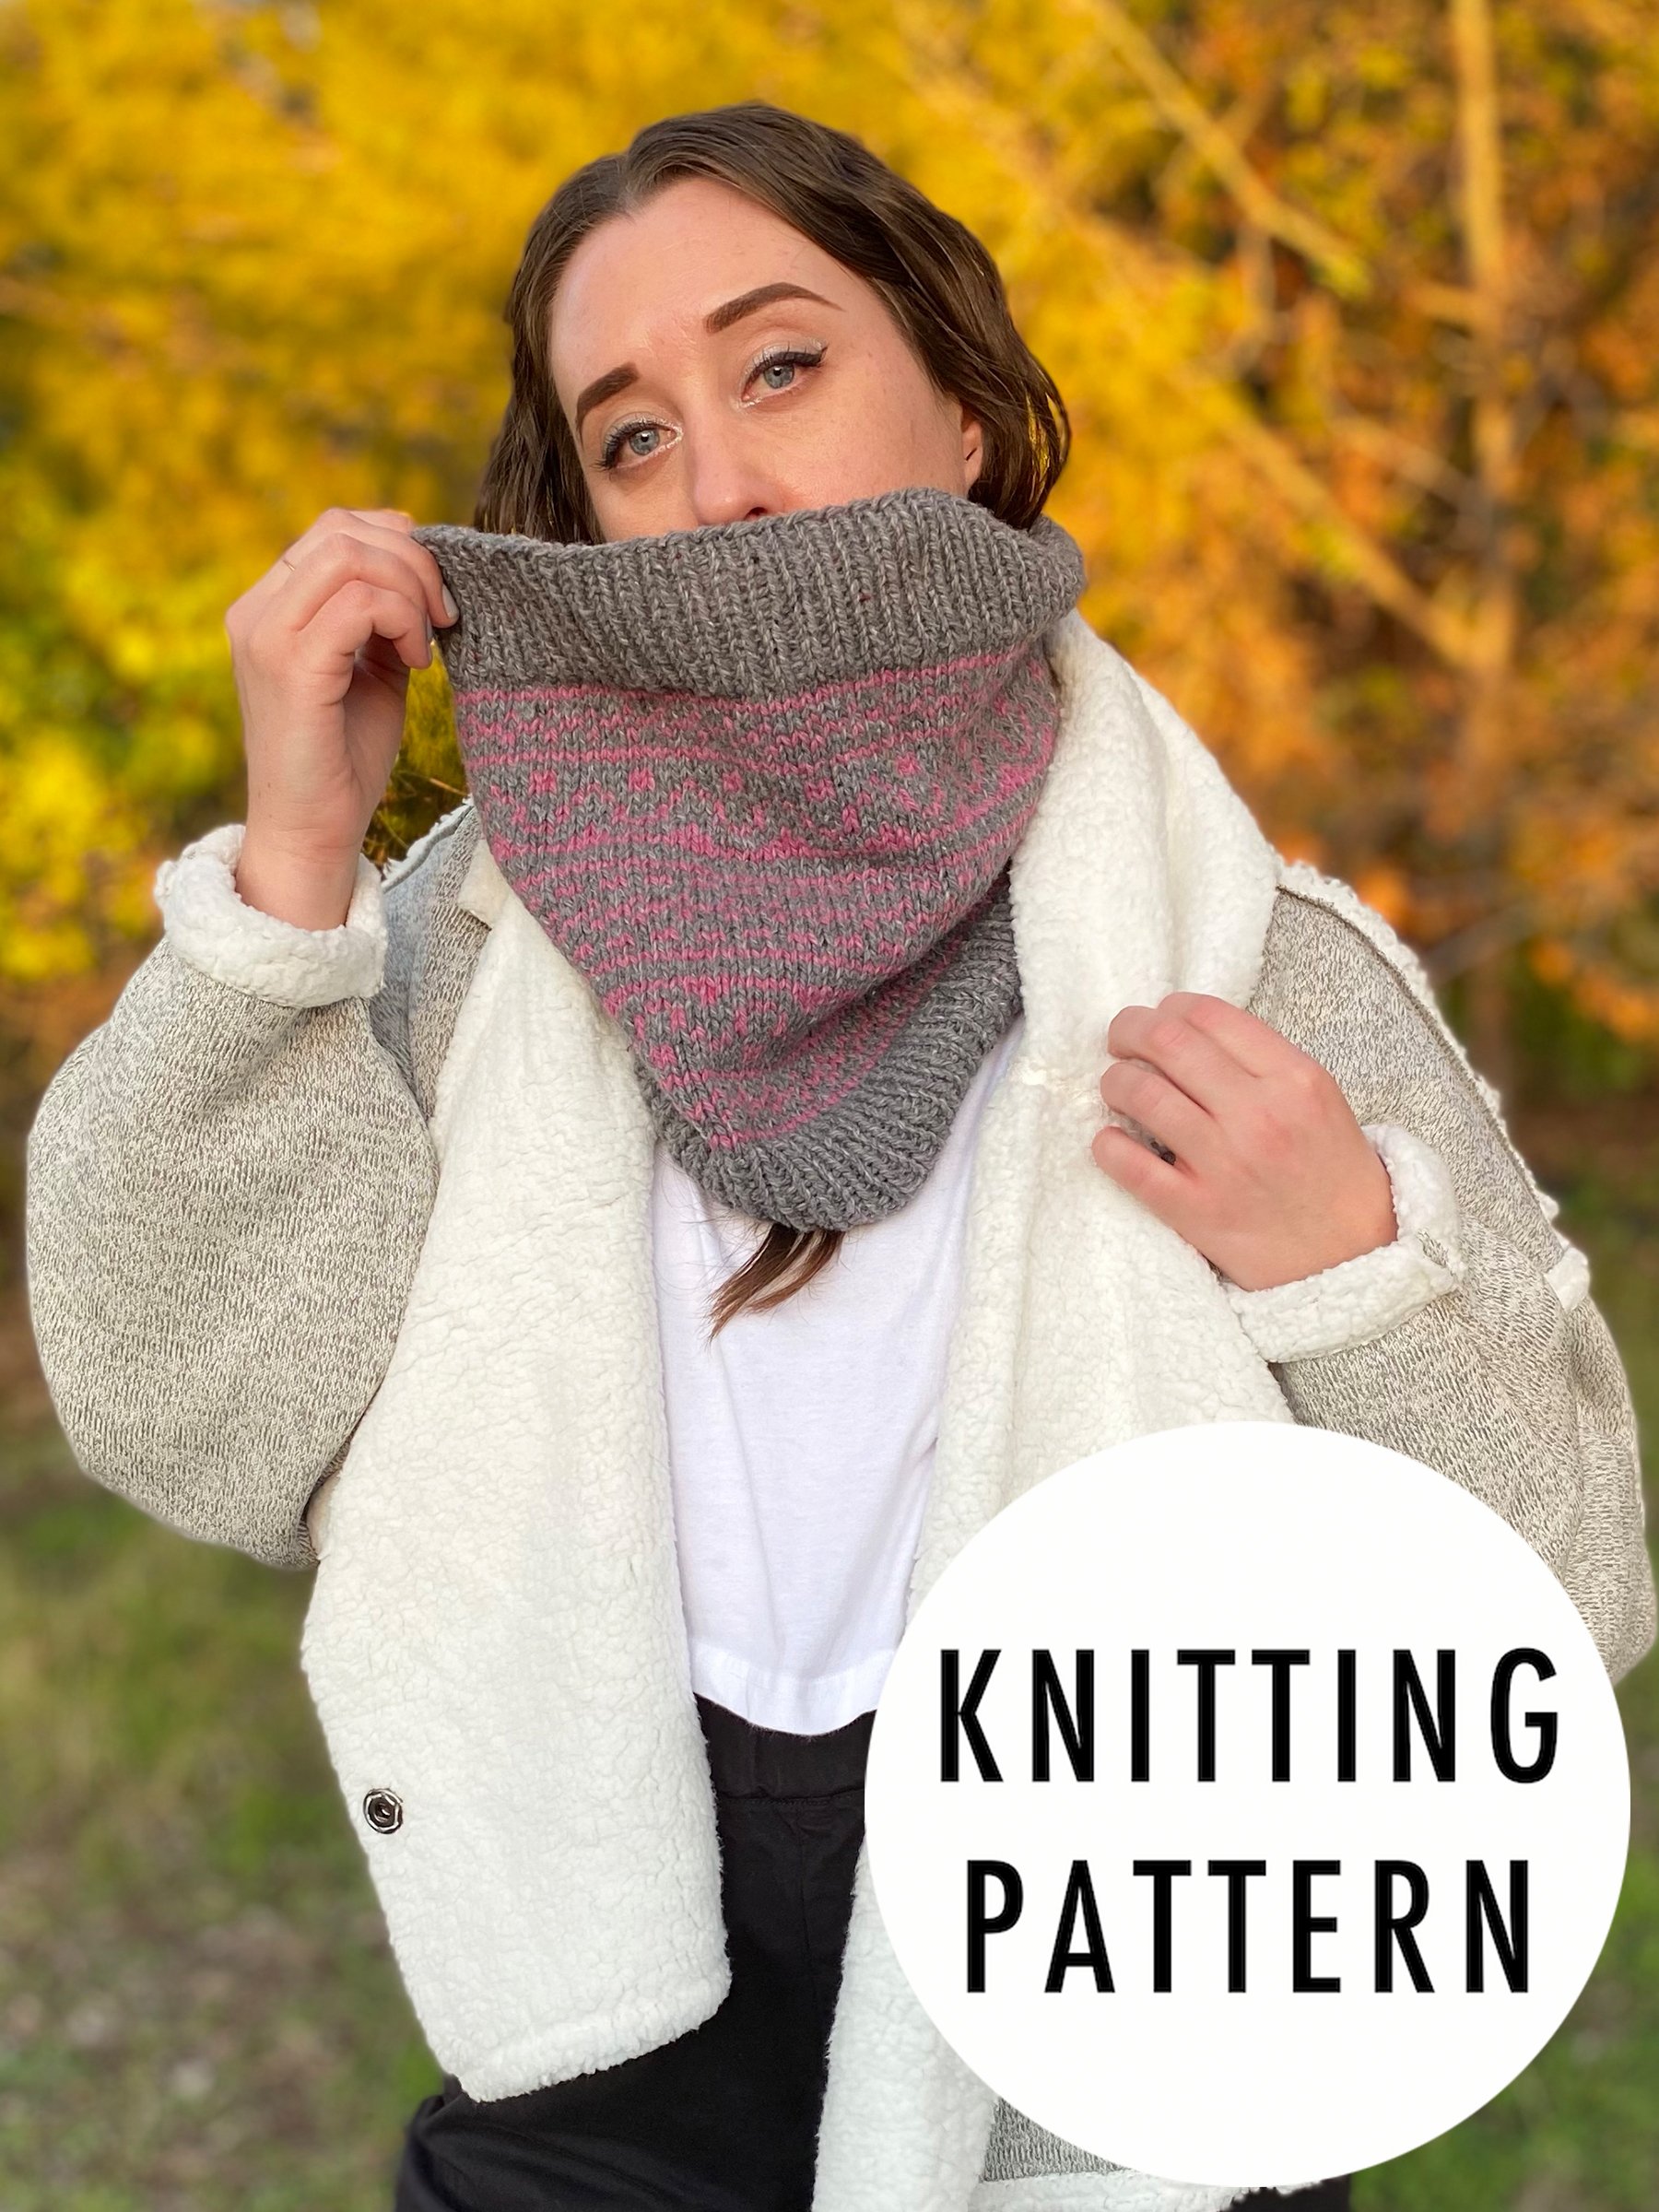
Introducing Taiga Colorwork Cowl

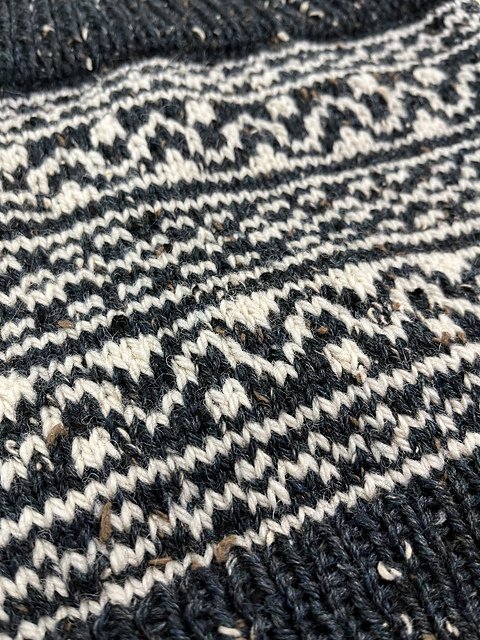
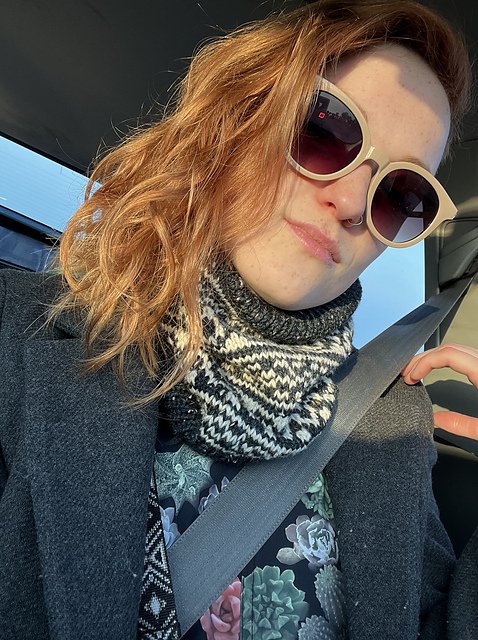
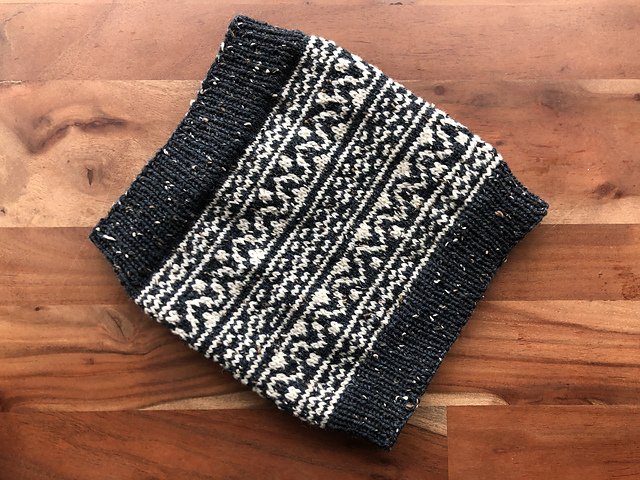
I am excited to announce my newest pattern release, the Taiga Colorwork Cowl! This extra tall and extra snuggly worsted-weight cowl is designed to match the original Taiga Hat pattern released in 2019. Both designs are inspired by traditional Nordic sweater motifs and the cold and snowy winters those motifs evoke.
Calling for about 200-220 yards for the main color and approximately 50 yards for the contrast, I designed this pattern specifically with stash and scrap yarns in mind. I knit my low-contrast samples using Lion Brand Re-Tweed (Aran weight, 40% Wool, 40% Polyester, 20% Acrylic, 202 yards) in colorways Arctic Ice and Rose Heather. I think this pattern looks stunning in both high-contrast and low-contrast colors depending on your personal style!
Pattern Details
Dimensions
13.5 x 12.5” (34 x 31.5 cm)
circumference: 27” (68.5 cm)
Yarn
MC: 210 yards category 4/
medium worsted weight yarn
CC: Approx. 50 yards worsted wool
Sample Yarn:
Lion Brand Re-Tweed
40% wool, 40% polyester 20% acrylic
100 g/3.5 oz, 185 m/202 yds
MC: Arctic Ice
CC: Heather Rose
Needles
Size US 6 (4mm) 16“ circular
Tools
One (1) BOR marker
Tapestry needle for finishing
Gauge
21 stitches/3 colorwork repeats
and 21 rows in the round = 4”
Key
K - Knit
P - Purl
K2T - Knit two stitches together
CC - Contrast color
MC - Main color
Pattern note
An extra step is necessary at the end of each
colorwork round to avoid a color “jog.”
Pattern includes step-by-step photo tutorial.

Inspired by chilly winters and Nordic sweater motifs, Taiga Cowl is a modern and stylish unisex accessory matching the original Taiga Hat. Worked up in worsted-weight yarn, it is a versatile accessory that transitions well from fall to winter, and through the cool transition into spring.
Share your finished cowl with me on Instagram by tagging me @elisemade and using hashtag #taigacolorworkcowl !
Dimensions
13.5 x 12.5” (34 x 31.5 cm)
circumference: 27” (68.5 cm)
Yarn
MC: 210 yards category 4/
medium worsted weight yarn
CC: Approx. 50 yards worsted wool
Sample Yarn:
Lion Brand Re-Tweed
40% wool, 40% polyester 20% acrylic
100 g/3.5 oz, 185 m/202 yds
MC: Arctic Ice
CC: Heather Rose
Needles
Size US 6 (4mm) 16“ circular
Tools
One (1) BOR marker
Tapestry needle for finishing
Gauge
21 stitches/3 colorwork repeats
and 21 rows in the round = 4”
Key
K - Knit
P - Purl
K2T - Knit two stitches together
CC - Contrast color
MC - Main color
Pattern note
An extra step is necessary at the end of each
colorwork round to avoid a color “jog.”
Pattern includes step-by-step photo tutorial.
Test Knitting Roundup
A huge thank you to my lovely testing group, who made such beautiful Taiga cowls and even some matching hats! Please enjoy a small feature of their work below:
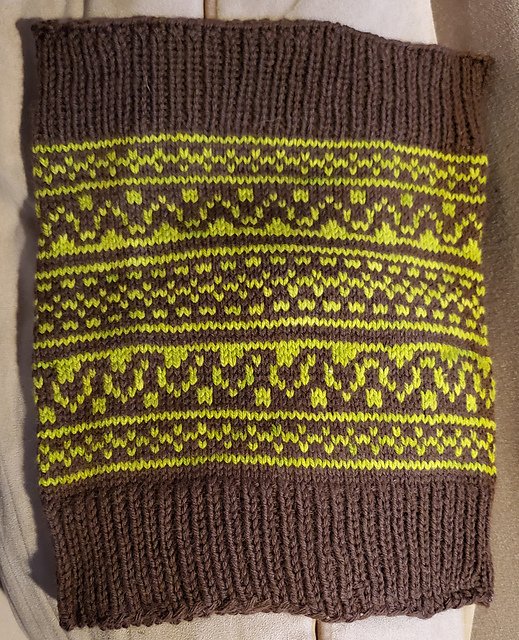
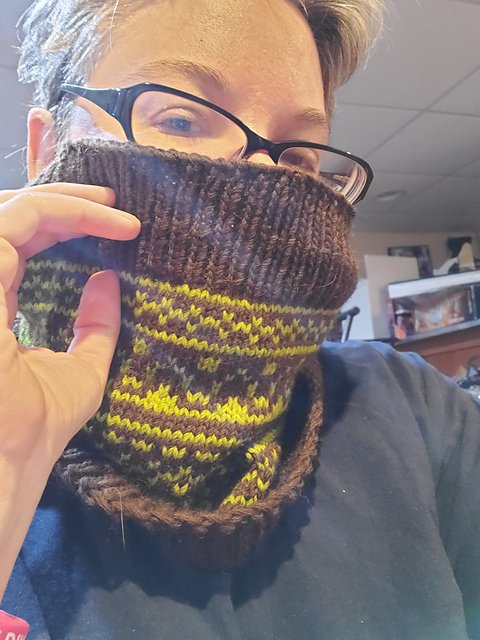
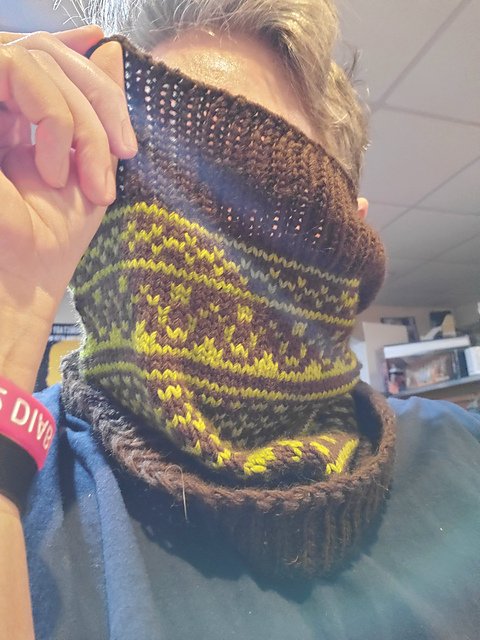
Valerie used Universal Yarn Deluxe Worsted in colorways Brown and Chartreuse. This is an earthy-crunchy cowl after my own heart!
Elizabeth used two colors of Lion Brand Pound of Love (Black and Gray) and made two stunning versions plus a matching hat!
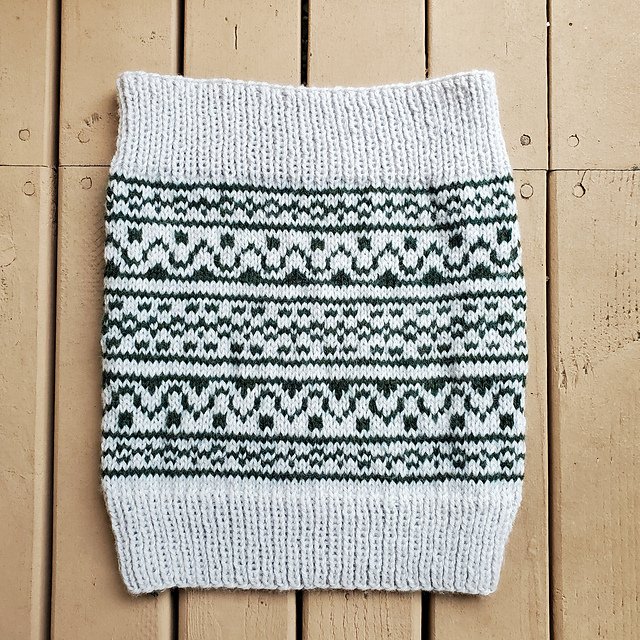
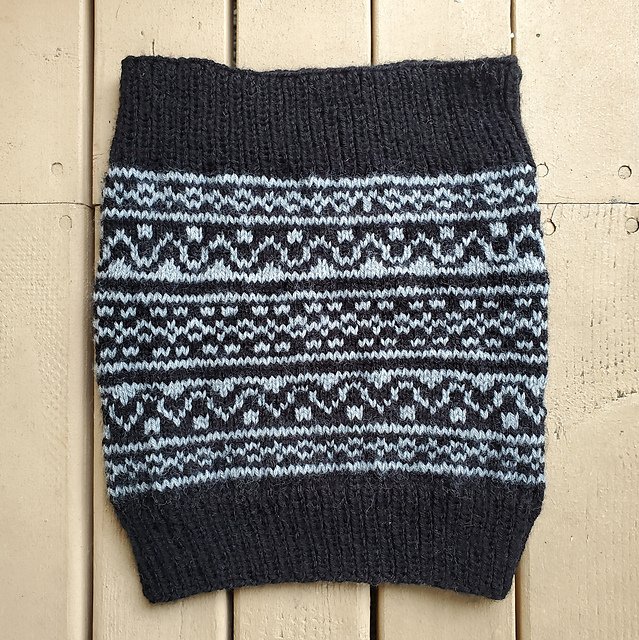
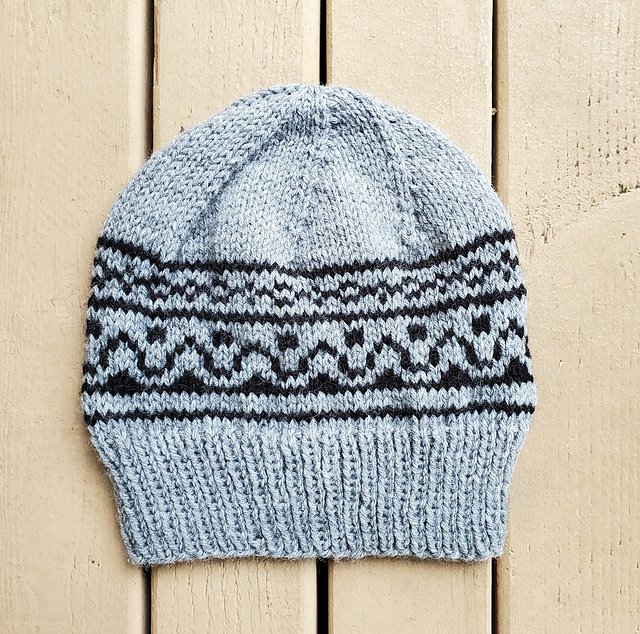
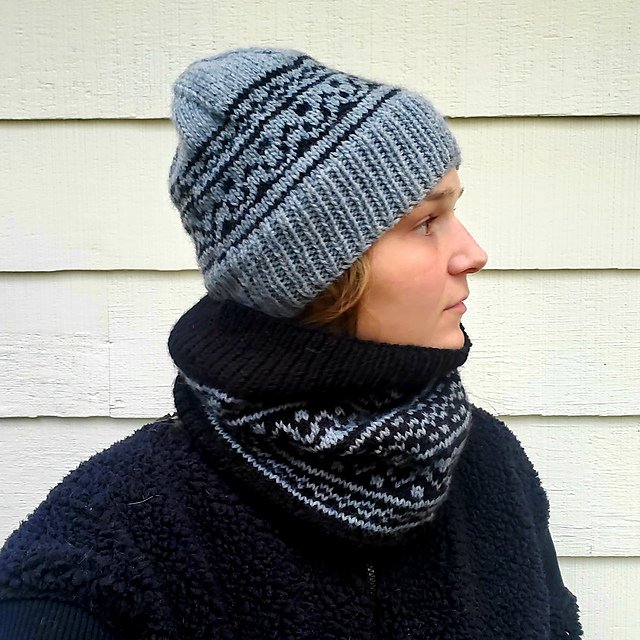
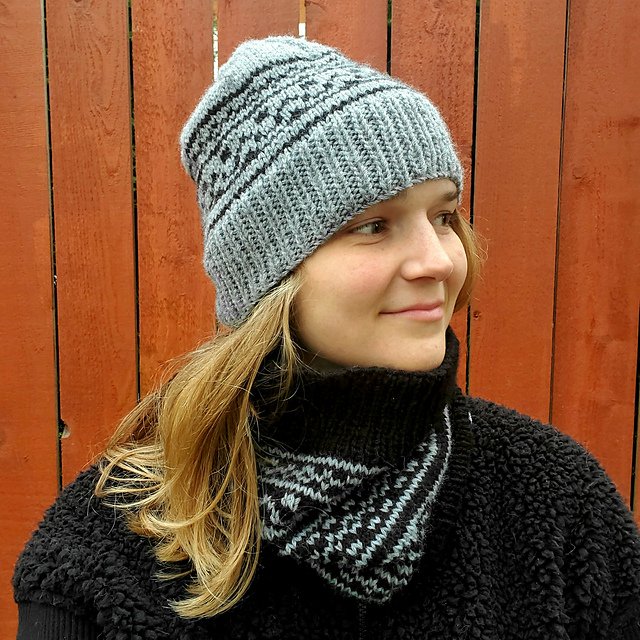
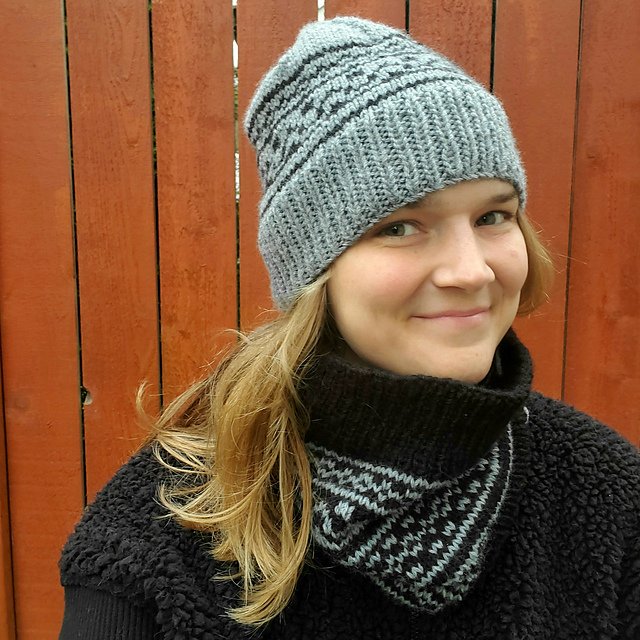
Sukrita used Cascade 220 and Joma yarns to make this stunning tonal version.

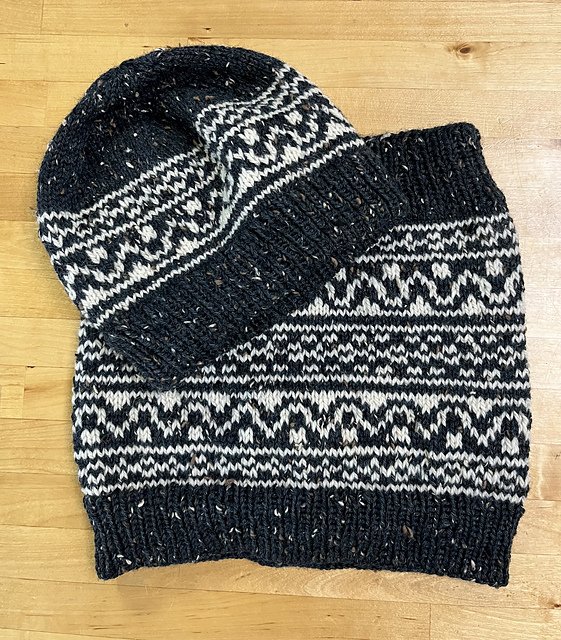
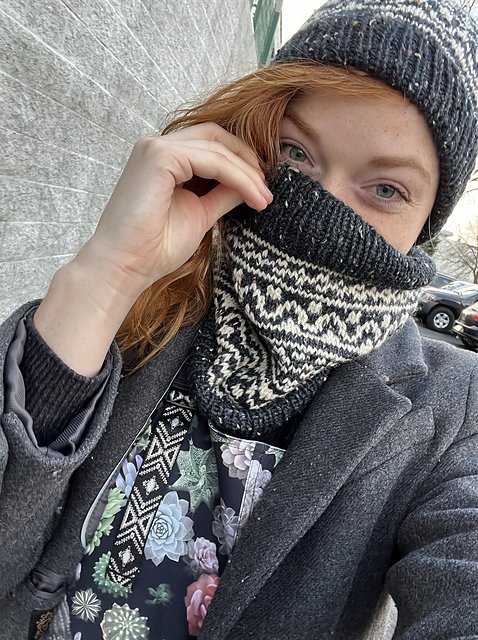
Hannah used Harrisville Designs Highland and Knitpicks Wool of the Andes Tweed for this knockout high-contrast set!

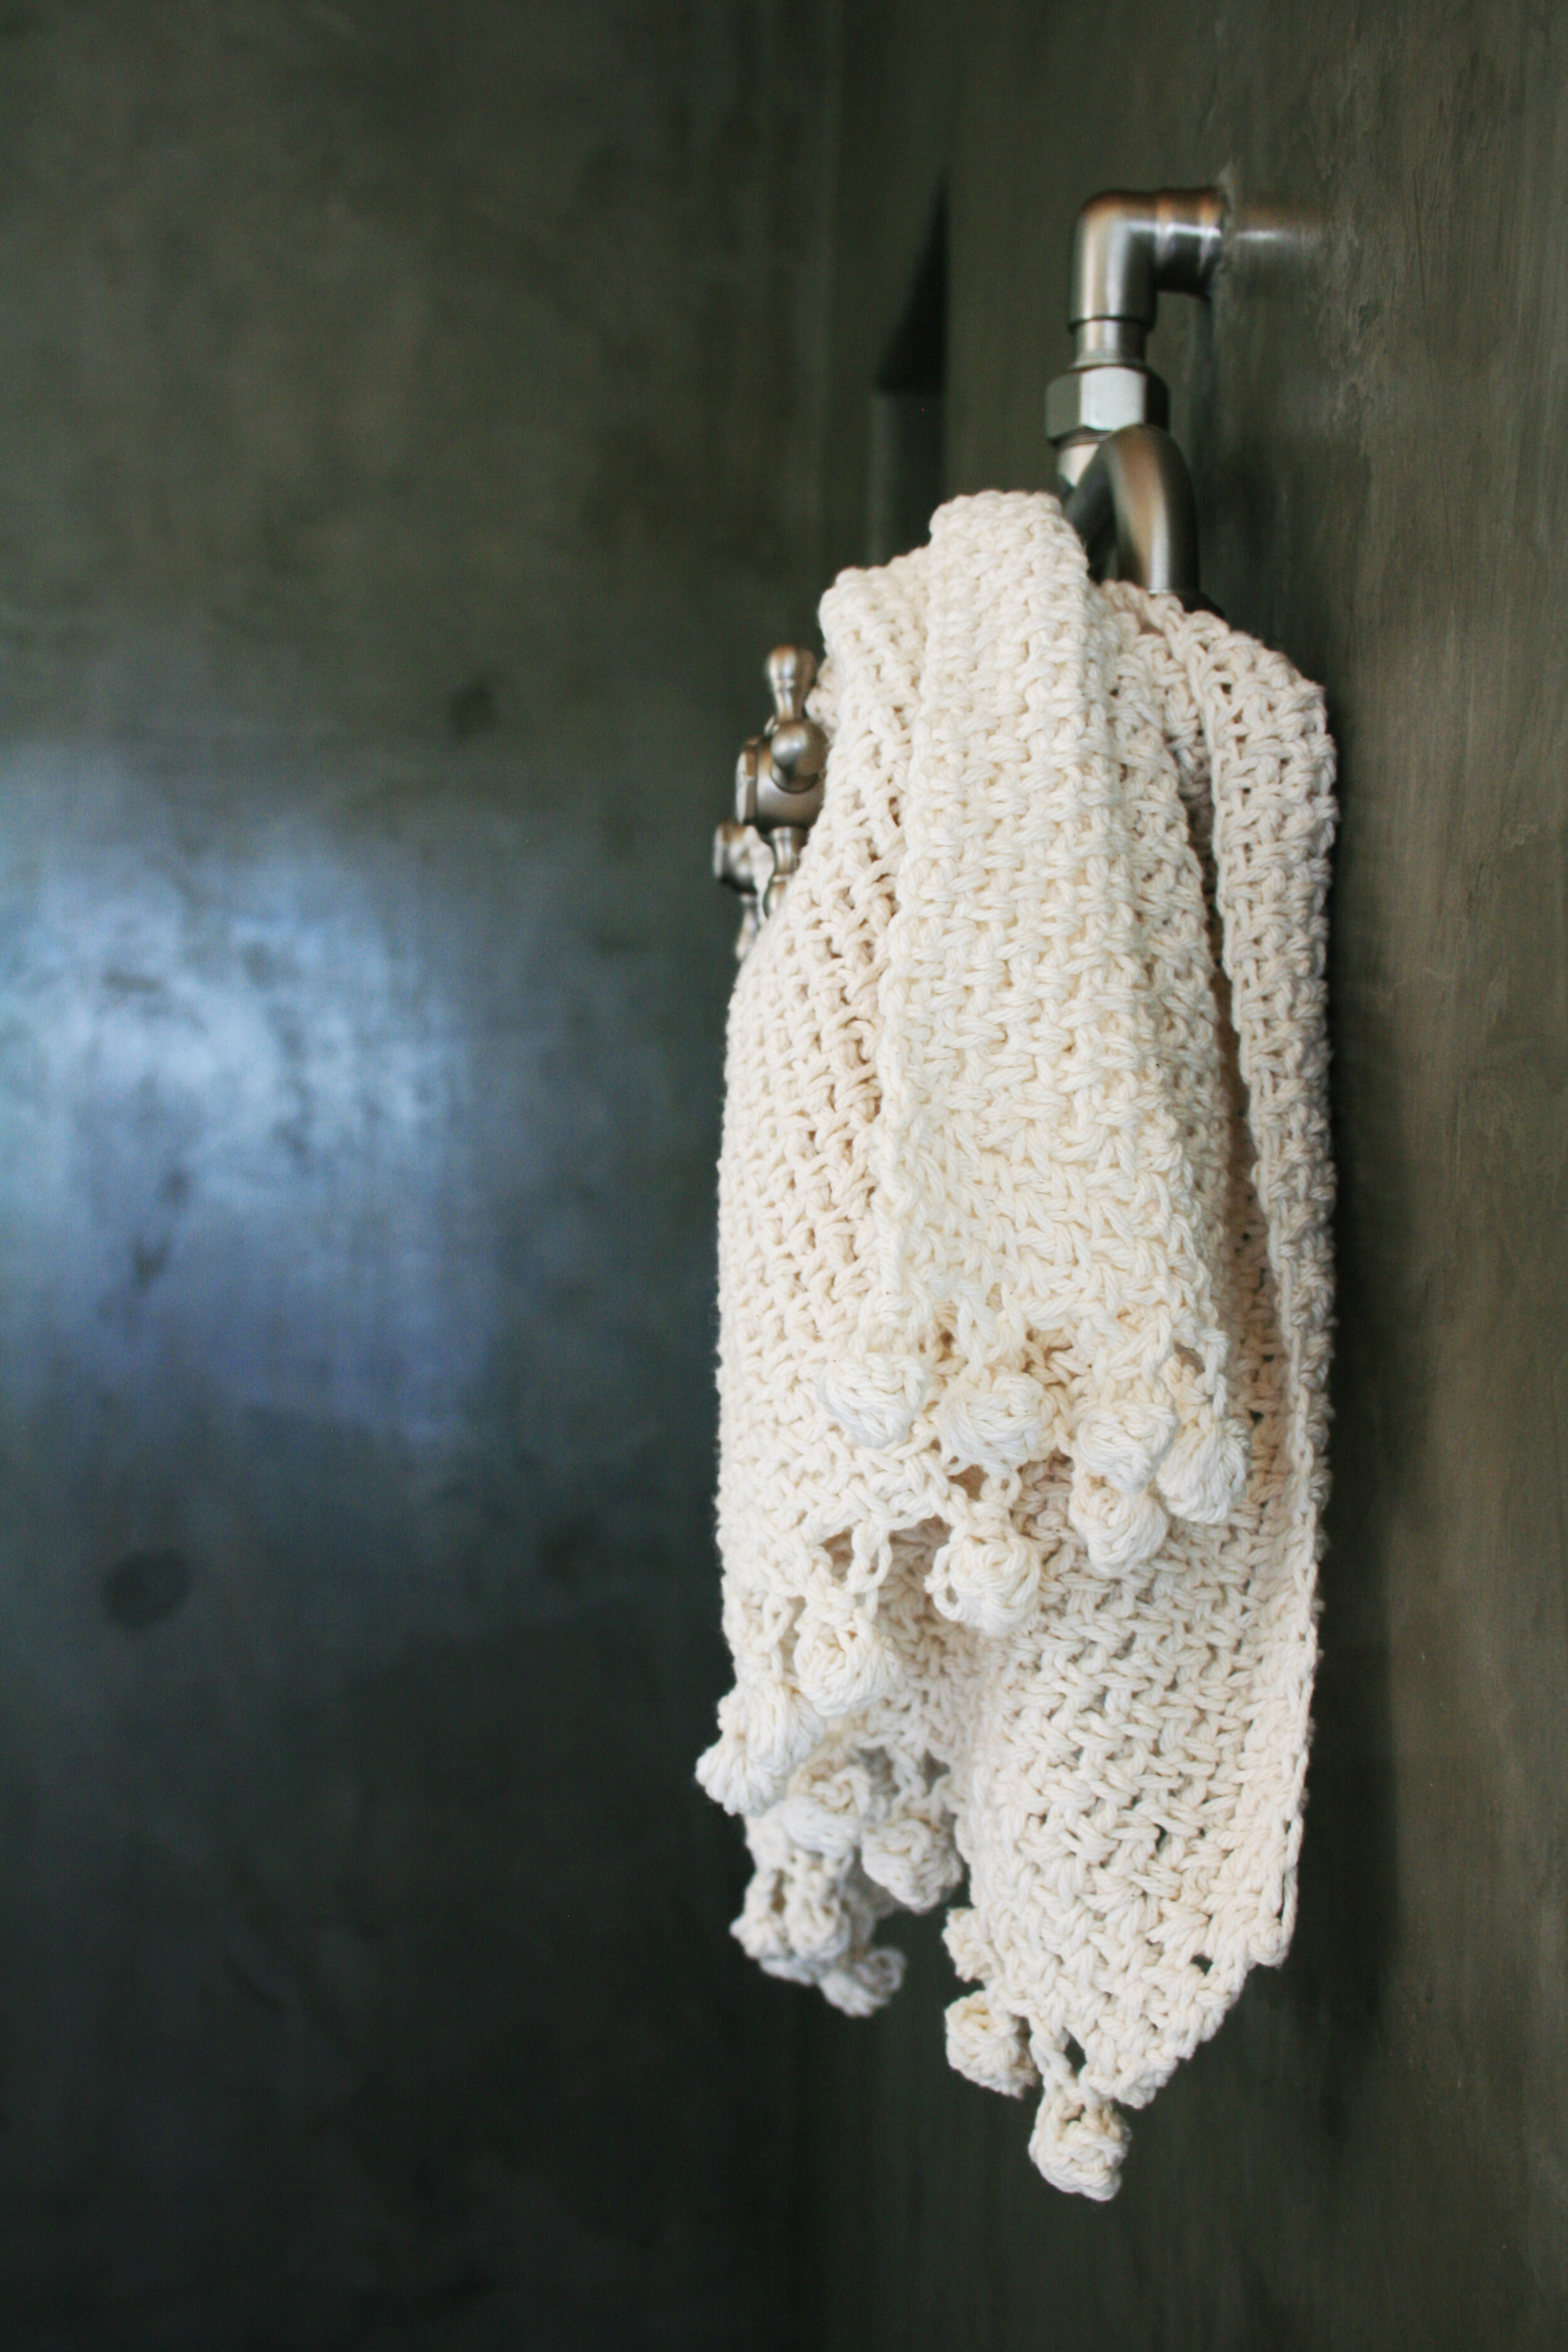
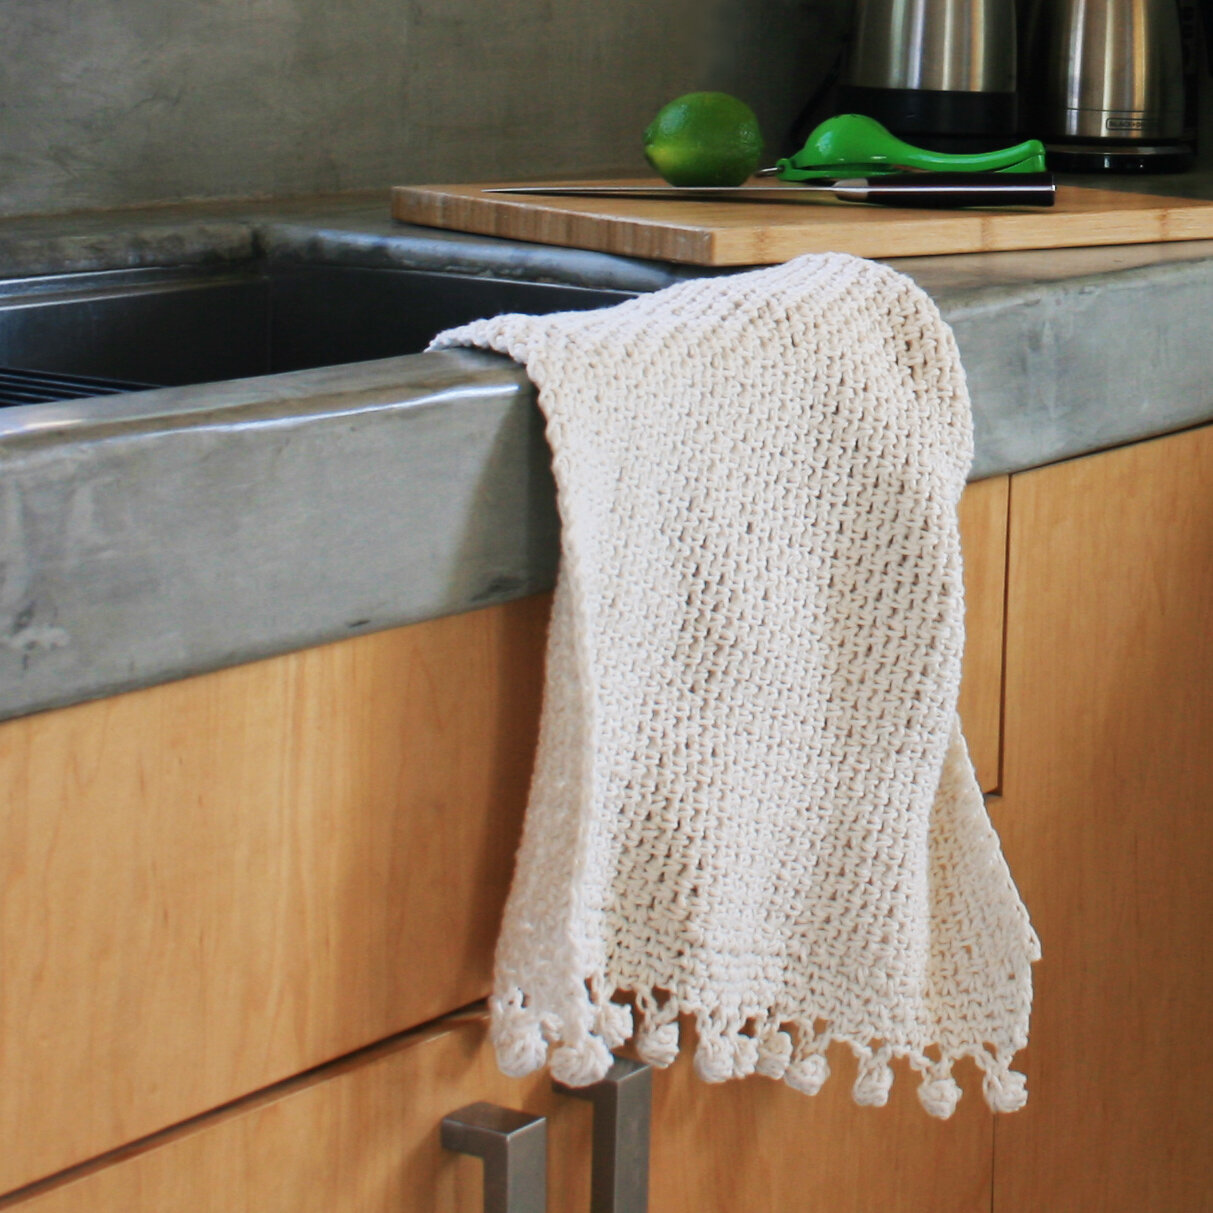
DIY: Crochet Bobble Hand Towel

i absolutely love cotton yarn, and lily sugar’n’cream remains my undefeated favorite. it’s the perfect yarn for making home accessories: it comes in the best colors, washes and wears exceptionally well, is widely and easily available, and best of all, it’s like $3 a ball.
after designing the perfect potholder pattern, i realized how easy it is to transform this humble cotton yarn into luxurious and expensive-looking accessories. next came the perfect tea towel pattern, and then my favorite to-date, the crochet bobble bathmat and the embellished geometric version. i’m so obsessed with the bathmat i knew i had to make a matching hand towel.
whether you use it in the bathroom or the kitchen, this towel is the perfect mix of functional and stylish.

MATERIALS
YARDAGE/YARN: approx. 350 YARDS, 4-PLY WORSTED WEIGHT 100% COTTON
SUGGESTED: 2 supersize balls of LILY SUGAR’N CREAM (I USED COLOR ECRU)
HOOKS: MAIN HOOK/BOBBLE HOOK: H/8-5.00MM
TRIM HOOK: F/5-3.75MM
FINISHED DIMENSIONS: 24x16”
PAttern

the hand towel uses the same hook sizes and is worked in the same stitch pattern as the original bath mat.
you can reference the bath mat pattern instructions and tutorial photos in the original blog post here.
hand towel modifications:
WITH MAIN HOOK, FOUNDATION CHAIN 44 STS
WORK FLAT SINGLE CROCHET MOSS/LINEN/GRANITE STITCH UNTIL PIECE MEASURES approx. 16”.
USING THE TRIM HOOK, JOIN YARN TO THE SIDE EDGE AND WORK MOSS/LINEN/GRANITE STITCH FOR 4 ROWS.
SWITCH TO MAIN HOOK SIZE AND WORK 6 STITCH BOBBLES ACROSS THE ROW:
CHAIN 4, 6 ST BOBBLE INTO 3RD CHAIN, FINISH BOBBLE ON 4TH CHAIN. CHAIN 1 AND ATTACH 1 SPOT AWAY, THEN 1 MOSS ST BEFORE NEXT BOBBLE. 13 BOBBLES TOTAL.
REPEAT TRIM ROWS AND BOBBLES ON OTHER SIDE.
DIY: Crochet Bath Mat with Geometric Design

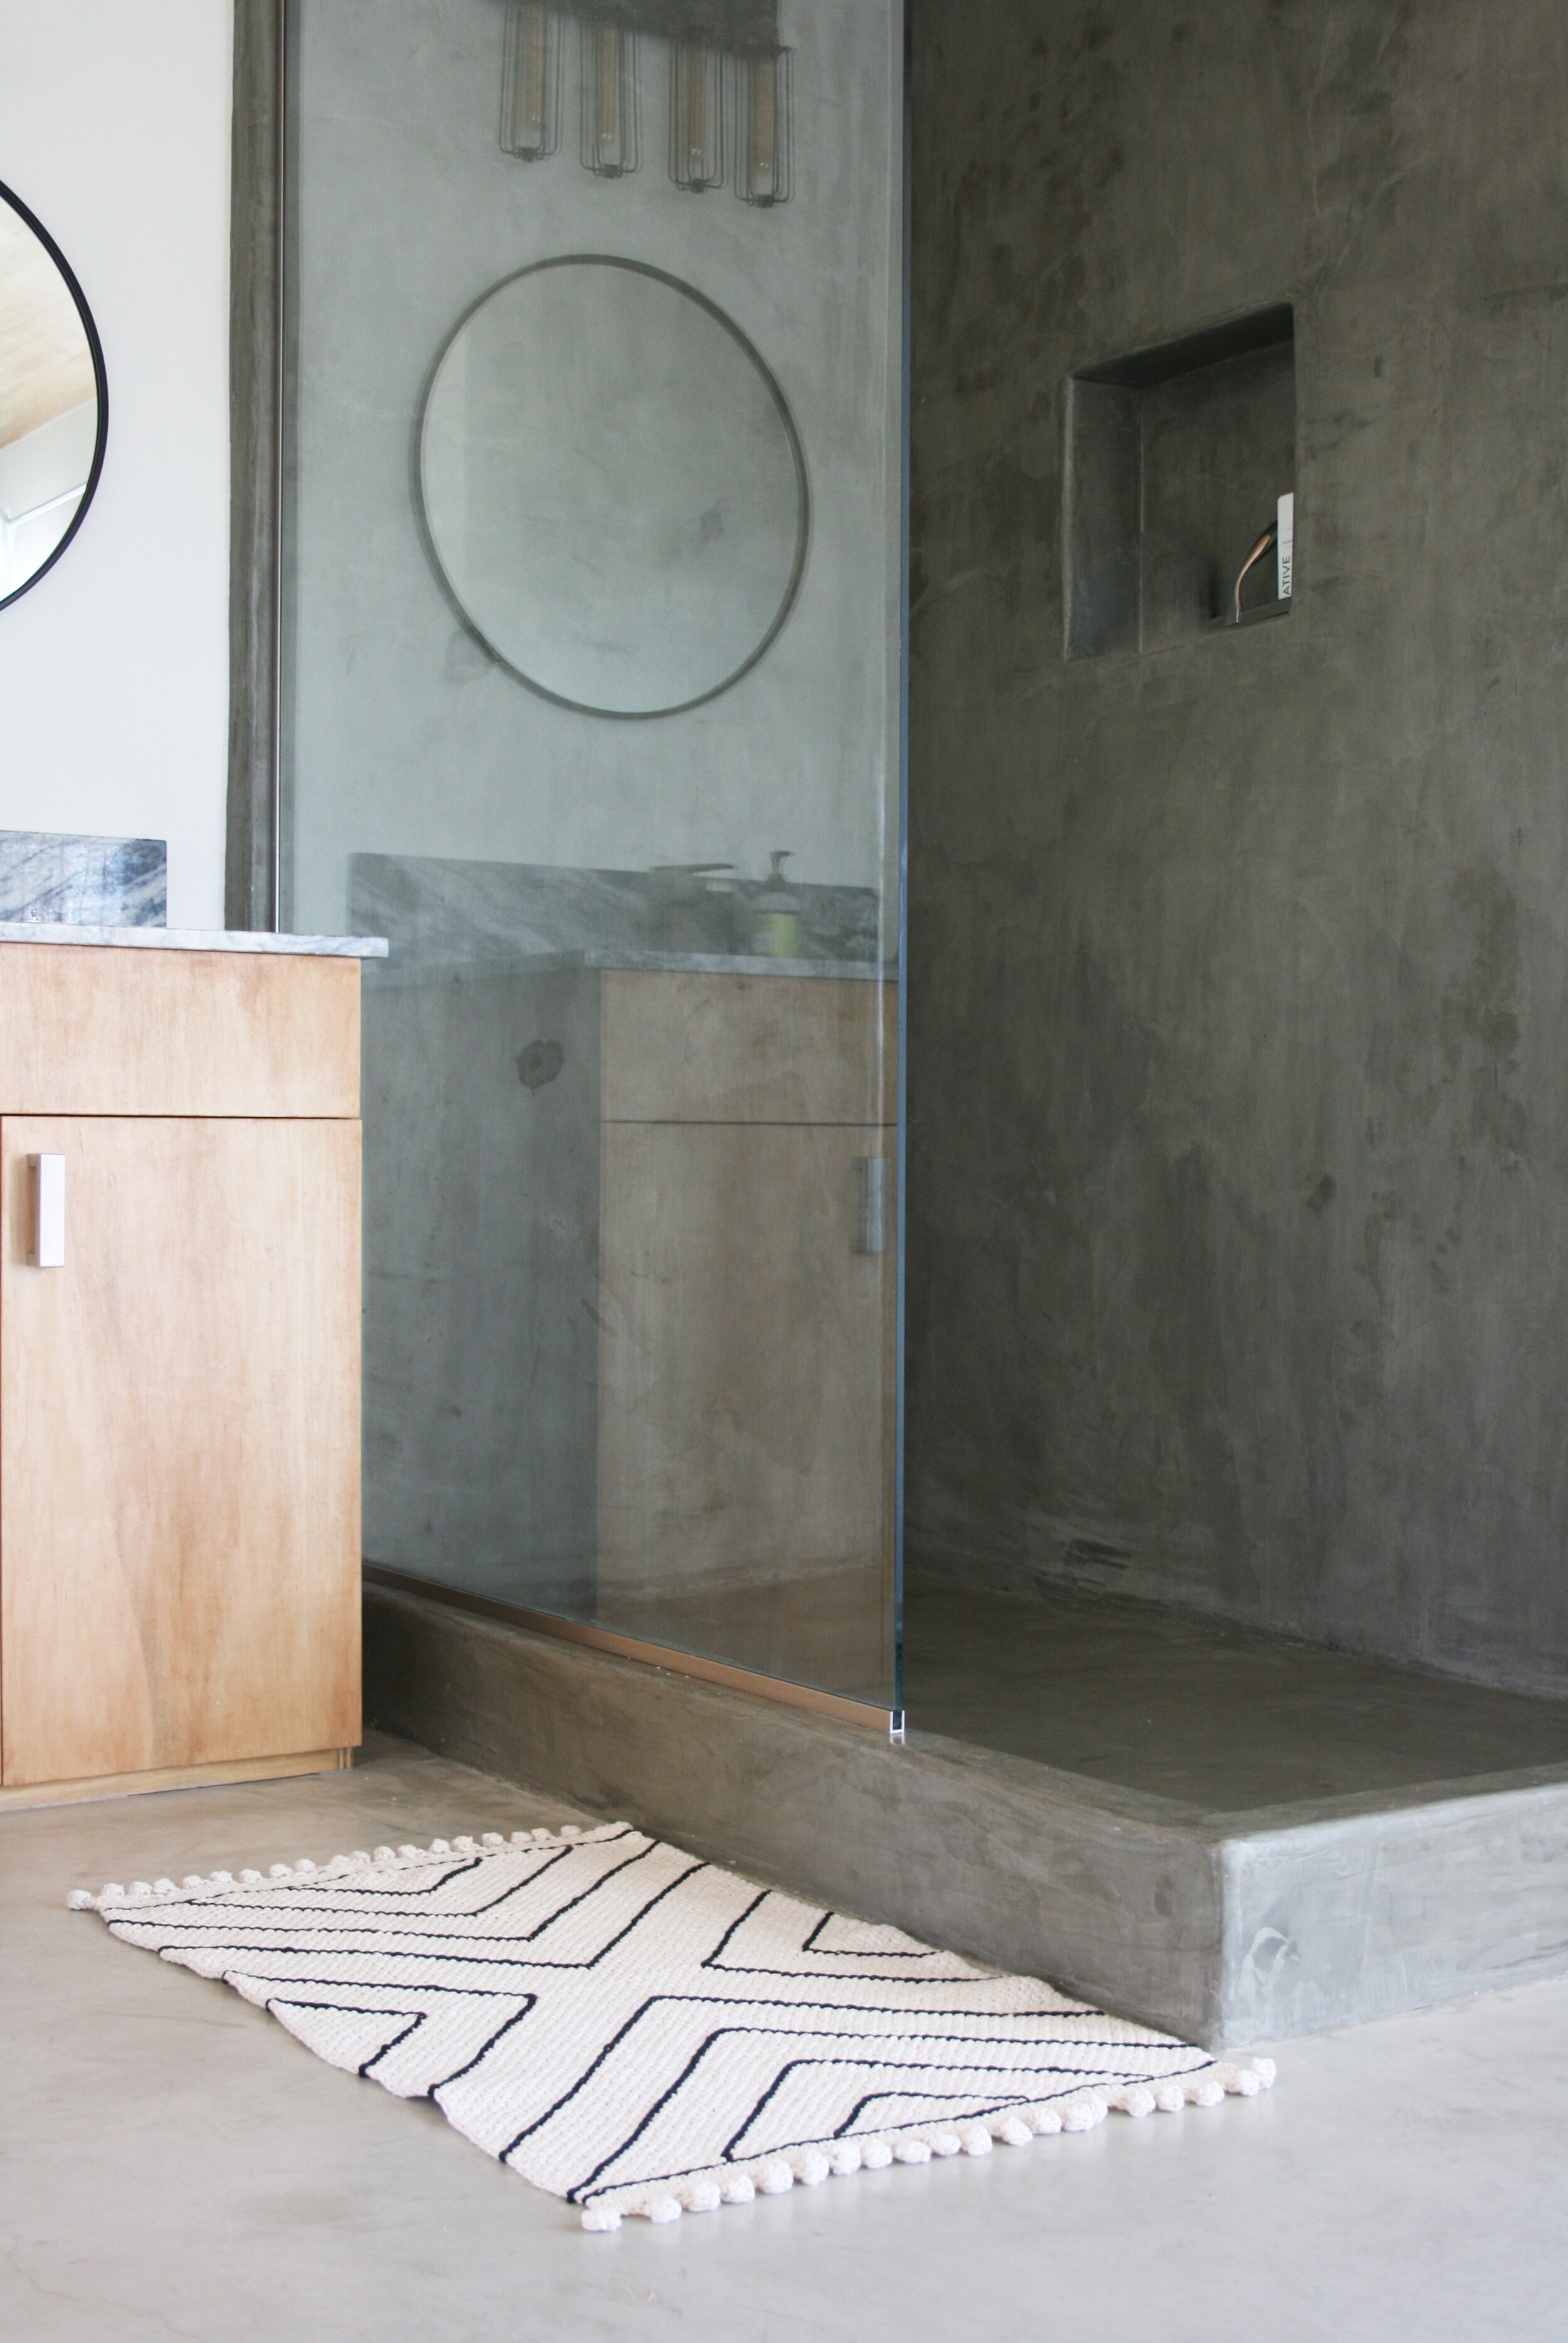
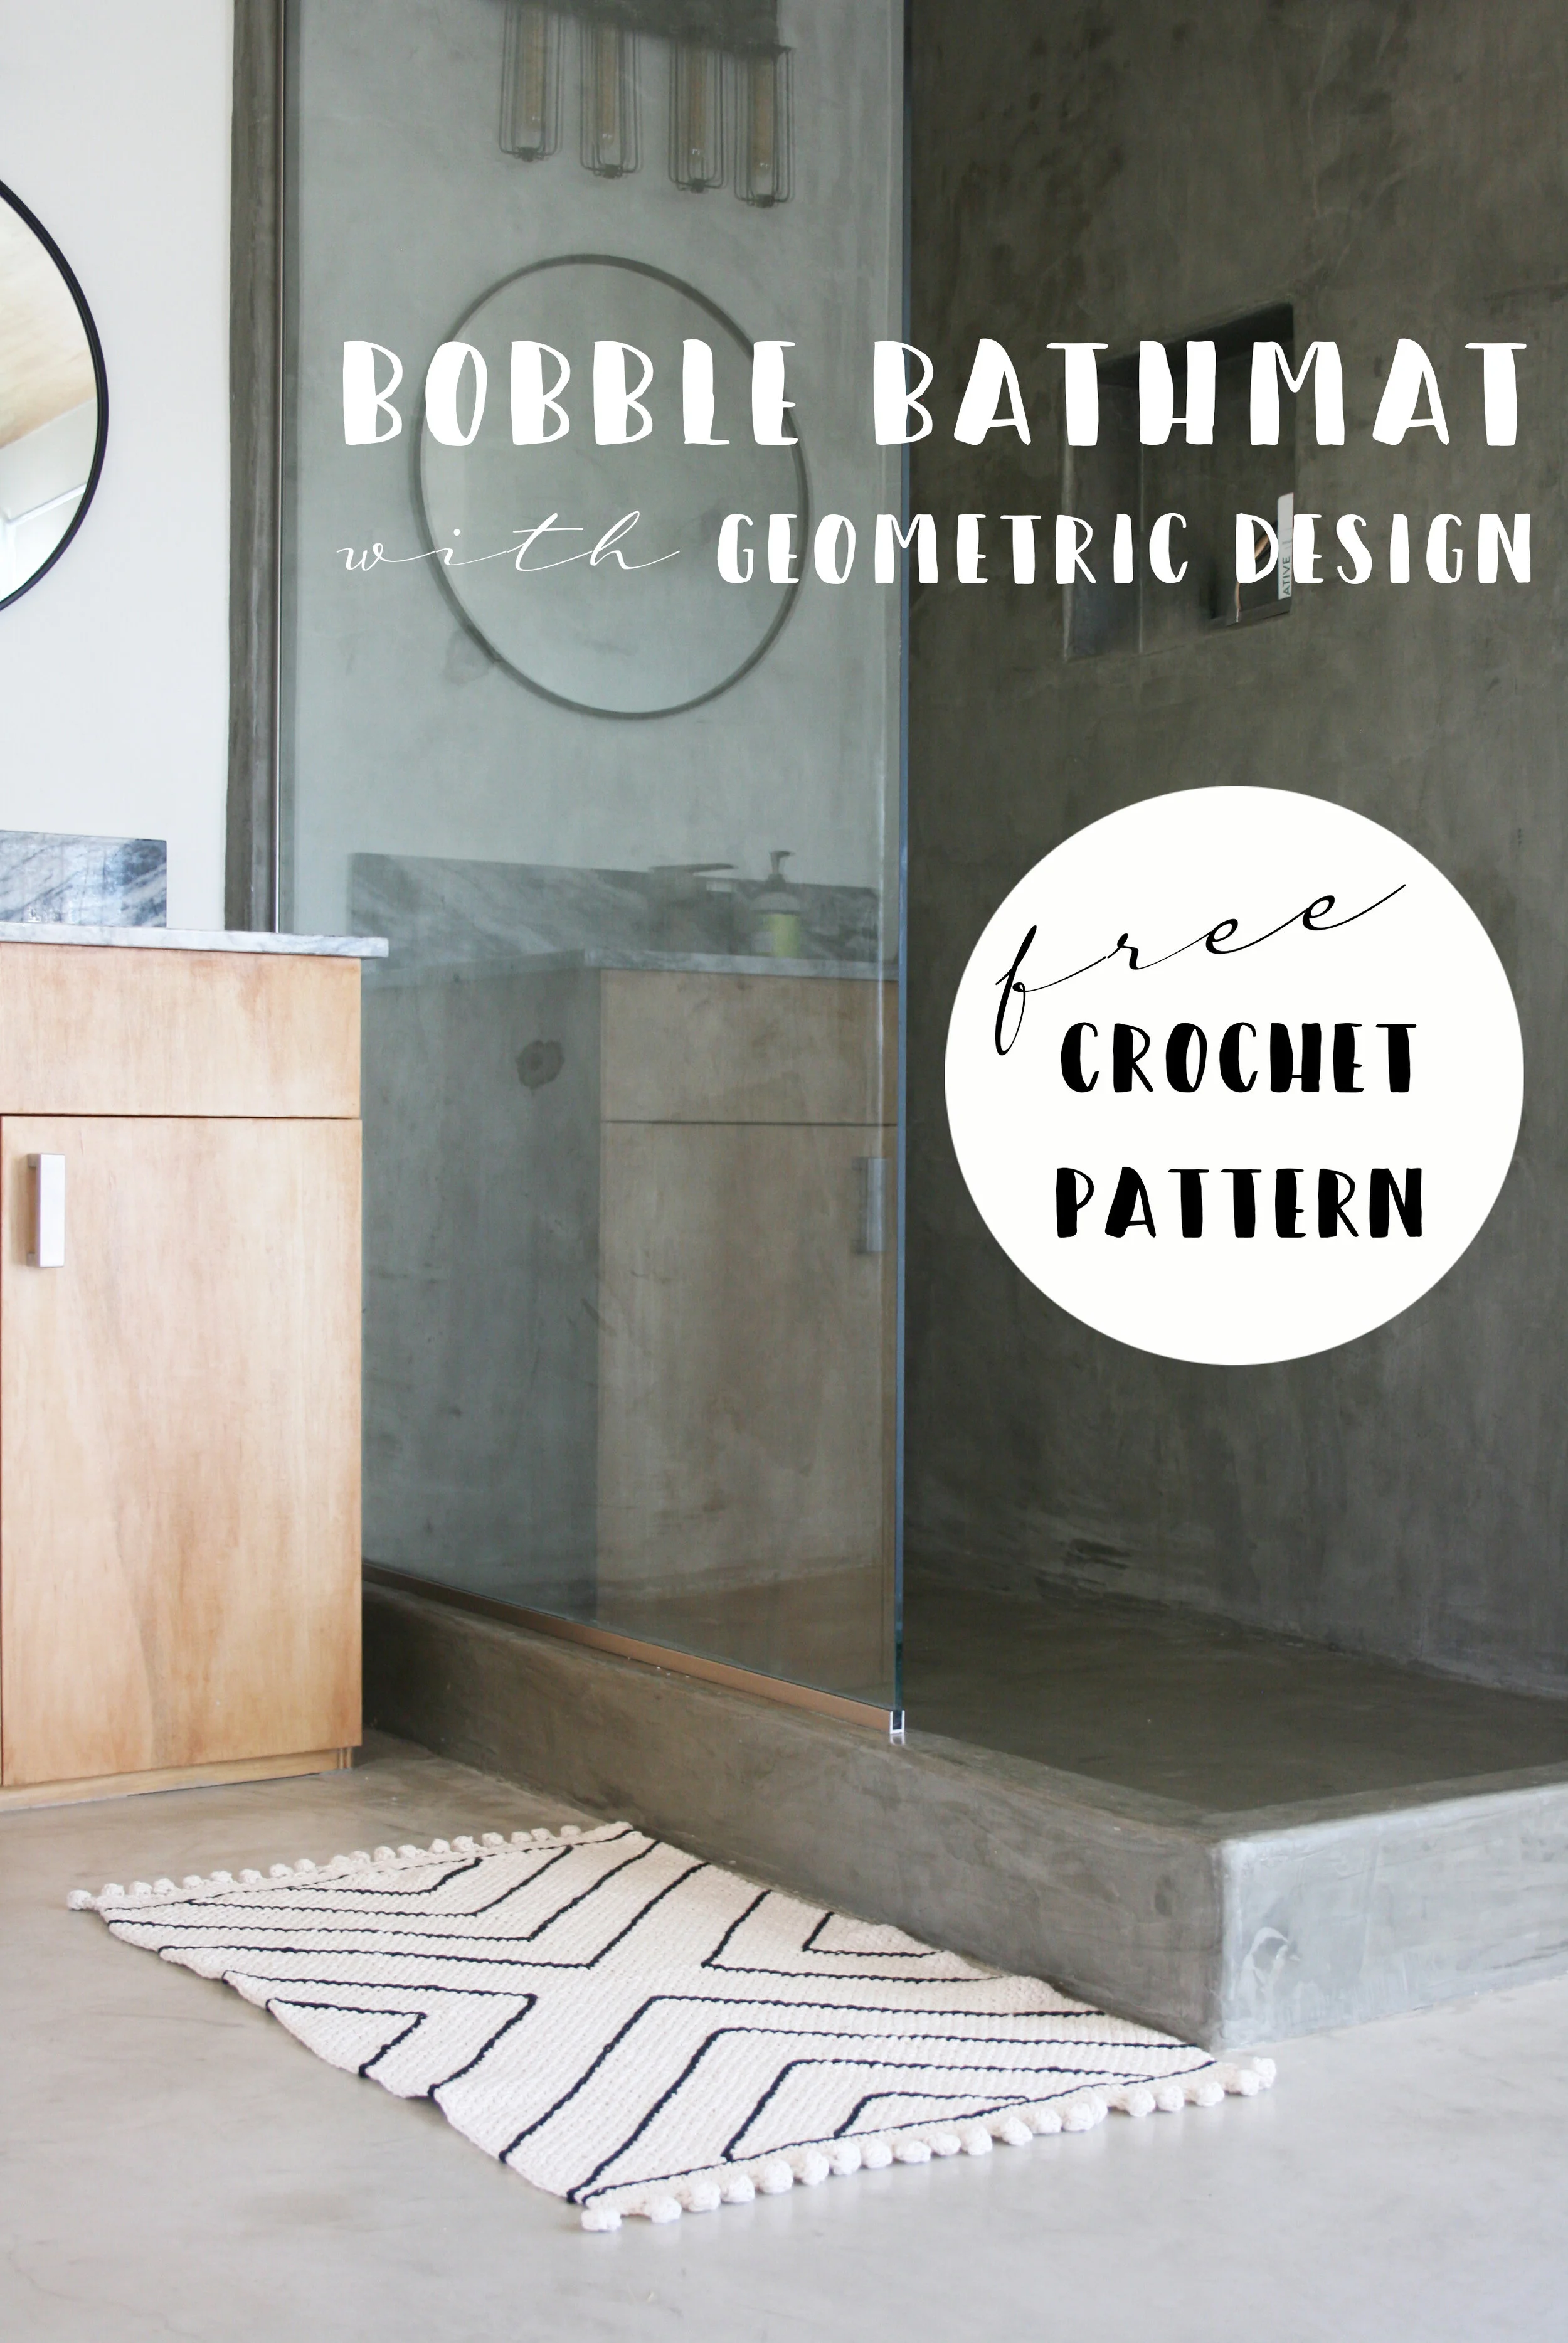
I’ve been really into making knit and crochet home goods lately, and one of my favorite recent creations is a super easy and cute cotton bath mat with bobbles. I recently whipped up another one adding a contrast geometric design and I am obsessed. grab some worsted weight cotton and a crochet hook and get ready to turn out a super chic and modern bath accessory in no time.

Materials
YARDAGE/YARN: 690 YARDS, 4-PLY WORSTED WEIGHT 100% COTTON in main color
approx. 100 yards, 4-ply worsted weight 100% cotton in contrast color
a few yards of waste yarn
SUGGESTED: LILY SUGAR’N CREAM (I USED main COLOR ECRU and contrast color black)
HOOKS: MAIN HOOK/BOBBLE HOOK: H/8-5.00MM
TRIM HOOK: F/5-3.75MM
surface stitch hook: j/10-6.00mm
TOOLS: tapestry needle
FINISHED DIMENSIONS: 38X22”
Pattern
Step 1
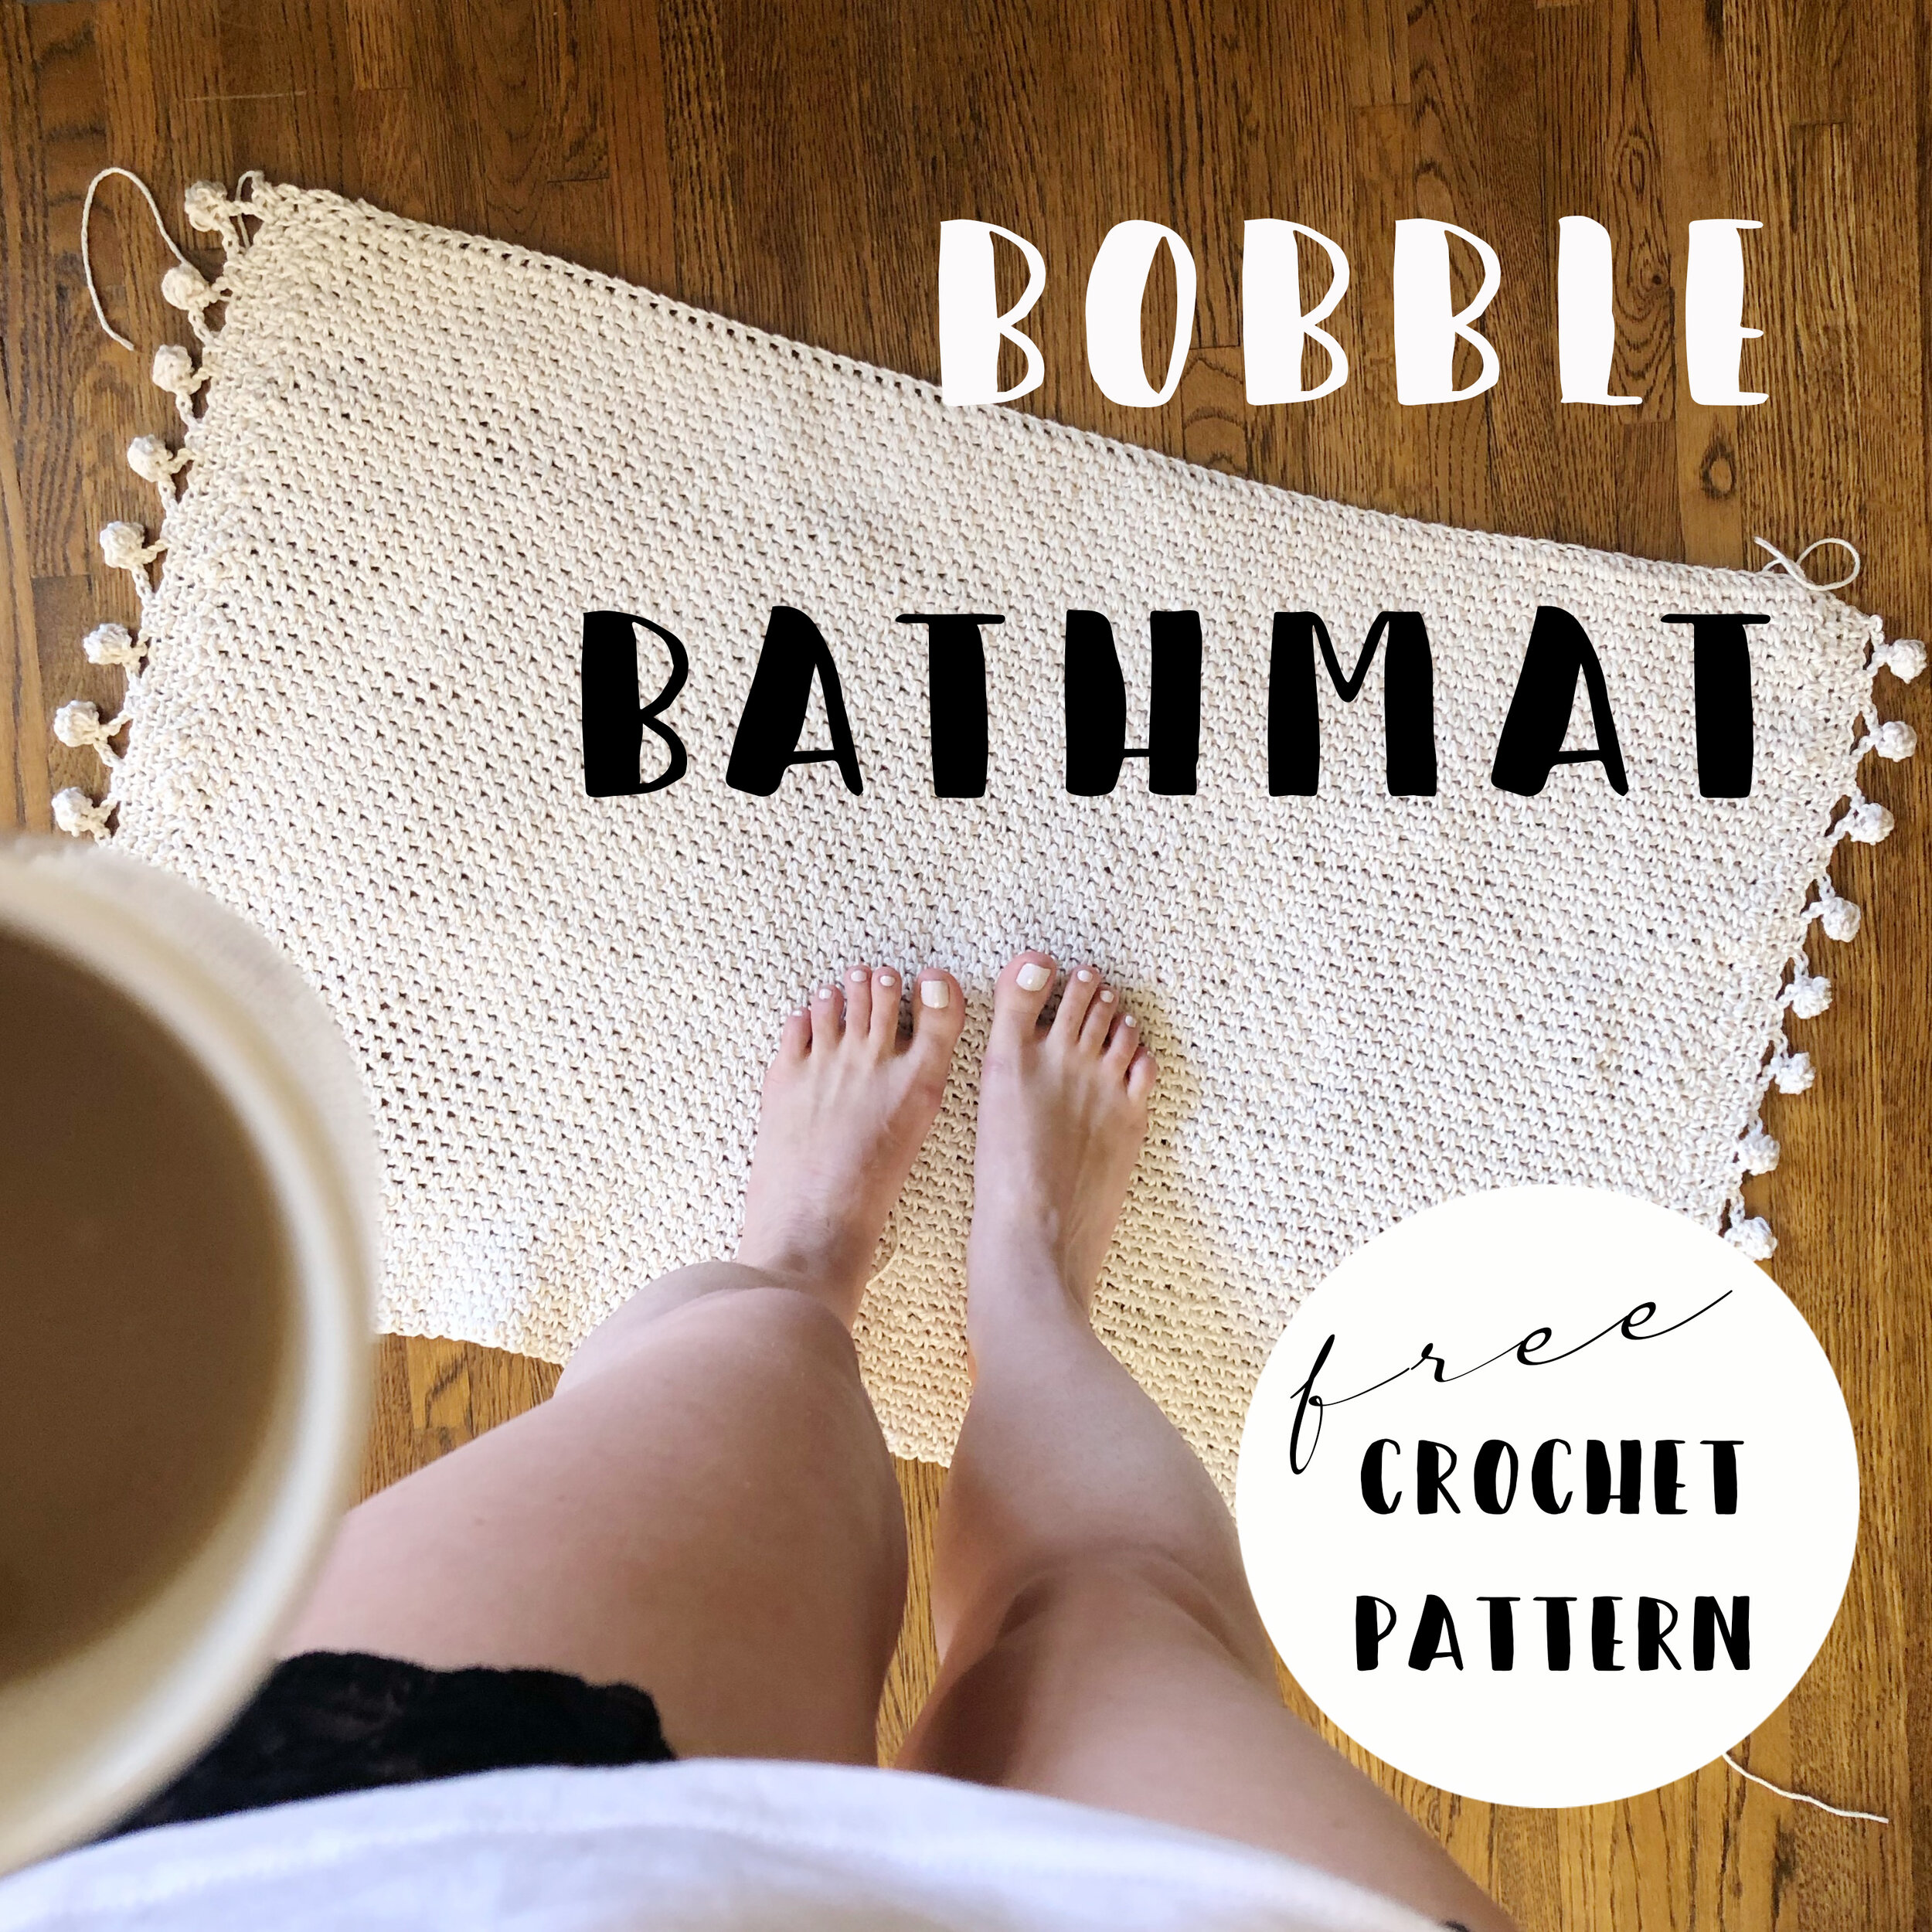
to start, you’ll need to make the original crochet bath mat with bobbles.
Complete all instructions and weave in all ends.
Step 2
once you’ve completed the basic bathmat, the next step is to mark the center lines so the geometric design is evenly spaced. start by marking the vertical center line:
thread a few yards of waste yarn onto a tapestry needle, and then fold the bathmat in half so the two bobble edges are together. identify the hole in the stitch pattern that is centered in the fold and thread your needle through.
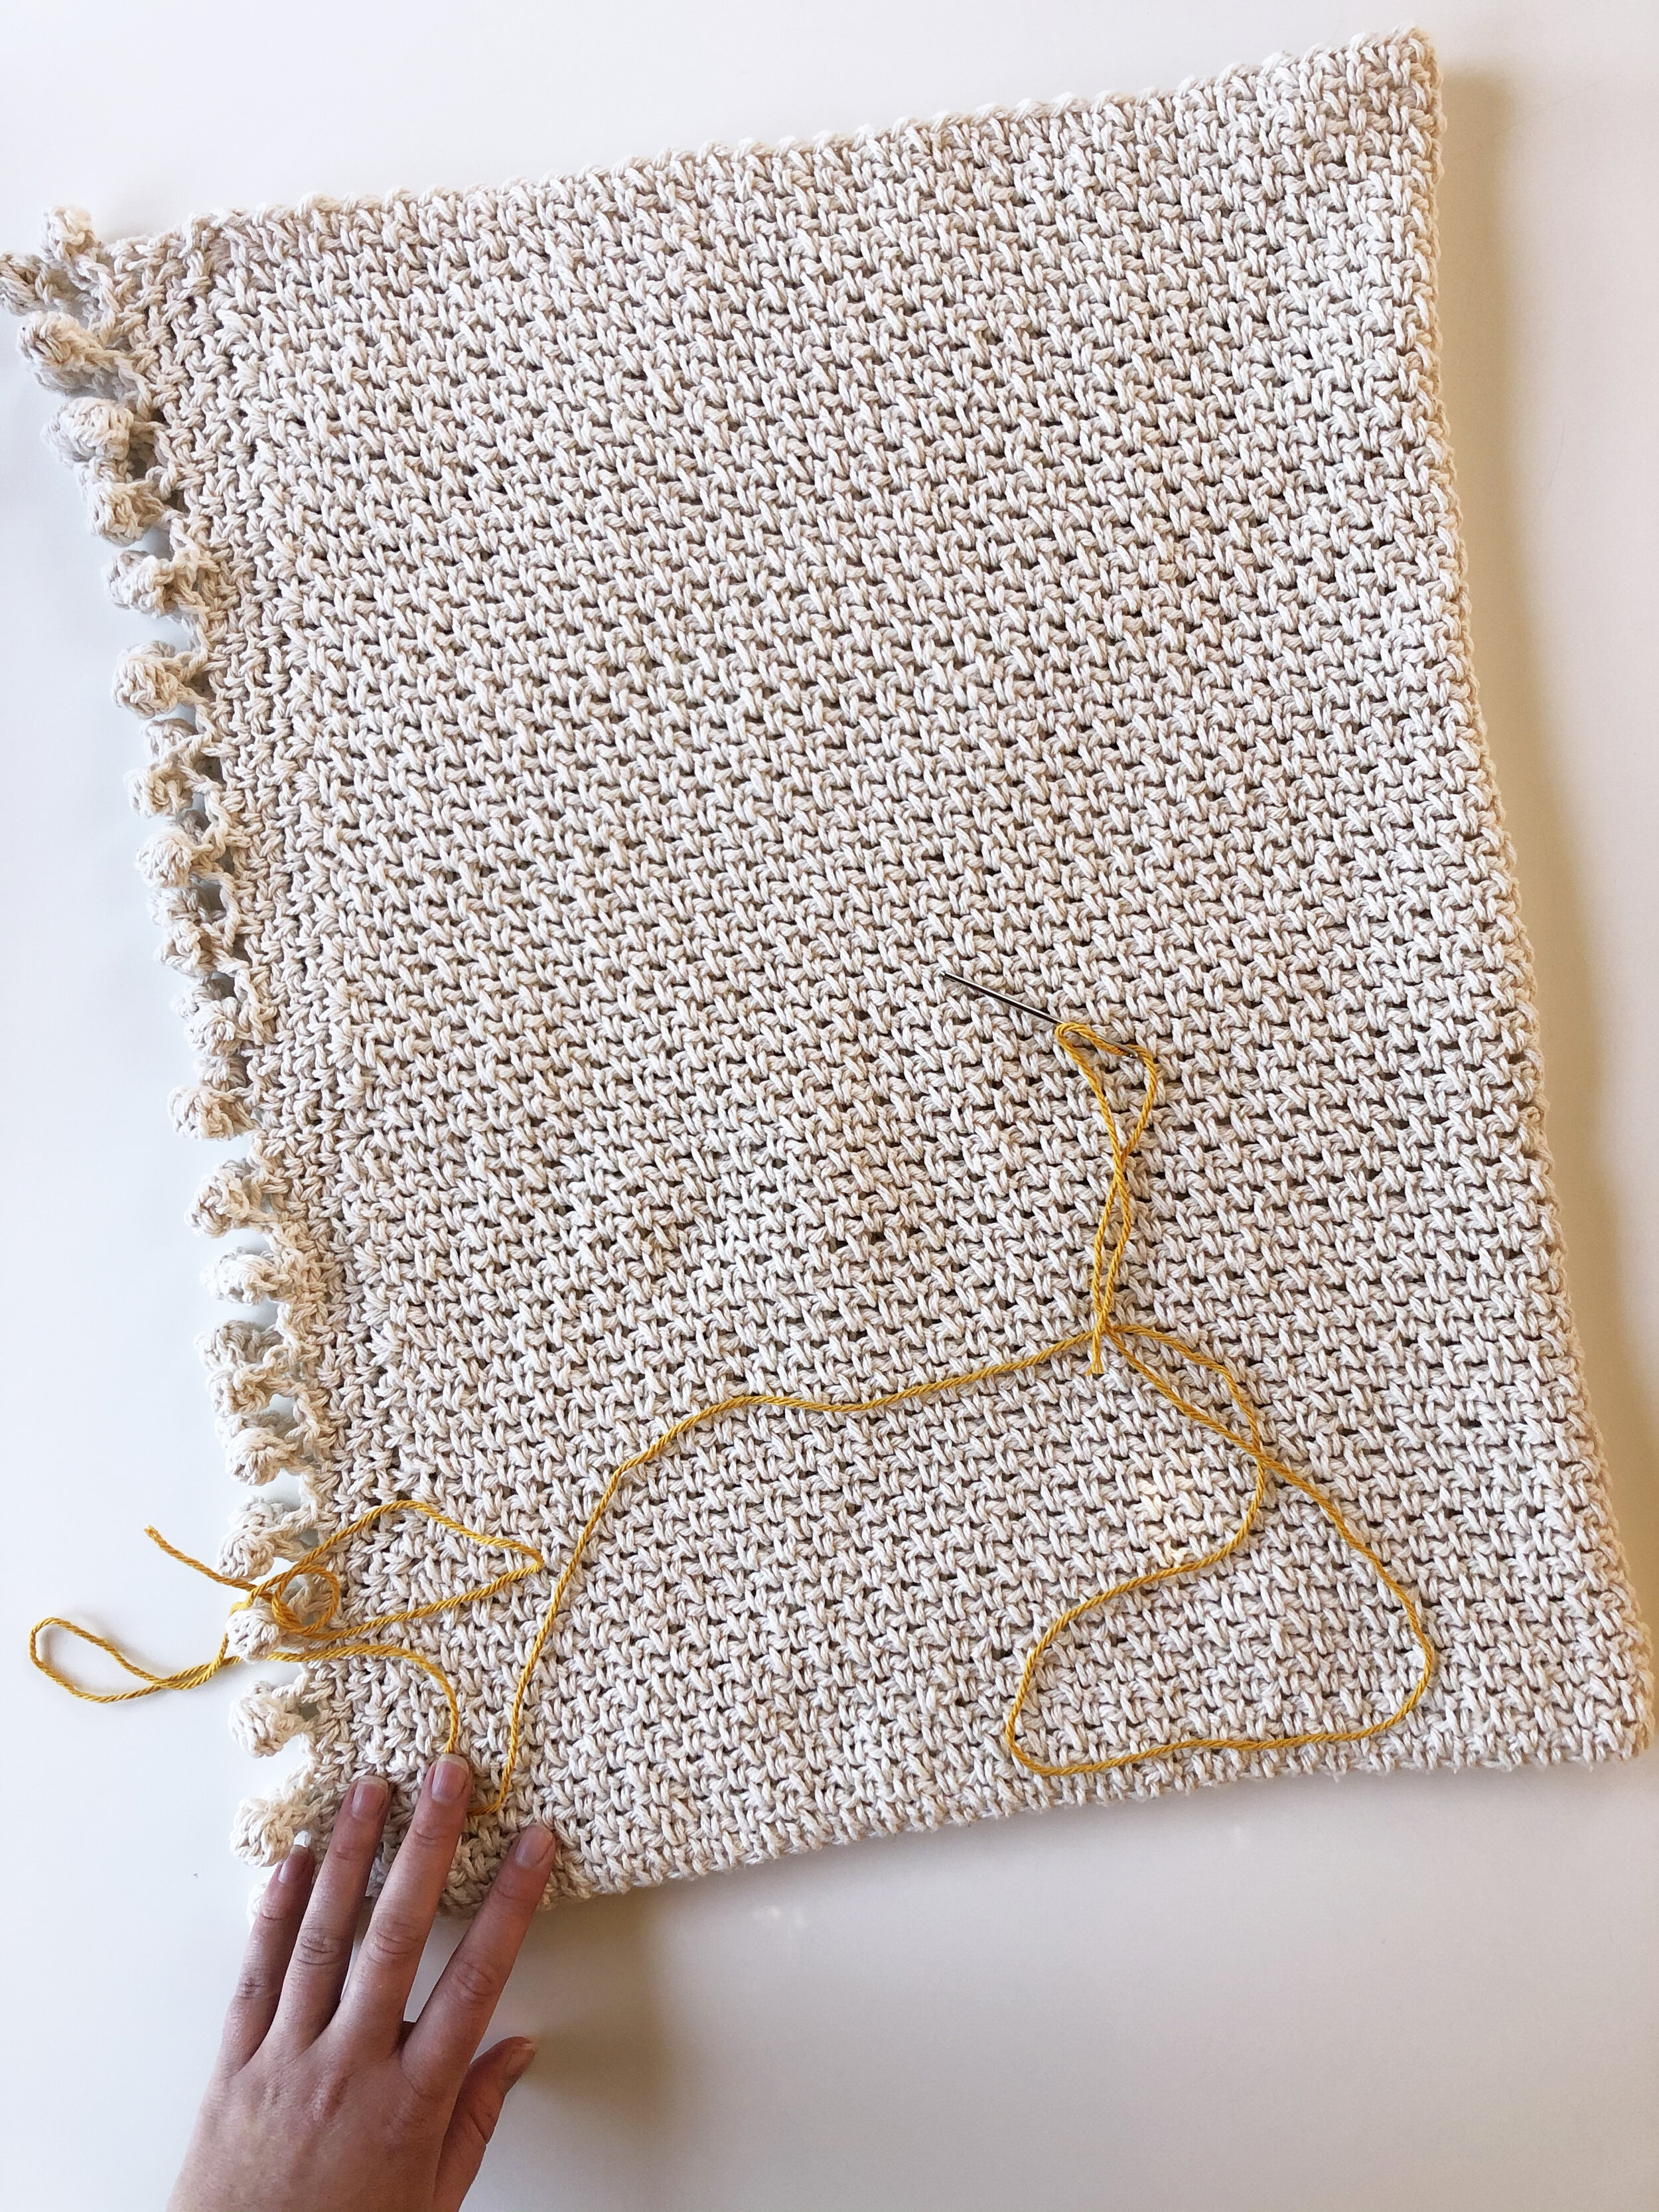
begin weaving the waste yarn vertically, through the holes in the stitch pattern and over and under the crochet stitches.

continue weaving the waste yarn in this way all the way up the vertical center line of the bath mat.

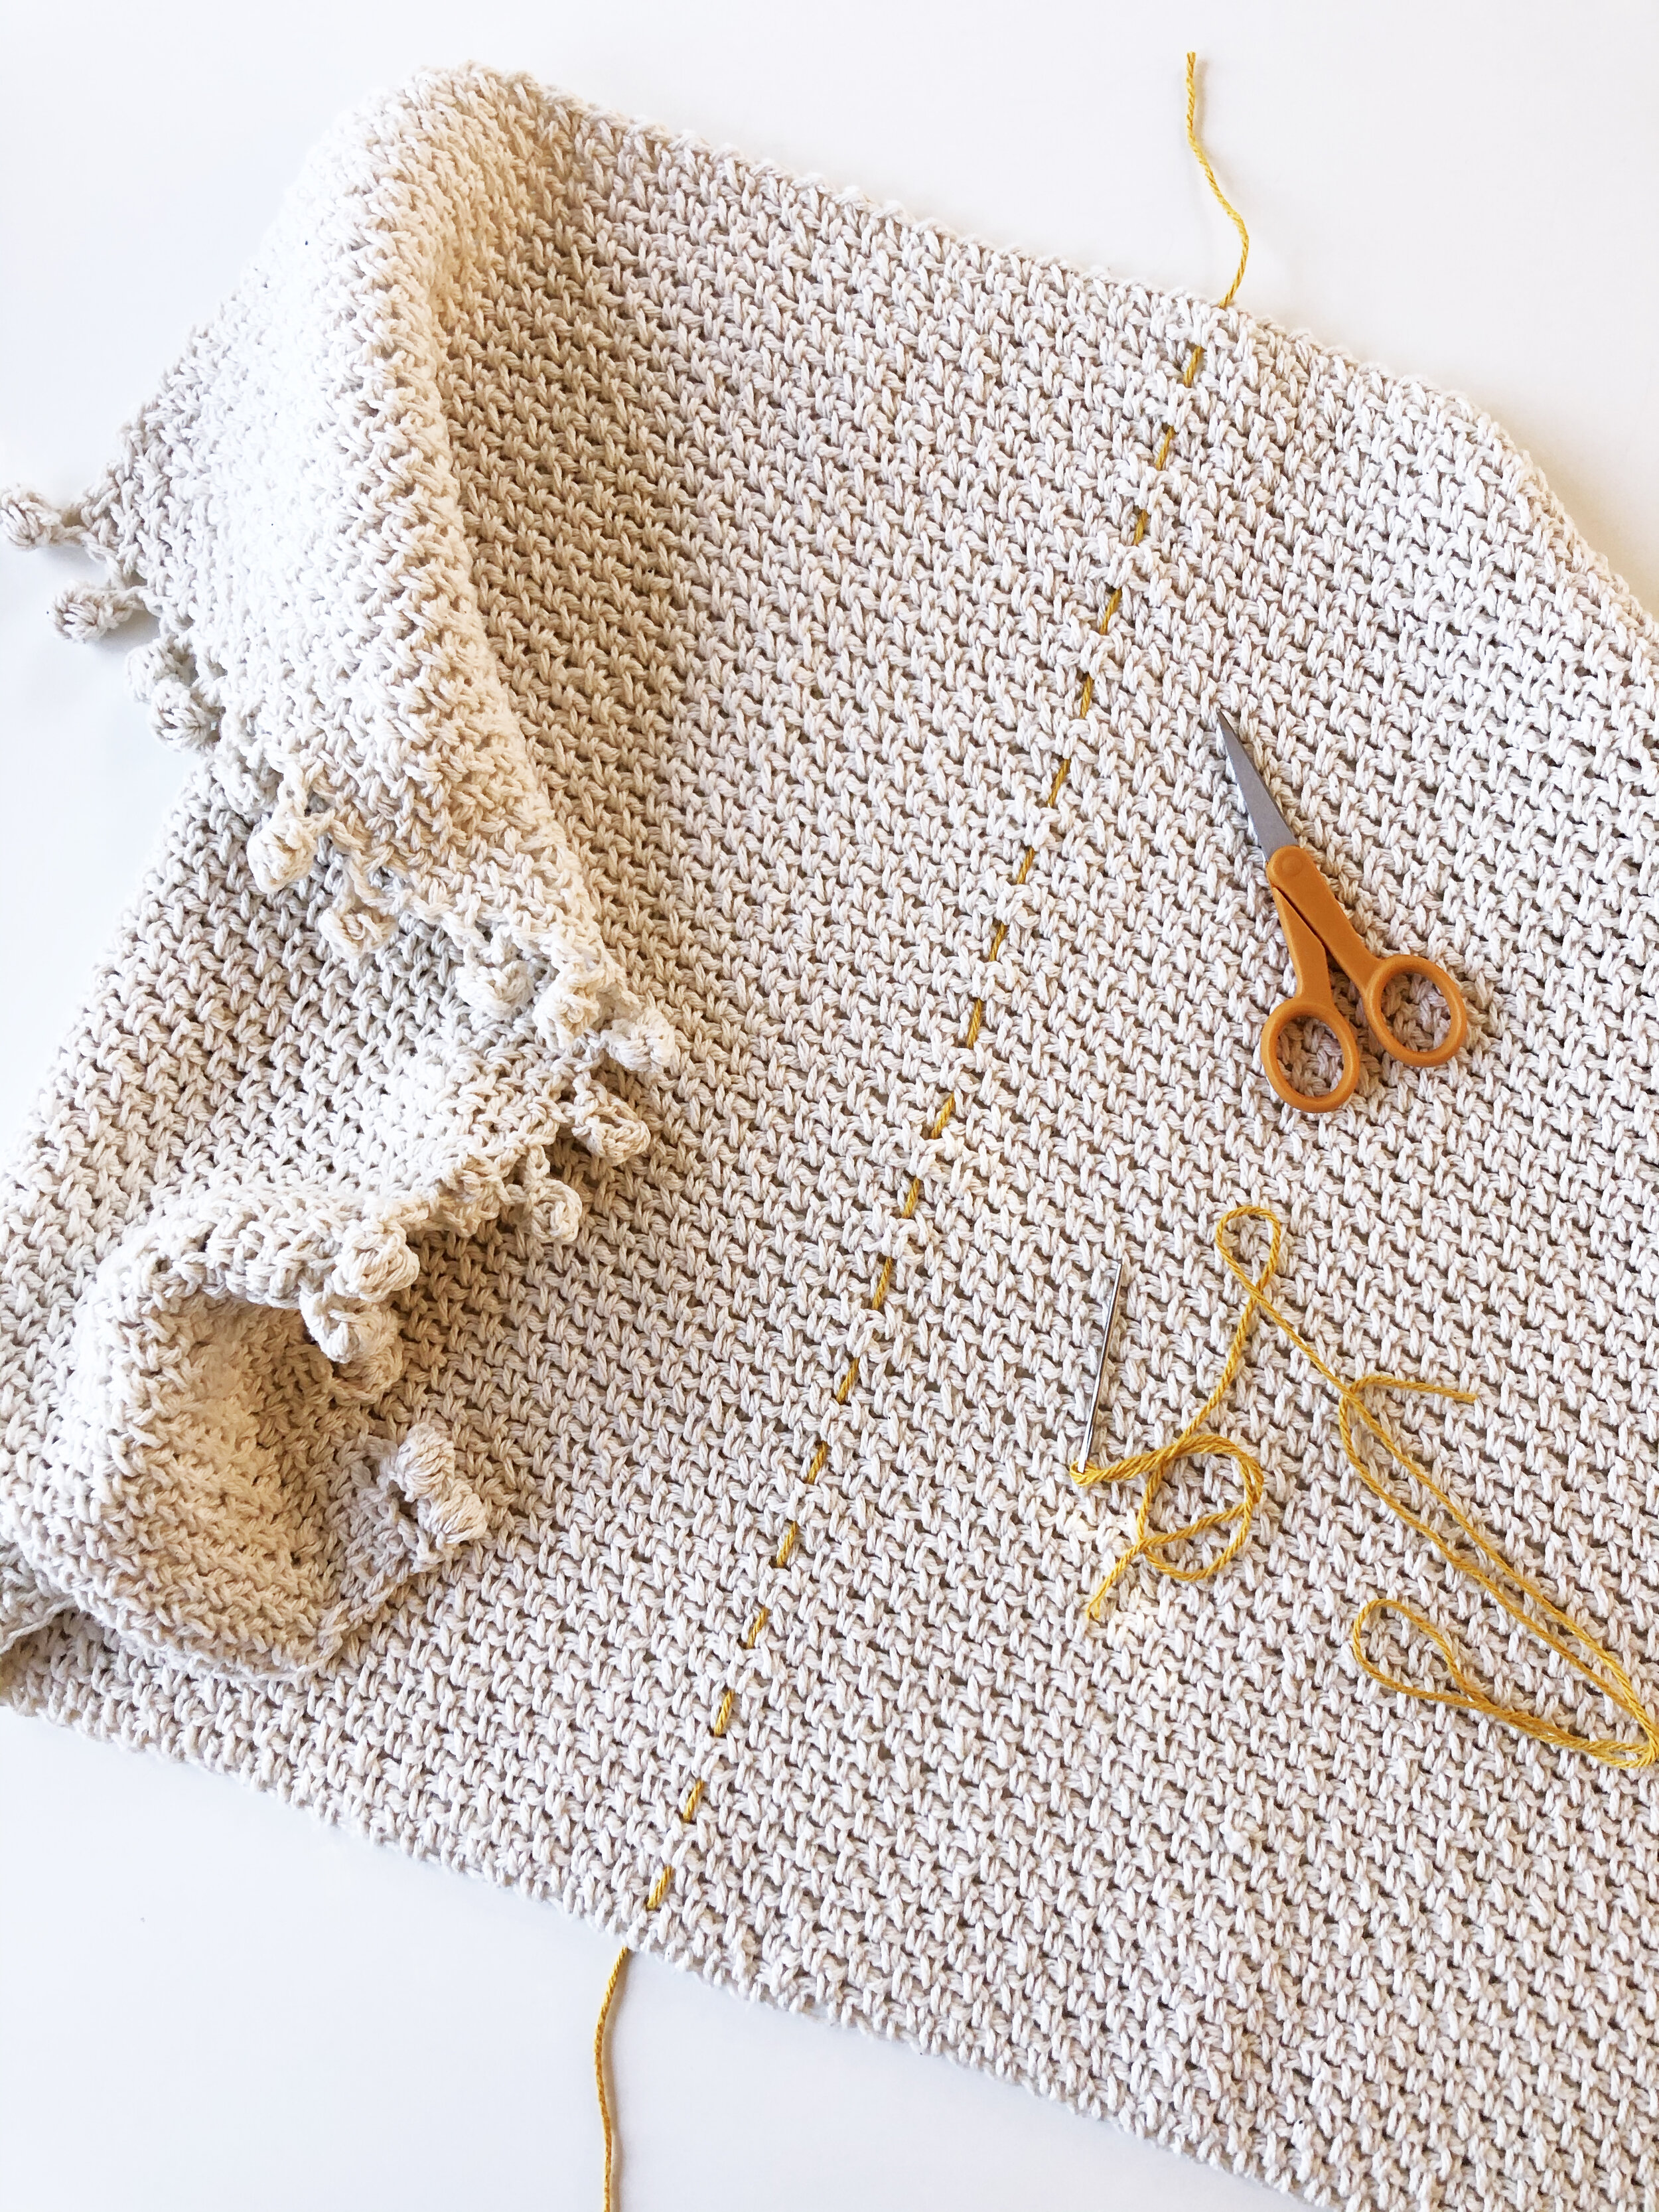

continue weaving the waste yarn horizontally, through the holes in the stitch pattern and over and under the crochet stitches, across the horizontal center line of the mat.

step 3
next, use the same method to mark the horizontal center line. fold the bathmat in half the long way so the top and bottom non-bobbled edges are together. thread another few yards of waste yarn on the tapestry needle and find a hole in the stitch pattern that is centered in the fold. thread the needle through.

Step 4
Now that the center lines have been marked, you are ready to start working surface stitches in the contrast color, with the J/10-6.00mm crochet hook (if you don’t have this size, the main mat hook size H/8-5.00MM would also work here).
begin by locating the crochet stitch that sits in the center of both vertical and horizontal center lines. along the horizontal line, count four (4) stitch pattern holes to the left of the center and mark it with your tapestry needle (see reference photo: the red dashes show the holes in the stitch pattern and the red square is around the fourth hole to the left). this is the left side starting point (red squarE).
next, find the diagonal line of stitch pattern holes running down and to the left from the starting point - each next stitch pattern hole will be one row down and one hole directly left of the one above (represented by the red arrow). follow this line all the way to the last hole on the edge of the mat. anchor your contrast yarn here.
begin working surface stitches back up this diagonal line in a “v” shape until you reach the center point. At the center point, turn the work 90 degrees and continue working surface stitches in a diagonal line moving up and to the left (along the blue arrow).


step 6
using the same method as steps 4 and 5, you will now work surface stitches three more times on each side, in the same “v” shape pattern.
to find each next starting point, measure six (6) stitch pattern holes back from the apex of your starting “v.”
when finished, you will have four “v” shape lines on the left side and four on the right side.
step 5
repeat step 4 on the right side of the horizontal center line, marking the fourth stitch pattern hole from the middle with your tapestry needle.
follow a diagonal line (see blue arrows) to the last hole on the edge and anchor your contrast yarn there.
work surface stitches back along the diagonal line to the starting point, turn 90 degrees and continue in a “v” shape diagonally in the upward direction until you reach the edge.


Step 7
You will now repeat the same steps to create the same shapes along the vertical center line of the mat.
to find the first starting point, locate the center crochet stitch and count six (6) stitch pattern holes below that center stitch. mark this hole with your tapestry needle.
repeat steps 4 and 5, creating the bottom “v” shape. locate the top “V” starting point by counting six (6) stitch pattern holes above the center stitch, and Repeat Steps 4 and 5.
step 8
repeat step 6 to WORK SURFACE STITCHES two MORE TIMES ON EACH SIDE, IN THE SAME “V” SHAPE PATTERN.
to find each next starting point, measure six (6) stitch pattern holes back from the apex of your starting “v.”
when finished, you will have two “v” shape lines on the top side and two on the bottom side.


step 9
work a straight line of surface stitches in your contrast color along the left-side edge of the mat, where the trim meets the main body of the mat.
turn mat and repeat on the right-side edge.
weave in all ends and enjoy your new crochet bath mat!
