

DIY: free knit snowman ornament pattern

it is december 1st and that means gift knitting season is upon us! there's still time to cast on a few projects before christmas, and plenty of time to make a few knit snowmen ornaments using my free pattern!
if you're not a knitter, no worries...you can purchase a ready-made snowman ornament from my shop!
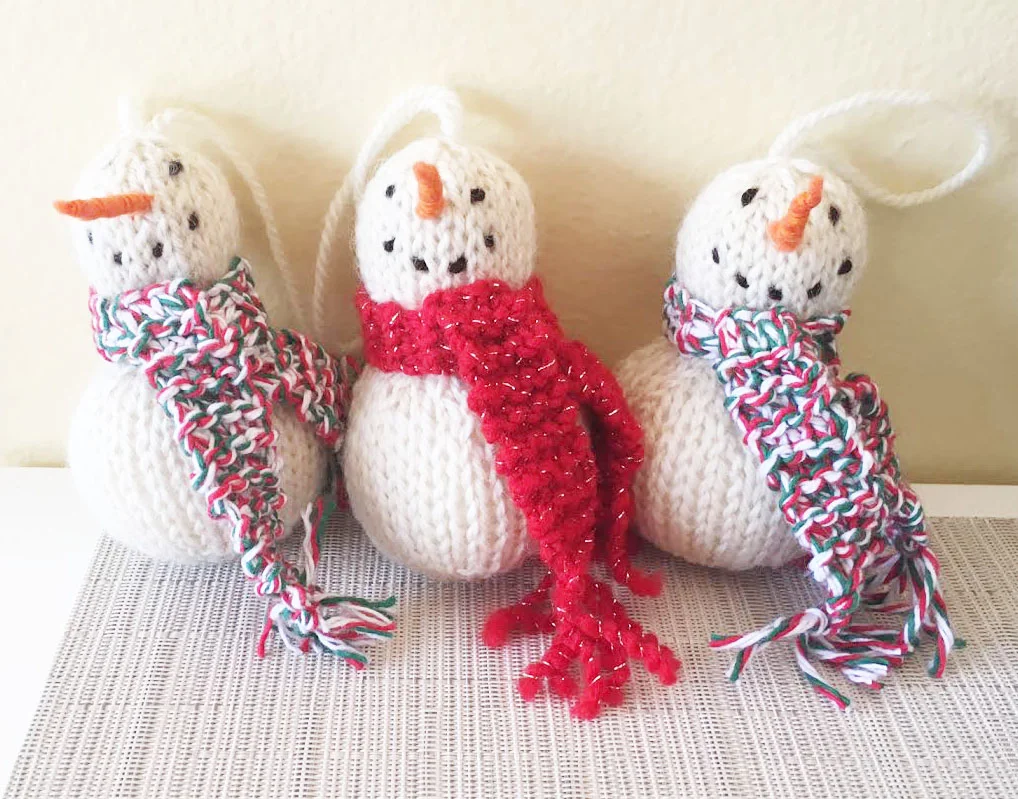
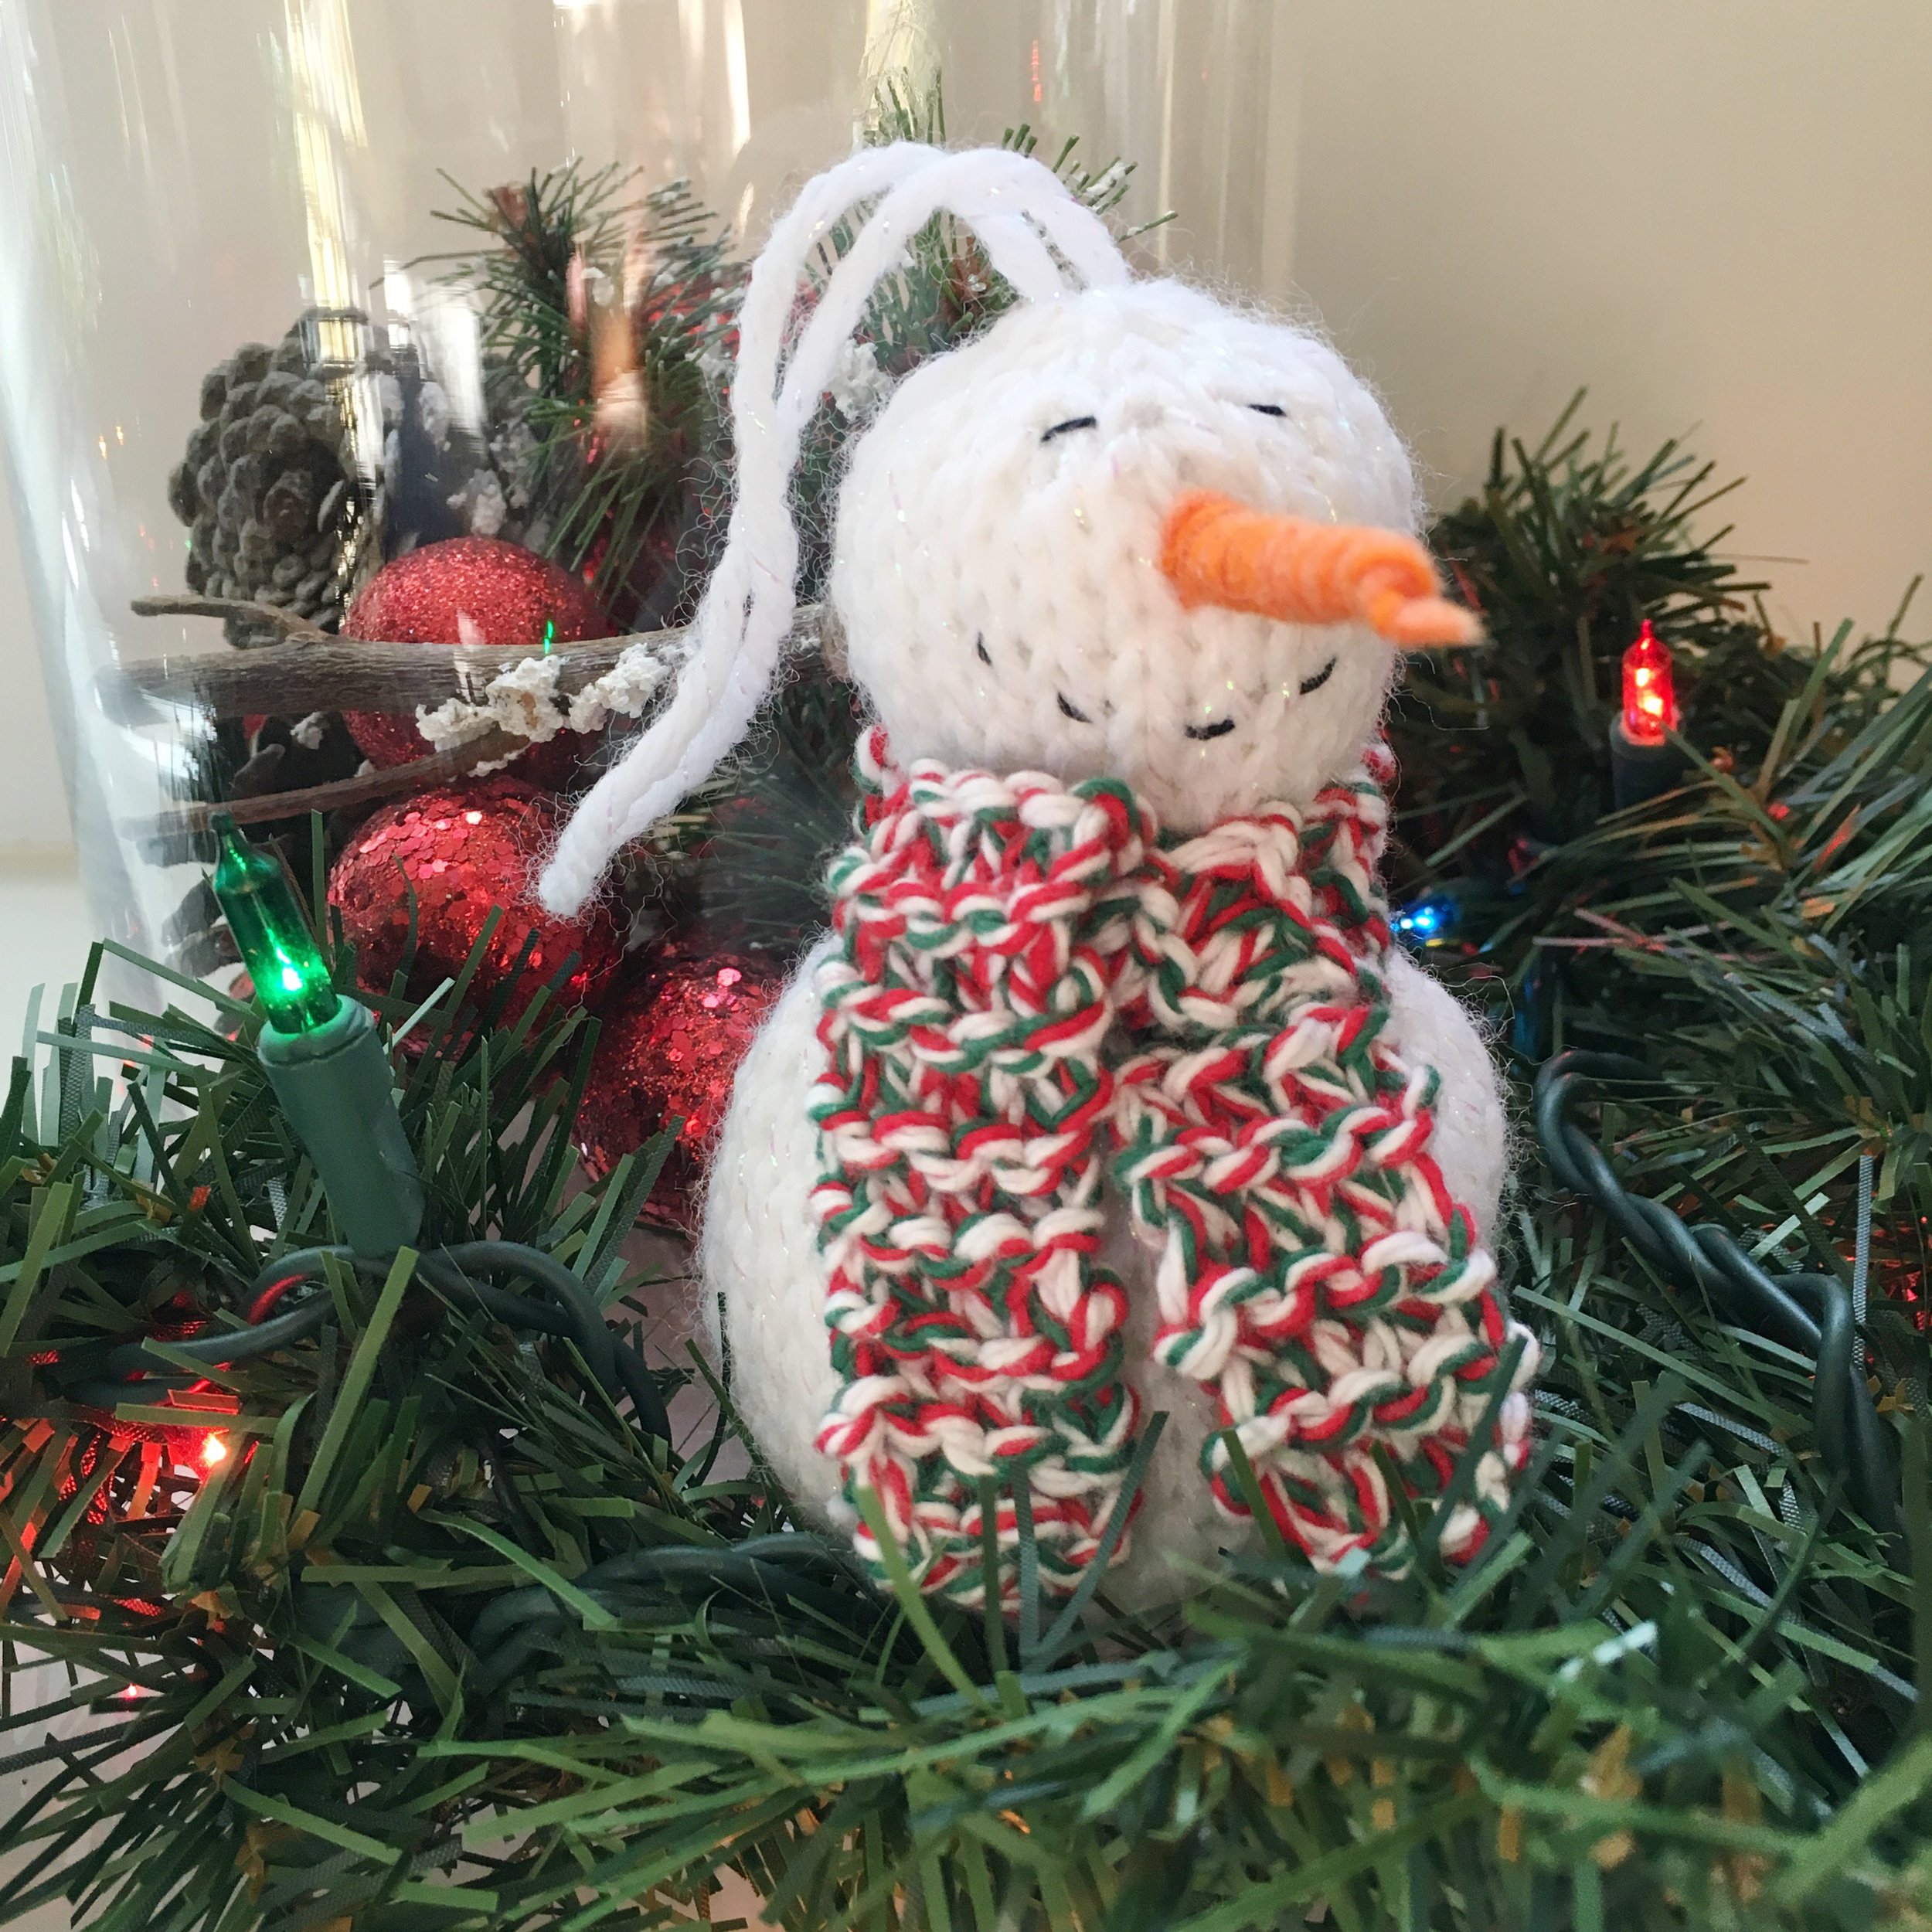
these snowmen are knit in the round in one piece and are easy and fast to make. use up scraps of worsted or fingering weight yarn for the cozy scarf embellishment! add these to your tree, give as a gift, or use as a present topper.
supplies:
size us 6 (4.0 mm) double-pointed needles
worsted weight yarn in white (i like patons classic worsted wool in aran)
contrast yarn (black or brown for eyes and mouth, worsted or fingering weight scraps for the scarf)
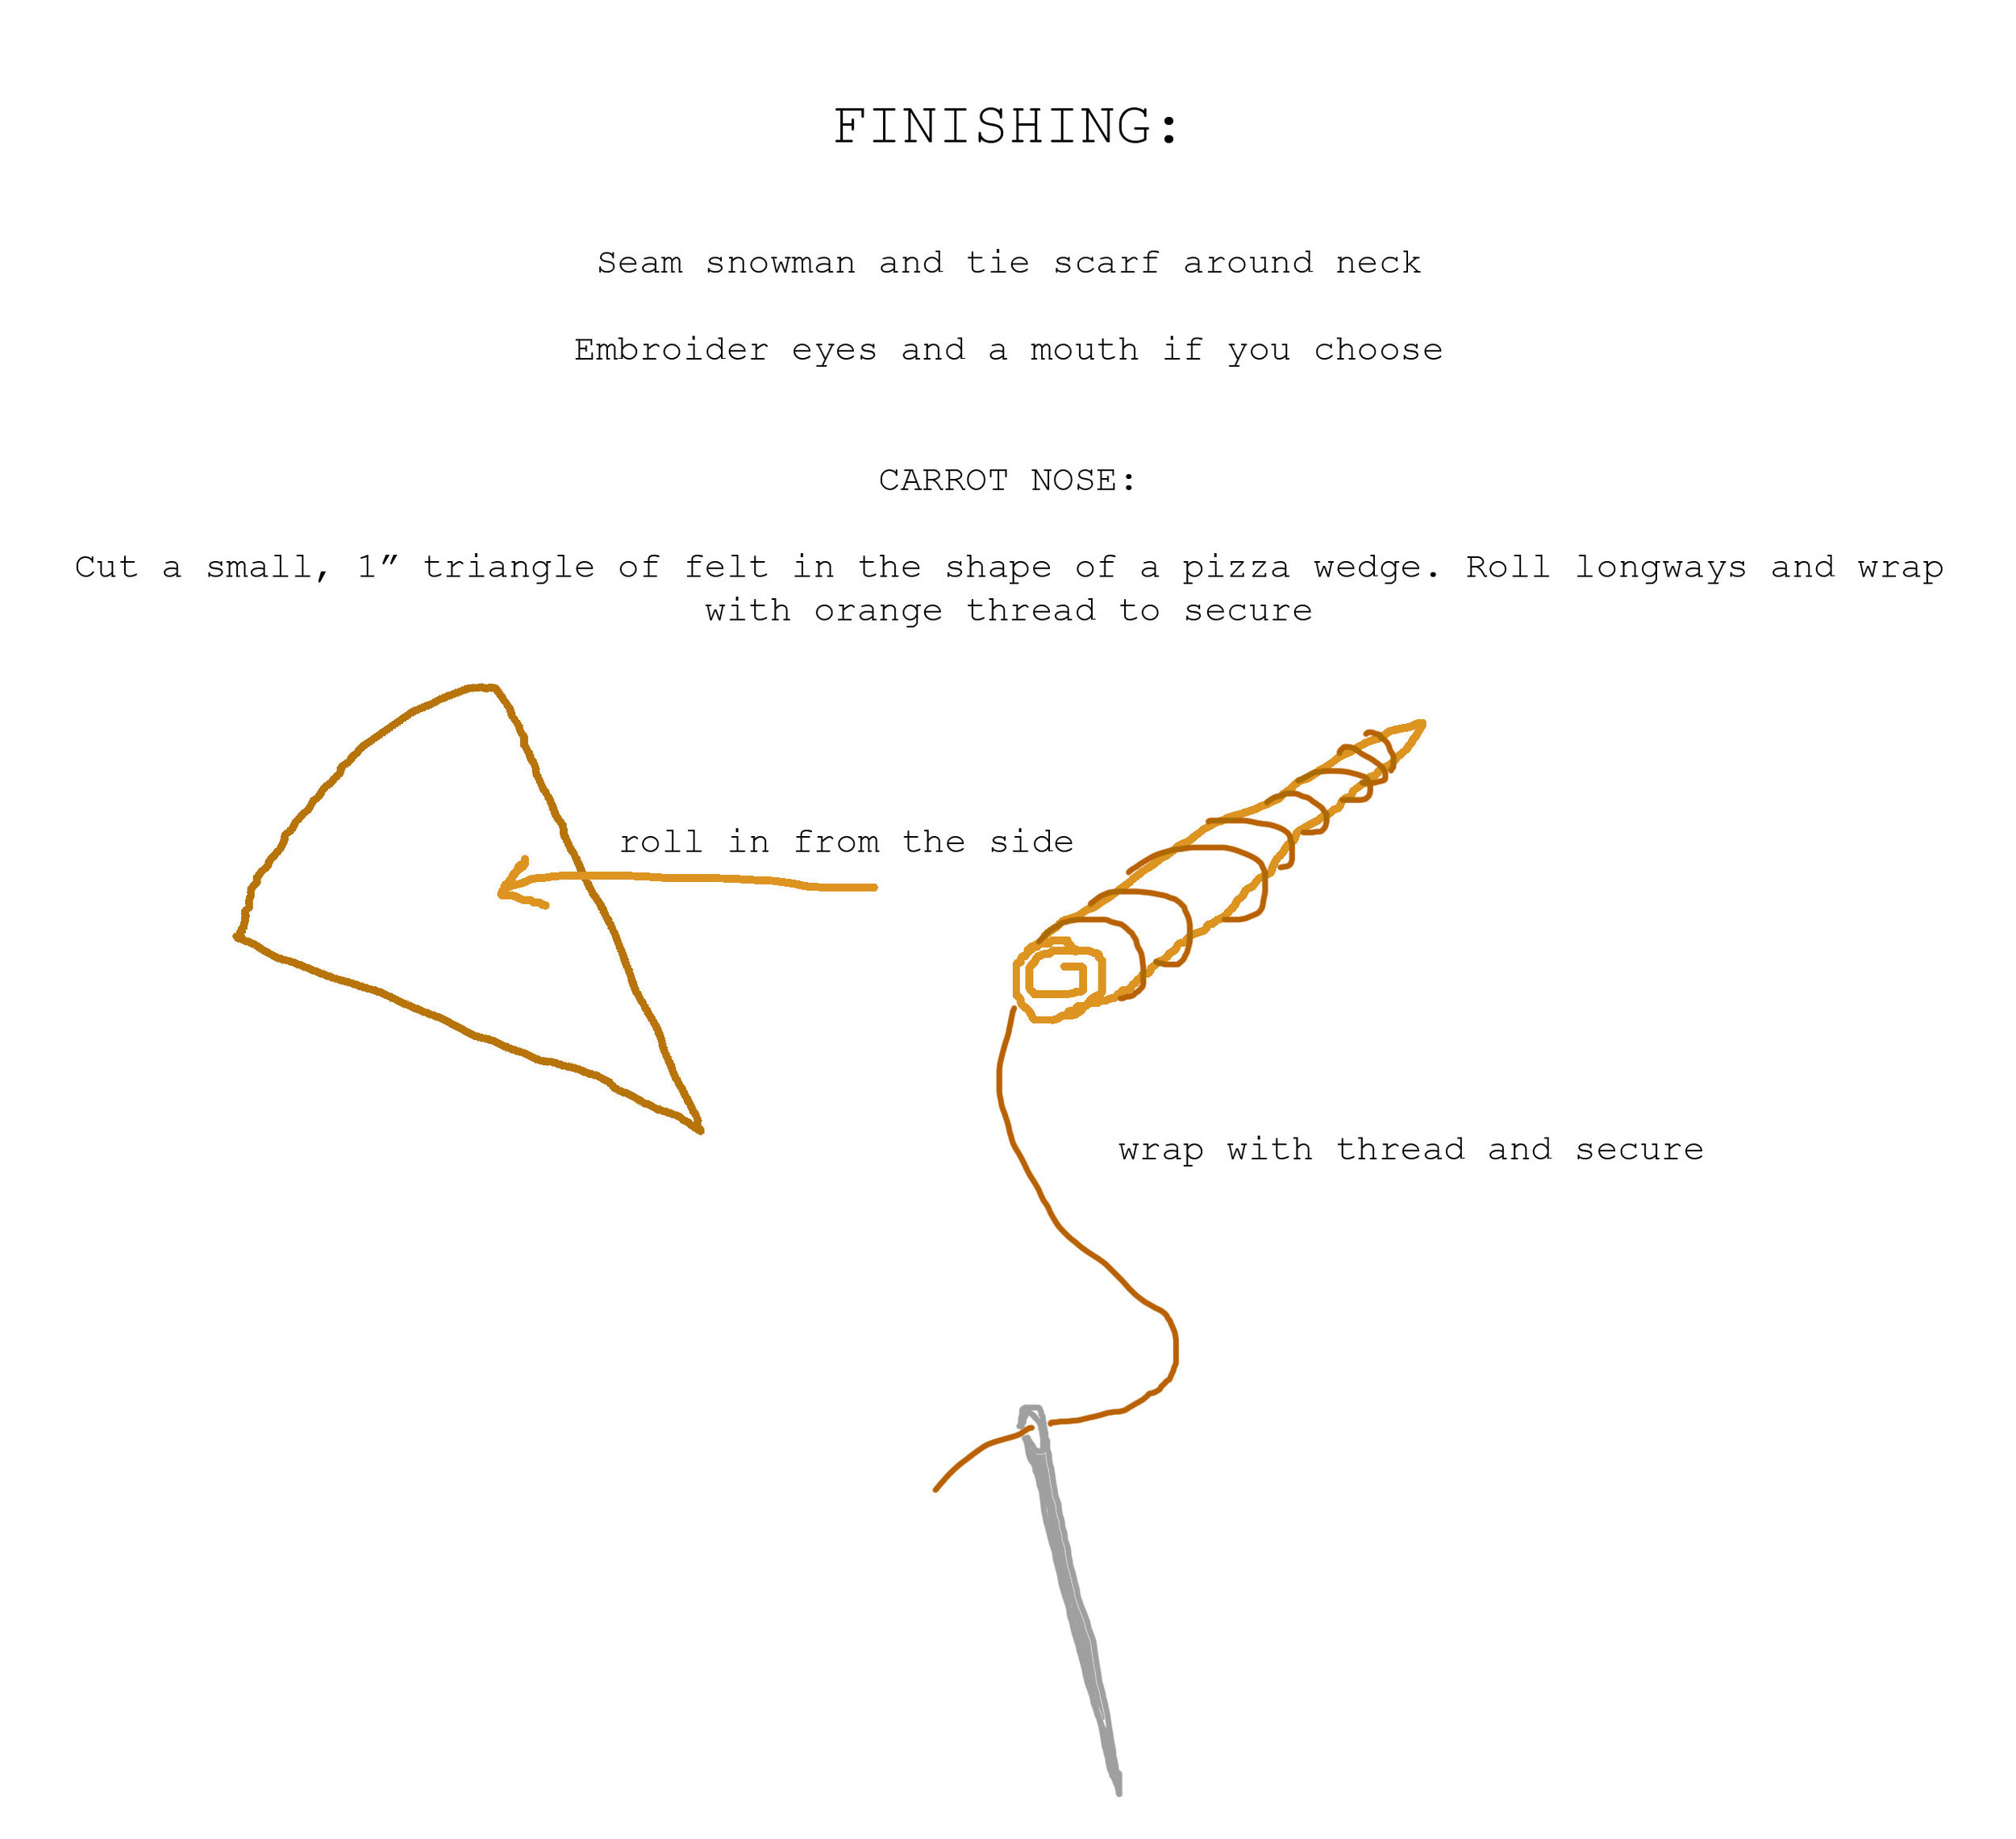
orange felt (to make carrot nose, or use orange yarn to knit one!)
tapestry needle
sewing needle and orange thread (for felt nose)
instructions:


click here to download a PDF copy of this free pattern from ravelry!
stay tuned next week for some fun variations on this pattern that you can use to make more gifts and decorations. happy knitting!
-Elise

DIY: knit turkey leg hat PDF pattern

one of my favorite thanksgiving traditions we have adopted the past few years is participating in our local turkey trot. even though you have to get up pretty early, it's very inspiring to see the community gather together to benefit local food bank charities and help provide thanksgiving meals to those in need. plus, the morning exercise is the best way to earn your seconds and thirds!
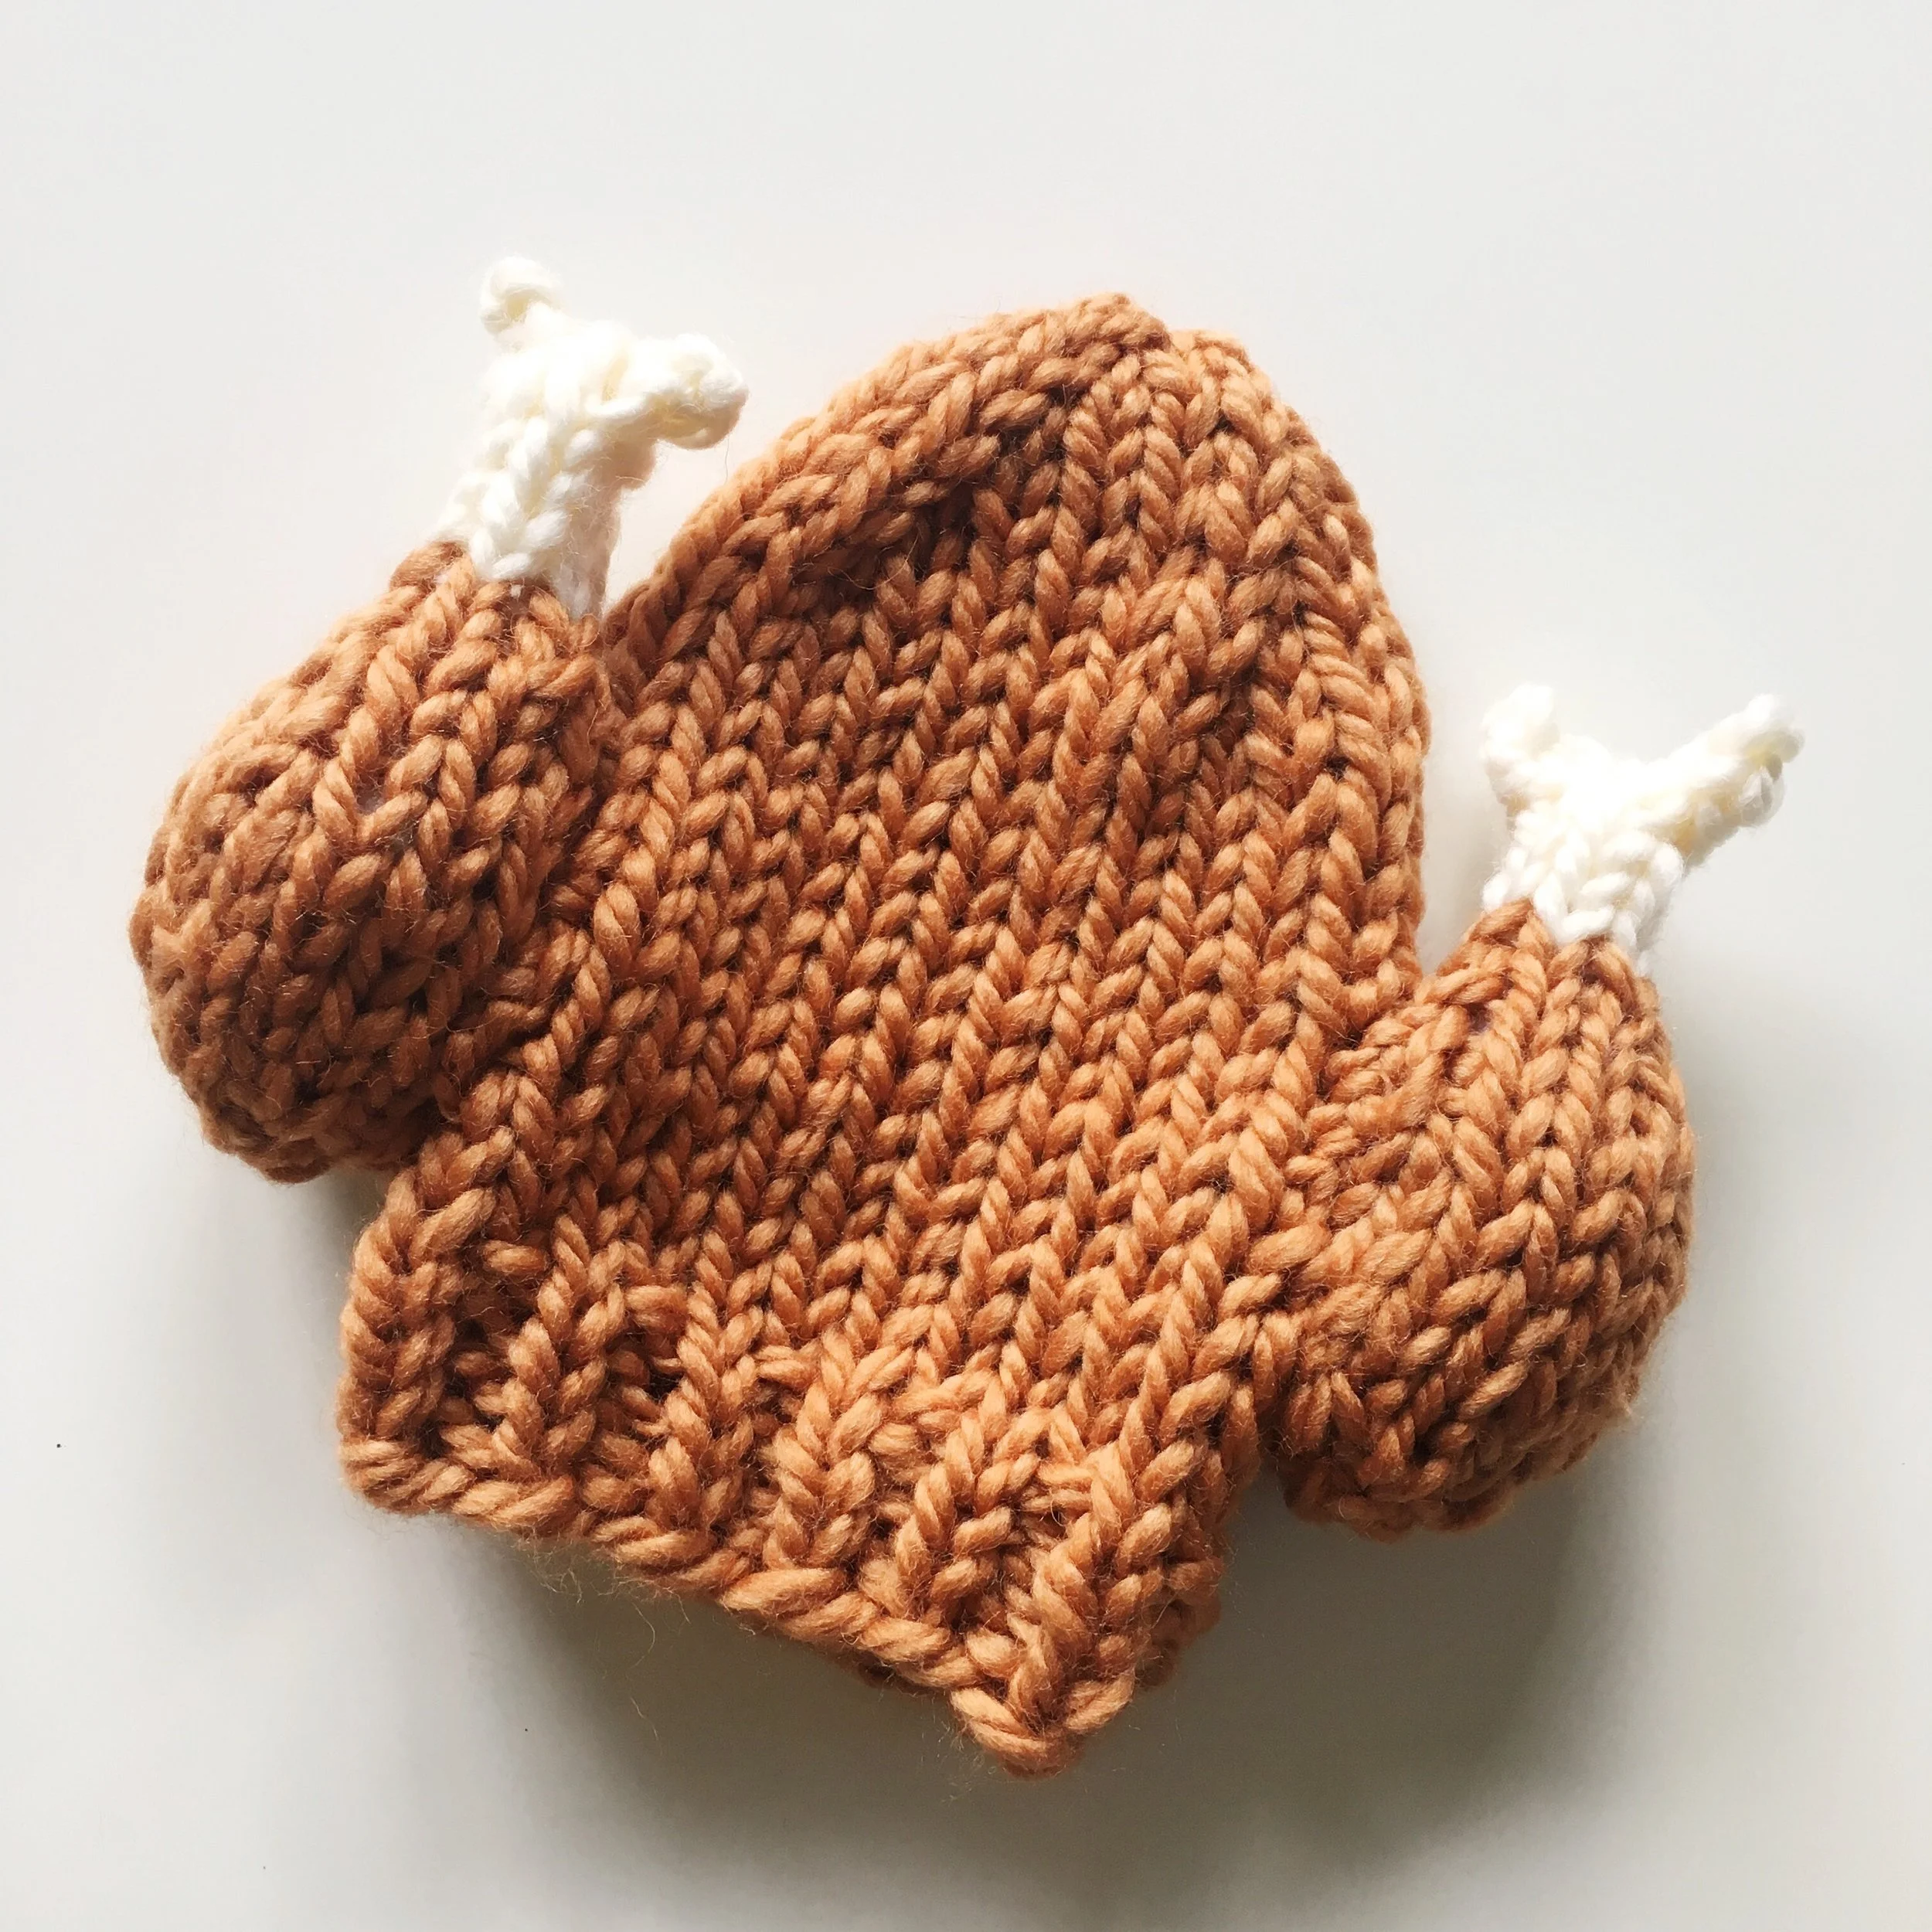
we've had the privilege of participating in turkey trots in multiple cities, and one thing that is consistent across all of them is the costumes: almost everyone has some kind of festive gear or outfit. so last year, i designed a knit turkey leg hat for my nephew (participating in his first turkey trot) and my godson (celebrating his first thanksgiving). it was so cute that i had to make it in an adult size too! this year, i'm happy to introduce the knitting pattern in all three sizes so you can make your own!
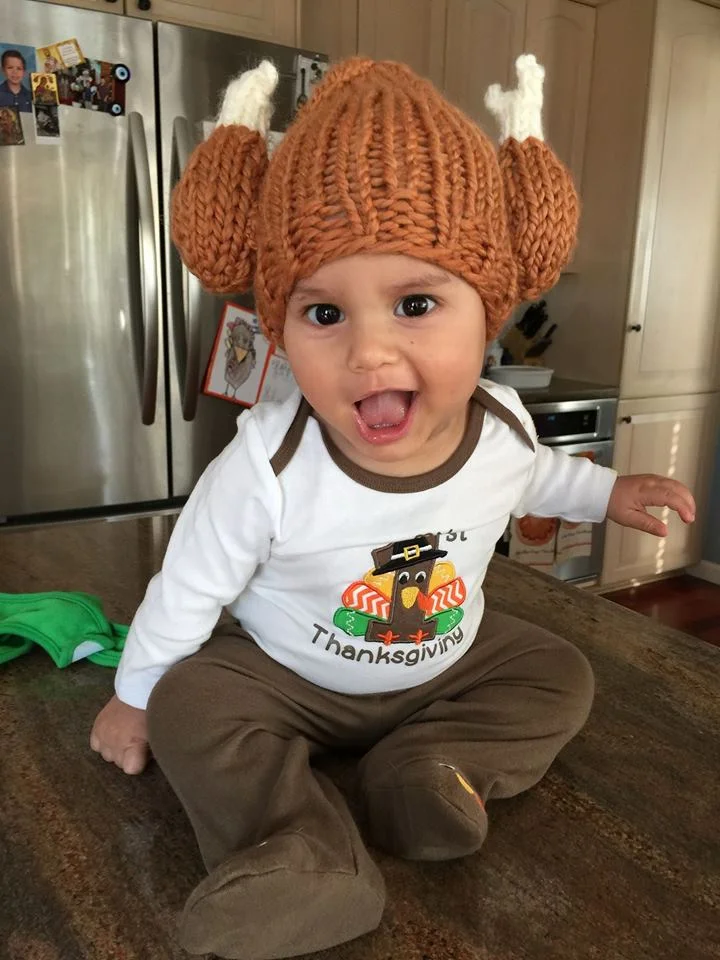

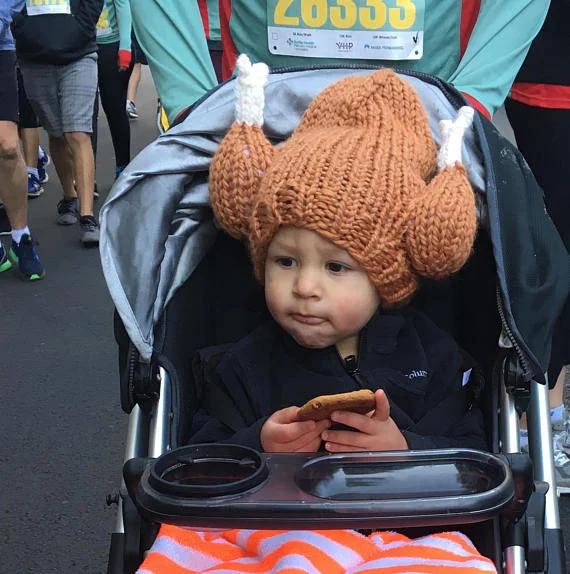
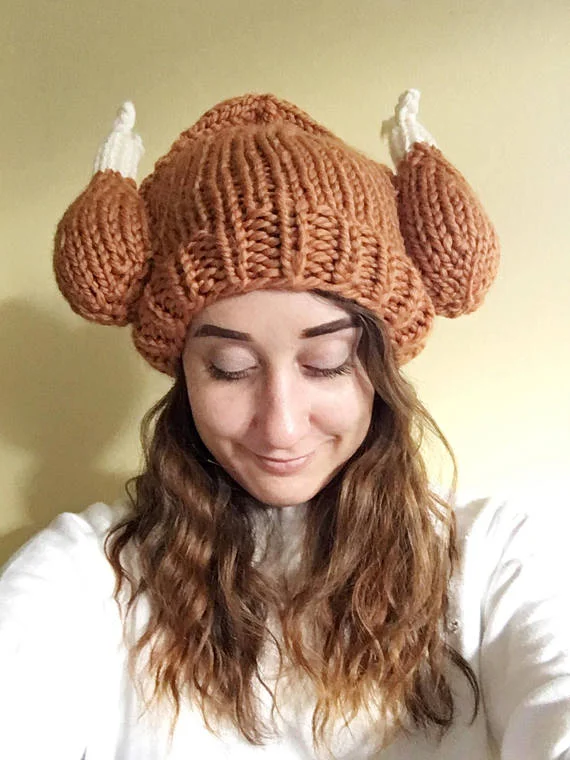
whether you are participating in your city's local turkey trot or just want to slay your family thanksgiving dinner, this is the perfect hat for you.
you can purchase a downloadable PDF copy of my pattern for $5.00 on ravelry:
or on etsy:
thanksgiving is only 10 days away, so get knitting!
DIY: save-the-date banner


my best friend sammie recently got engaged, and i'm so excited for her to get married next year! since i love any excuse to break out the craft supplies, i made a banner with their wedding date for the engagement photoshoot she has planned next month.
this banner was super easy to make, and i'm already thinking of all the different kinds of banners i could make with this process. it would be great for birthdays, baby showers, seasonal decorations...really anything you can think of!
to make your own banner, you will need:
1. a computer and printer. i used photoshop, but you can use microsoft word or any word processing software.
2. two (or more) sheets of 12x12" decorative cardstock/foil/scrapbooking papers. the scrapbooking section of michael's has an incredible selection of different colors and patterns to choose from. how many sheets you'll need depends on how many numbers or letters you need to complete your banner.
3. (optional) one (or more) 12x12" contrast paper. since i created a banner with a date, i wanted to use a contrast color to separate the month, day, and year.
4. twine, string, yarn, or ribbon. choose a string color and material that fits with the design of your banner. i chose this navy paper twine:

5. scissors.
6. glue stick. i think a "traditional" glue stick would work great on most scrapbooking paper, but since i chose glitter cardstock i knew i'd need something a little more heavy-duty. i like ones like this:

the first thing i did was pick a font (i chose one with a hand-lettered feel), typed out the wedding date in 250pt, and printed it out in a navy color. if you need some font-spiration, check out dafont, where you can choose from and download a huge variety of font styles for free.

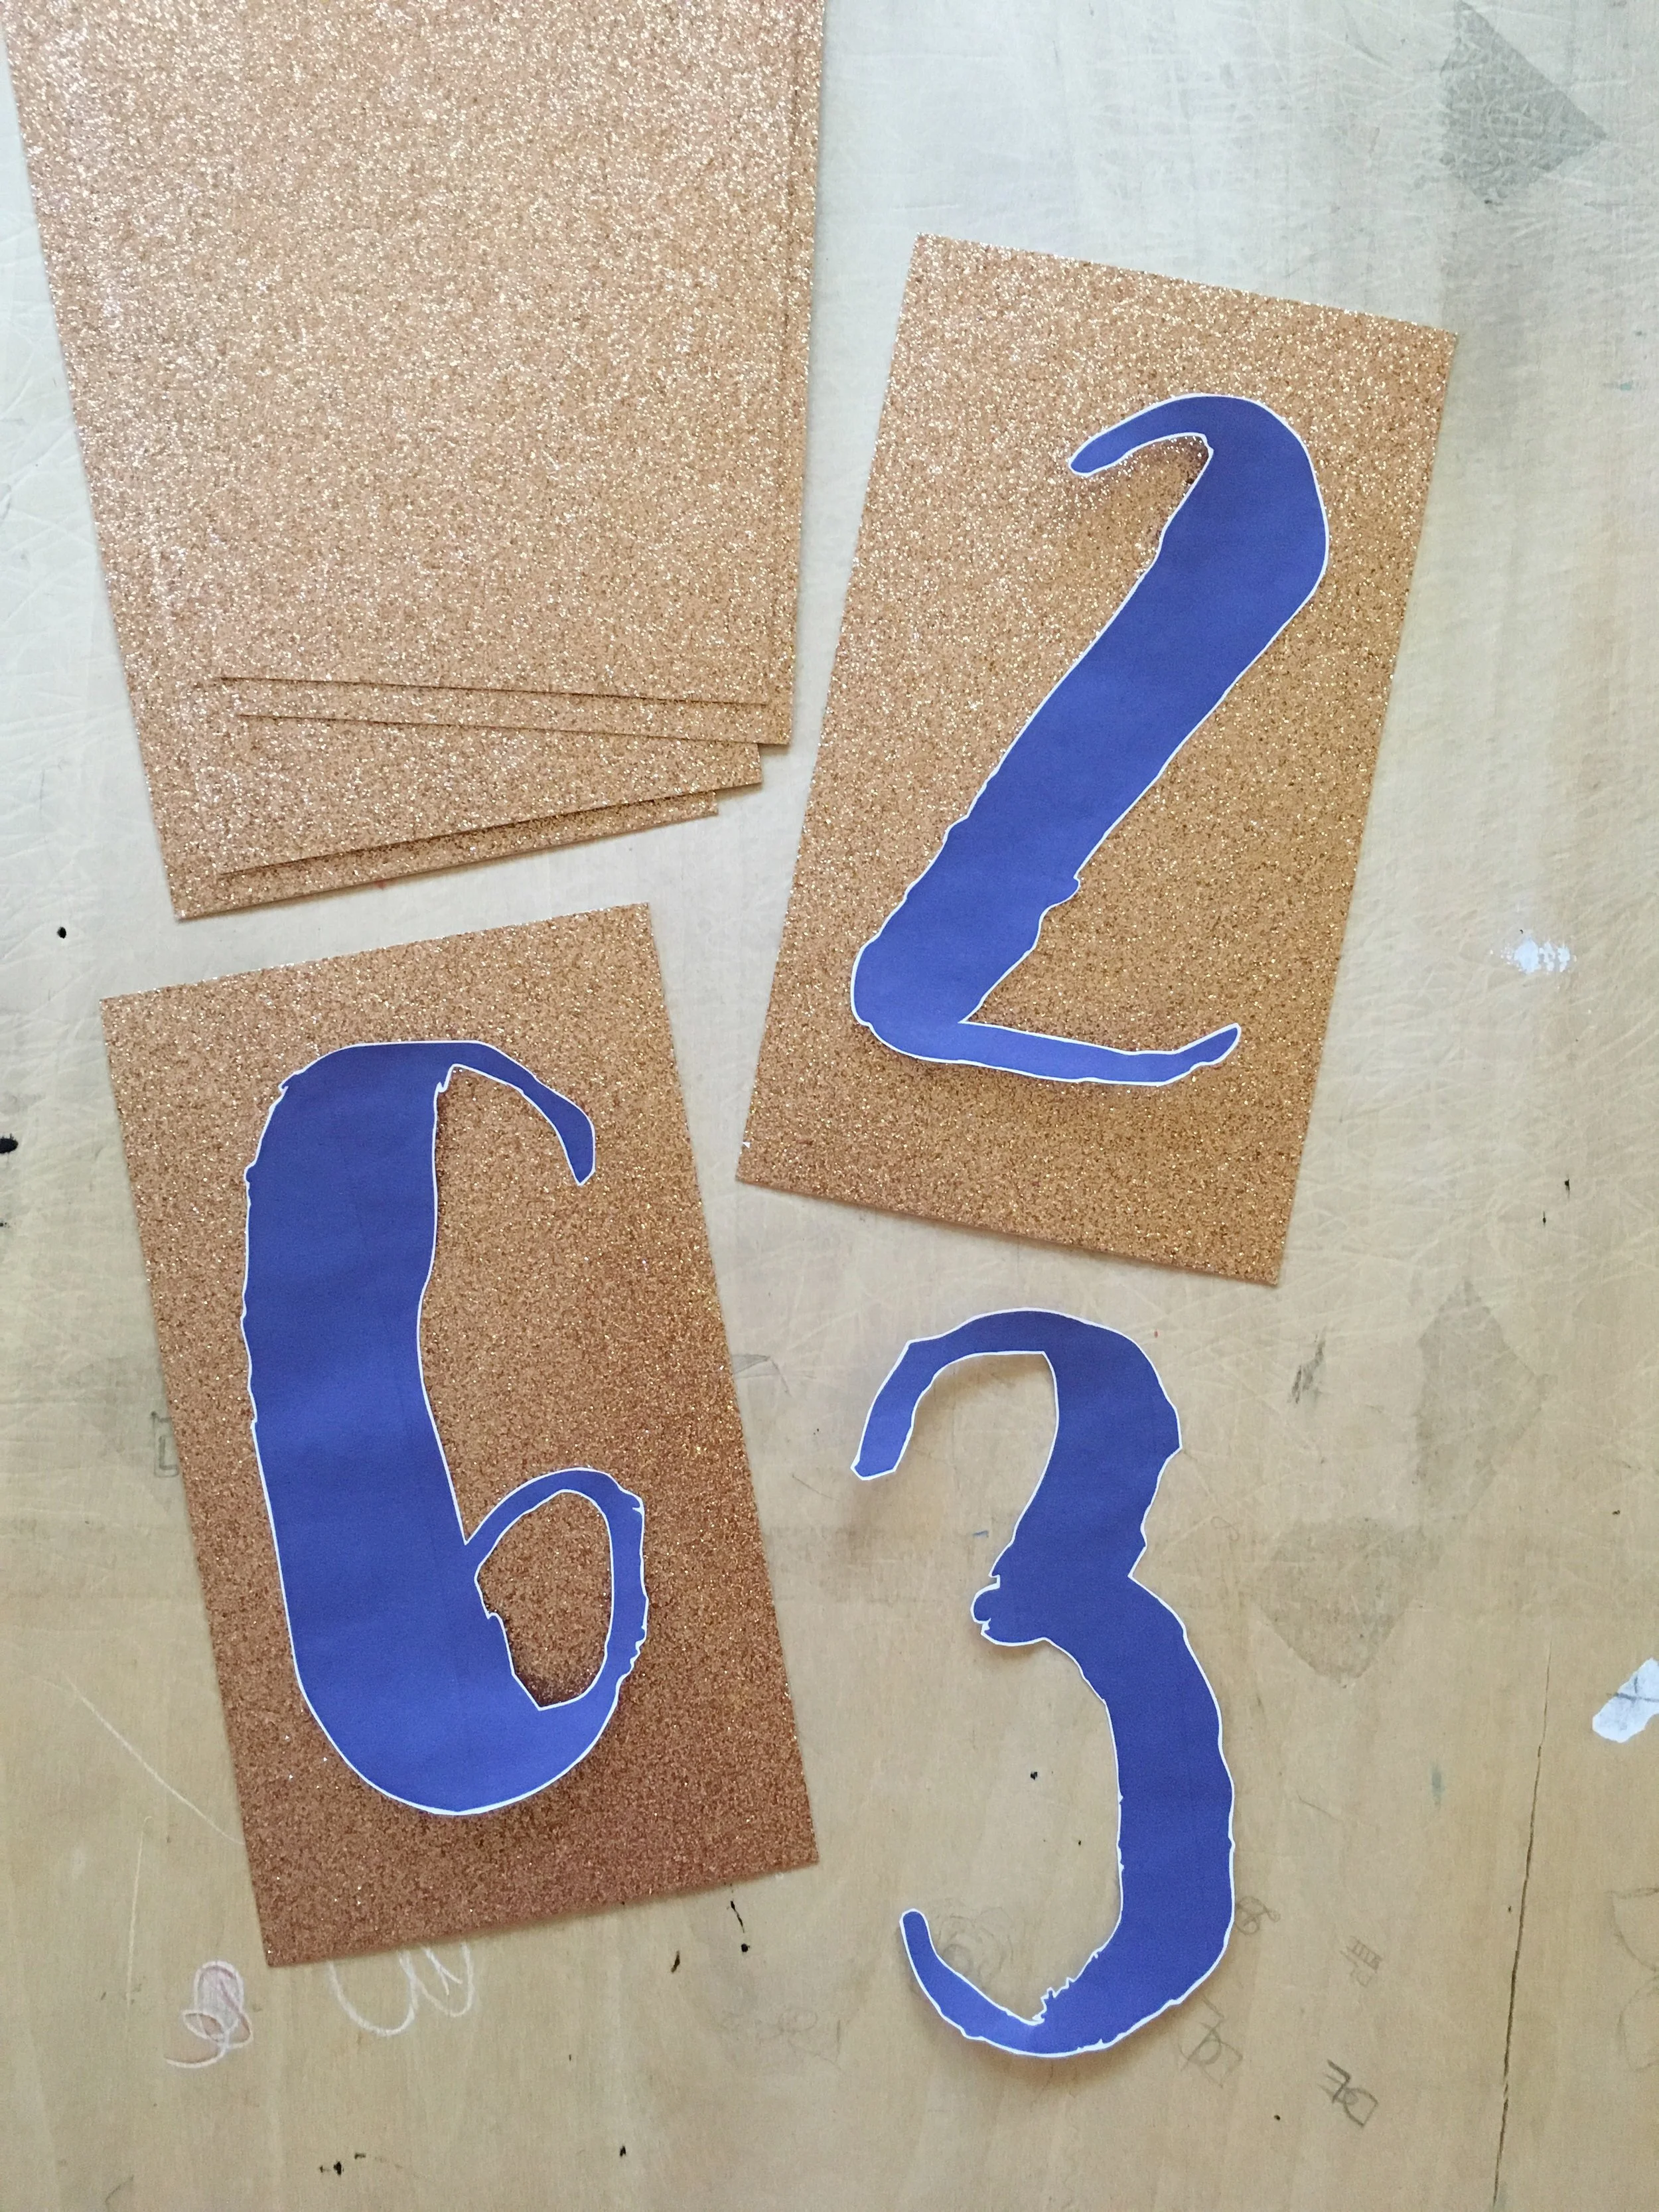
next, i carefully cut out the numbers. some fonts will be easier to cut out than others! the font i chose has some interesting brush marks, so i kept a very thin white border around the numbers to make sure the details of the font would pop against the background and in photos.

for the next step, i measured out and cut the glitter cardstock. i measured out 4x7" rectangles to keep my design simple. i love the idea of measuring out triangles to make it look like a flag bunting, or cutting out a small triangle in the bottom of a rectangle to make it look like cut ribbon. you could also cut the backing paper around the number or letter for a more free-floating look.
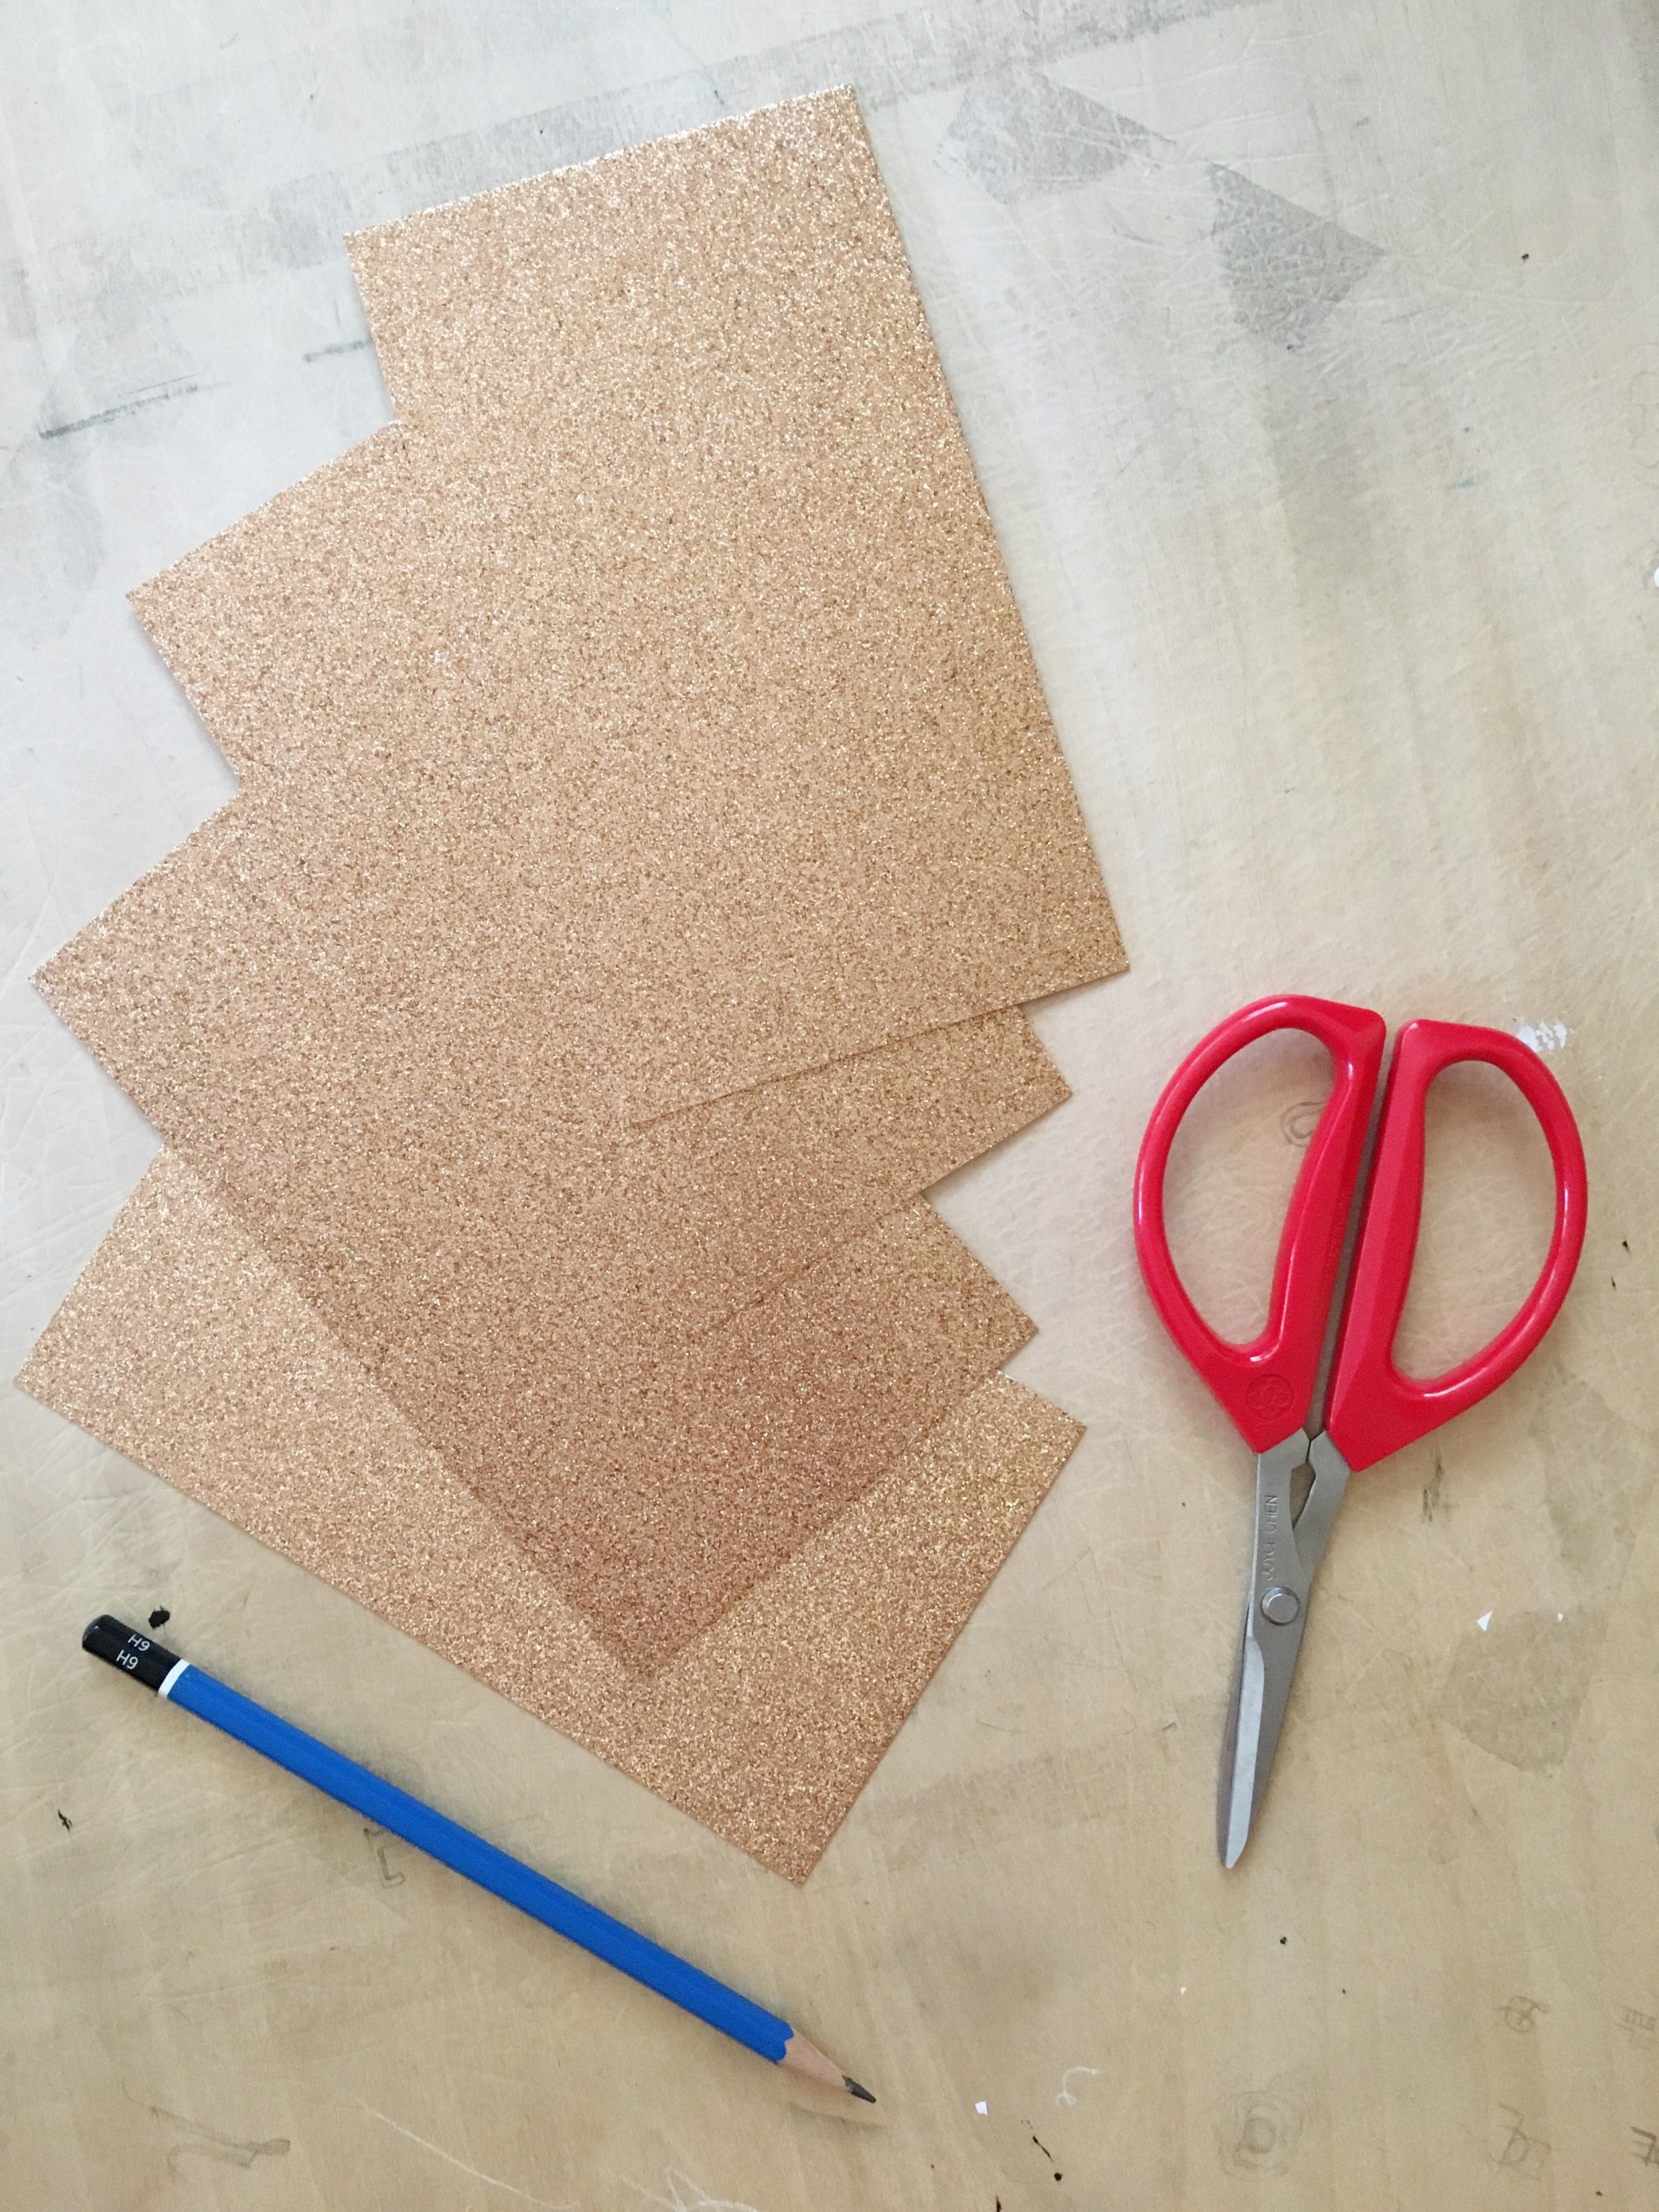
once all my glitter cardstock pieces were cut, i simply glued the cut-out number on top. to prevent any buckling in the paper, i immediately put them under a few heavy books and left it to dry for a few hours.
to separate the day, month, and year, i chose a rose gold foil paper and cut out two hearts using a template i printed out.


the last step is to attach the string. i used clear gift wrapping tape...super easy!


what kind of banner would you make?