

#WIDN: Aroha Knits 5 Shawls 5 Days Challenge

I have followed Frenchie, the incredible designer behind Aroha Knits, on Instagram for many years and every time the 5 Shawls 5 Days challenge rolled around I would get major FOMO. The mini shawls are just so damn cute! But by the time I would see them on my feed, I would feel discouraged from starting since I was already behind.
This year however, I happened to see an announcement from Frenchie about the start of the challenge. how serendipitous! I have mentioned many times that my goal for this year is to expand my skills, knit the patterns of other designers, and try to connect more with the online knitting community. So I didn’t think too hard about whether i could easily understand the new skills or if i could fit one more project per day for a week into my schedule. I just signed up!
If you’re not familiar with this challenge, it’s a 5 day exercise in learning the various basic shawl shapes by knitting mini versions of them. Each day of the challenge, Frankie emails out a simple and easy-to-follow pattern for a different shawl shape. You can use whatever yarn and needles you have lying around, and she encourages you to knit for about 30 minutes to keep it a quick and fun exercise.

On day 1 I made the Triangle Shawl, using some scrap lion brand wool-ease in rose heather. this was my first introduction to the garter tab cast on! Because I prefer and habitually reach for them I knit this mini shawl on size US 6 double-pointeds, though if I made the triangle shawl again I would definitely use circulars. I also learned the hard way that I should have bound off a bit looser, as I had a hard time getting this one to block nice and sharp and flat. still, I am pleased with my result!

having learned my lesson from the triangle shawl, i dug out a size US 6 circular for the crescent shape shawl on day 2. I also decided to step up the yarn game and picked some scrap malabrigo rios in color pearl. this was a super fun shape to knit .

I fell a little behind on day 3, and ended up having to make the asymmetrical shawl on day 4. this is my version made in some scrap malabrigo rios in fuchsia, leftover from my recent hat commission. this shape was fun to make also, as I didn’t exactly know how the shape would come together until I started knitting it.

after i finished the day 3 asymmetrical, i cast on the day 4 shawl shape, the 3/4. this shape is an expansion of the triangle shape from day 1 and super fun to knit (i think i like working with multiple yarn-overs!).

i got excited on the last day of the challenge because shape #5, the square shawl, calls for double-pointed needles! to stay consistent and celebrate the completion of the challenge i decided to reach into my stash and used a bit of rios in the beautiful colorway aniversario to make the square.
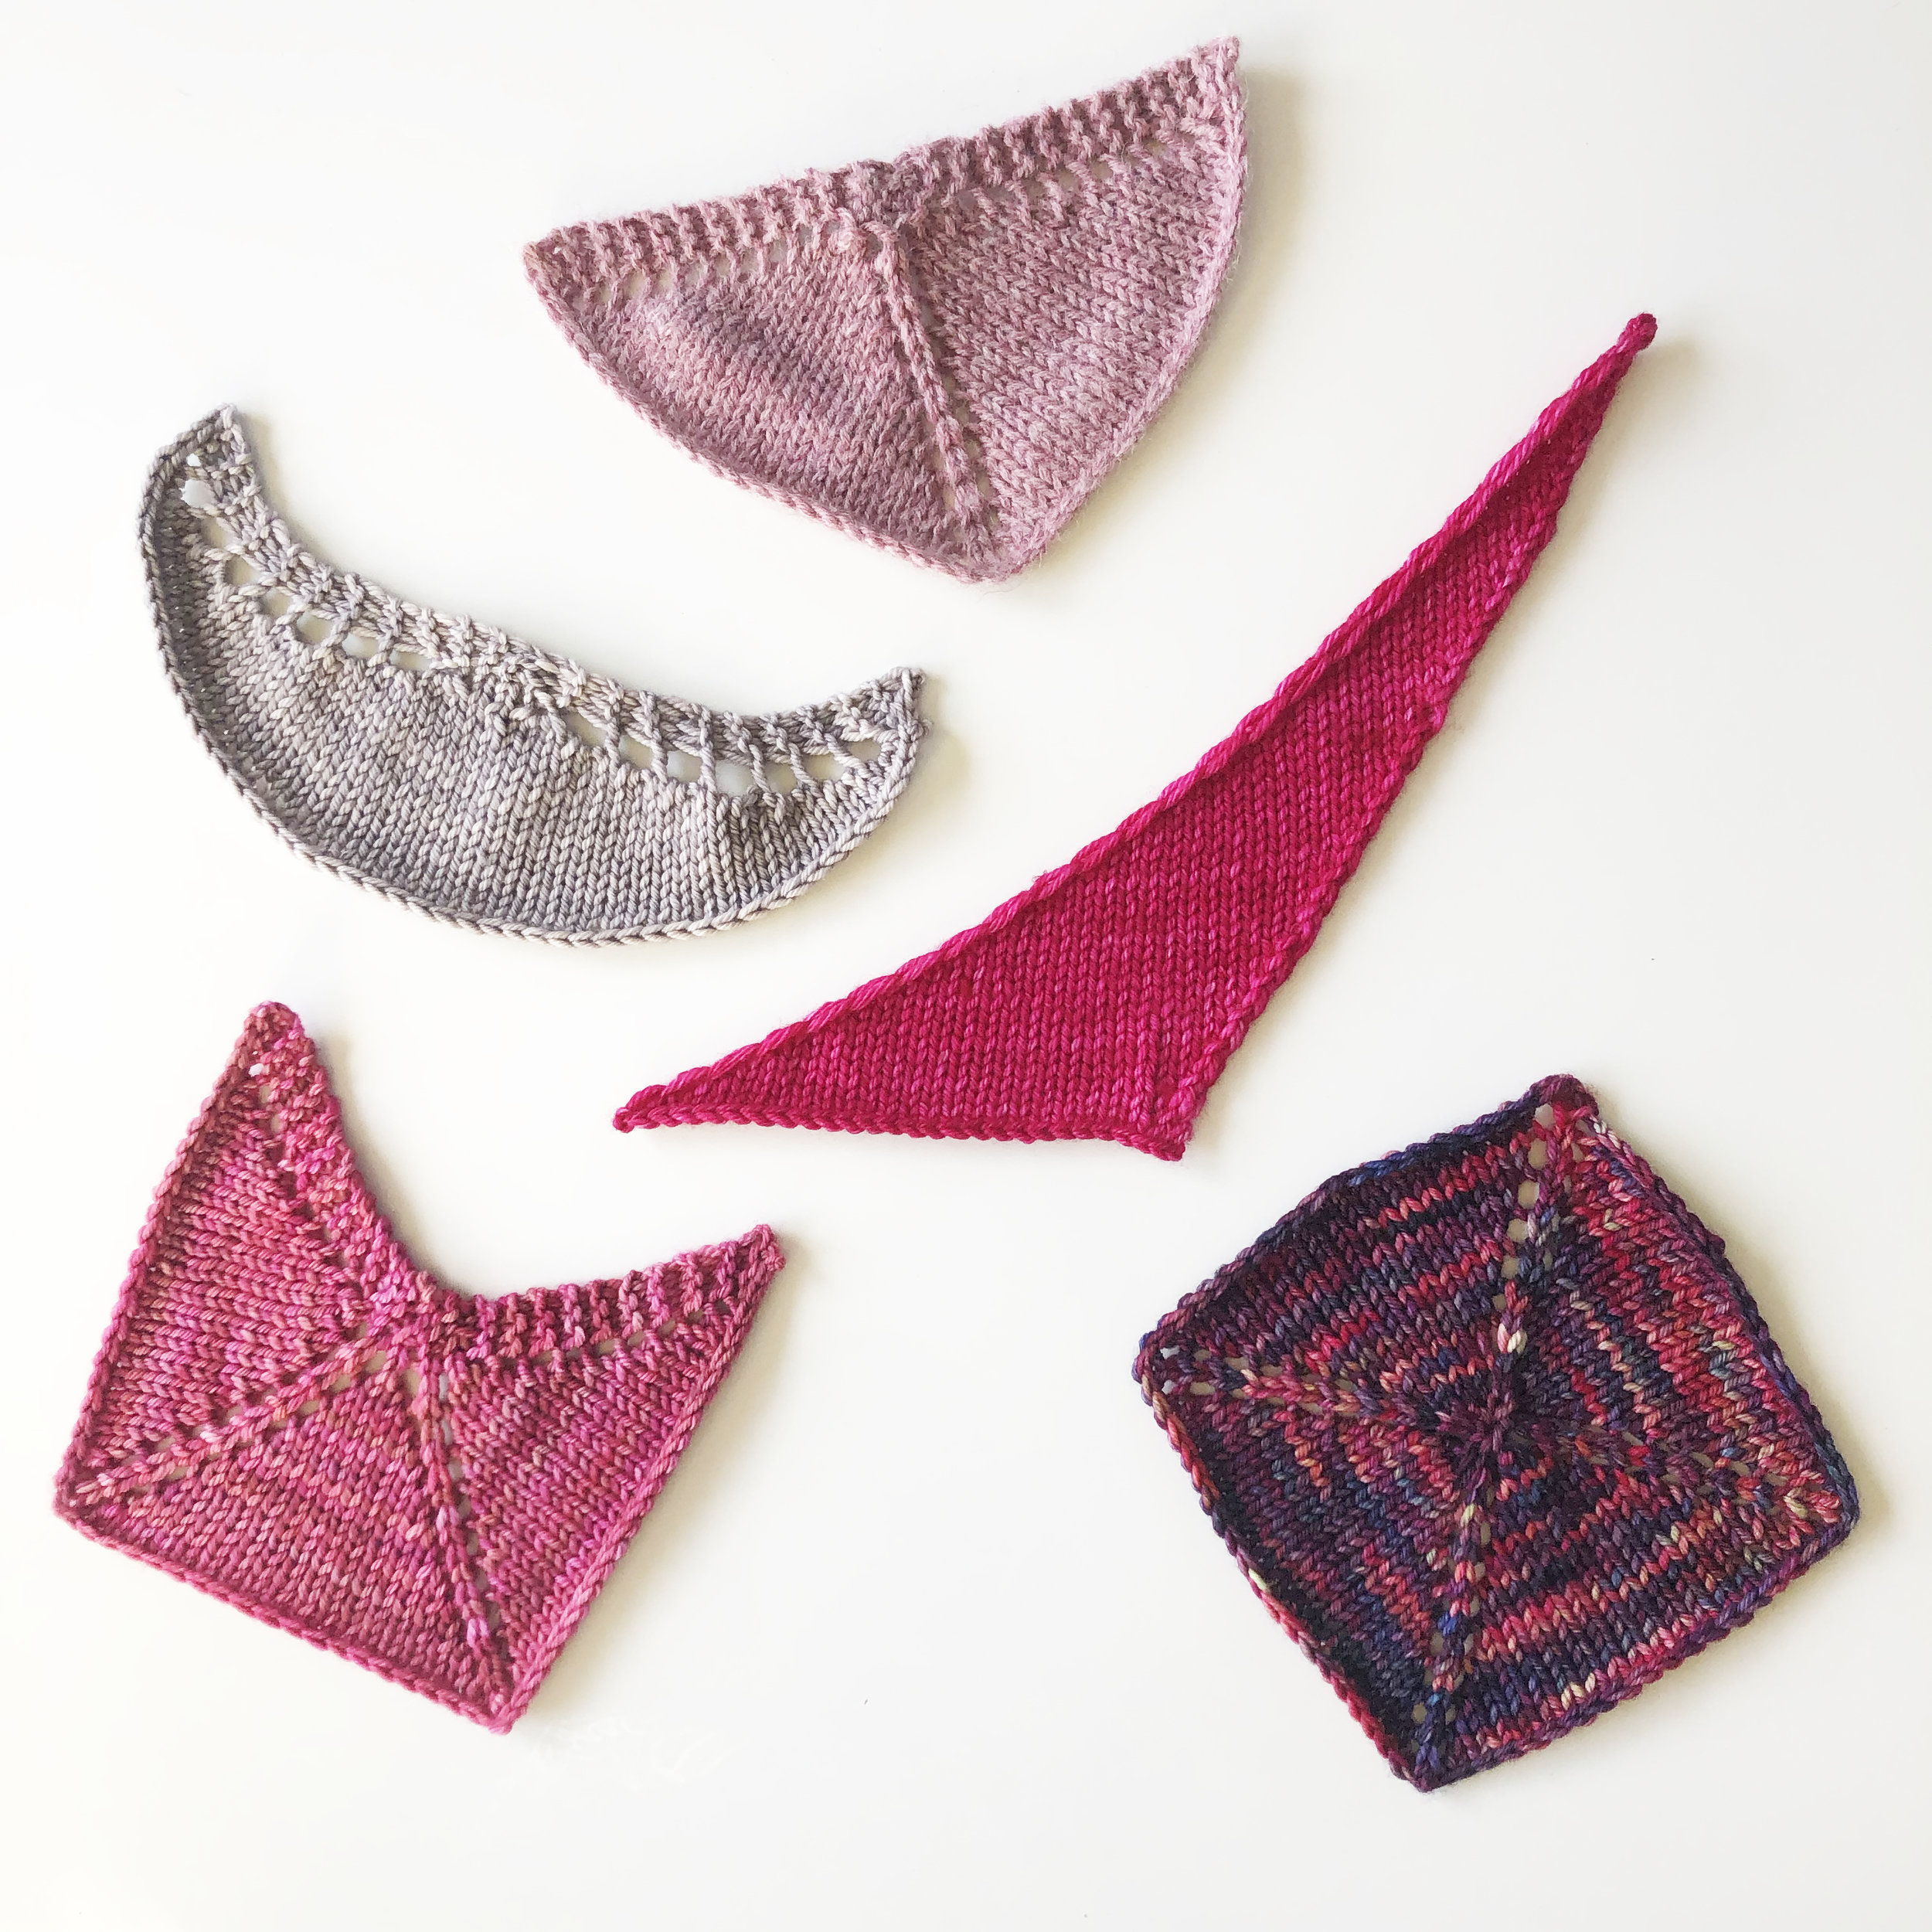
how cute are all 5 of my mini shawls!?
this was such a fun challenge both in terms of learning new techniques and fitting small, fun projects into my busy schedule. except for the asymmetrical and 3/4 shawls (days 3 & 4) that i knit in free time during the afternoon of day 4, i made the rest of the shawls at the end of my days around 8-10pm. deciding to take on learning new skills at night after a long day was challenging at times, as on a few days i messed up early and had to frog and start over. but ultimately, the construction of these basic shapes is simple and repetitive (in the best way), and after understanding the set-up each shawl worked up easily. i actually found myself debating whether or not to exceed the 30-minute time limit on many occasions because the patterns are so fun!
the best part is that Frenchie has built an amazing community around her challenge where people are sharing their work. since i was a first-time shawl knitter and challenge participant, i followed each pattern exactly and didn’t stray from the basic shape and design. But following along with the #5shawls5days hashtag on instagram (She also hosts a group on facebook) is so inspiring! So many people created such incredible mini shawls using fun stitch patterns, mini cables, frilled edges, and different bind-offs. basically, this is a fun challenge for knitters and shawl makers of any skill level, and the simple patterns and mini shawl samples are a great way to try out potential new designs.
i am SO EXcited to tack up my beautiful mini shawls to my studio cork board, for sheer cuteness and future design inspiration! please check out frenchie’s incredible shawl (and more!) designs on ravelry, and be sure to follow her on instagram so you don’t miss the announcement for next year’s challenge!

DIY: free chunky oversized sweater knitting pattern

Happy new year everyone!
the holidays are officially over (whew), and it feels really good to settle back into the routine of life and get back to the studio. even though i got off to a later start this year than i originally planned, i was able to finish my gift knits just in time. When my husband and i were invited to attend an ugly sweater party with our friends, i just knew i had to find some time to whip up a special sweater.
by the time i was in a good place with gift knits to cast on it was already december 18th, and the party was planned for the evening of the 22nd. considering the time crunch, i decided to keep the sweater design extremely simple and chose a bulky weight yarn to ensure i wouldn’t get bogged down in endless rows. i tend to prefer oversized shirts and sweaters anyway so i made it a large, boxy fit that would complement many different sizes and body types.

beginning with the bottom front, i worked a few rows of ribbing in contrast green before transitioning to the main body of the sweater. the front and back are knit as one continuous piece, and i bound off a selection of stitches across a row to create a neck hole. i then picked up stitches along the “shoulders” and knit flat each sleeve, decreasing the amount of rows towards the cuff and finishing with matching contrast ribbing. the sweater is seamed underneath the sleeves and down each side, and to complete the design i picked up stitches along the neckline and added contrast ribbing.
this is a really great project for beginners, especially those who have been wanting to try out a sweater but might have felt intimidated by the workload or techniques. this sweater requires no advanced stitches or techniques, and no math. as long as you can knit, purl, and pick up stitches, this sweater is easily worked up in a few days!

the end result is a simple and cute drop shoulder design that is super cozy! and it was a huge hit at the party :)
this simple pattern can be customized in so many different ways with different color combos, embroidery, colorwork, stitch patterns, or fringe! i’m excited to have a cozy christmas sweater to wear for the years to come, but i think this pattern would look stunning in a neutral camel brown color.
on to the pattern!
materials
main color: 5 skeins lion brand wool ease thick & quick in cranberry (i ended up using 4 1/2 total)
contrast color: 1 skein lion brand wool ease thick & quick in kale (i used about 3/4 of a skein)
or
6 skeins lion brand wool ease thick & quick in any color or color combo of your choosing
size us 15 (10mm) needles (for body and sleeves)
size us 13 (9mm) needles (for neckline)
tapestry needle
scissors
key
k - knit
p - purl
k2T - knit two stitches together
b/o - bind off
pattern
c/o 50 stitches in main or contrast color, depending on desired finished design
alternate k1/p1 ribbing for 6 rows
switch to main color, continue in stockinette until sweater front measures 24” (approximately 54 rows), ending on a purl row
to shape neckline,
R1: k14, b/o 22, k14
r2: p14, c/o 22, p14
continue in stockinette until sweater back measures 24” (approximately 54 rows)
switch to contrast color, alternate k1/p1 ribbing for 6 rows and bind off.
to make sleeves, pick up 36 stitches (in main color) across the shoulders with the neckline hole centered. continue in stockinette for 19 rows, ending on a purl row.
then, k2t, k32, k2t
continue stockinette for 5 rows, ending on a purl row
then, k2t, k30, k2t
p across row
* k2t, knit until last two stitches remain, k2t
p across row
repeat pattern from * until 20 stitches remain, ending on a purl row
switch to contrast color, k2t, k16, k2t
alternate k1/p1 ribbing for 6 rows and bind off.
to create the neckline, pick up 50 stitches around the neck hole in contrast color using size us 13 (9mm) needles.
alternate k1/p1 ribbing for 6 rows and bind off.
finishing:
using yarn tails, seam sweater from both sides up and underneath both sleeves. weave in ends and do a happy new sweater dance!


what do you think? what colors would you make this sweater in?

diy: free chunky cabled hat pattern

when i asked my best friend sammie what she wanted for christmas 2017 (handknit, of course!), she knew her answer right away: a basic black hat. I was more than happy to oblige! wanting to honor her wishes for "basic" but also wanting to make her something special, i knew a hat full of chunky cables was the answer.
since i used a super bulky wool, the hat knit up very fast (aren't quick projects the best?) and the cable pattern is very easy and repetitive. so grab your needles and some chunky yarn and cast on this cozy winter hat!
materials:
US 13 (9mm) double-pointed needles
cable needle, extra dpn, or stitch holder for cabling
yarn: wool and the gang crazy sexy wool in space black or another super bulky yarn
tapestry needle
key:
k - knit
p - purl
c2l - cable two stitches in front, to the left
k2t - knit two stitches together
pattern:
cast on 40 stitches across 4 needles (10 stitches/needle)
alternate K1/p1 ribbing for 6 rows
* P1, K4, p1, k4 across each needle
repeat 4 times
row 5: p1, C2L, p1, c2l across each needle
repeat pattern from * 4 times
to decrease:
R1: P1, k2t, k2t, p1, k2t, k2t across each needle
r2: p1, k2T, p1, k2T across each needle
r3: p1, k2T, p1, k2t
r4: weave end through remaining 8 stitches to bind off

the finished hat is a great winter basic that still has visual interest. if you're into pompoms i think this hat would look super cute with one!
what color chunky cabled hat would you make?
#WIDN: custom knit alligator

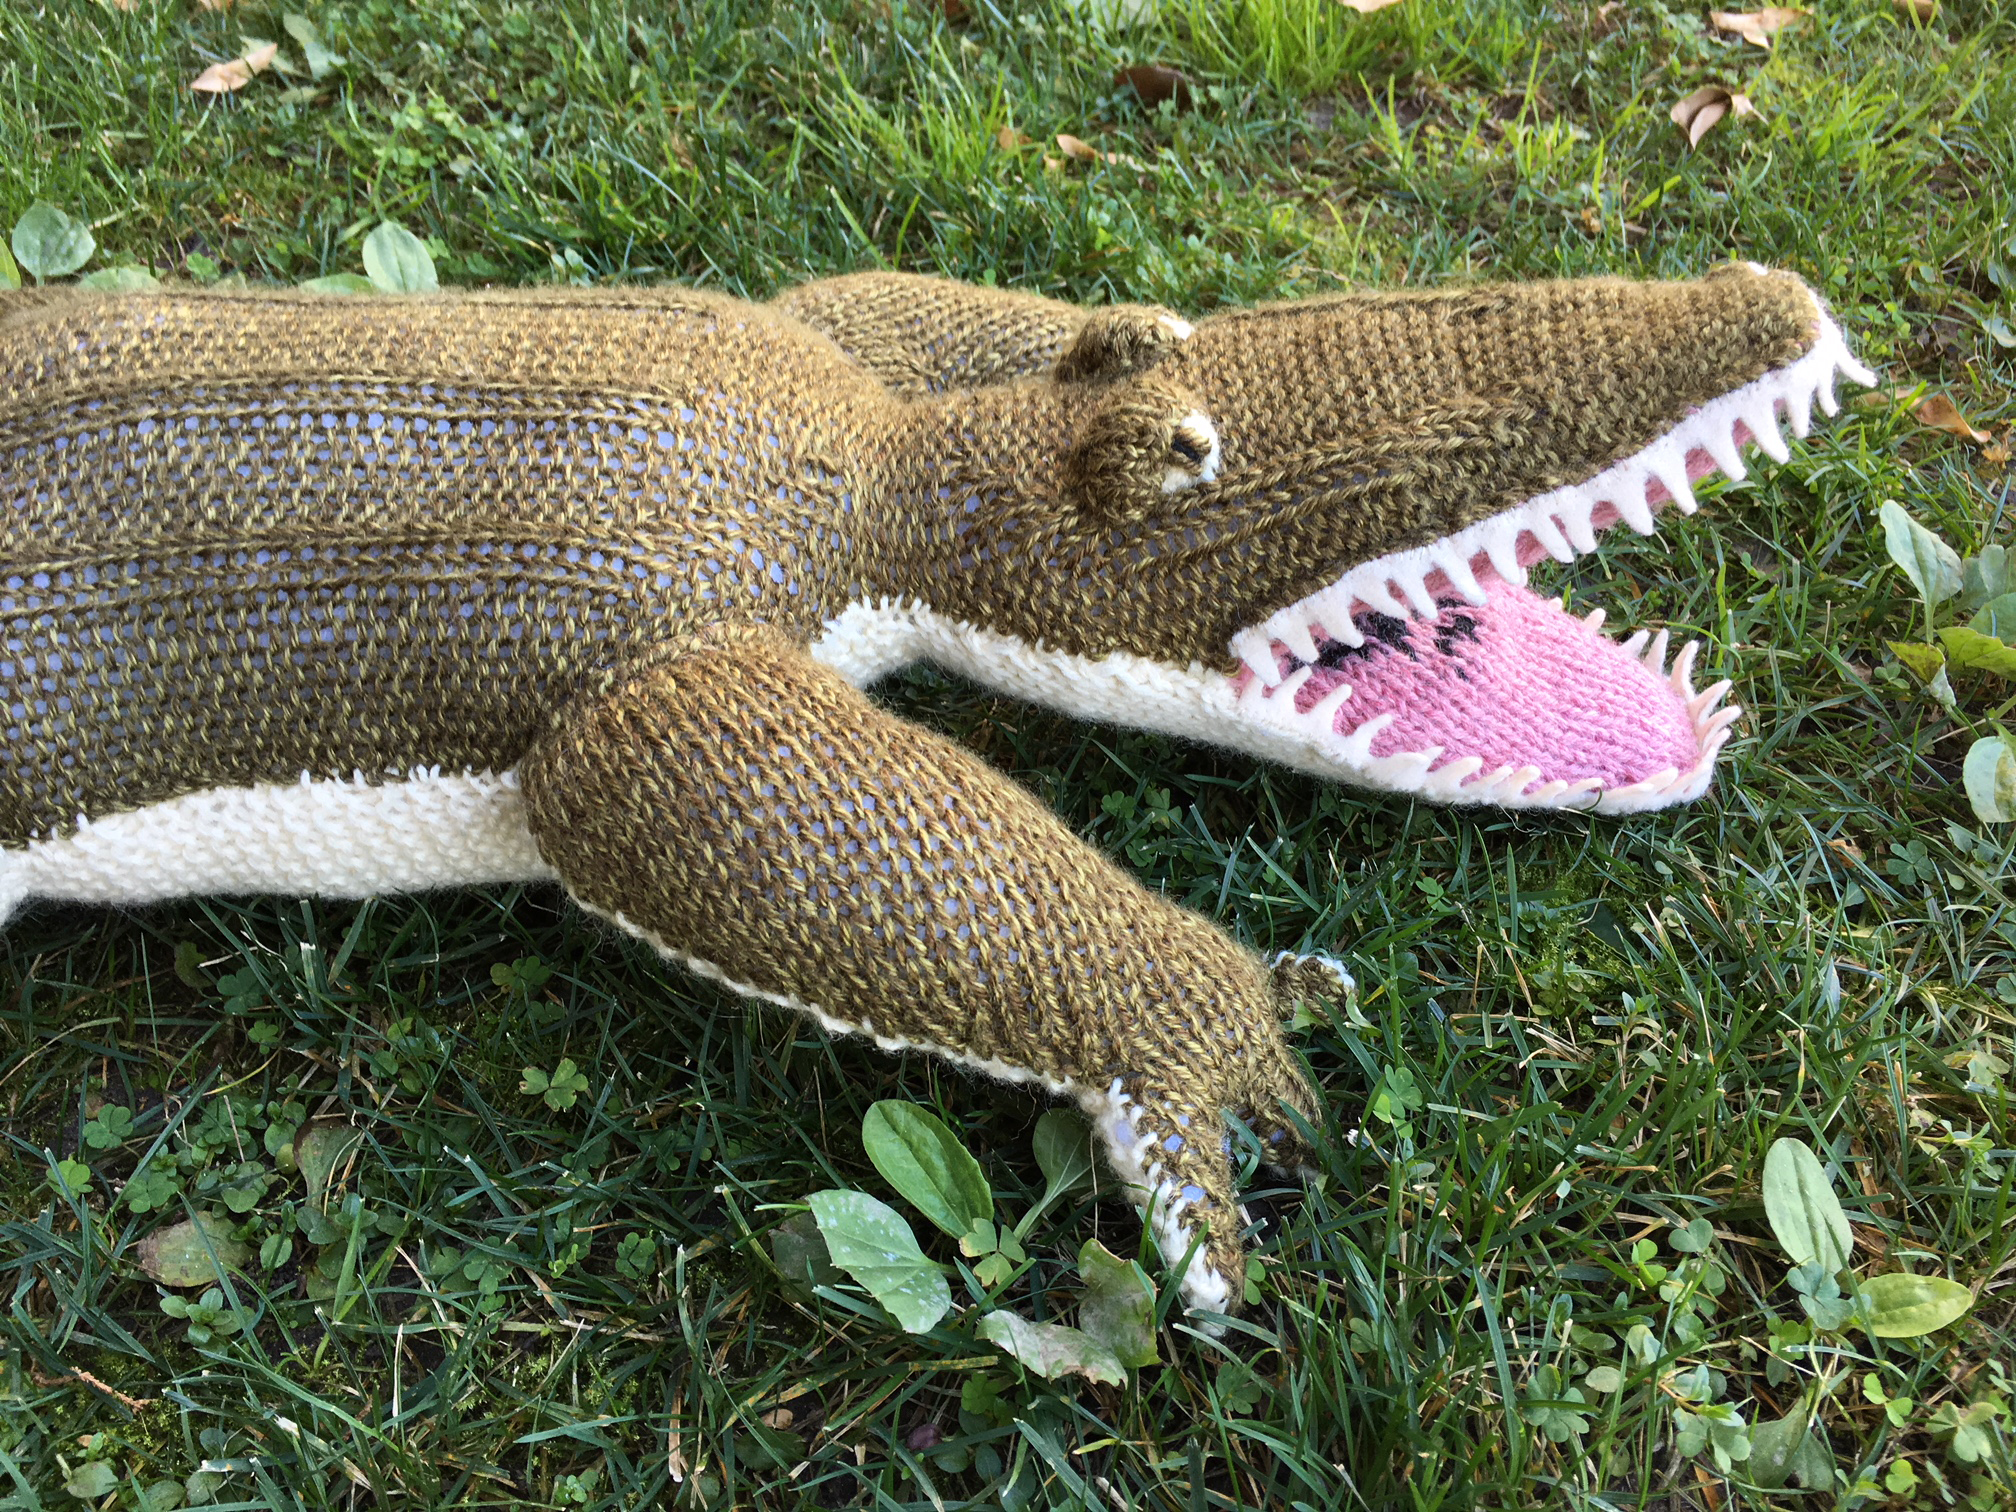
very recently, i designed a large knit alligator toy as a commission for a dear friend who intends to give it as a baby gift. It’s always an honor when I’m asked to make custom knits! i feel simultaneously flattered that someone likes my designs enough to support my work and so excited for the challenge of being trusted to design something great. as someone who grew up loving stuffed animals, there’s something extra special about designing for a baby and creating something that they will hopefully love for years to come.
pattern: elisemade original design, 2017
yarn: patons classic worsted wool in aran & lion brand heartland in joshua tree
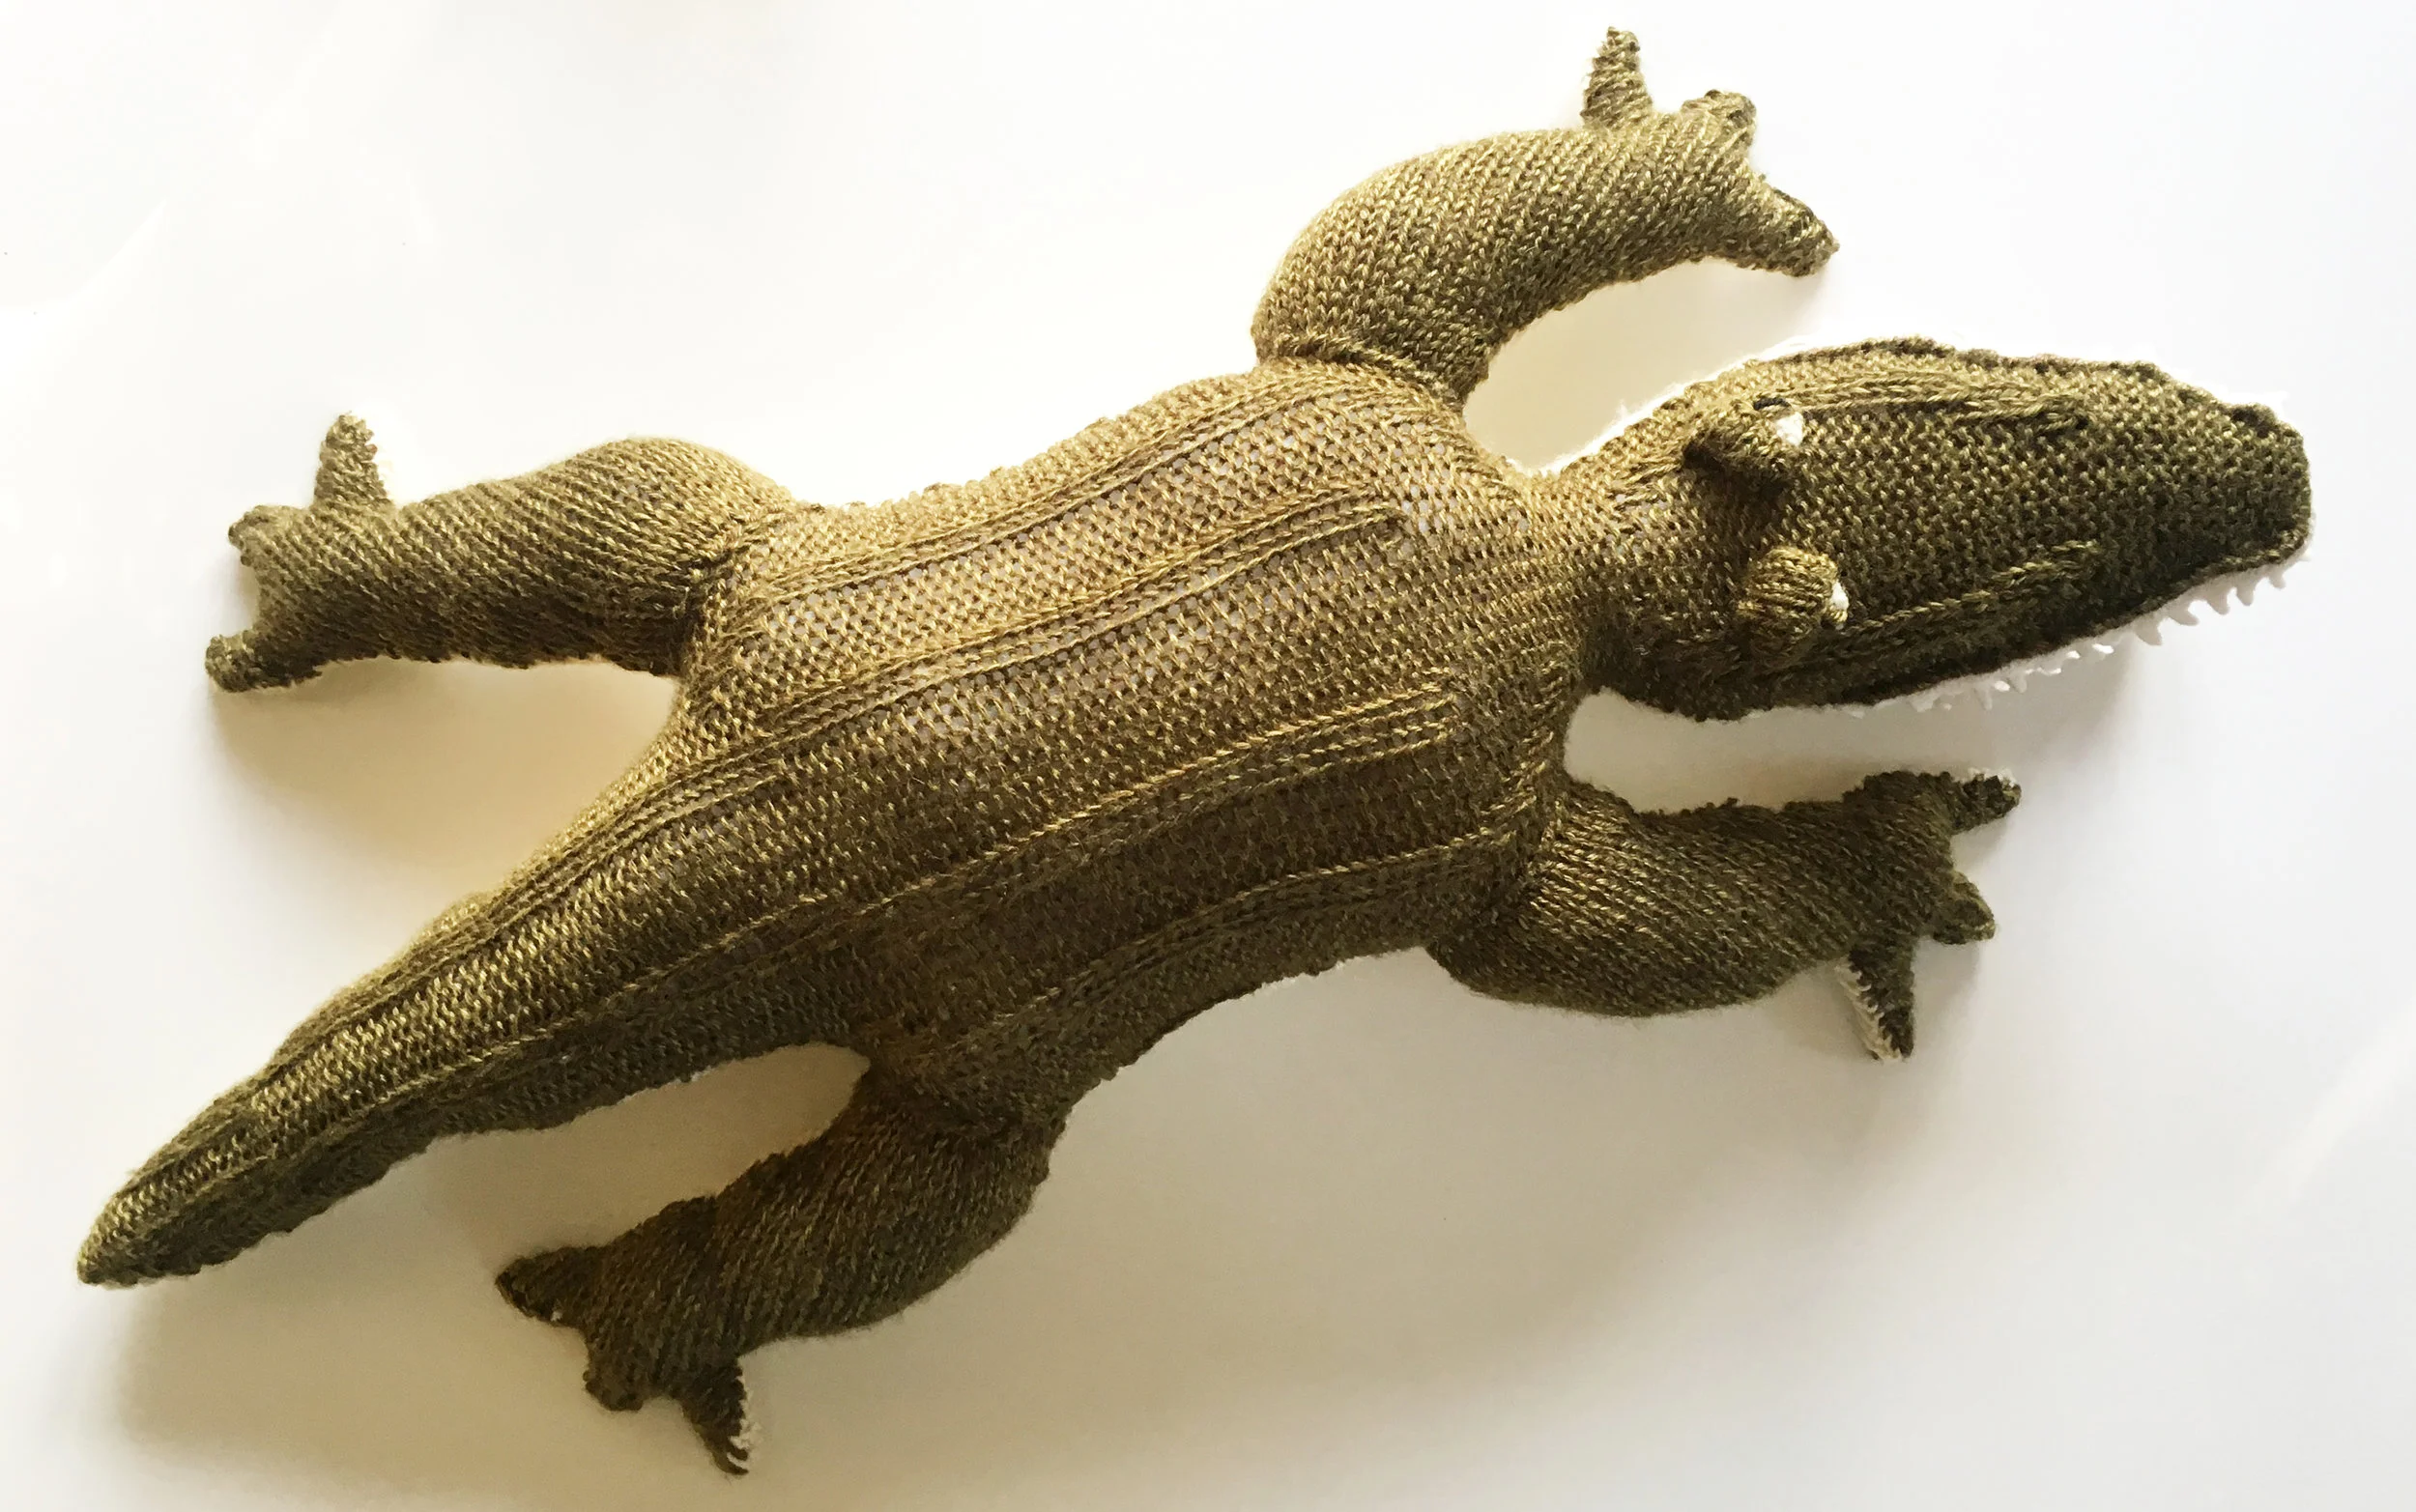
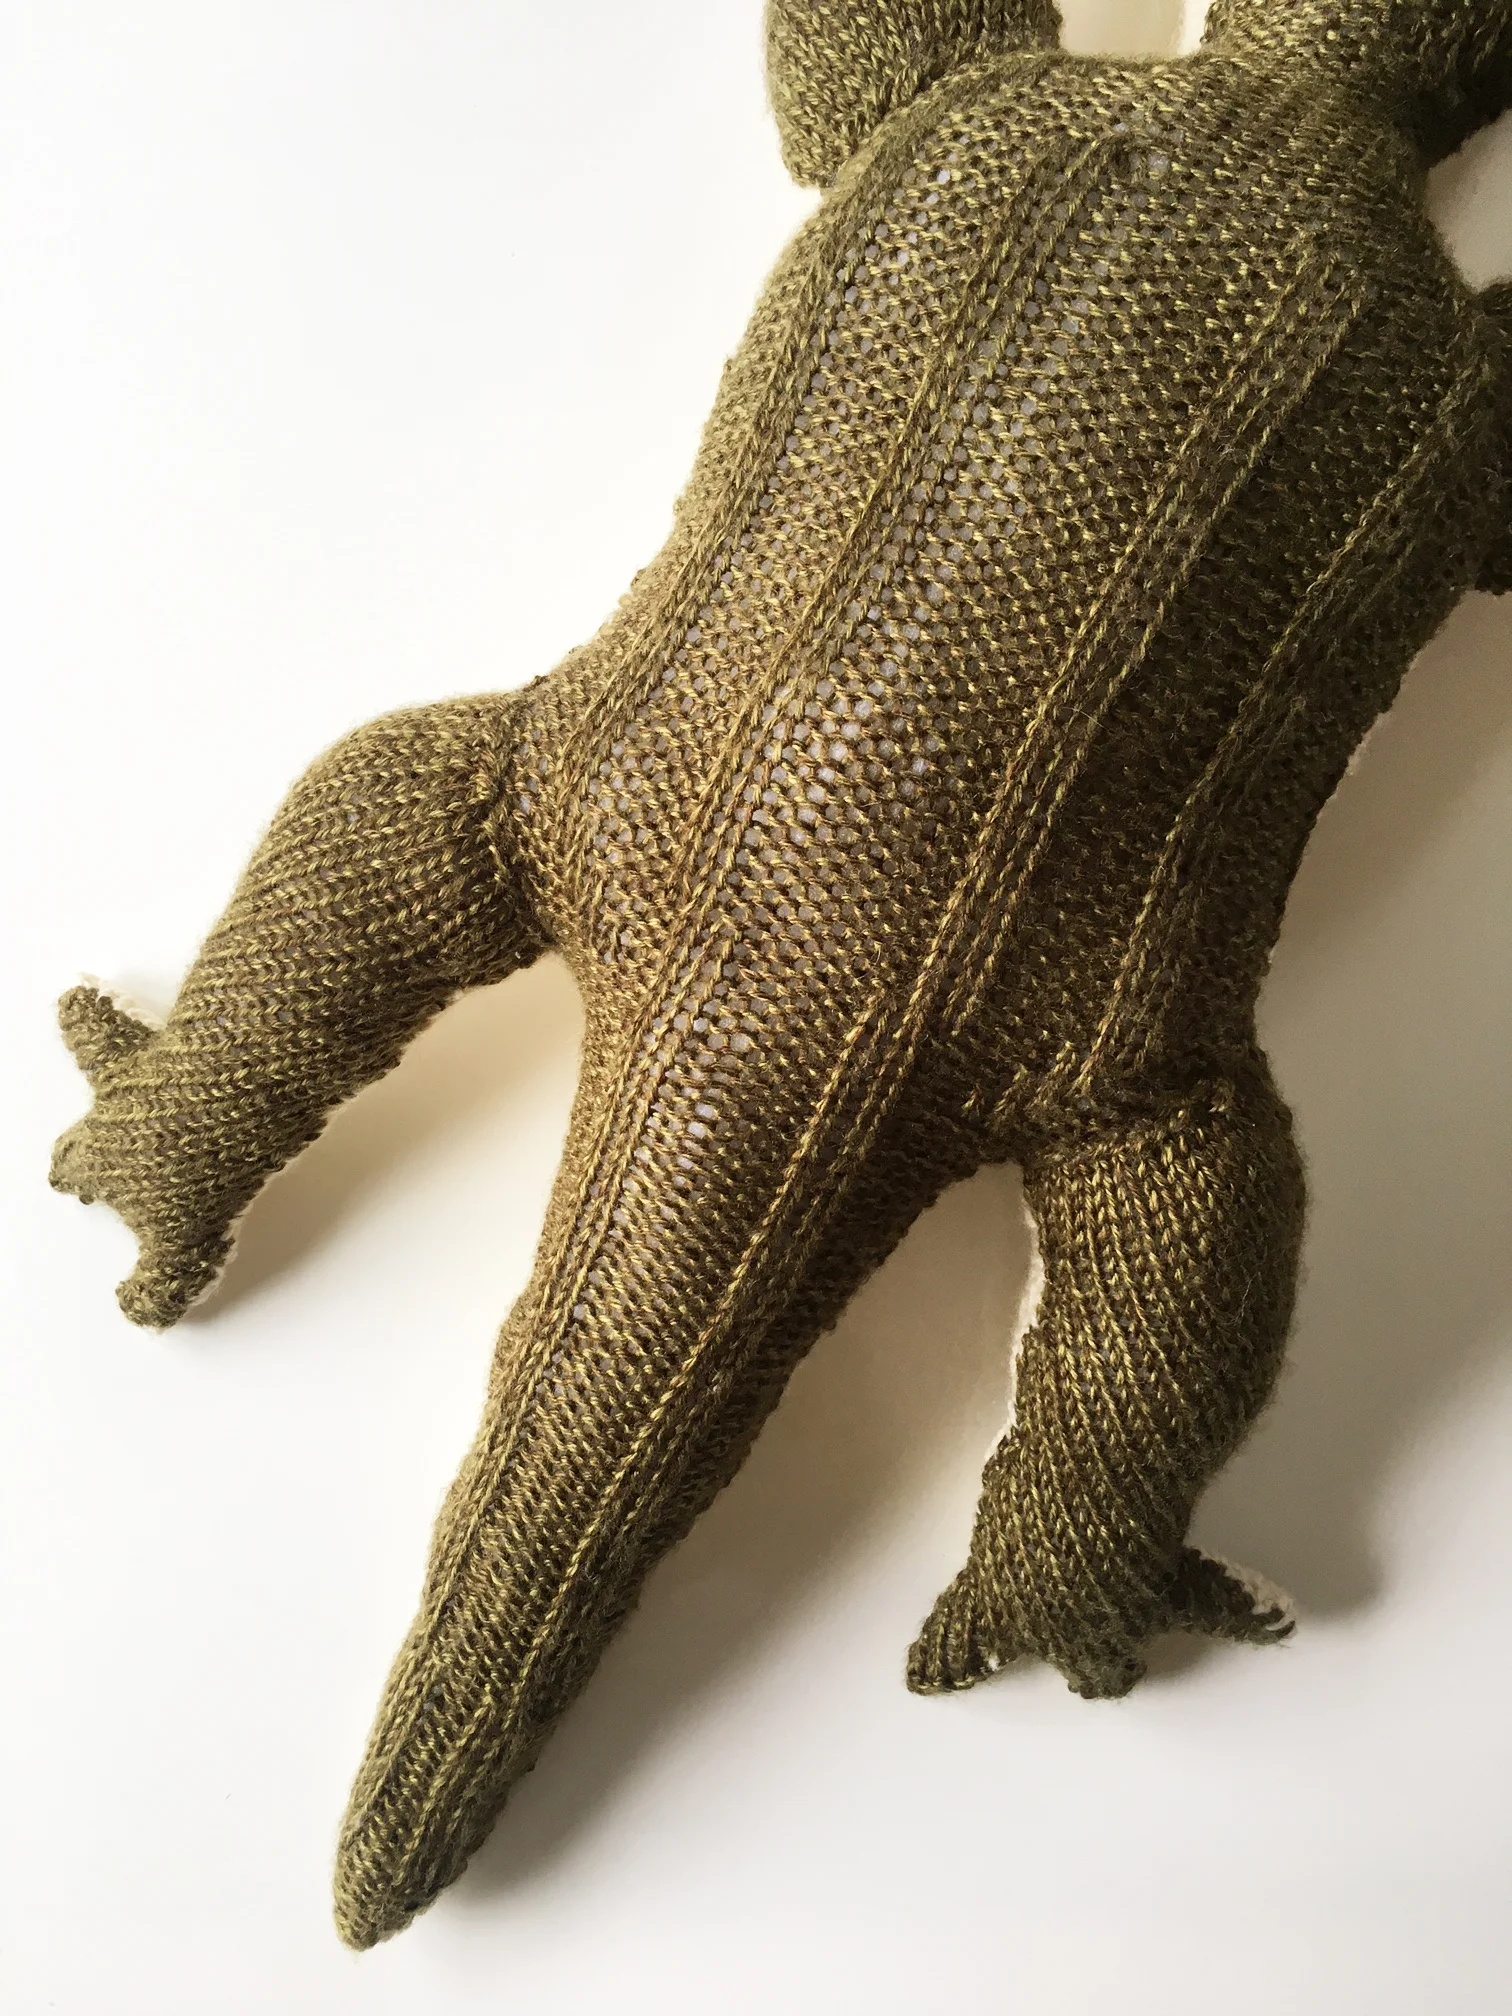
i tried to keep the design as simple as possible by knitting flat the head/torso/tail in two continuous pieces, the back and the underside. i knit the four legs separately, using the same idea of seaming together two flat-knit pieces. the texture on the back is from simple variations of knit/purl stitches across a row.
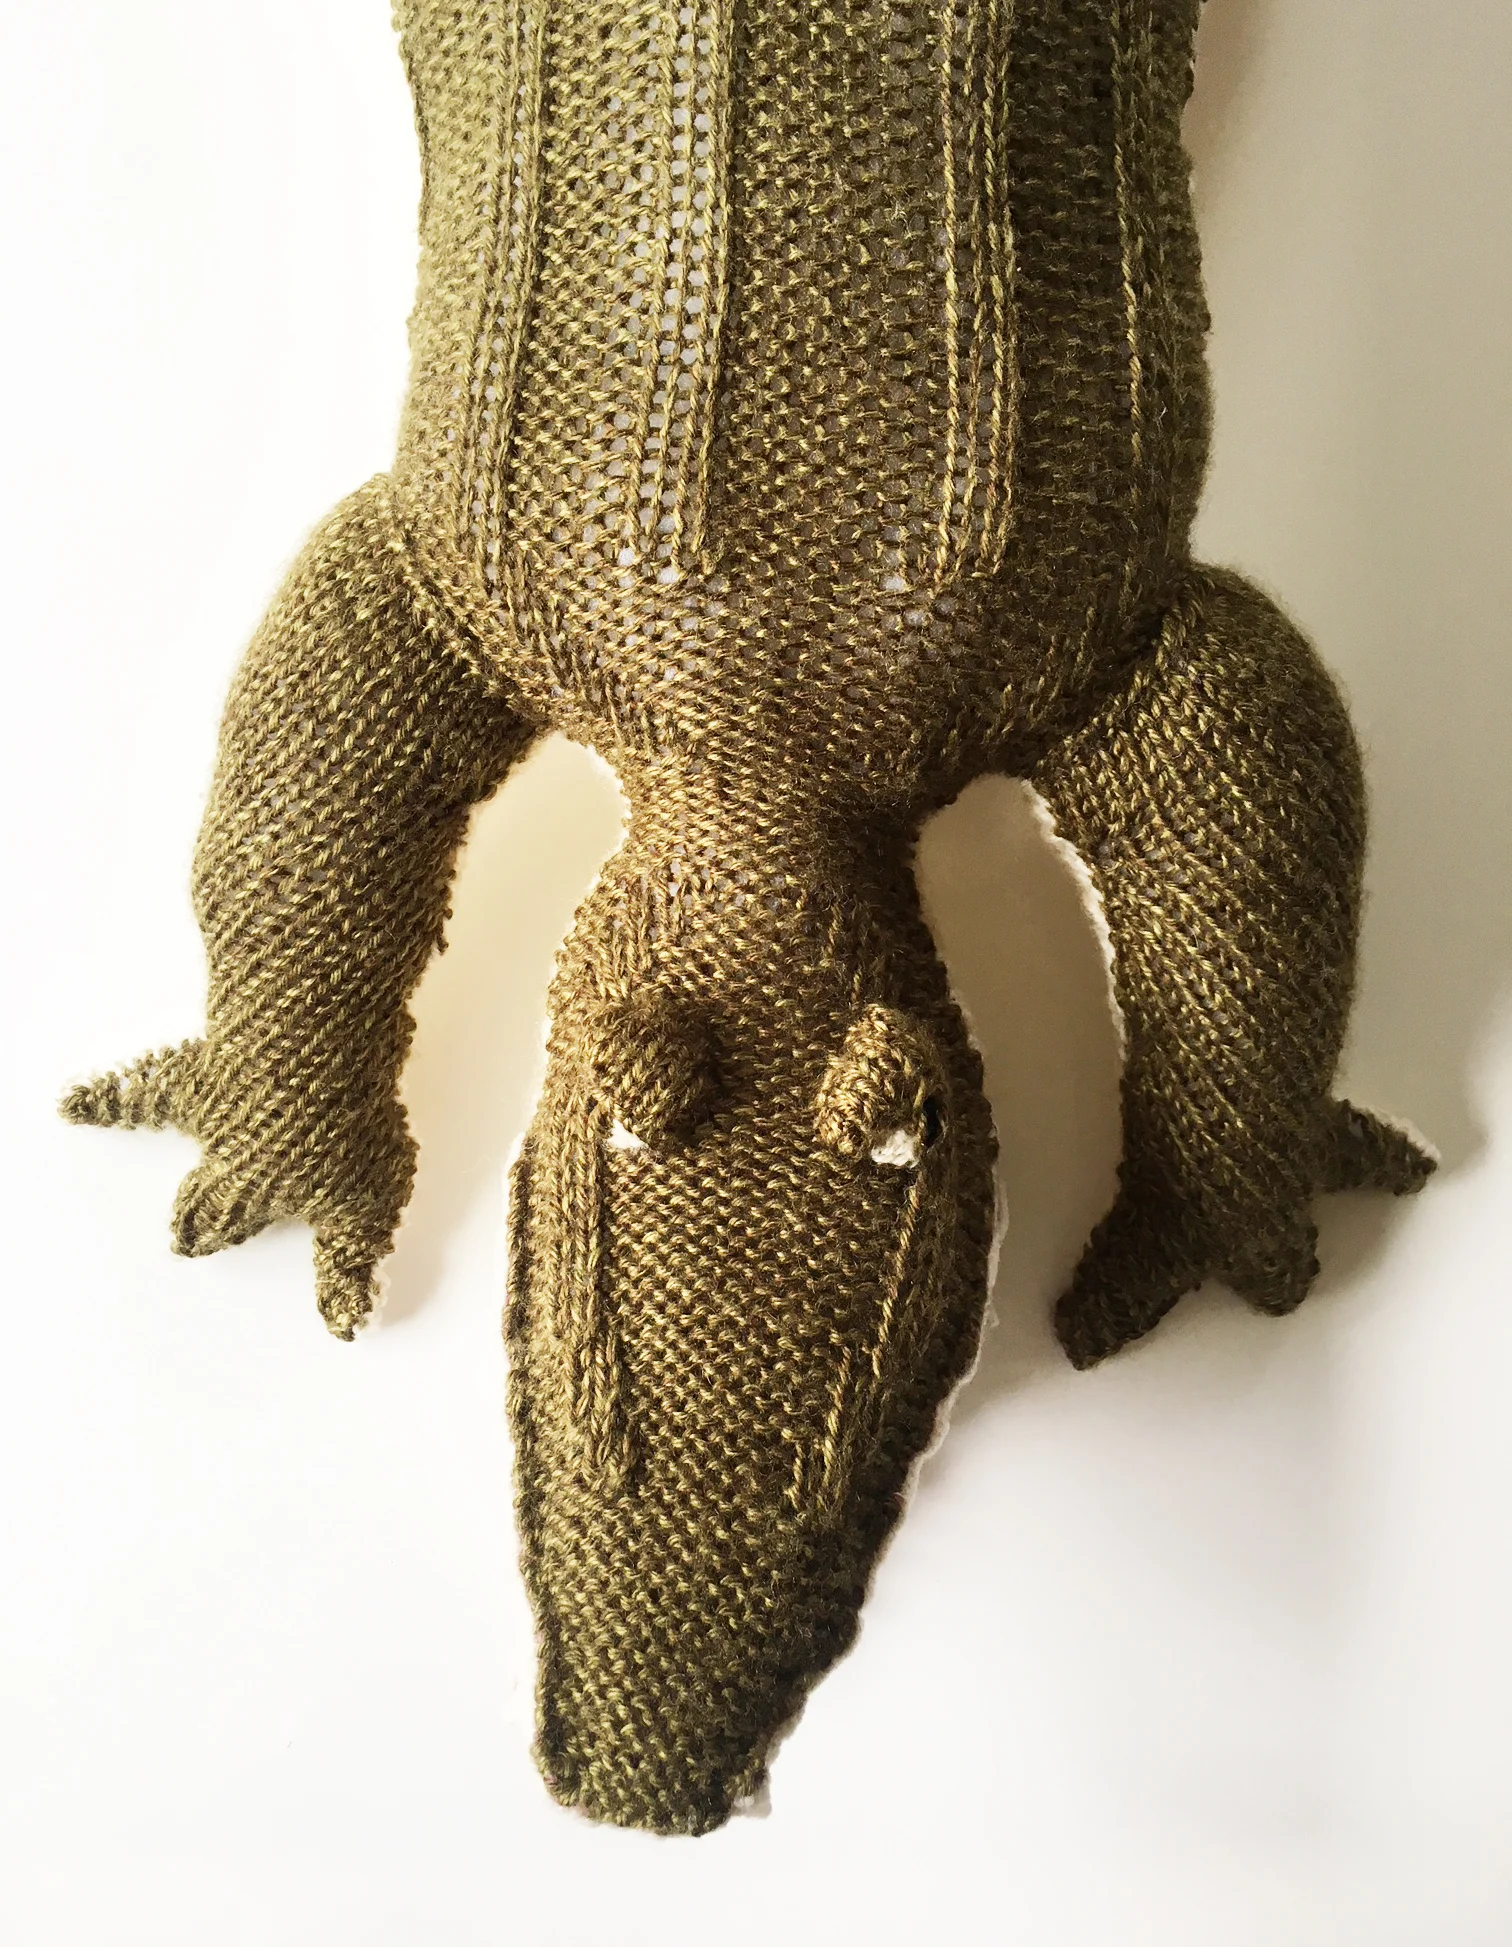
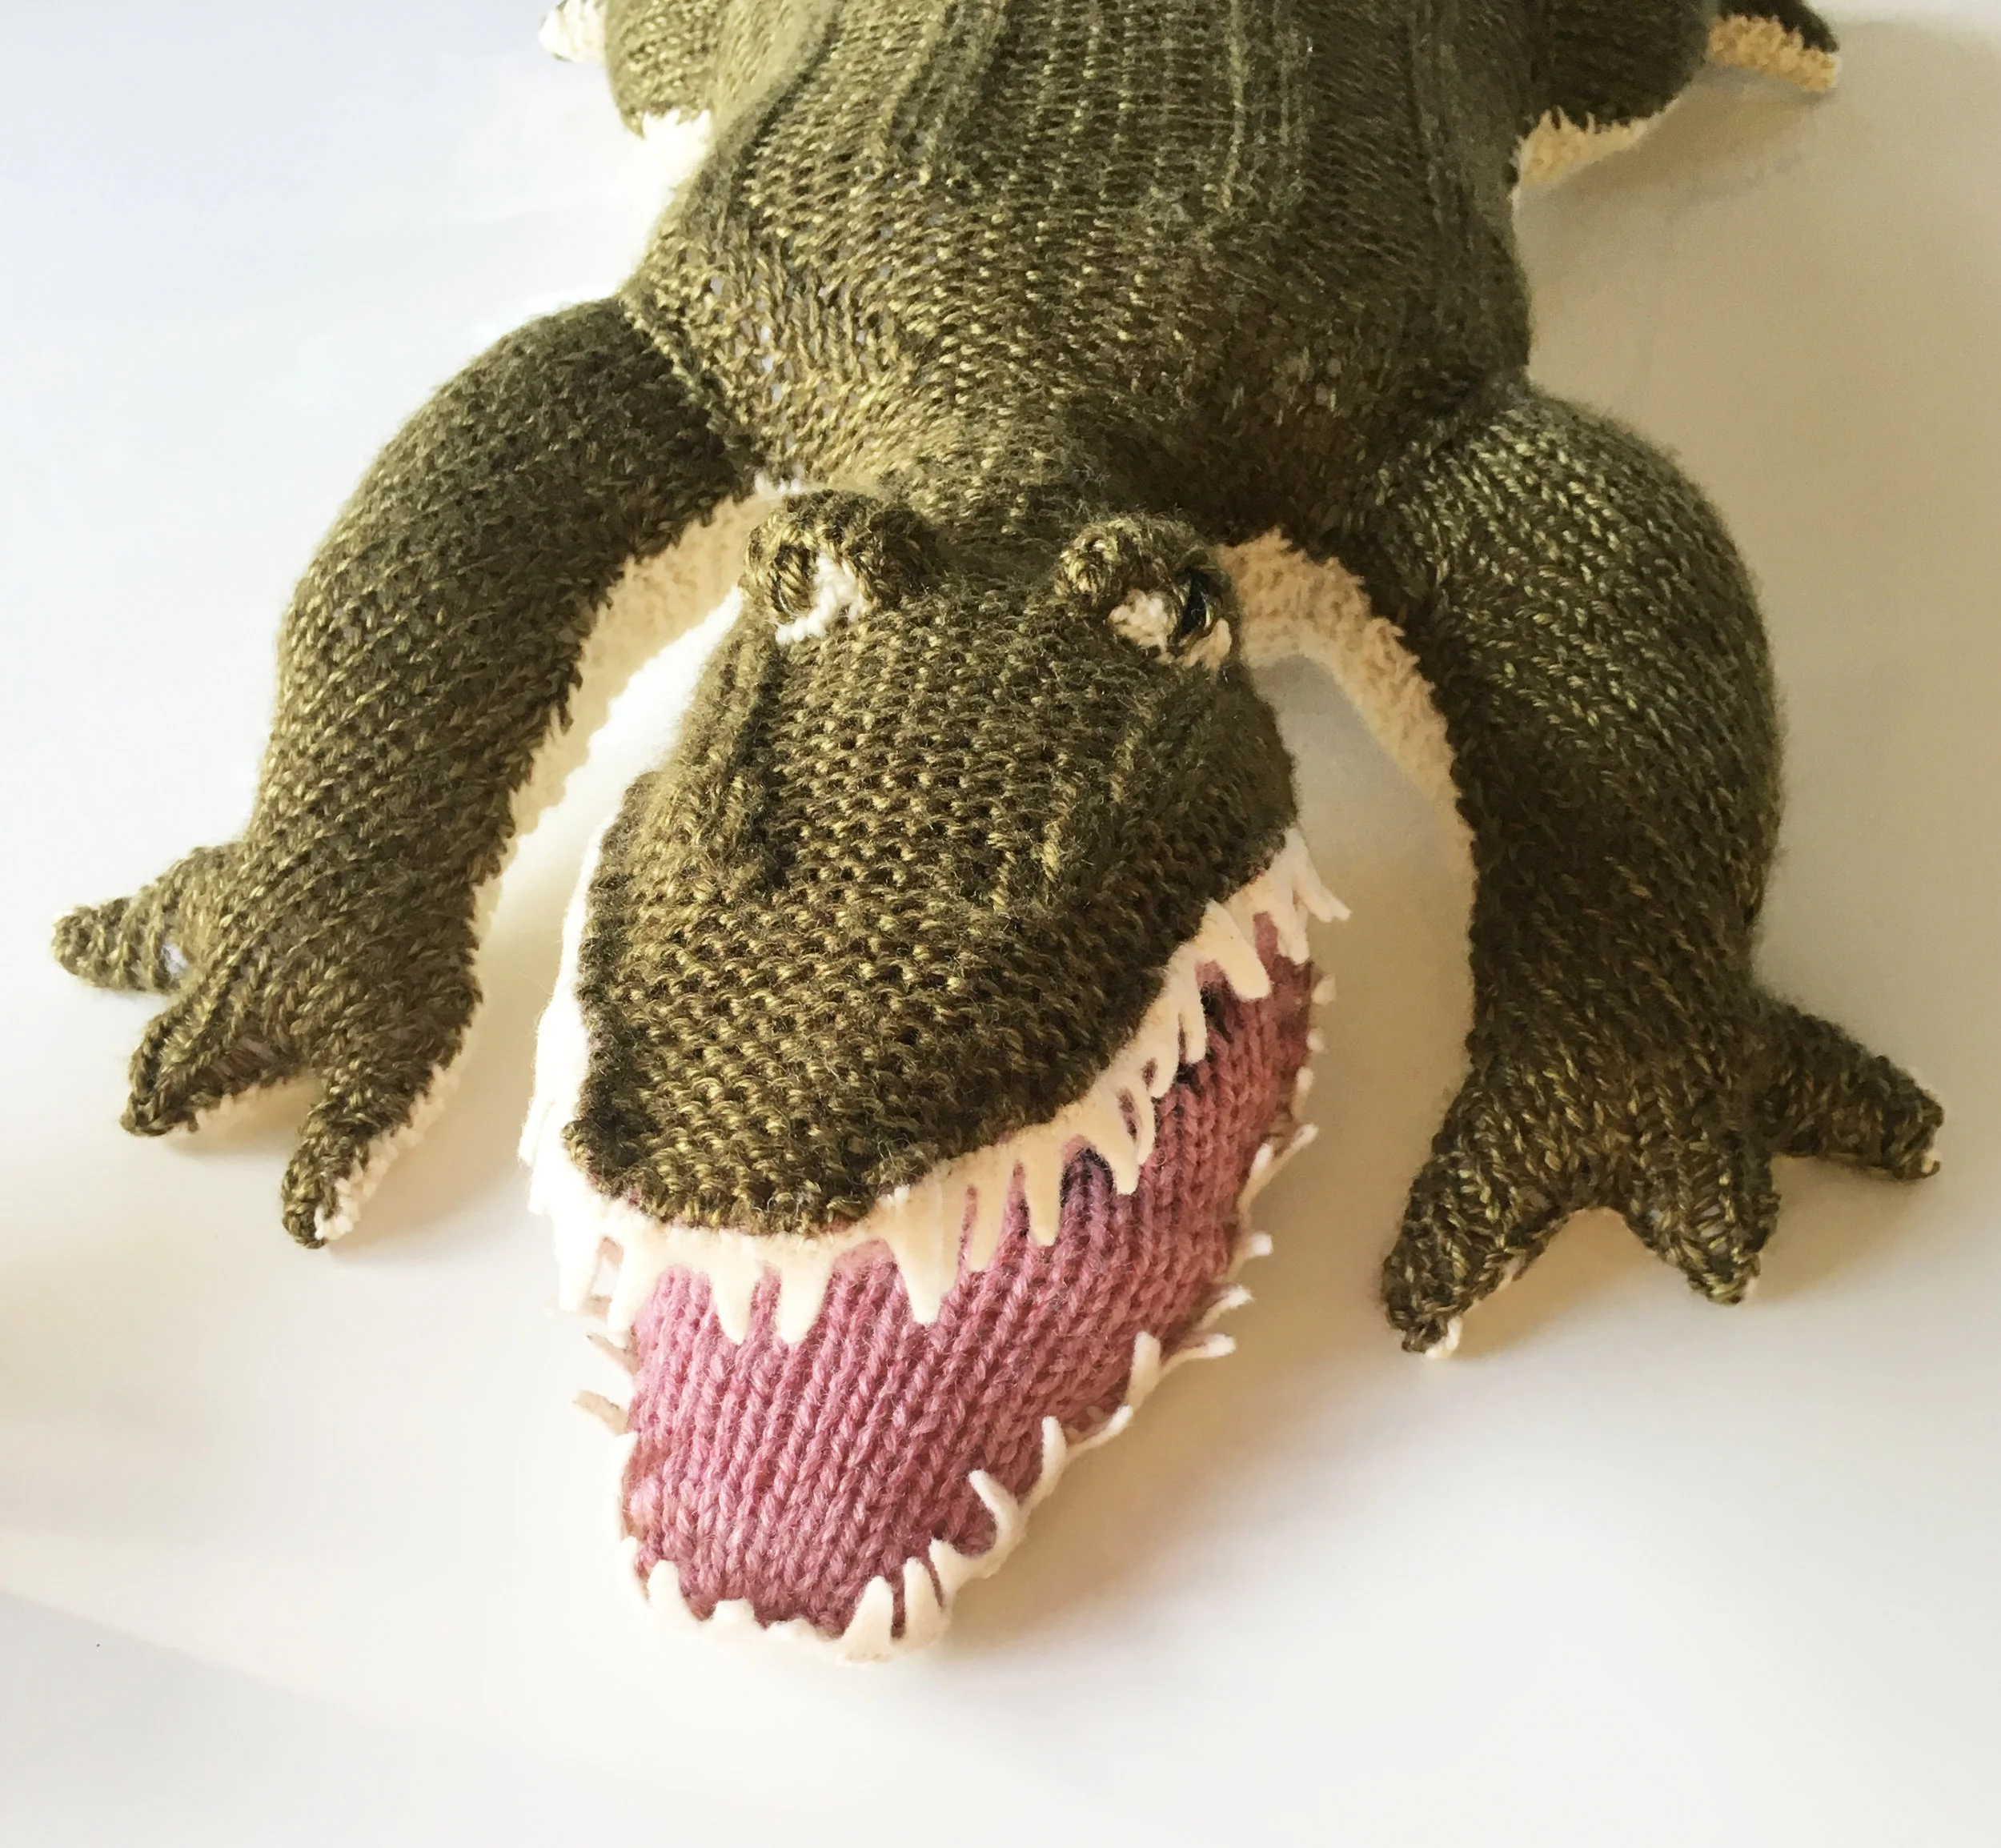
i knit a flat piece in pink and black wool in the same shape as the head and seamed it to the inside to create the "open" mouth.
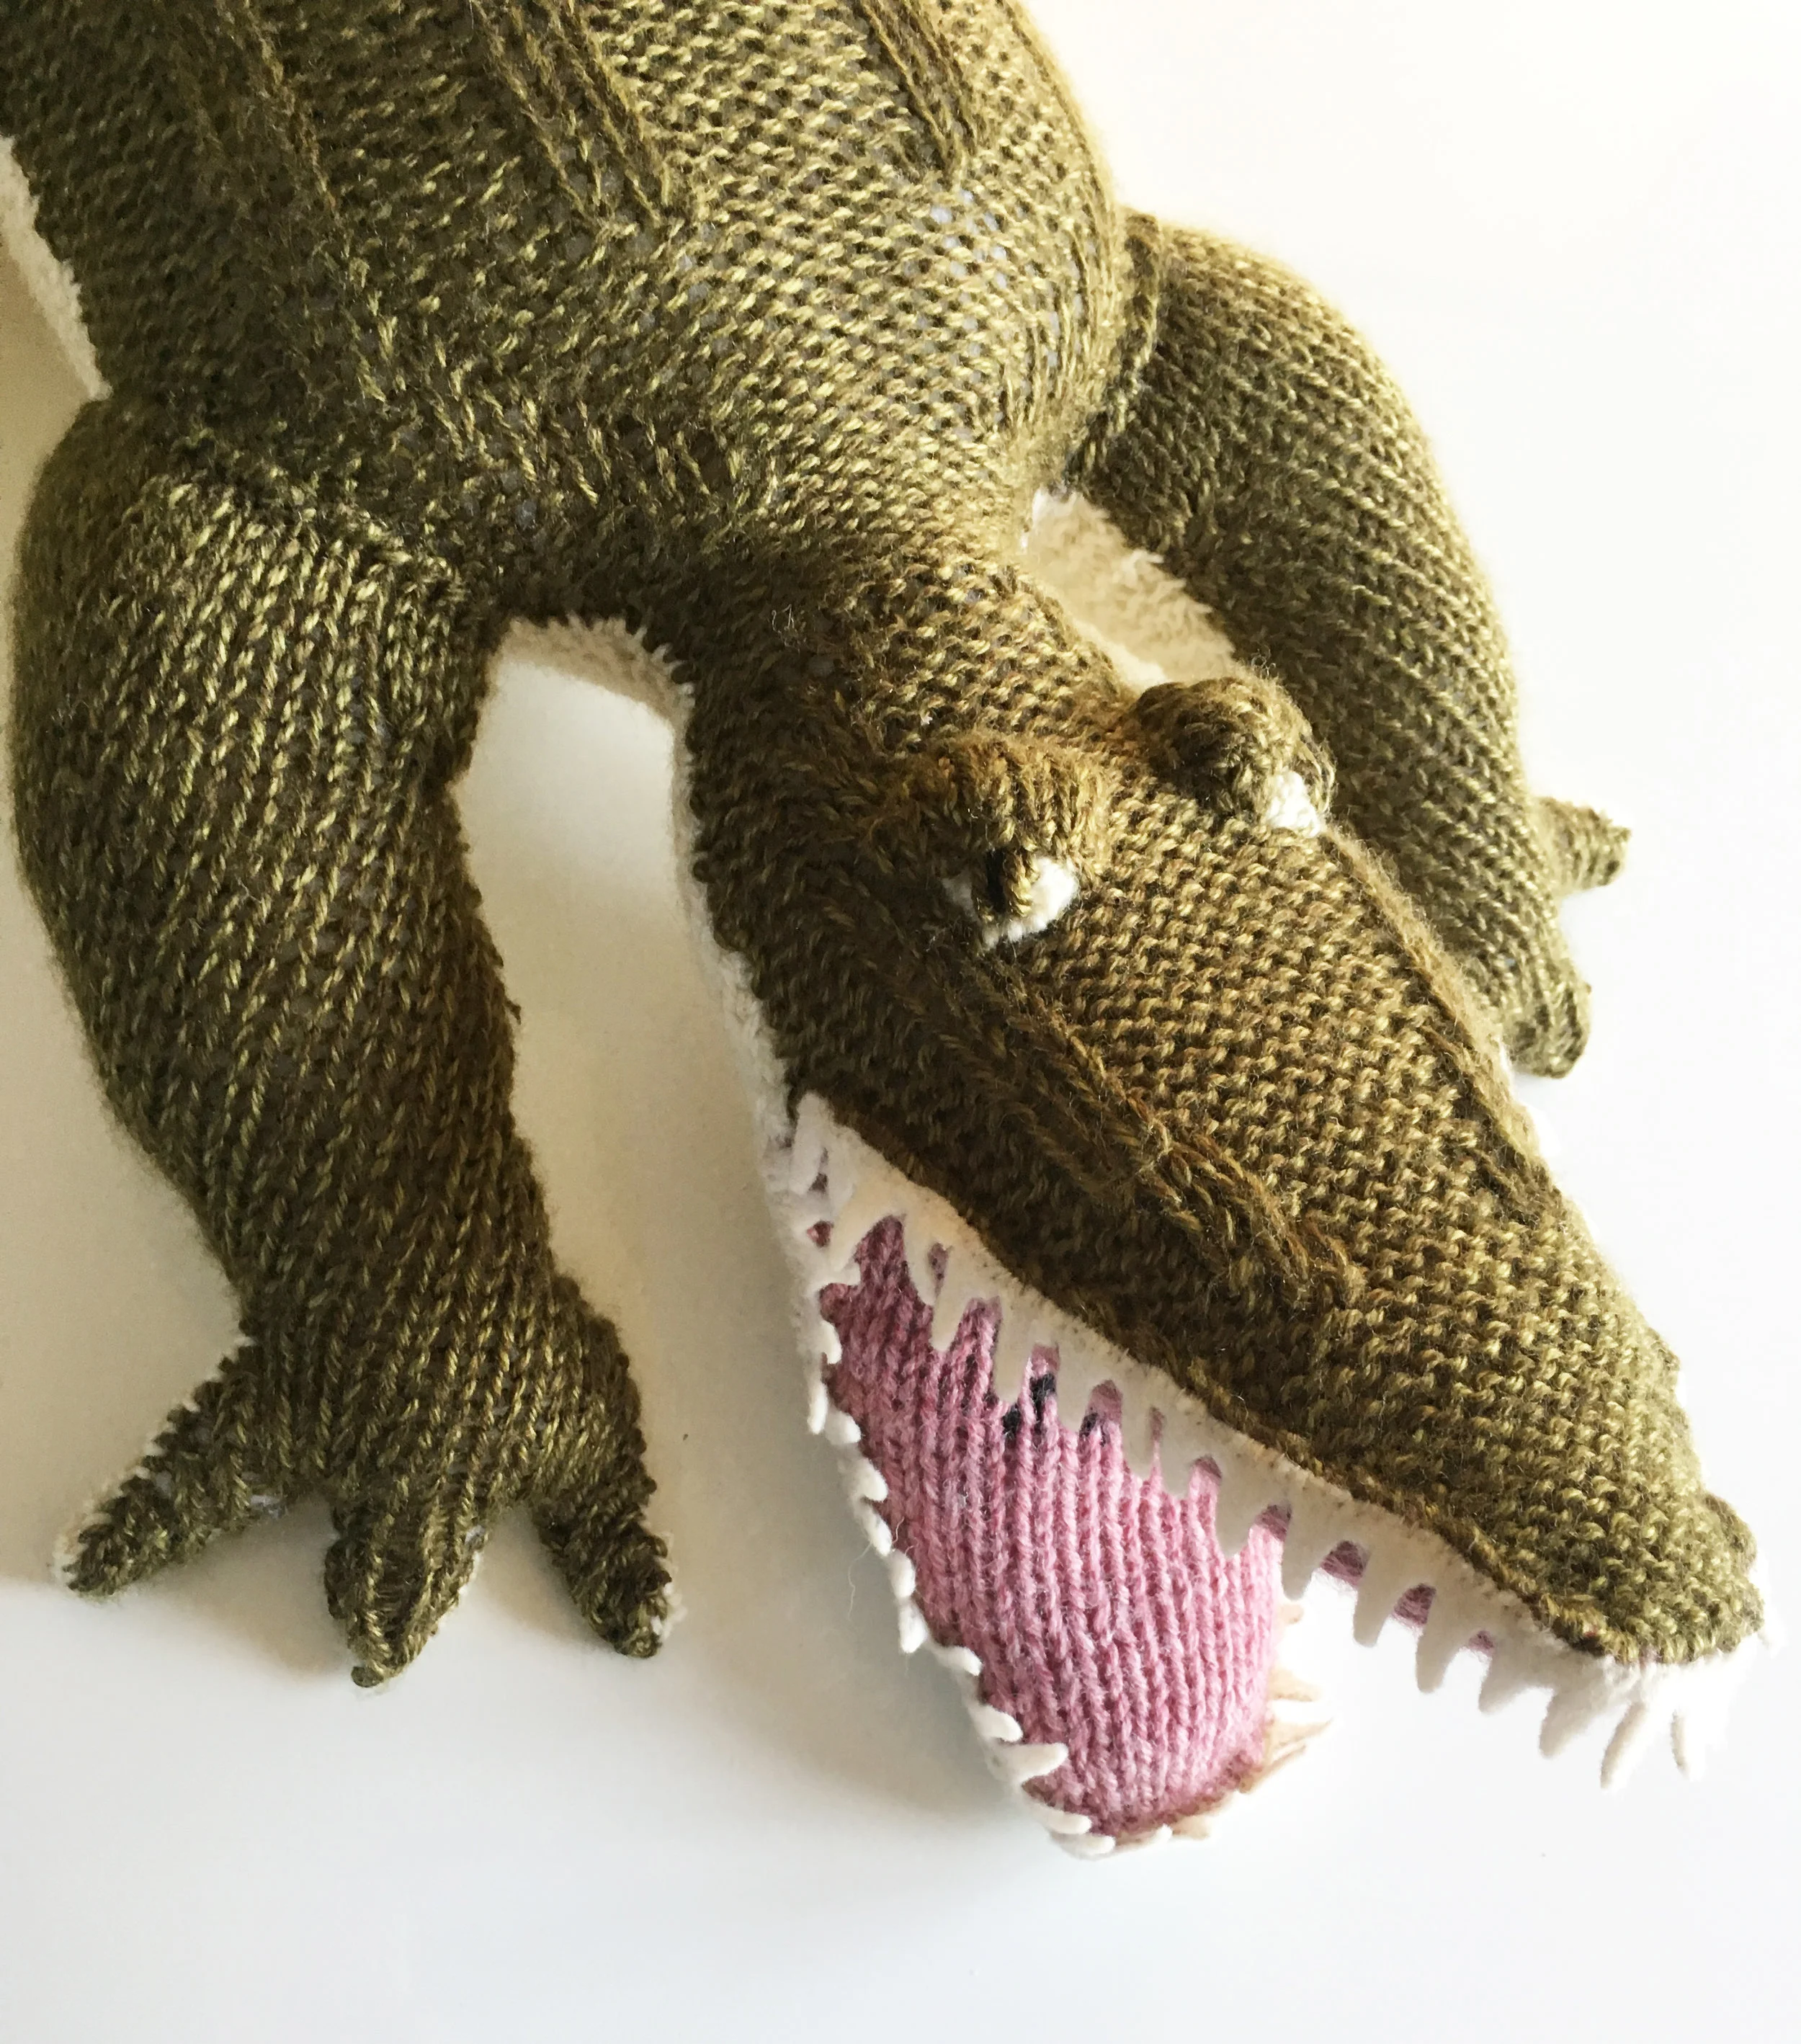
the eyes are simply 2 flat knit pieces (white eye and green lid) seamed to the face and puffed up to make them 3D, and i used a tapestry needle to embroider the iris and pupil.
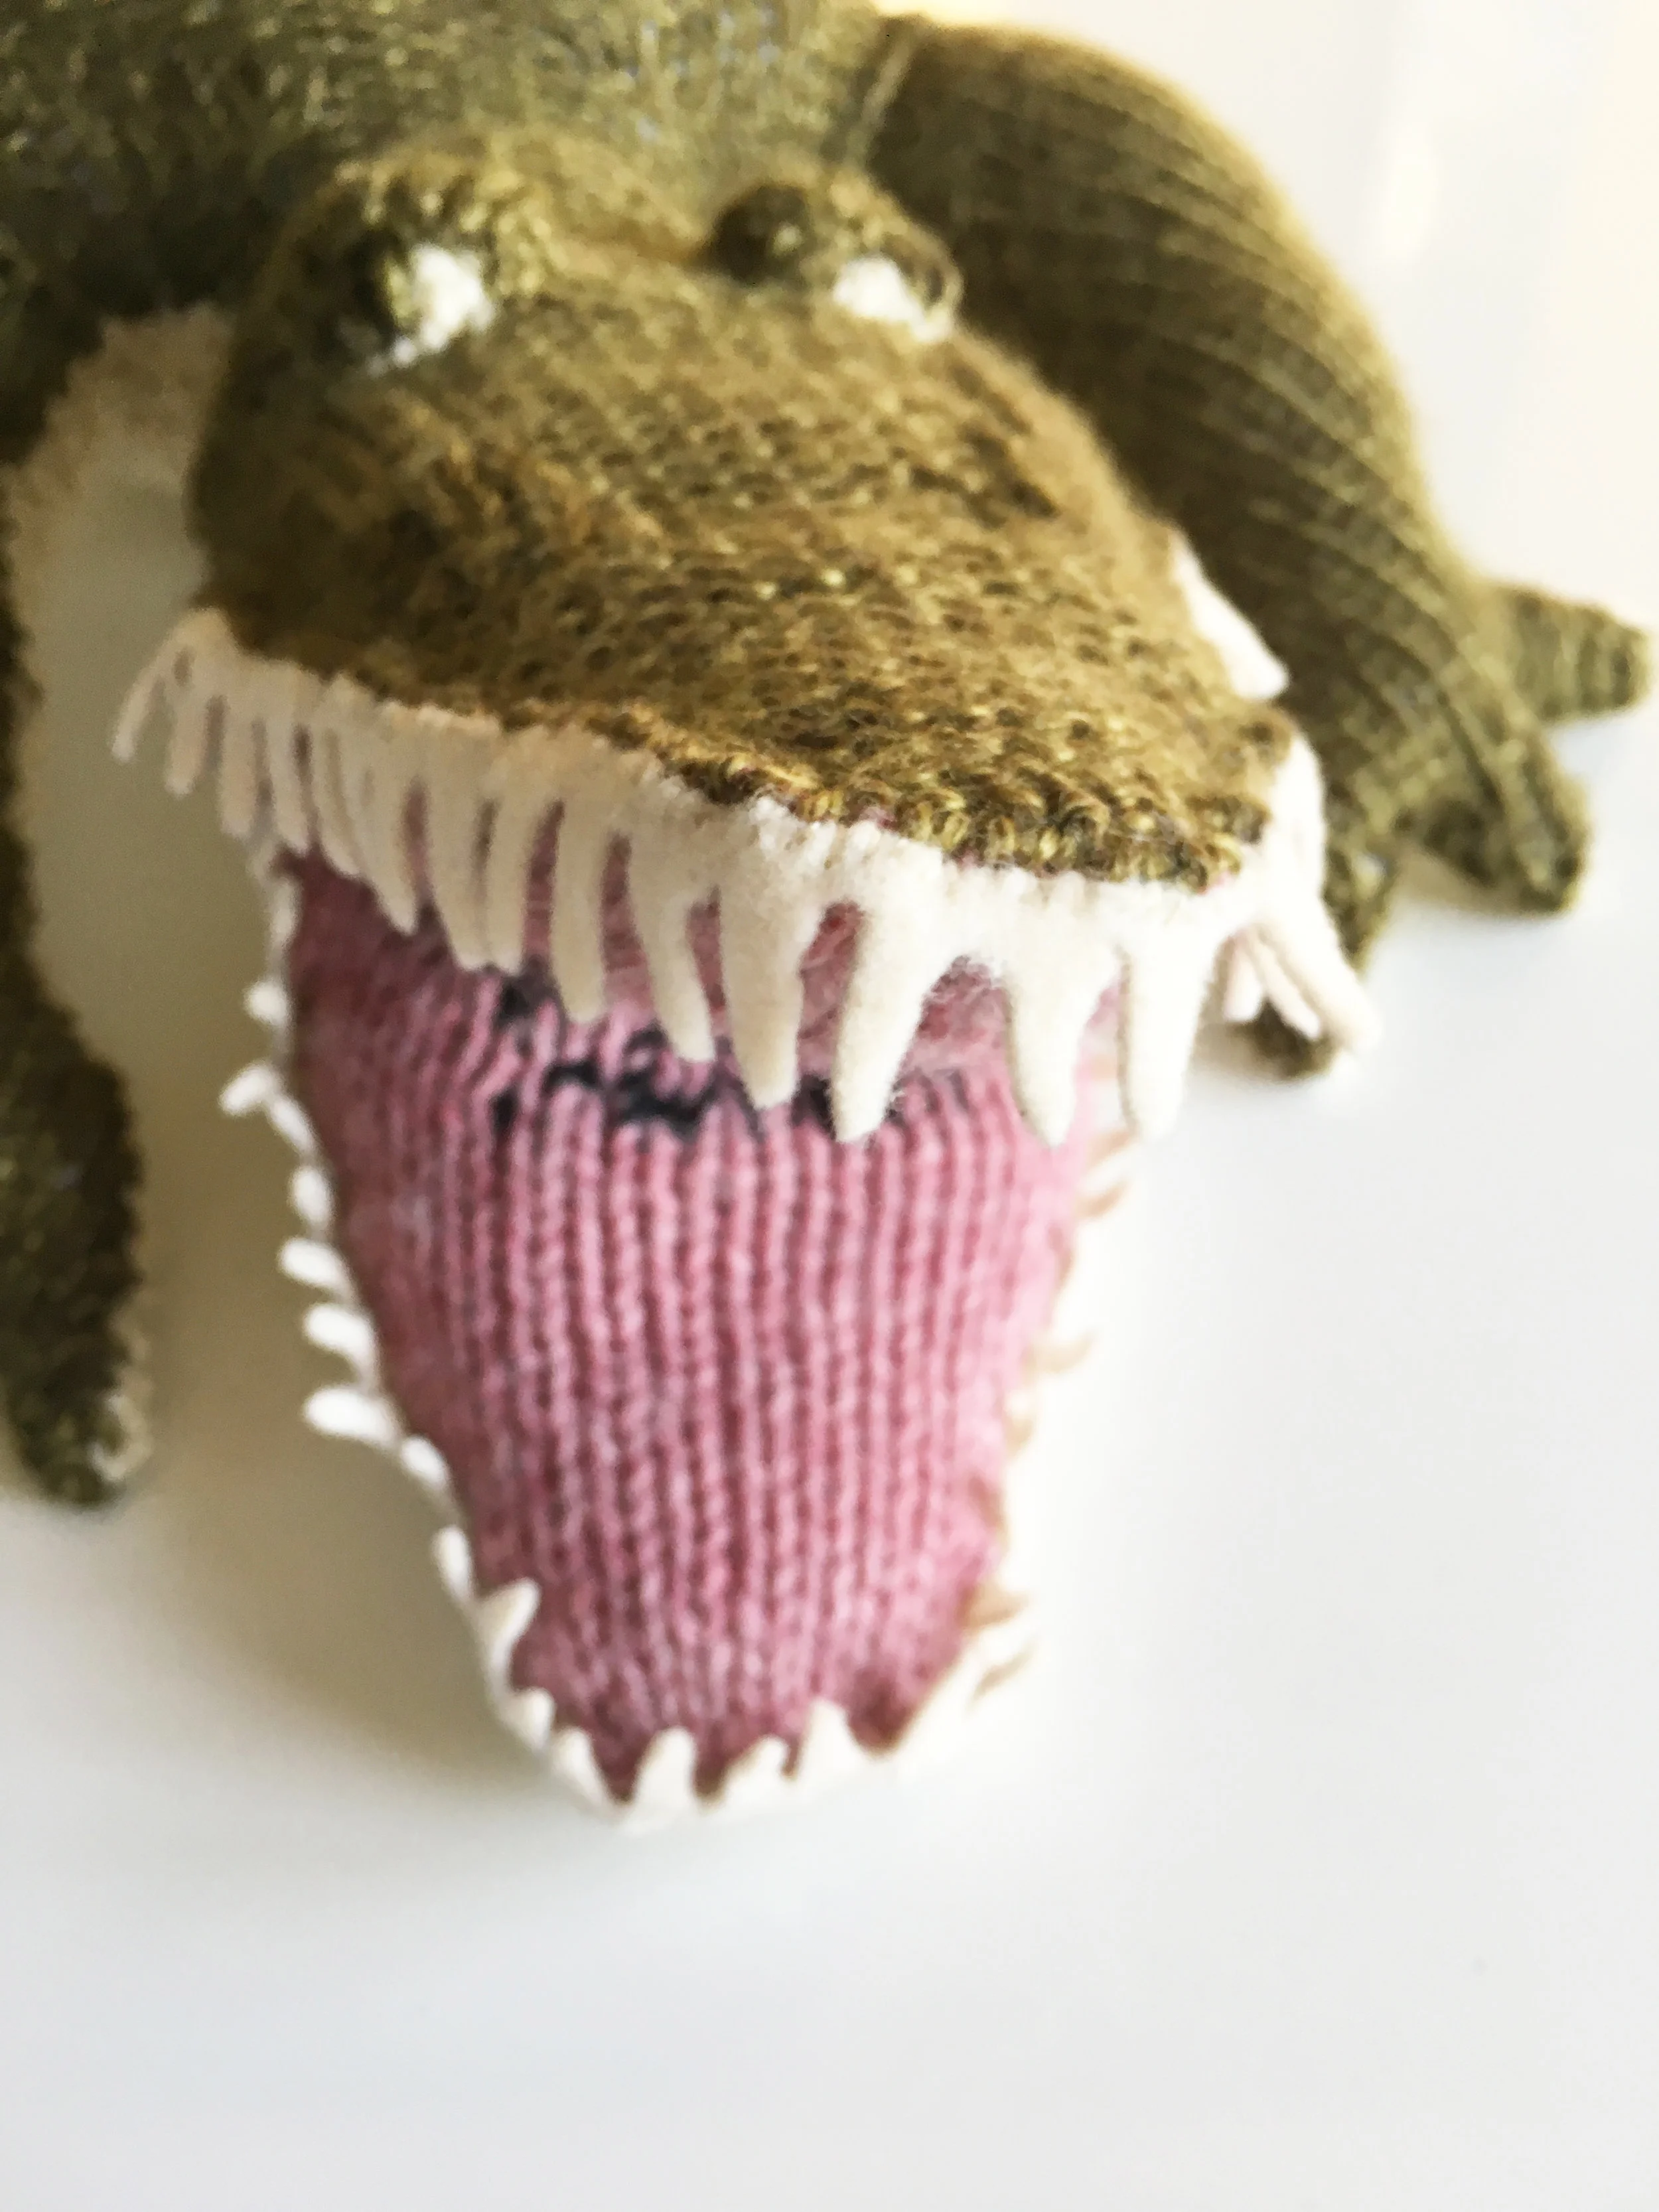
to make the teeth, i cut a narrow wave pattern down the middle of an approximately 2x11” strip of felt. the two halves became the top and bottom teeth and i simply hand-stitched them to the edge of the mouth.
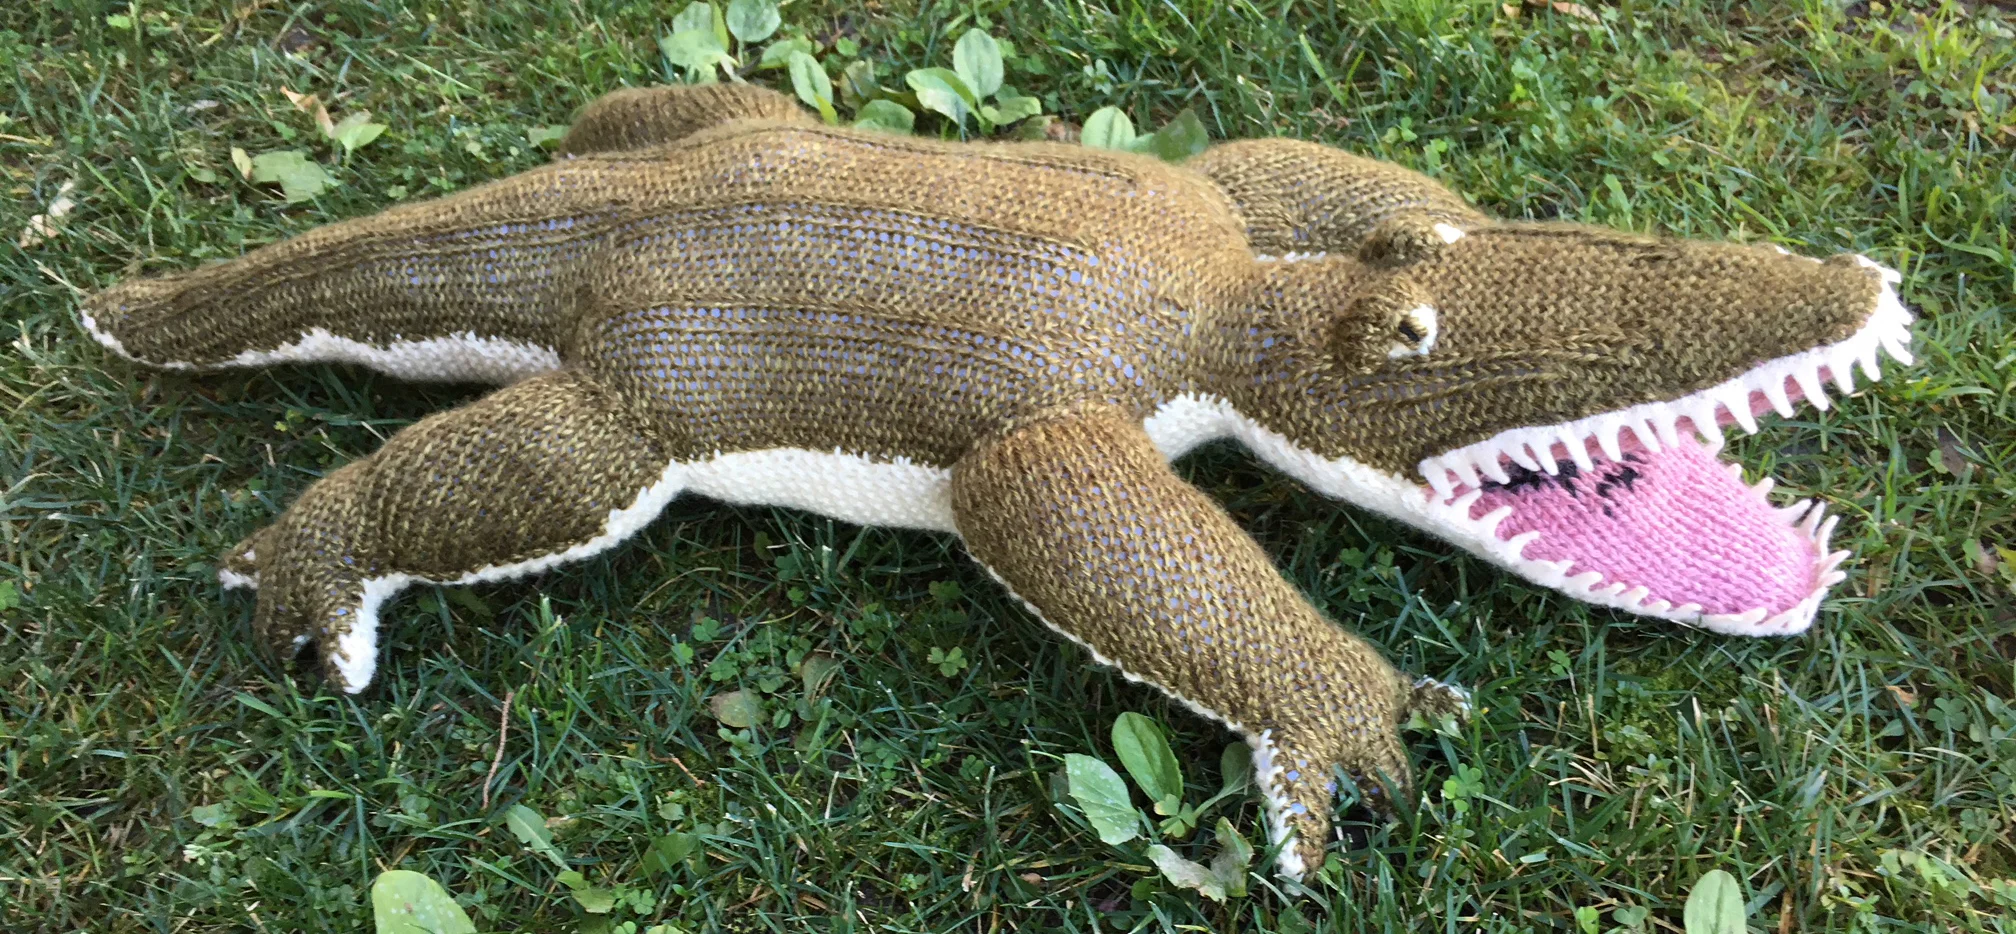
finished dimensions are approximately 12x24".
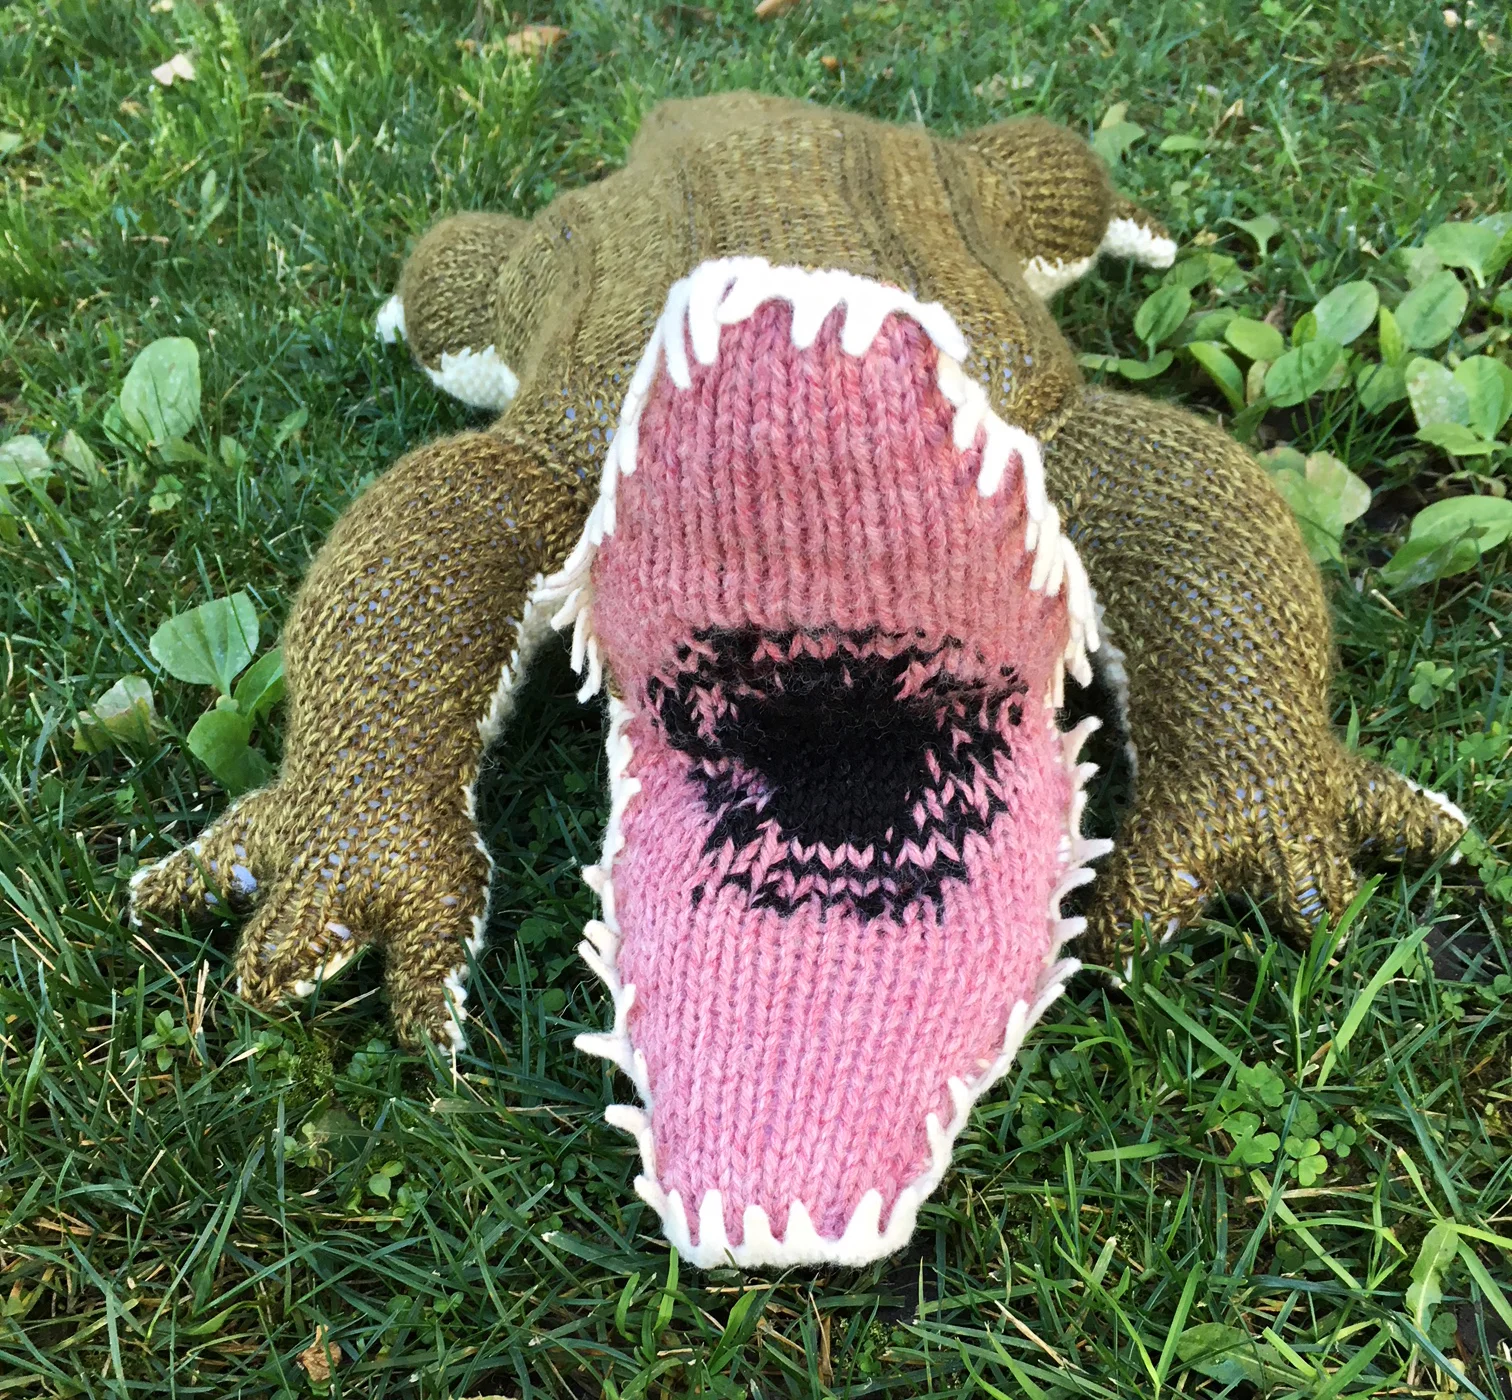
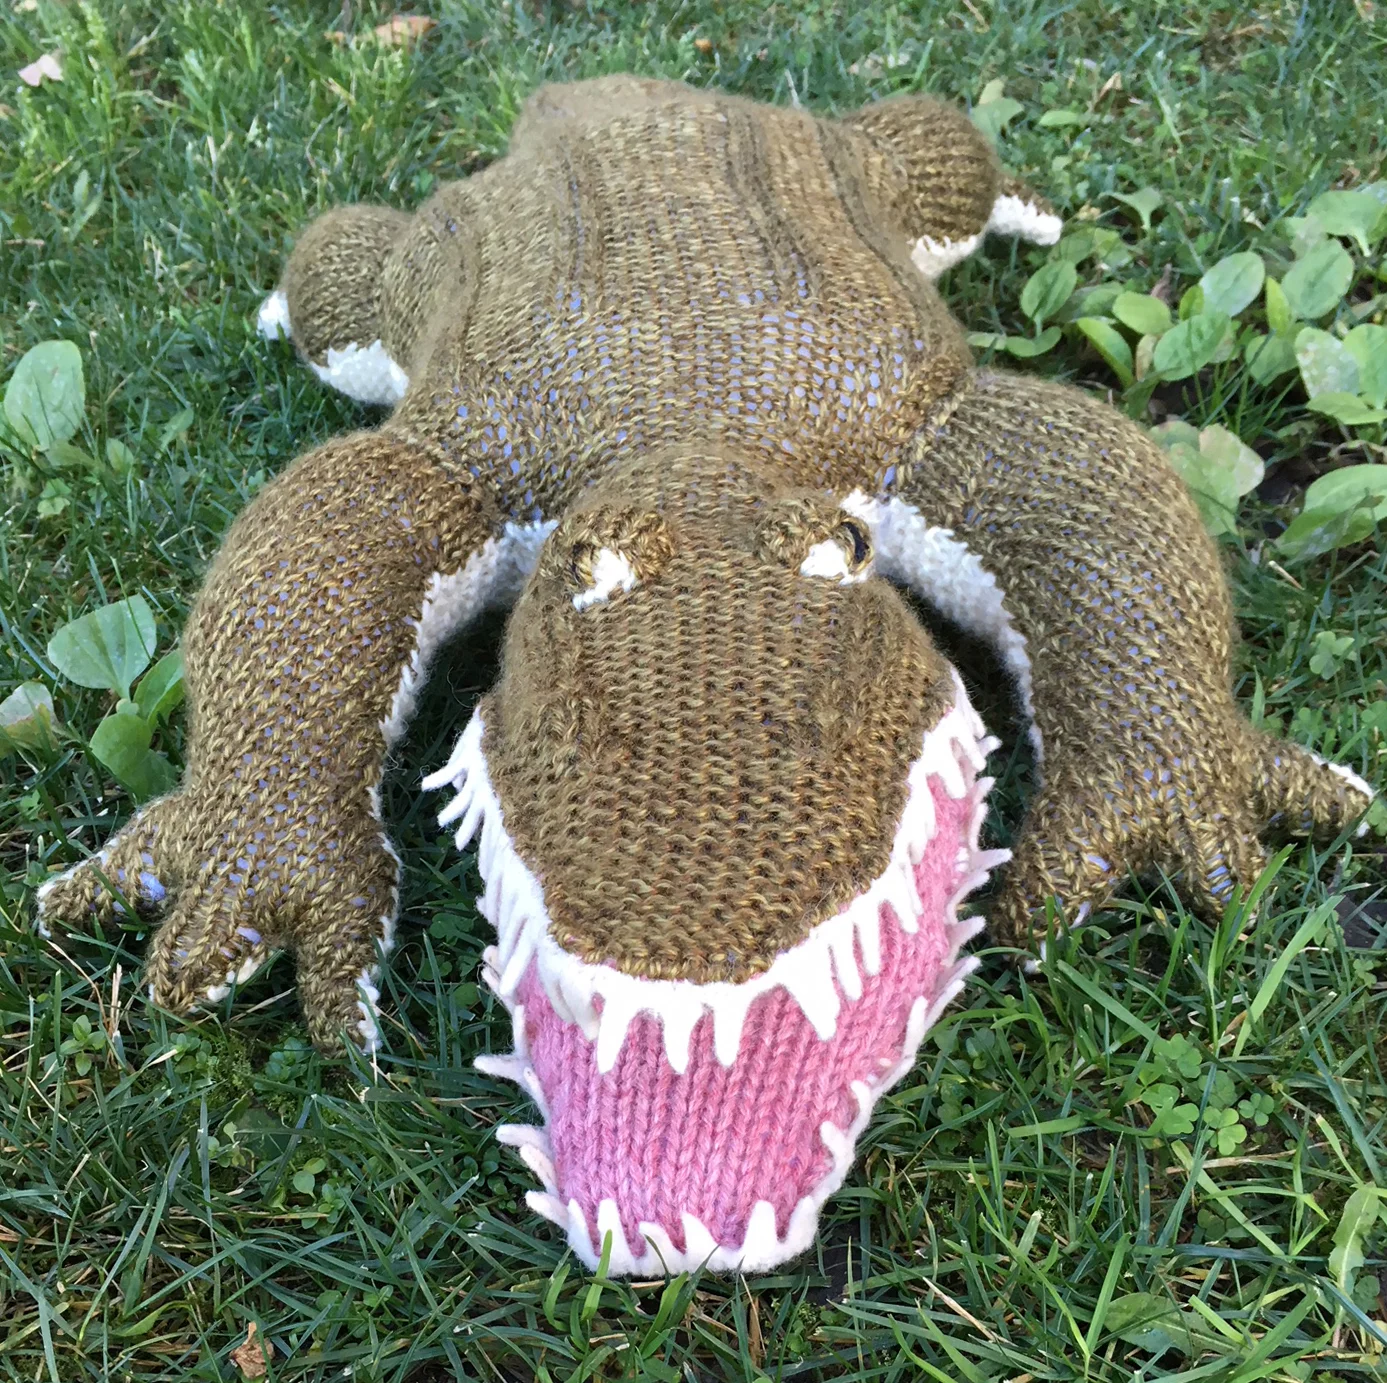
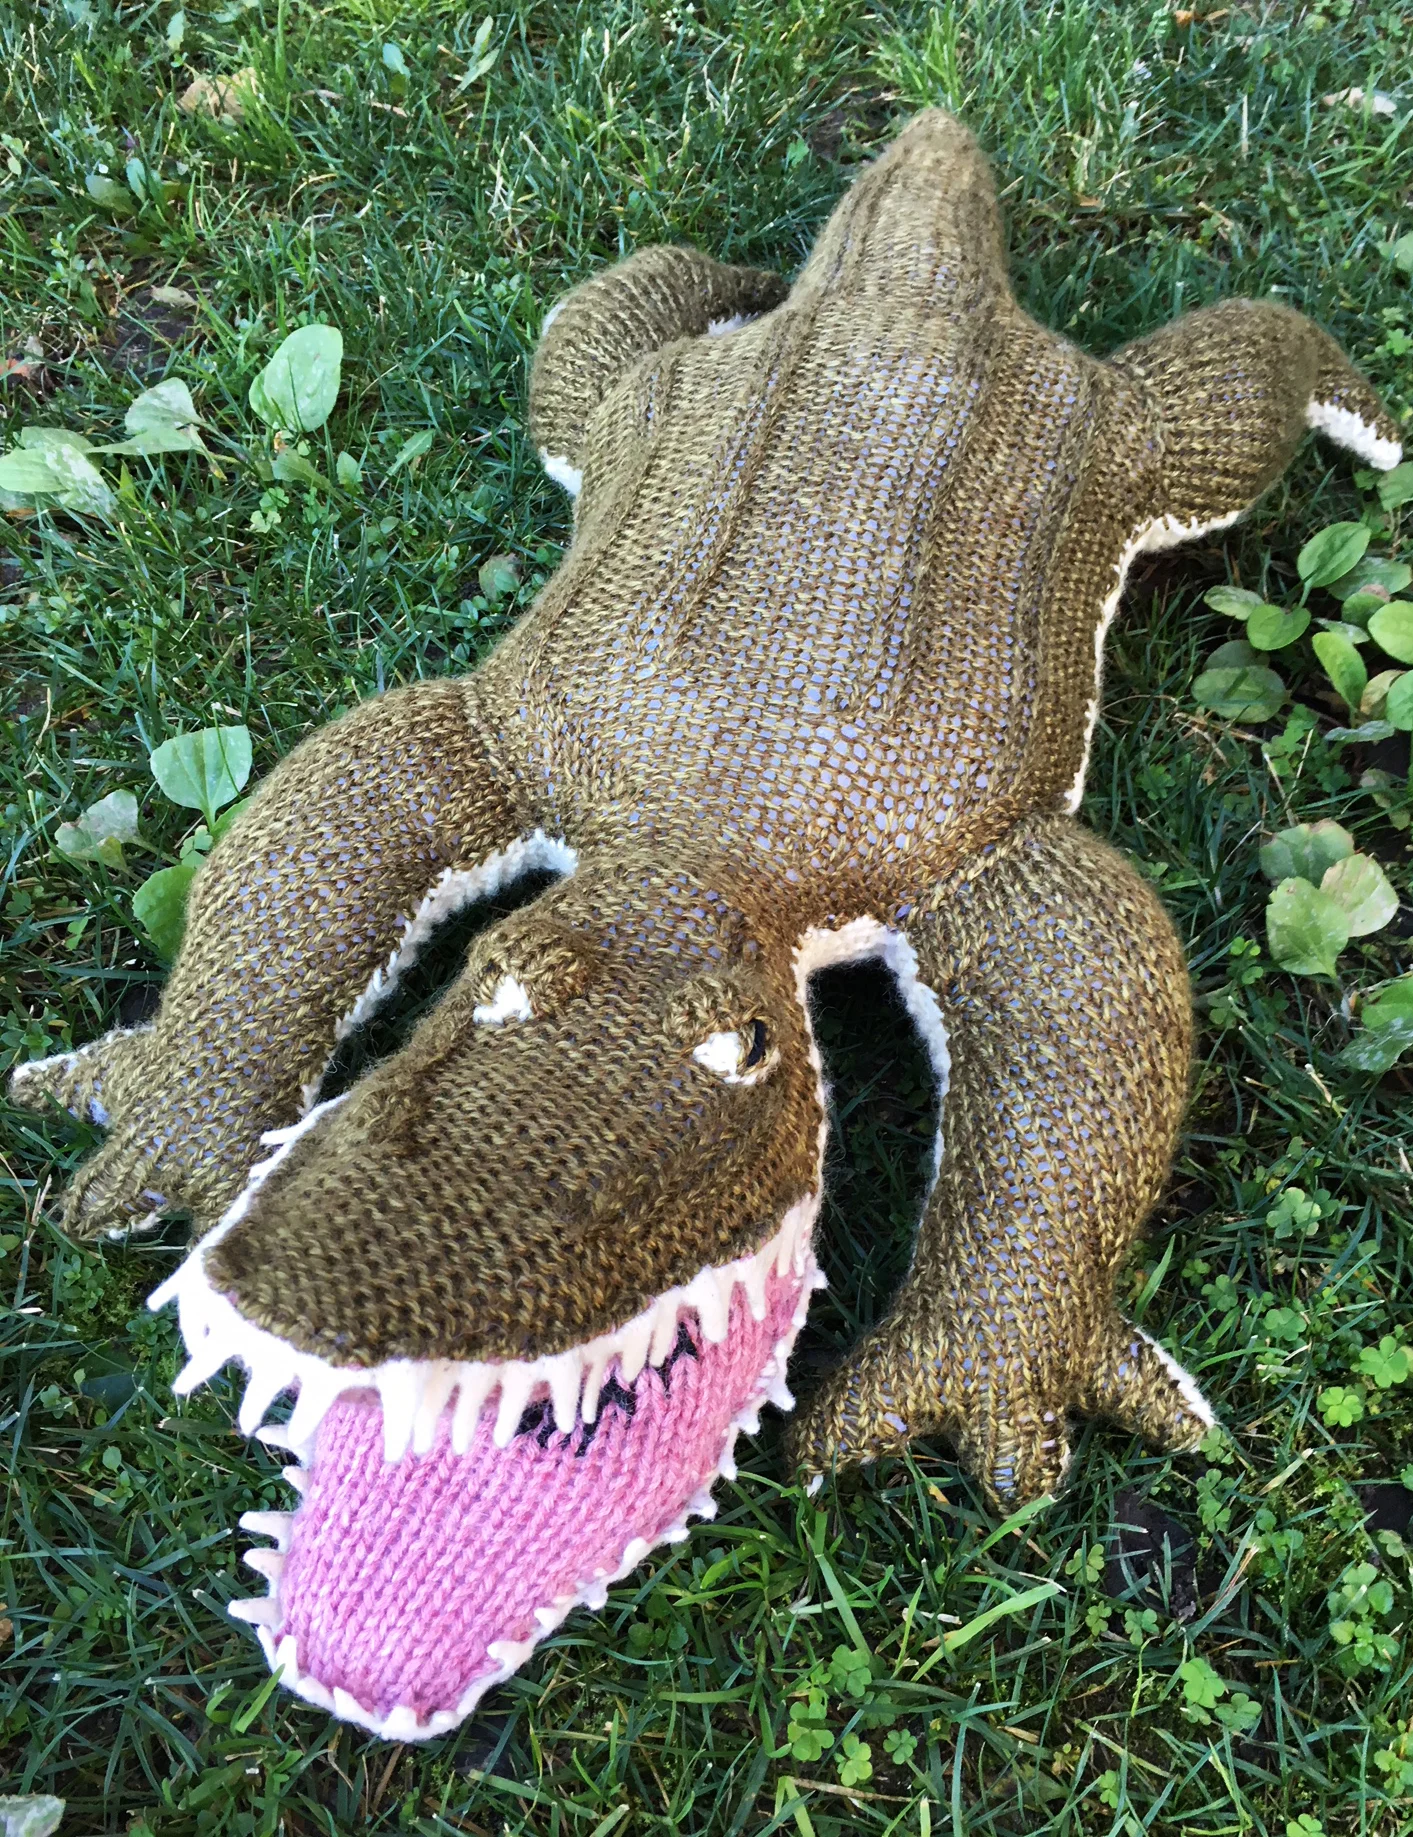
i'm very pleased with the way he turned out! what do you think of my knit alligator design? check out my knit toys page if you'd like to see more photos!
if you'd like to commission a custom toy, please email me at elisemade@gmail.com <3

knitspiration: knit snowman ornament maker photos

last week, i posted the instructions to make your own knit snowman ornament using my free pattern. today, i wanted to share some serious snowman knitspiration!
this pattern has been live since last year, so i've seen so many talented knitters posting photos of their snowmen. it's so awesome to see the way other makers interpret your designs and make them all their own. check out these super cute creations!
made by deborasoule on ravelry
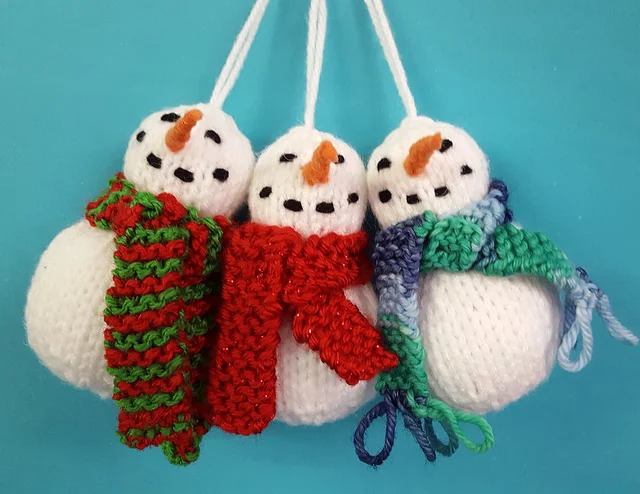
those chunky scarves look so cozy! I love the loopy ends on the blue and green one.

made by ah2 on ravelry
so much innovation on this one...put a knit hat on everything! i love the addition of the bobby pin arms! french knot eyes is such a great idea!

made by initsox3 on ravelry
i love the super long scarf on this little guy, and the excellent job on the face embroidery!

made by marthajane73 on ravelry
the whole gang!!! love the creativity of using buttons and beads for the faces, and i'm dying over that tiny knitting basket!!!

made by marthajane73 on ravelry
the first fan snowman! love the hat and scarf combos and the knit carrot nose.

made by borntopat on ravelry
i love how this maker embroidered some singing mouths on this snowman family!

made by vtnora on ravelry
last but not least, the 12th snowman in seahawks-themed winter garb! i love this idea, it would be super easy to customize it for the sports fan in your life!
download my free pattern from ravelry here or check out my blog post from last week! happy knitting and be sure to share your creations with #elisemade!
-Elise