
HELLO AND WELCOME!
MY NAME IS ELISE AND I AM AN ARTIST, KNIT DESIGNER, AND PART-TIME KNITTING TEACHER BASED IN OAKLAND, CA. I DESIGN AND MAKE EVERYTHING IN MY SHOP BY HAND WITH AN EMPHASIS ON WHIMSY, RECYCLED MATERIALS, NO-WASTE, AND ECO-FRIENDLINESS.
THANK YOU FOR SUPPORTING ARTISTS!
for commissions, pattern support, questions, and more: please contact me at elisemade@gmail.com
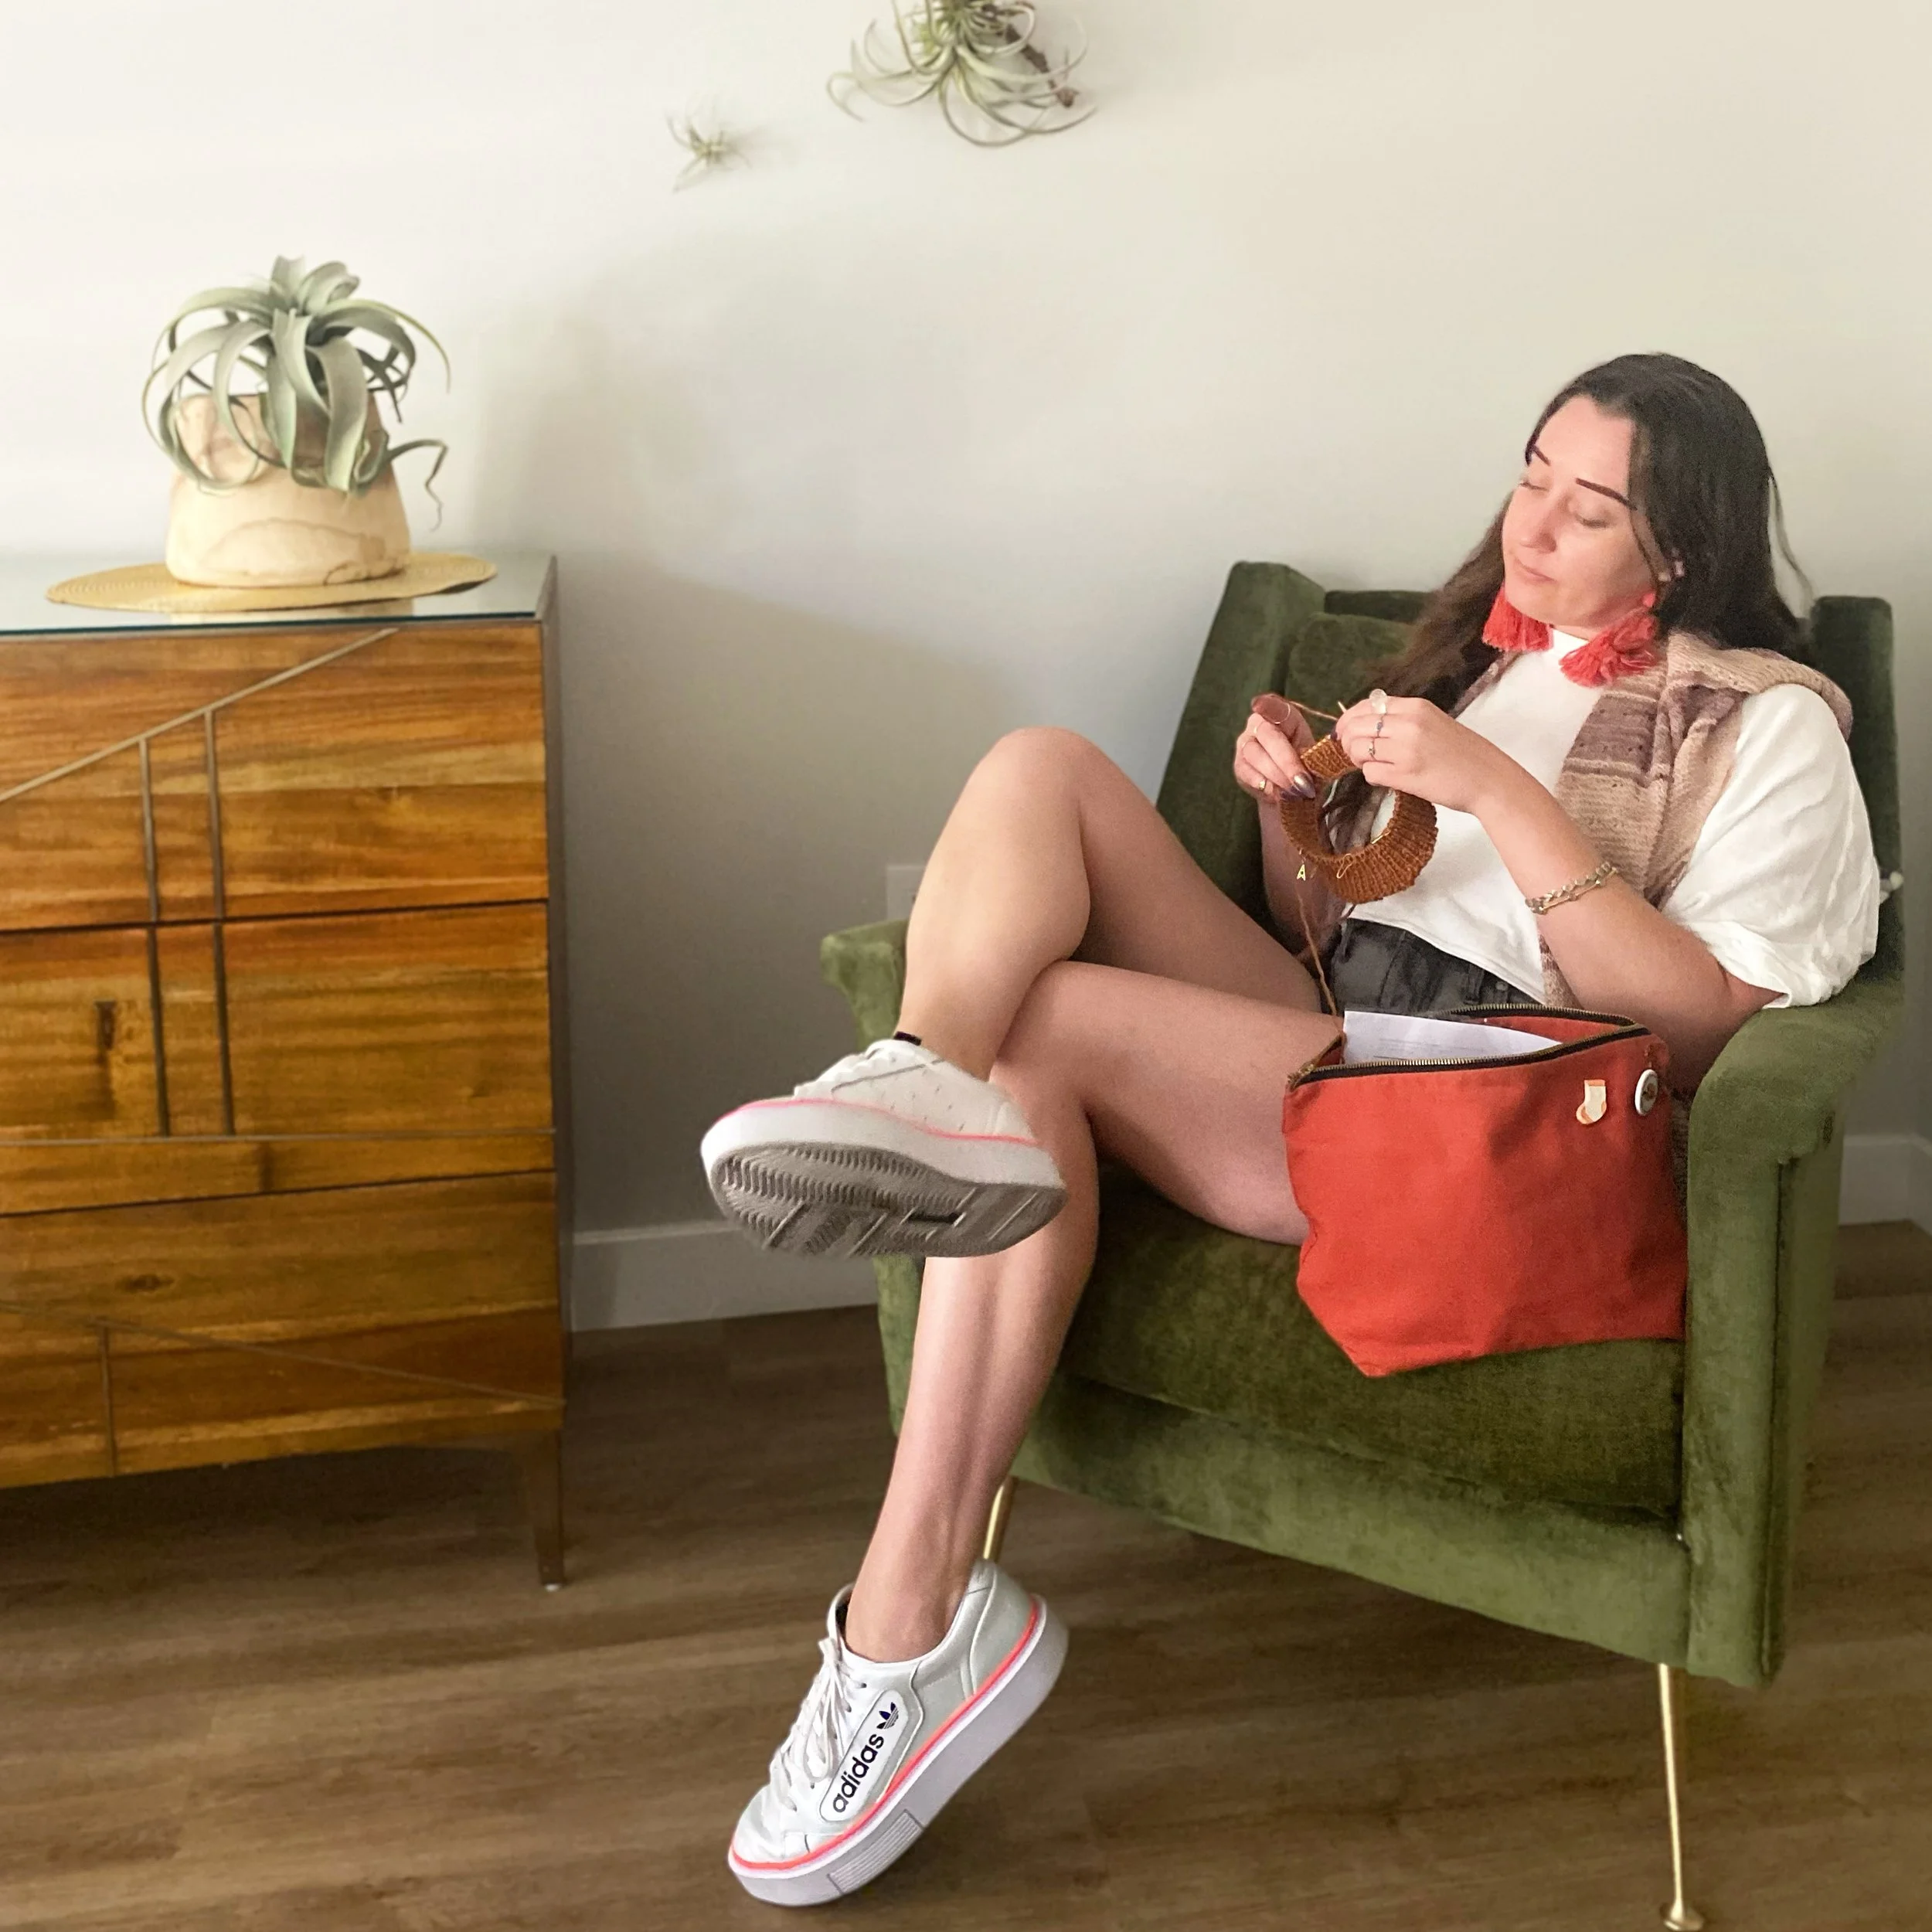
end of summer candle sale!
many styles 20% off, plus get free shipping with any order over $30 - no codes needed.
ends tuesday 9/22!
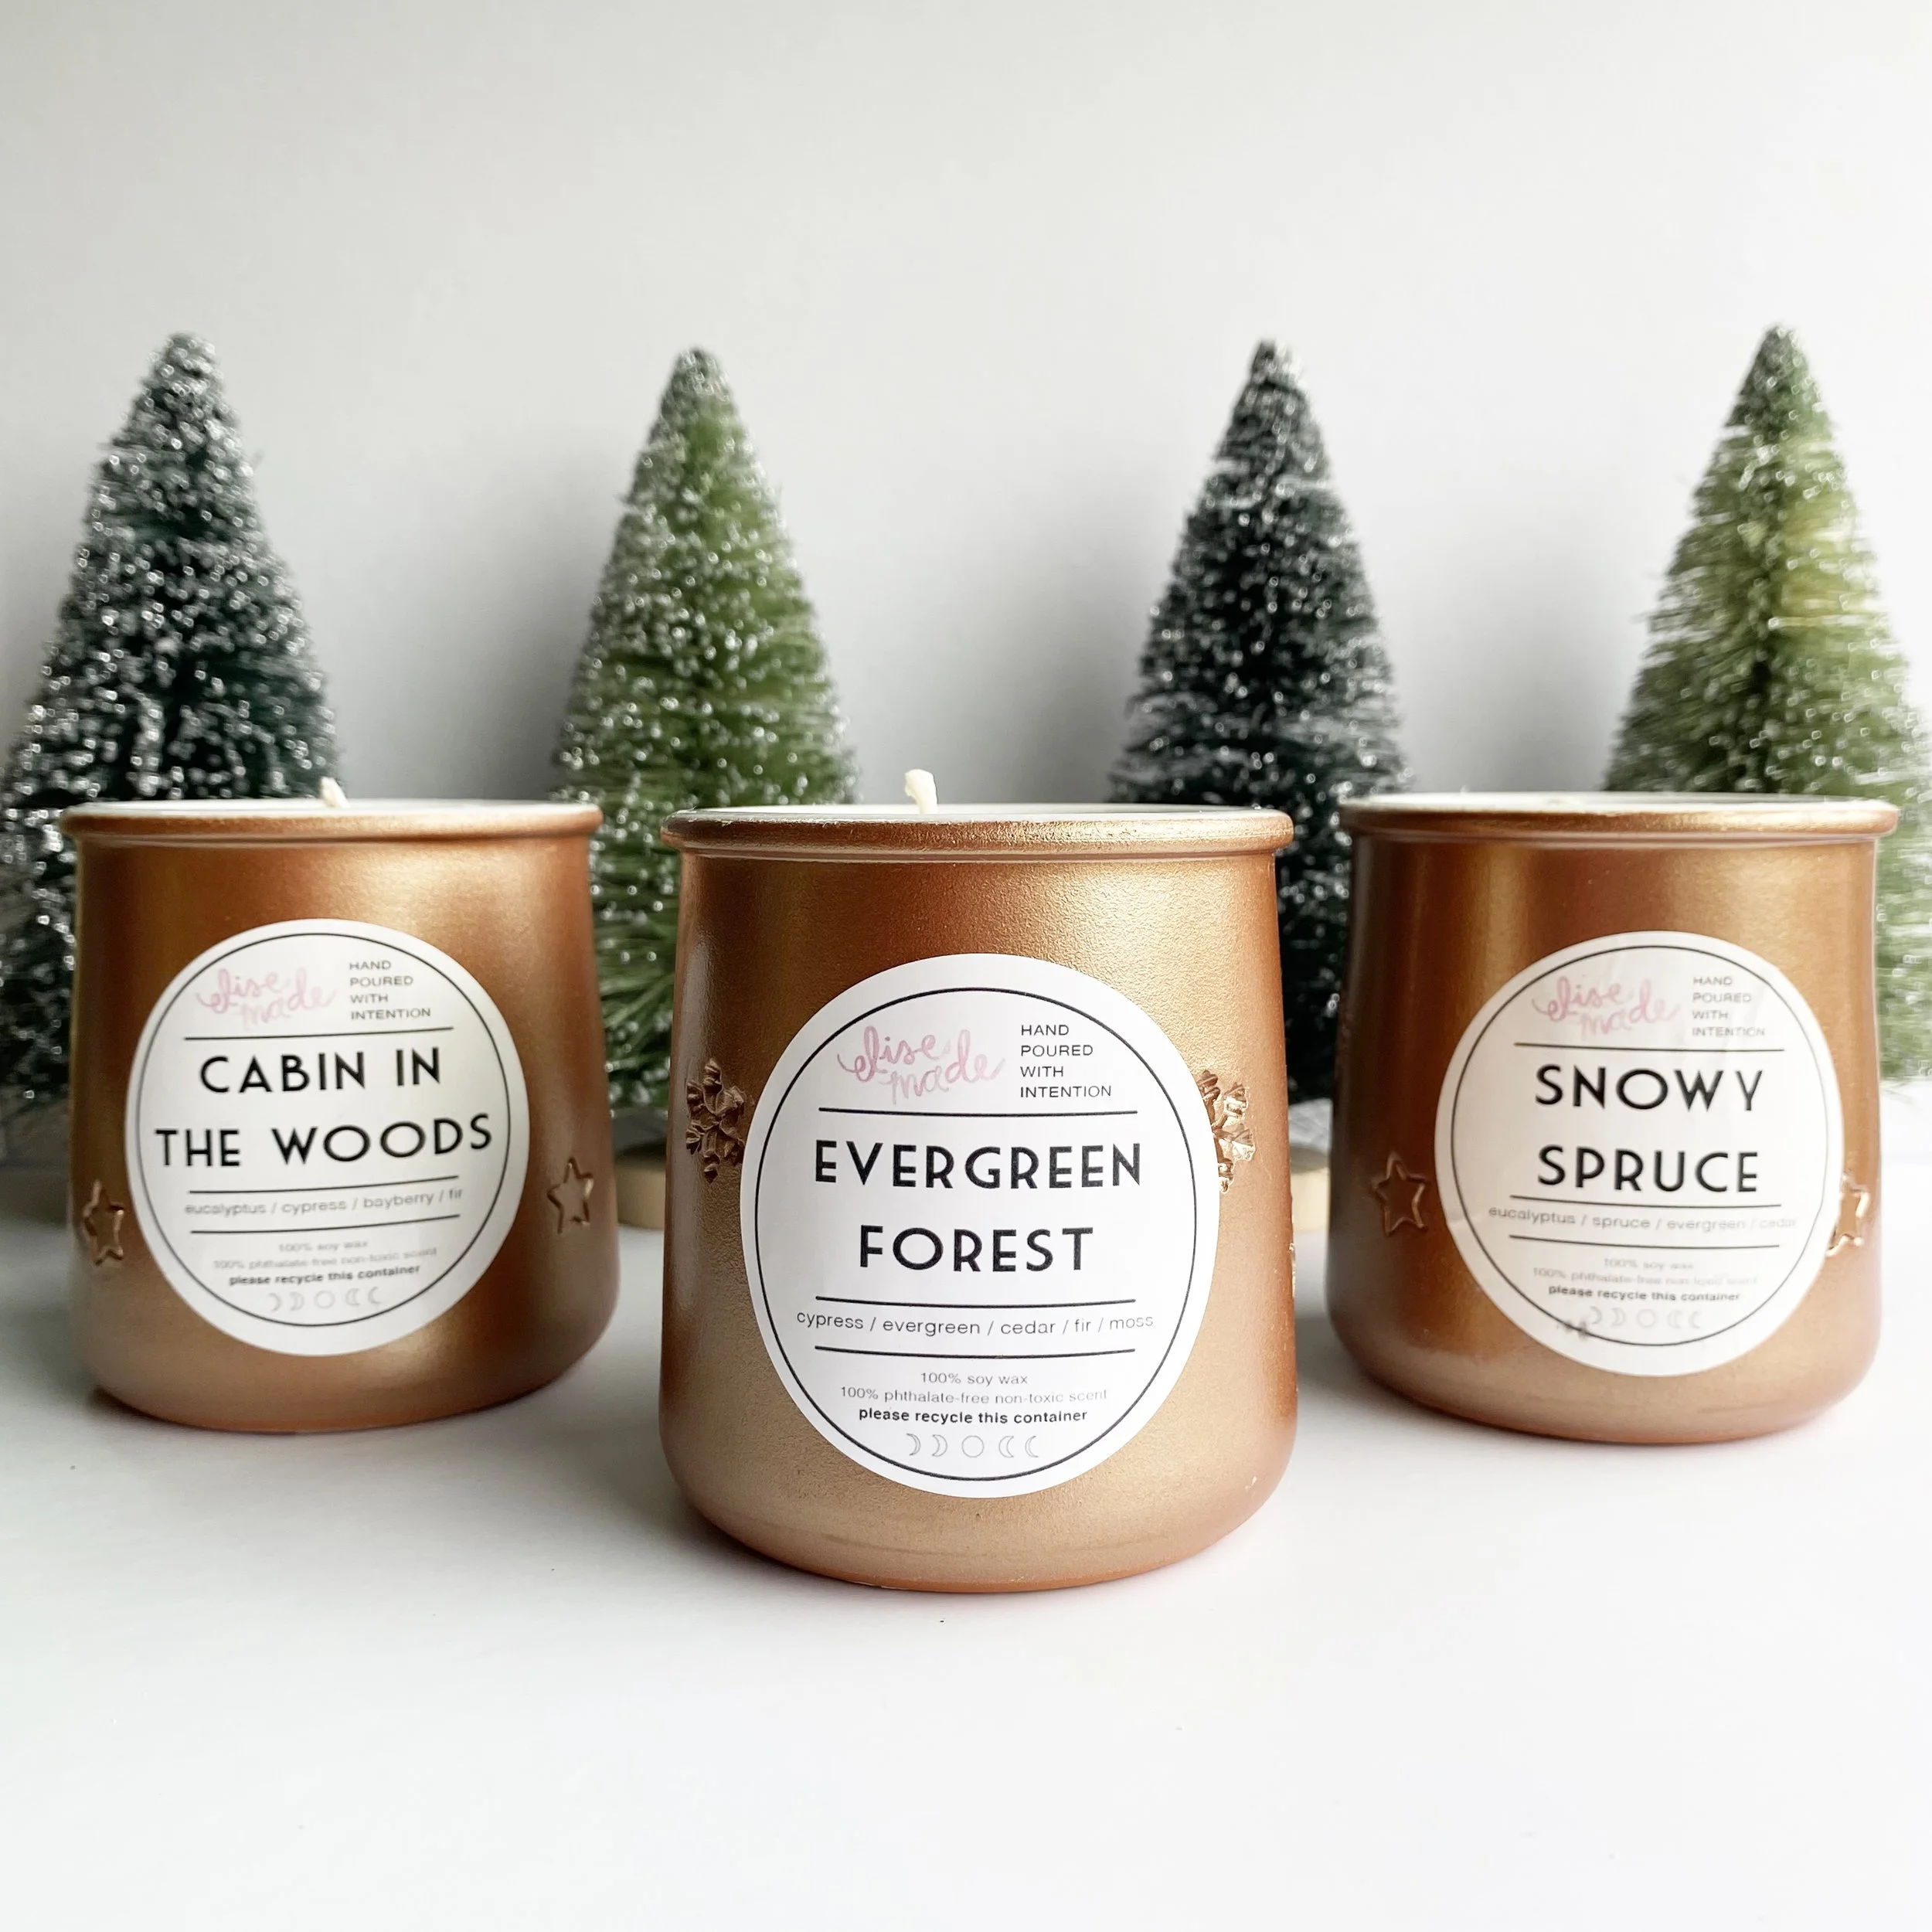
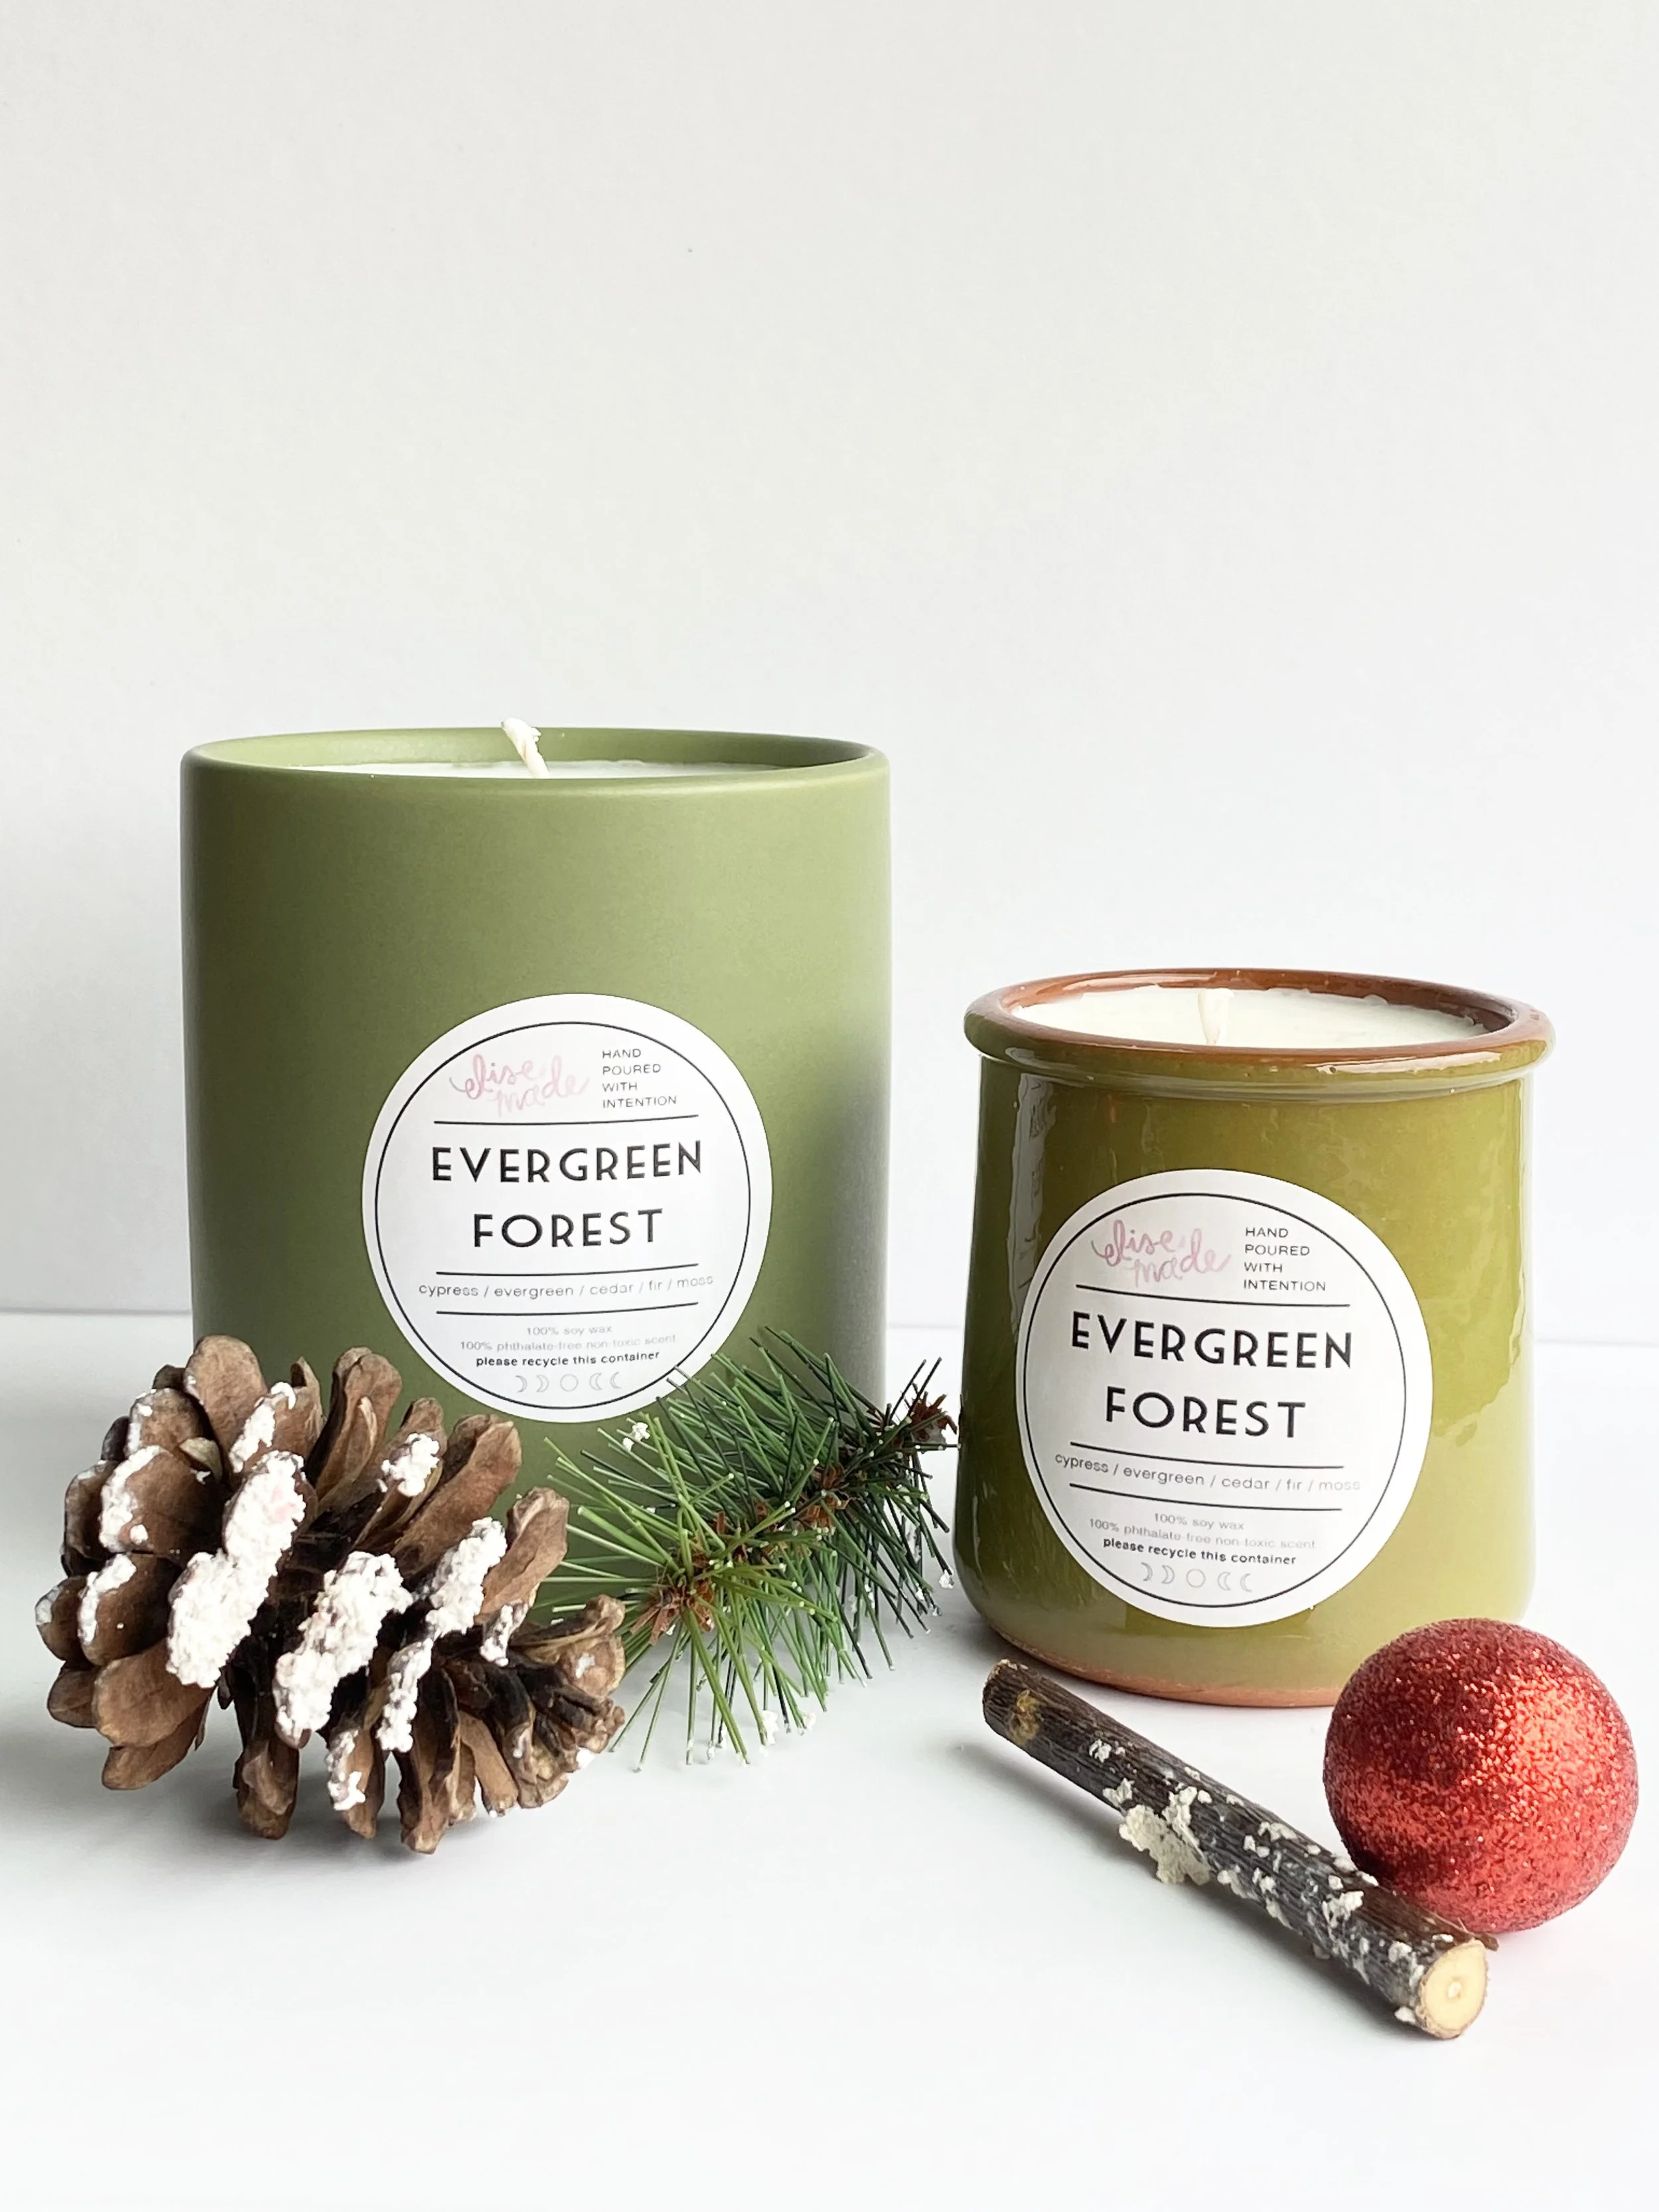
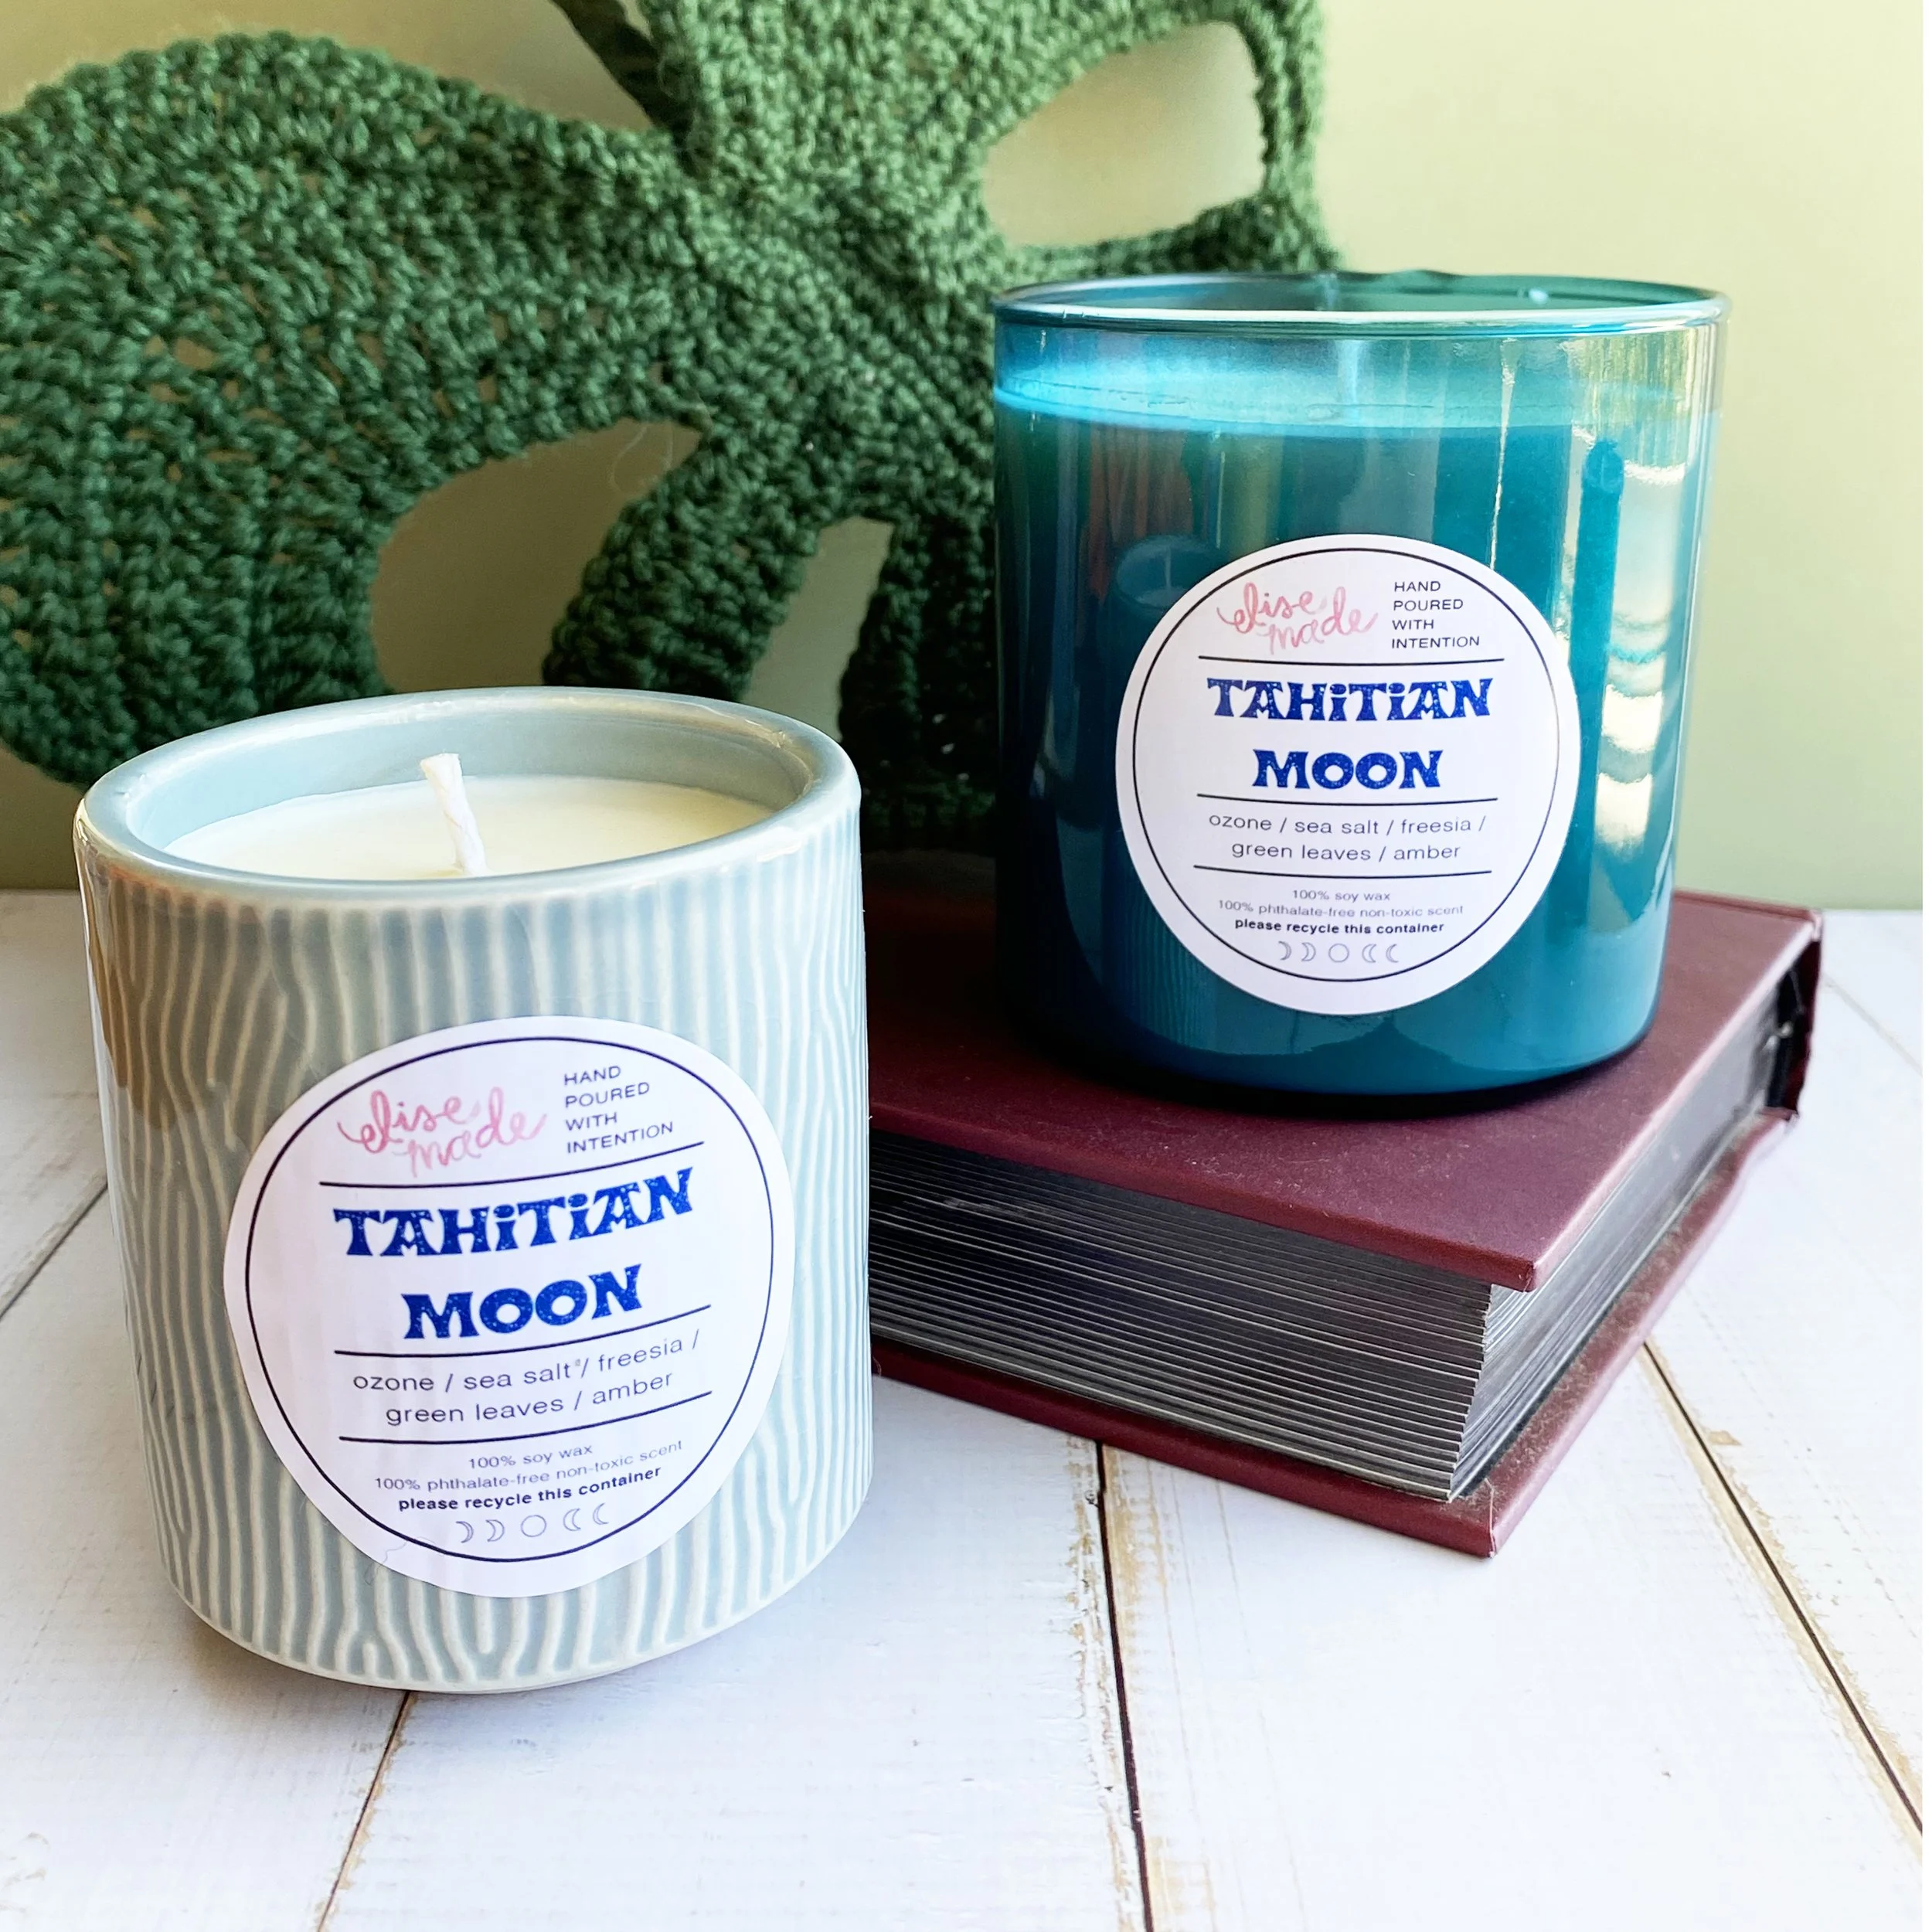
candles
new handmade
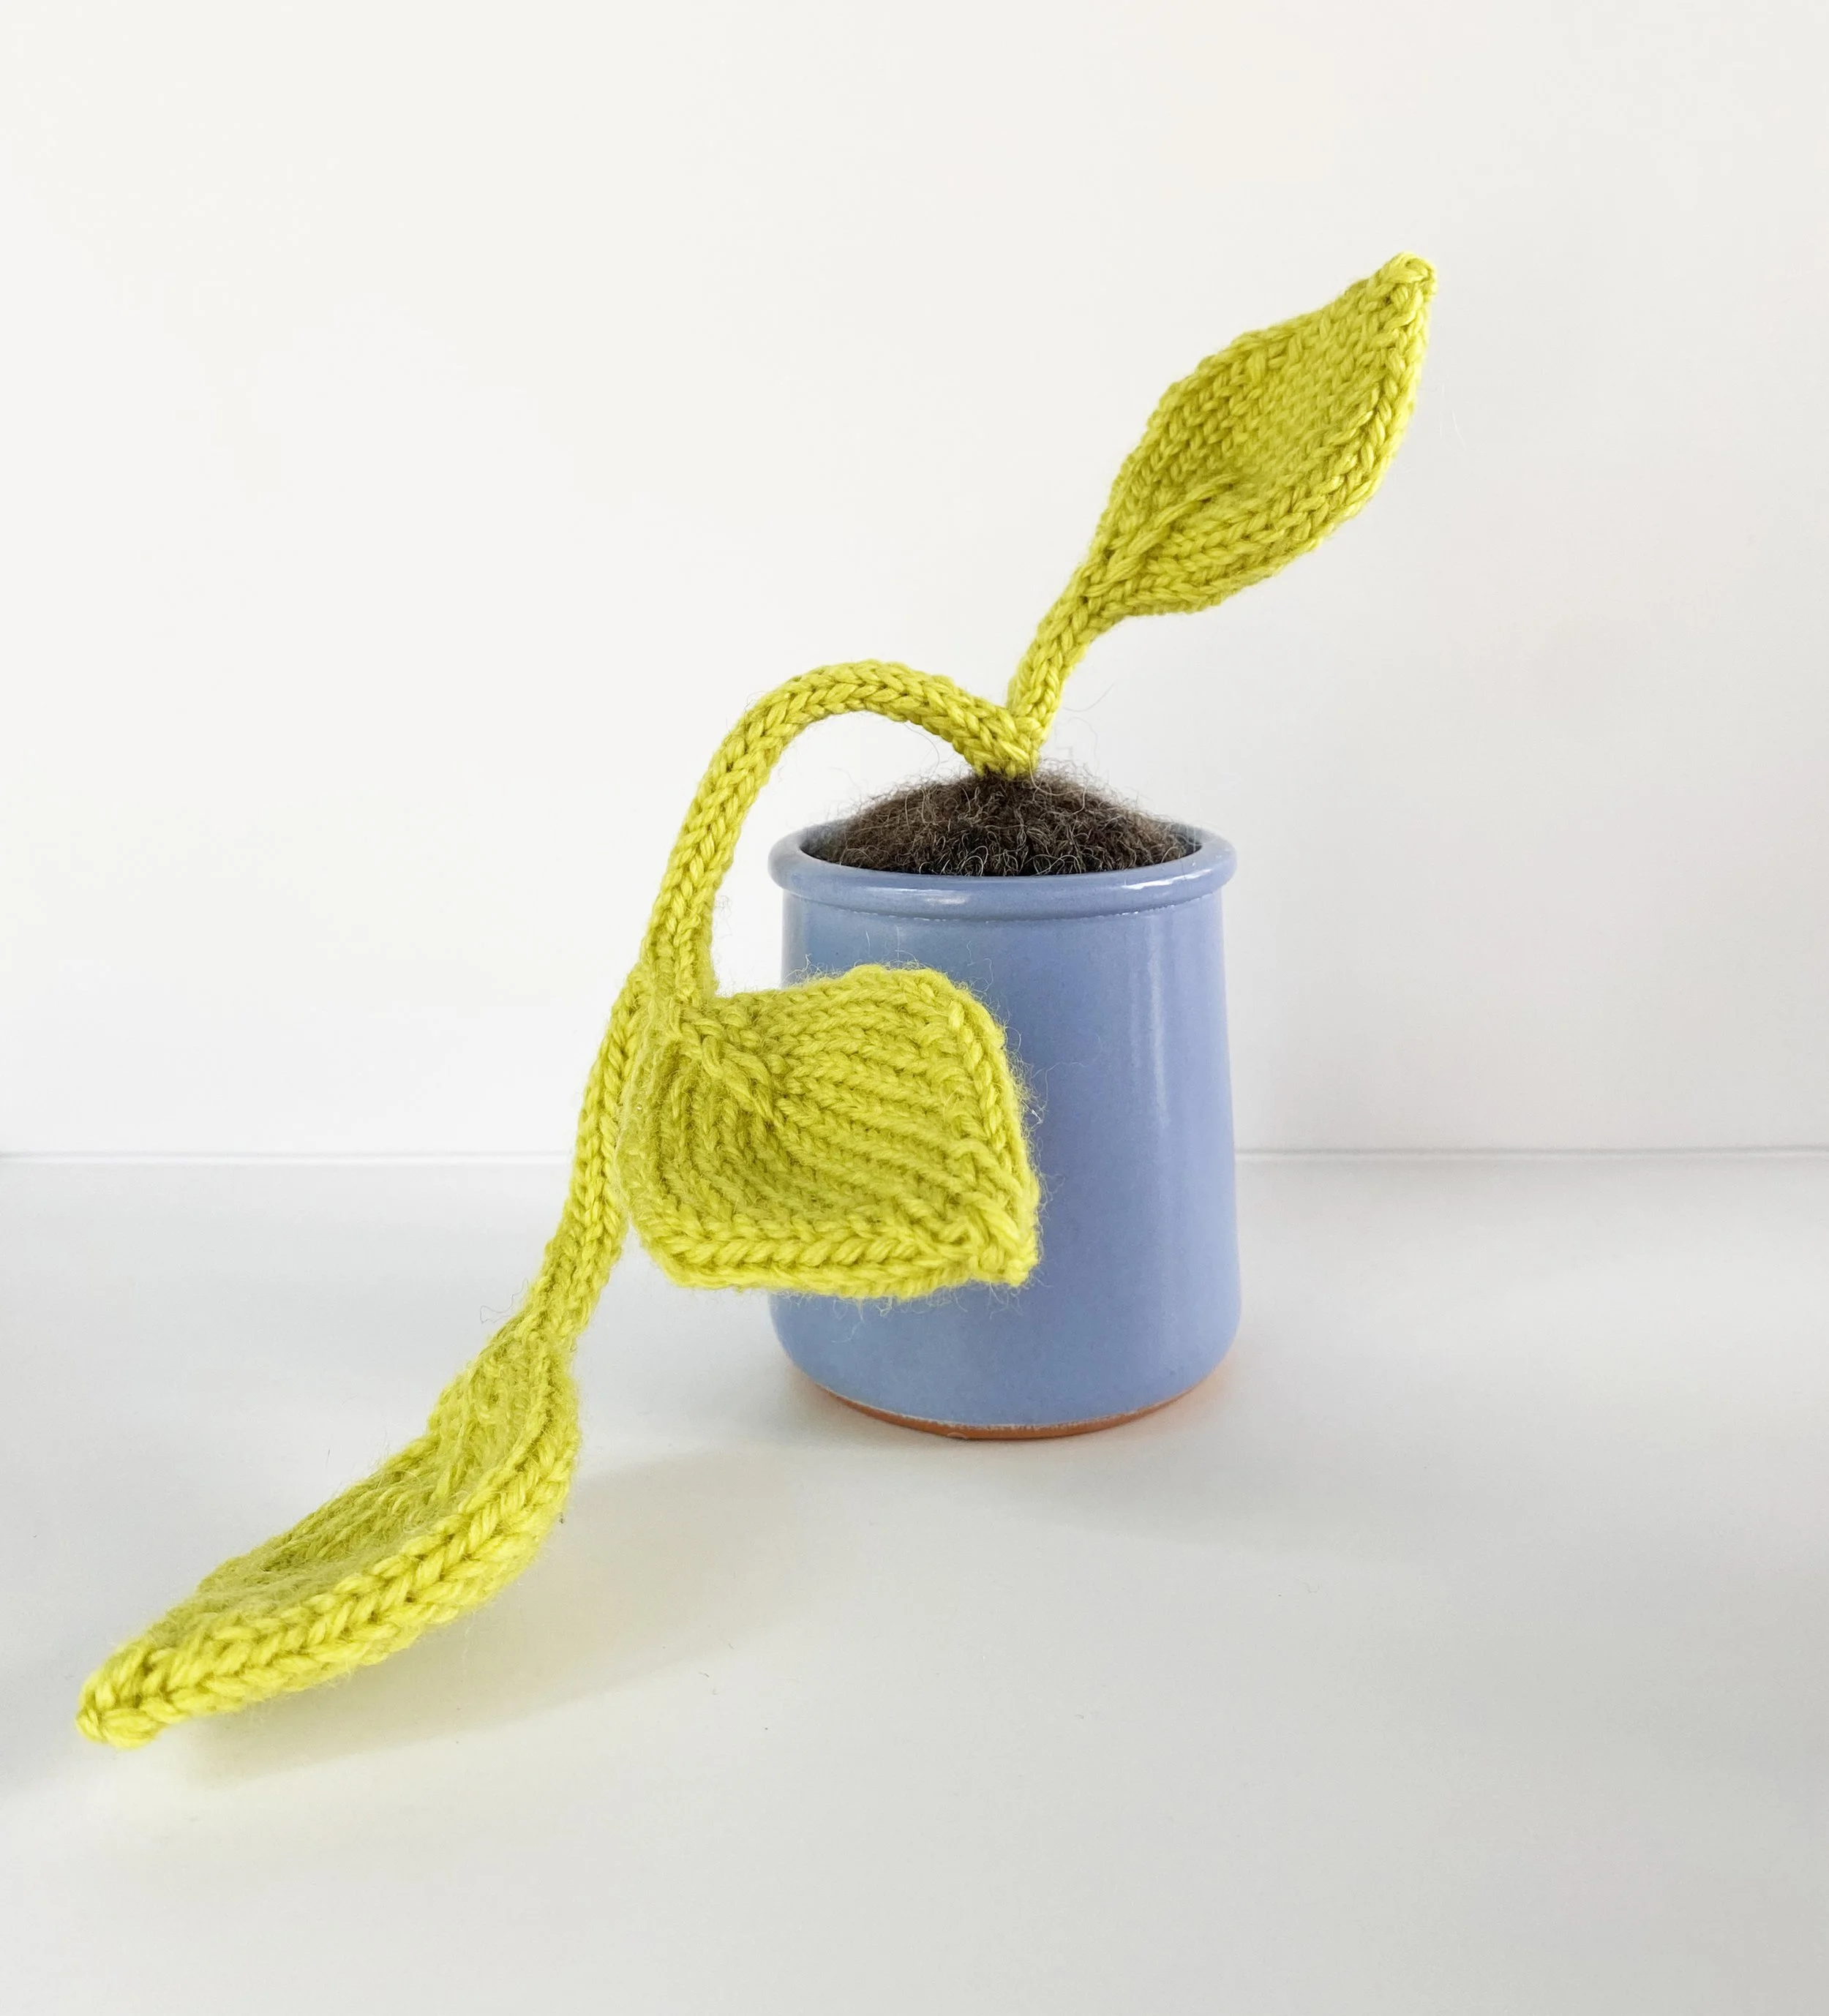
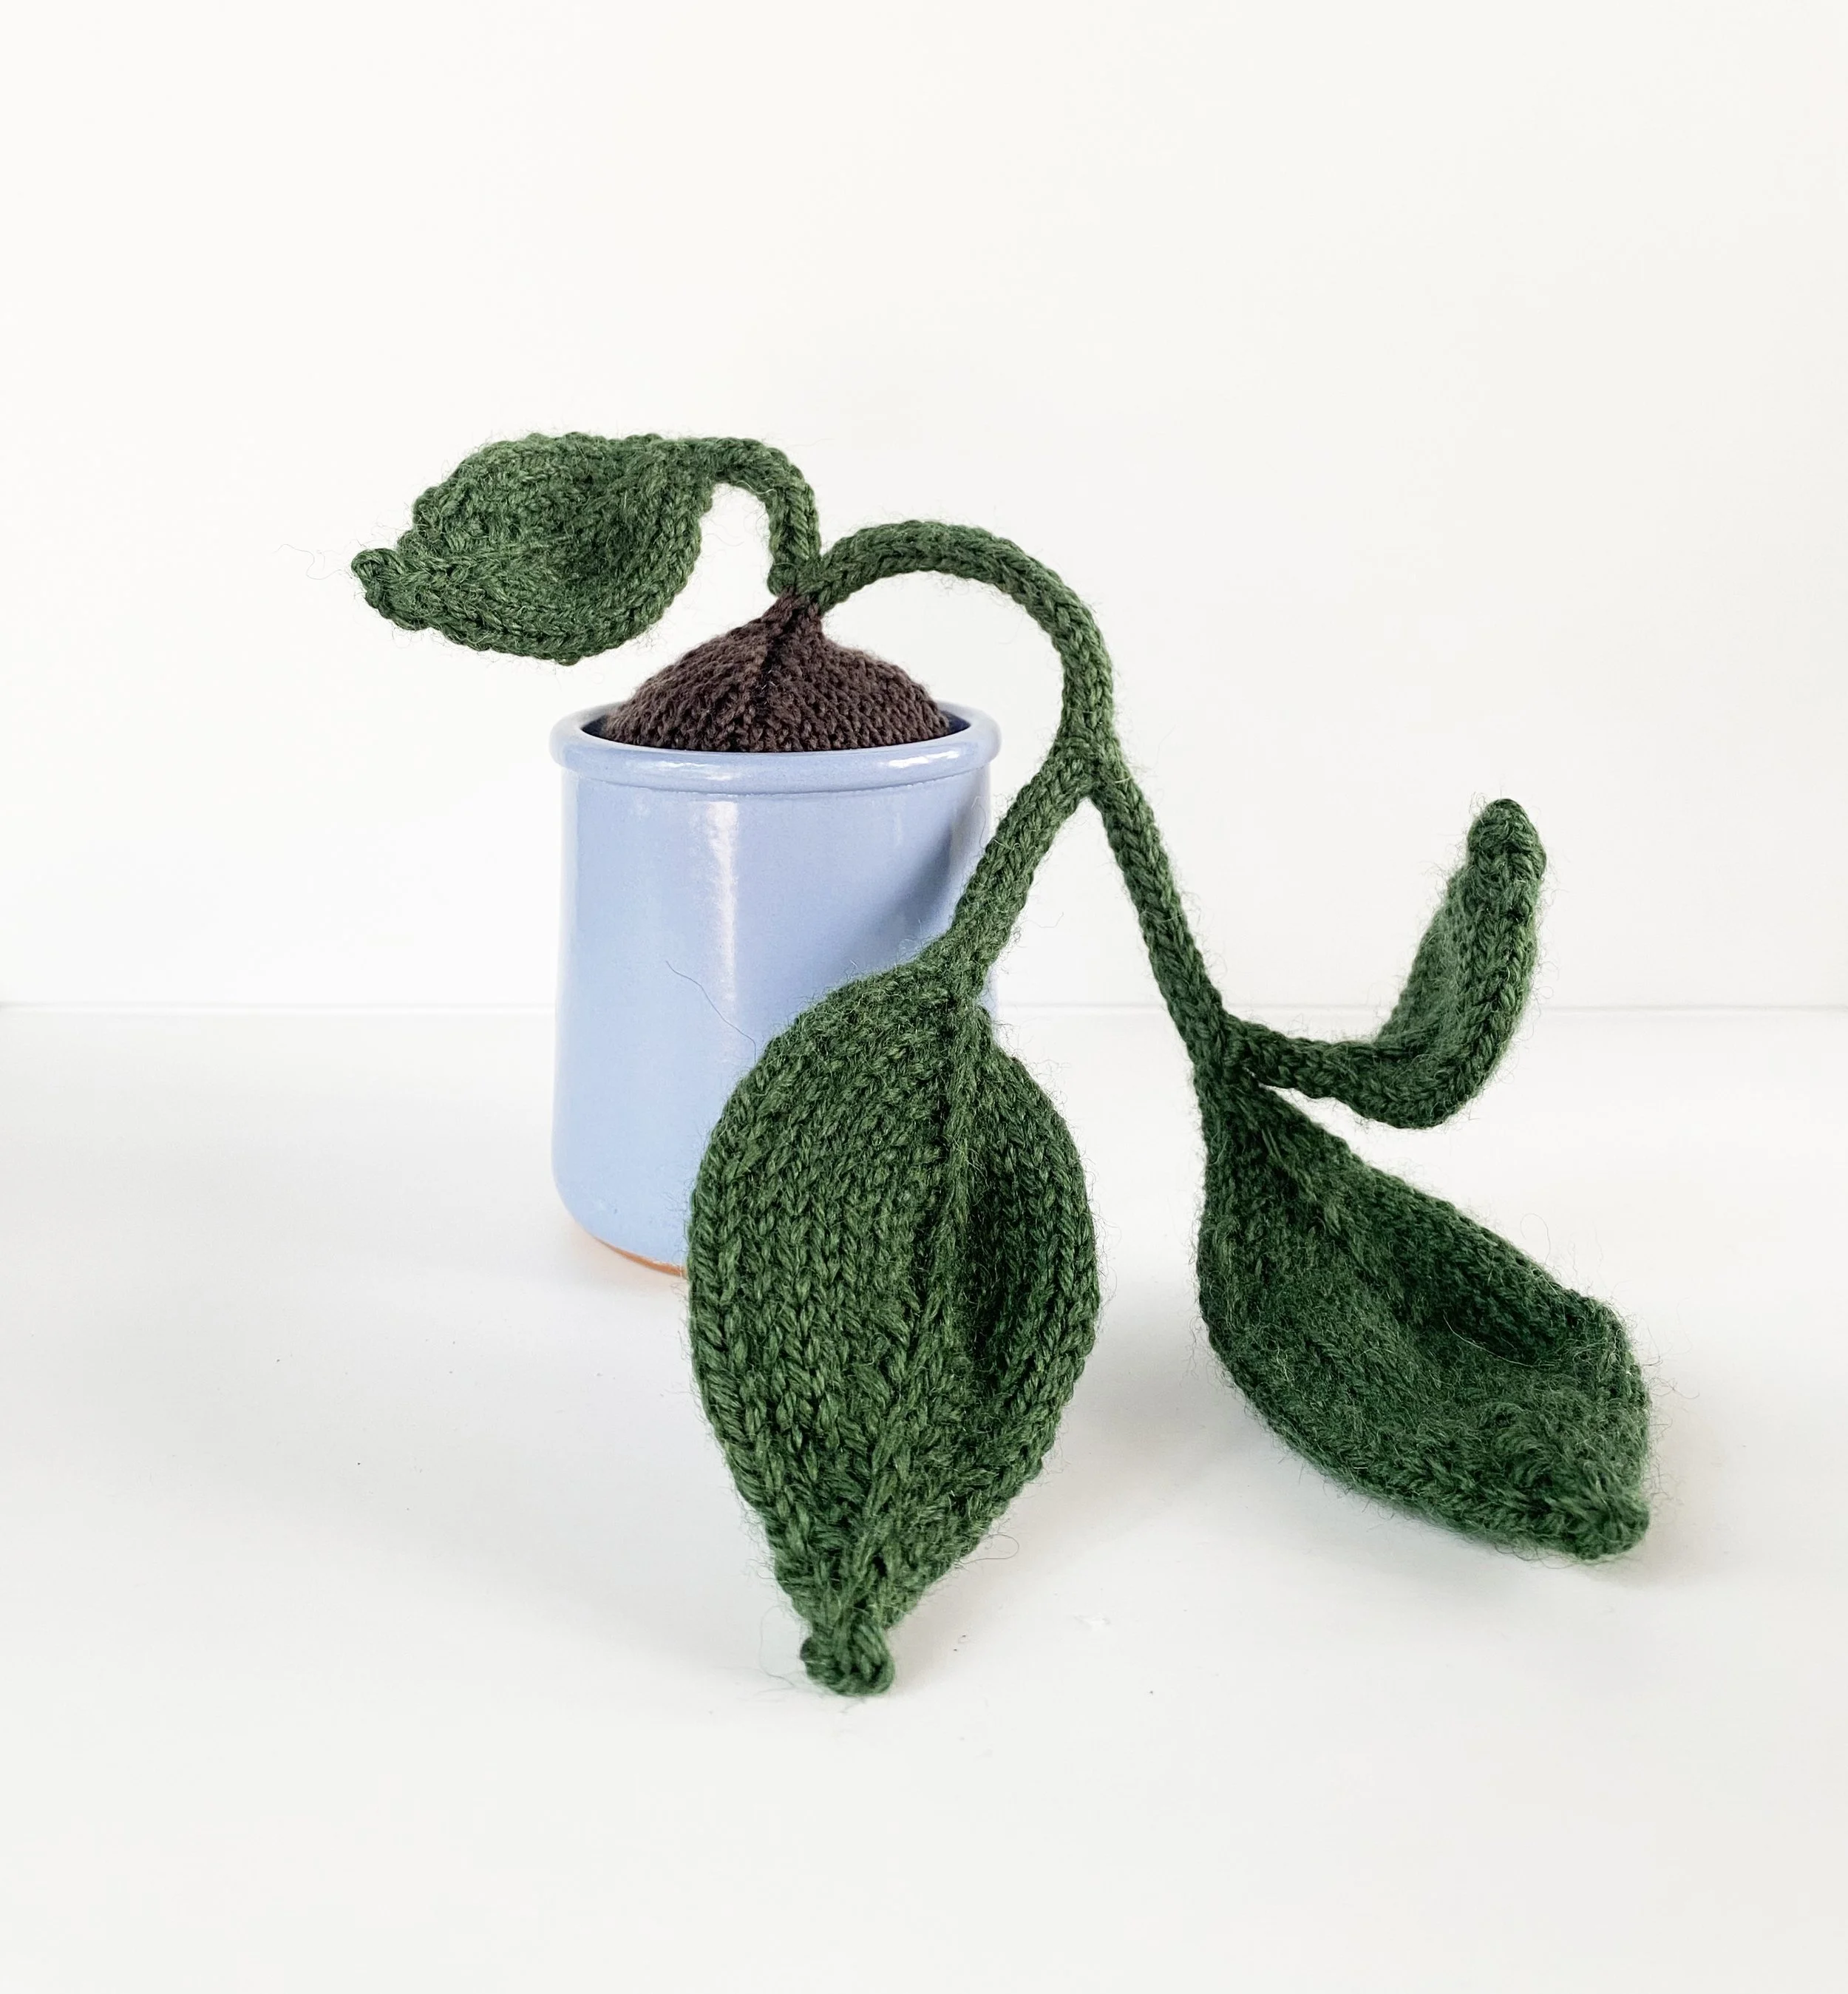
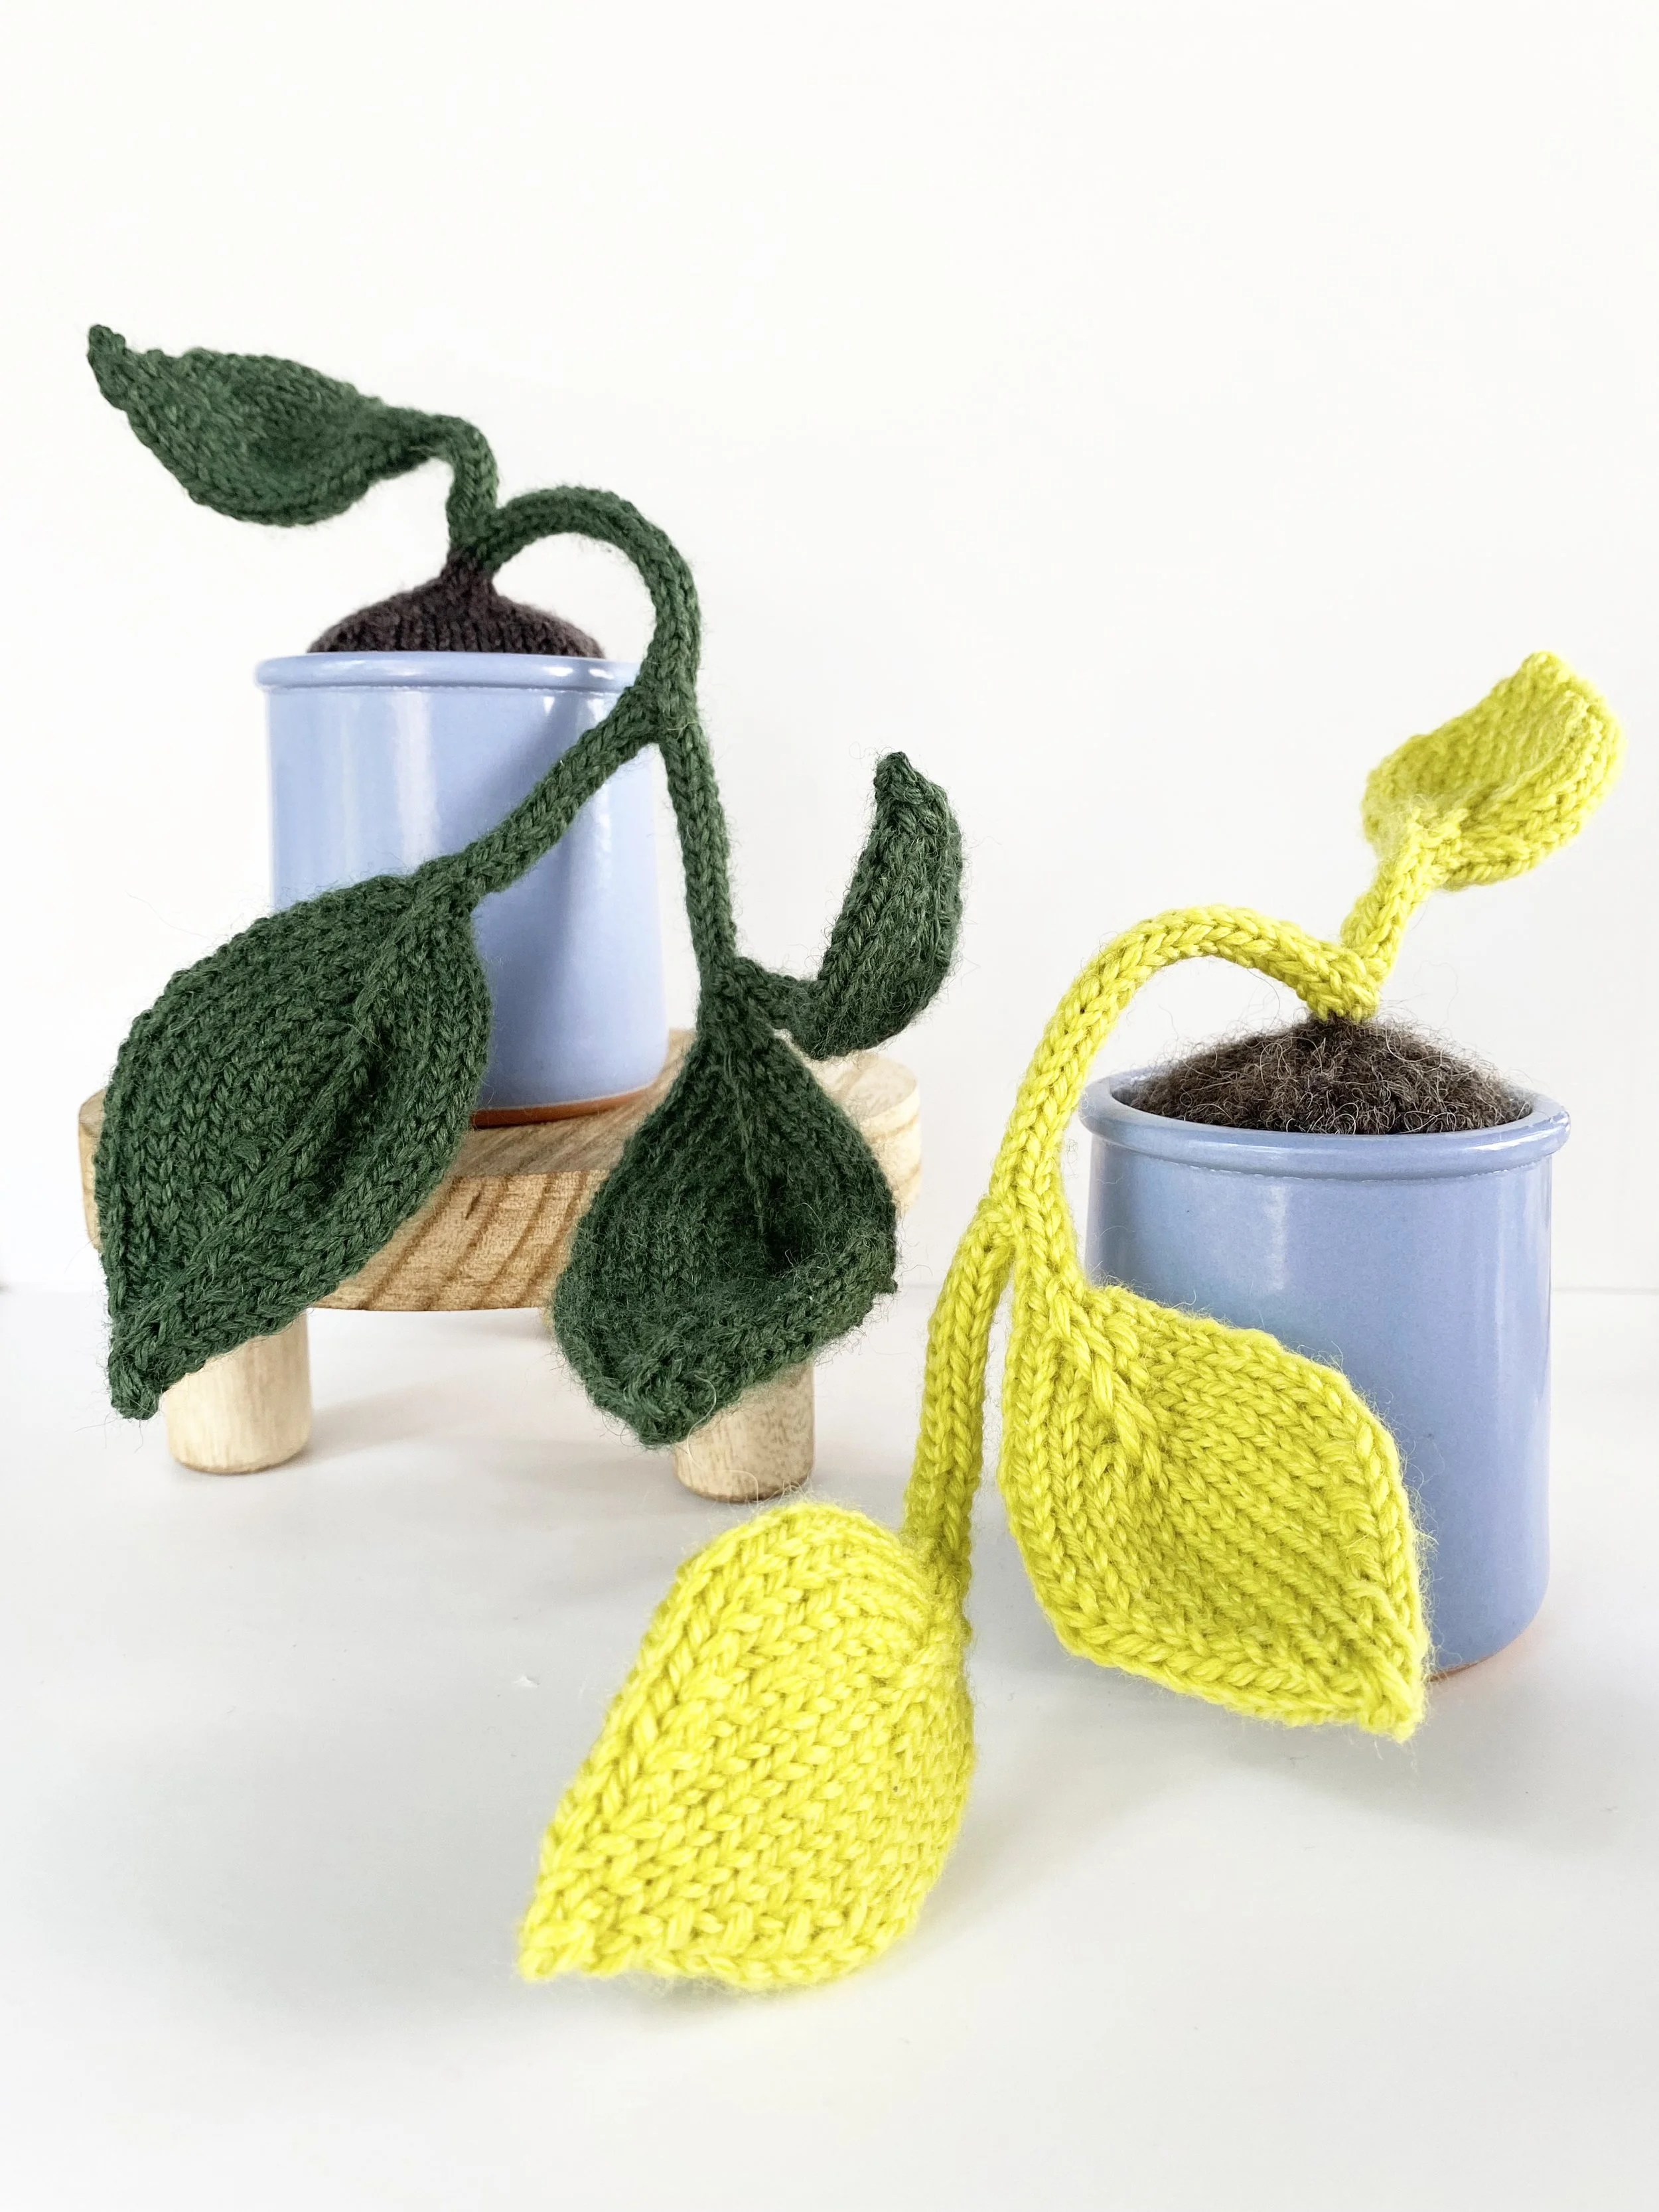
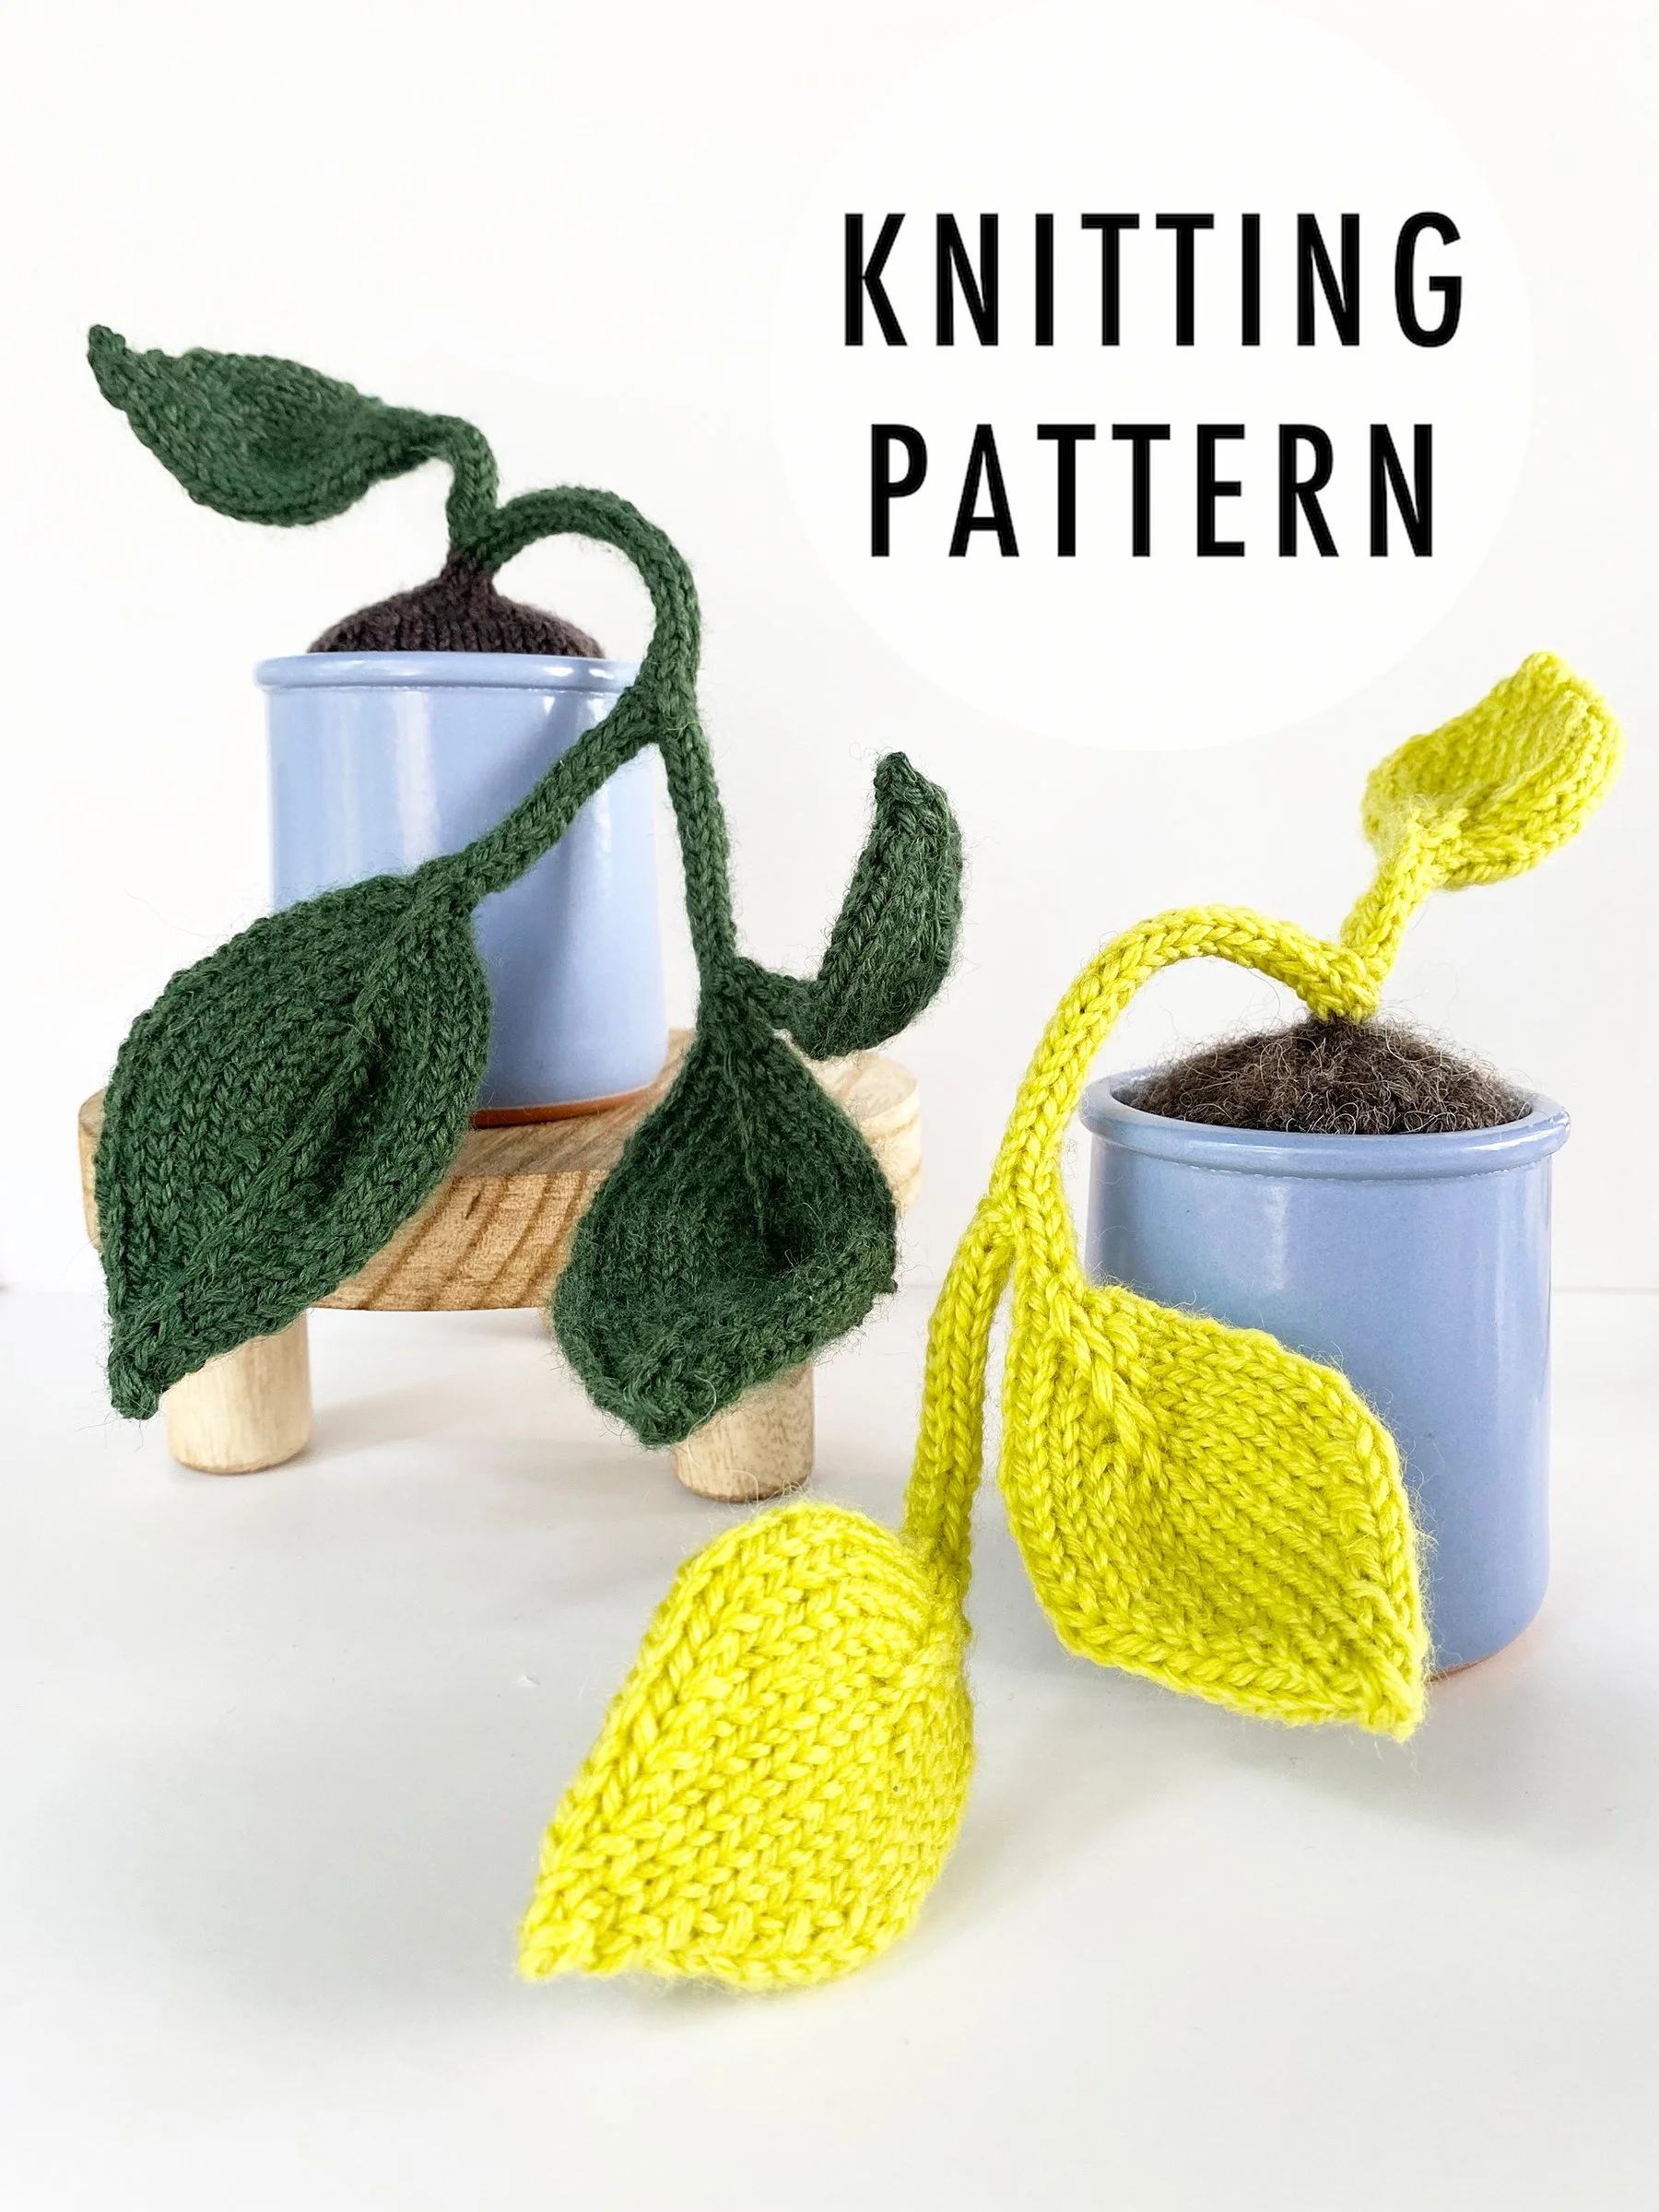
Hand Knit pothos plant in a recycled blue ceramic crock planter. Contains inner wire and is poseable.
Choose between dark green or neon pothos.
Mixed materials and fibers. Measures 6×5”.
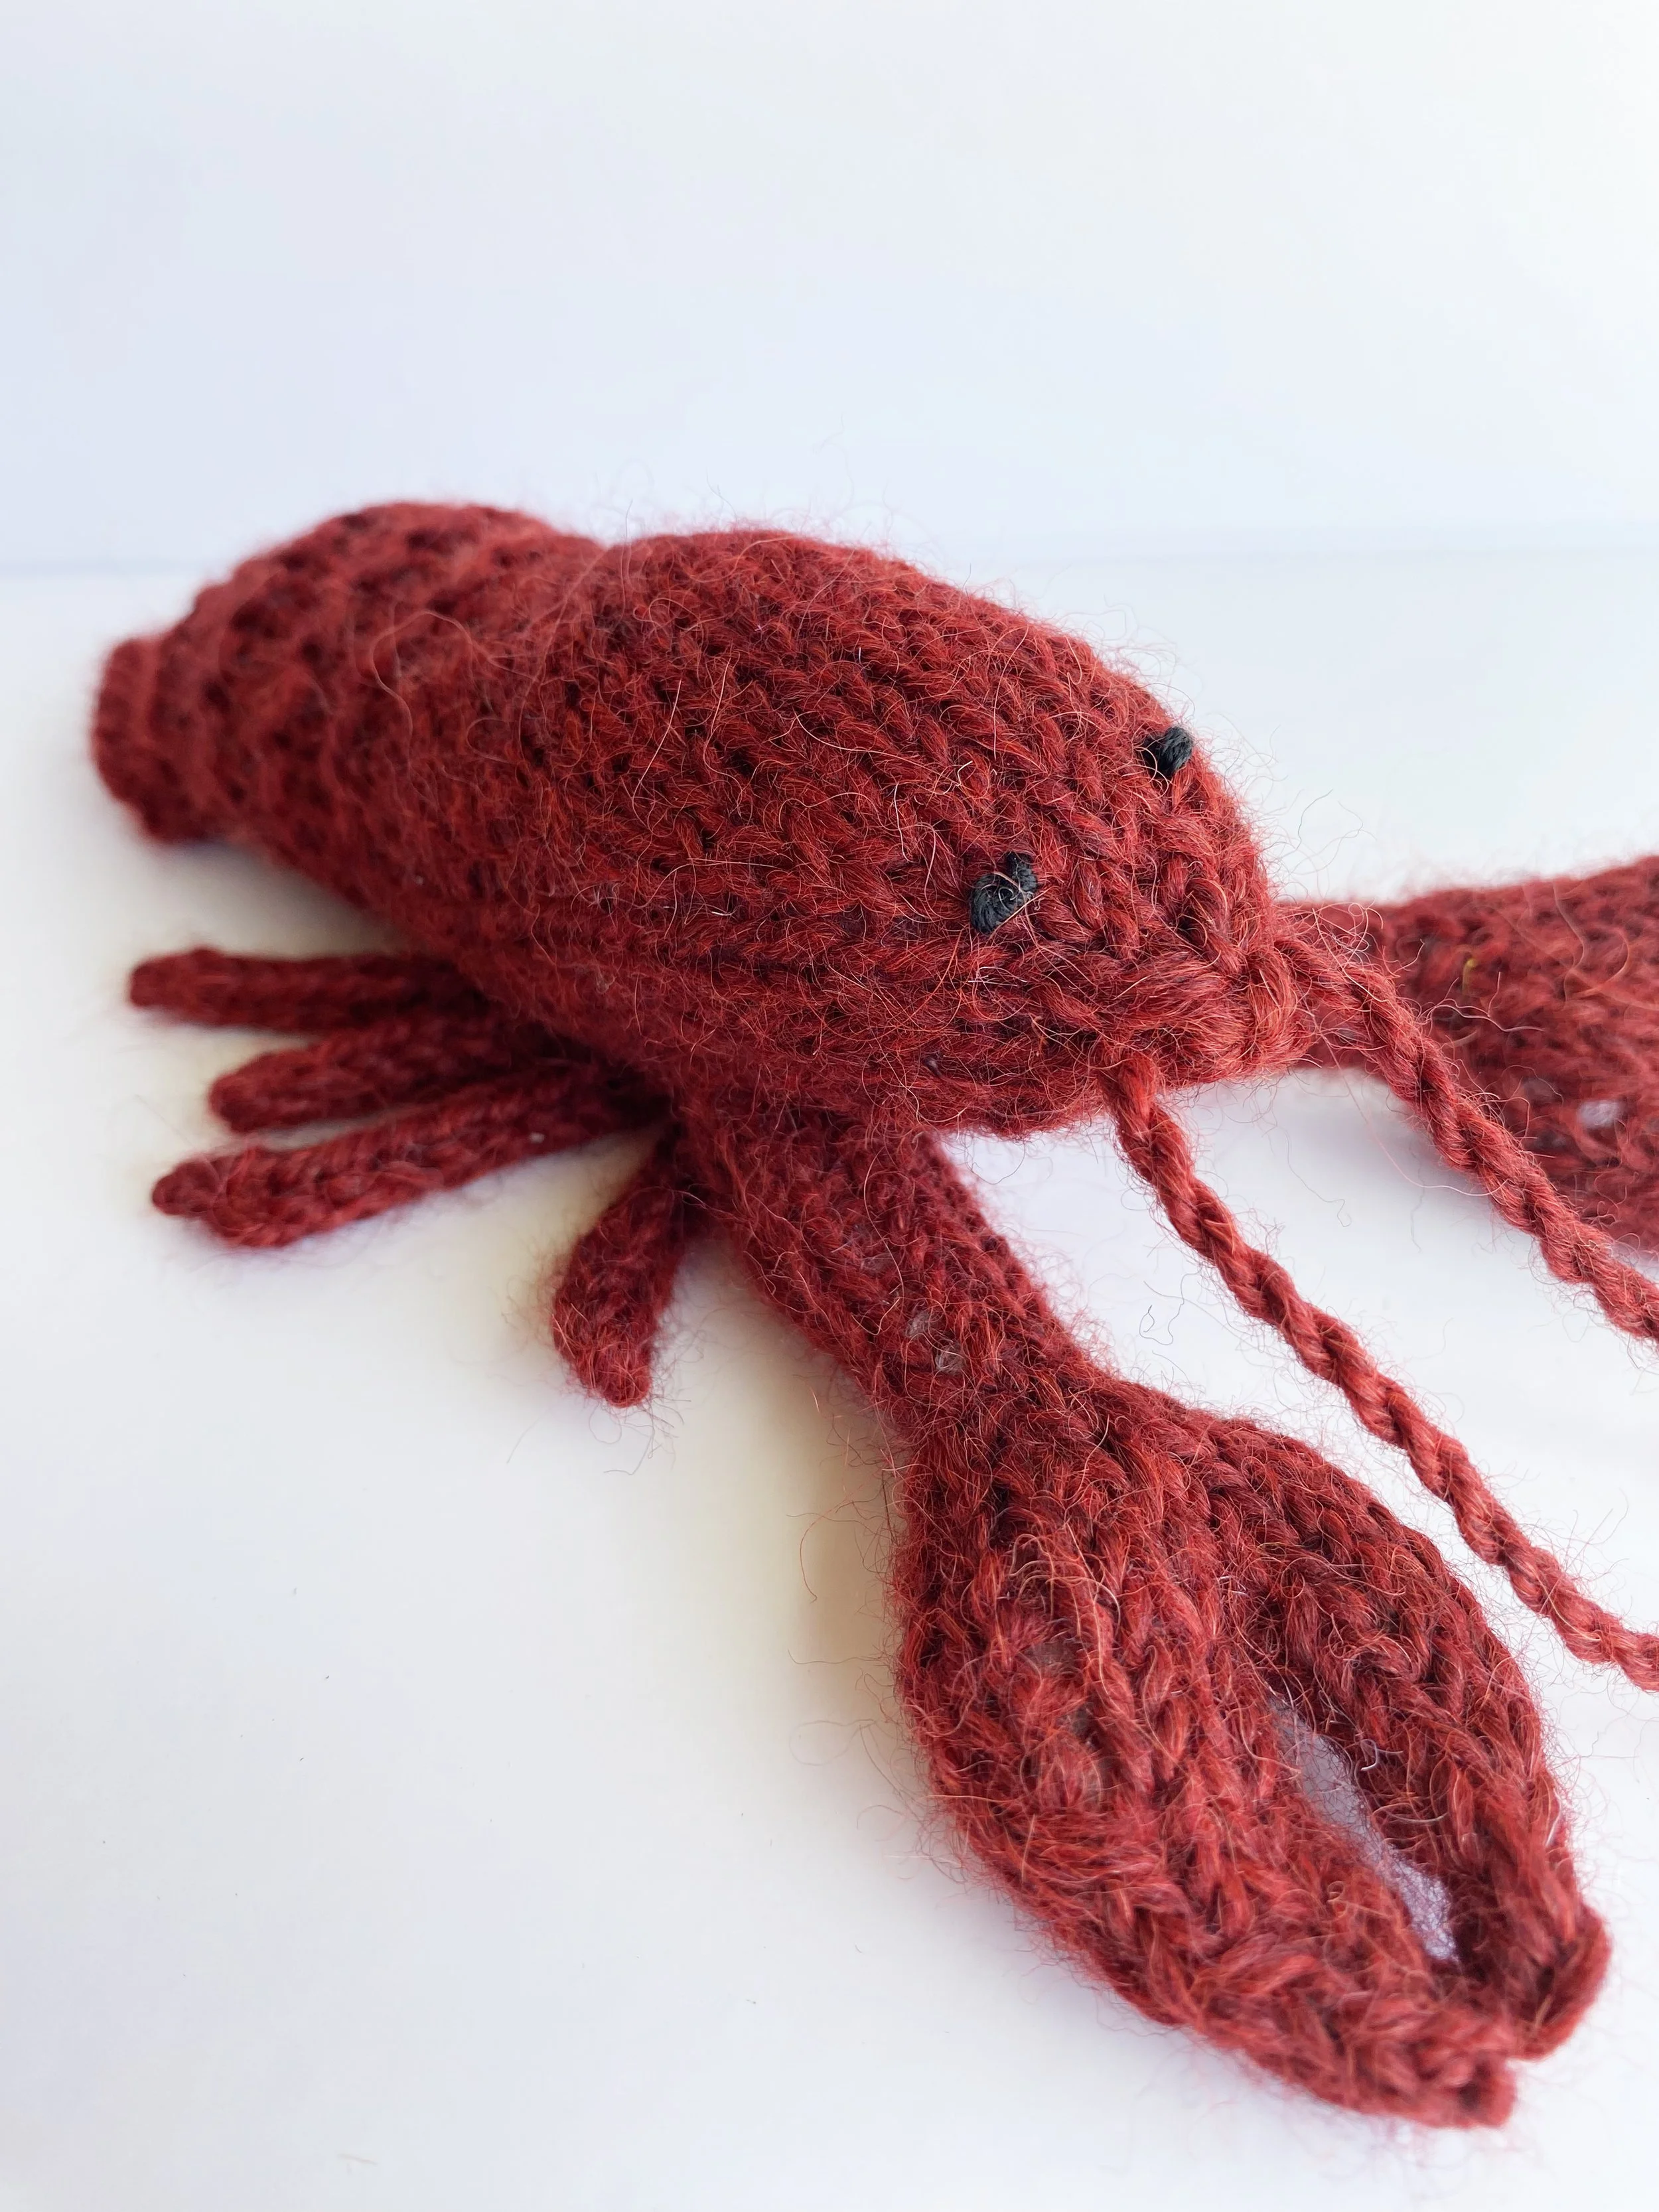
Own a piece of Seafood Summer and adopt this super cute handmade lobster toy!
Hand knit with love from a blend of 50% alpaca and 50% wool and stuffed with polyfil. Measures approximately 6×4”.
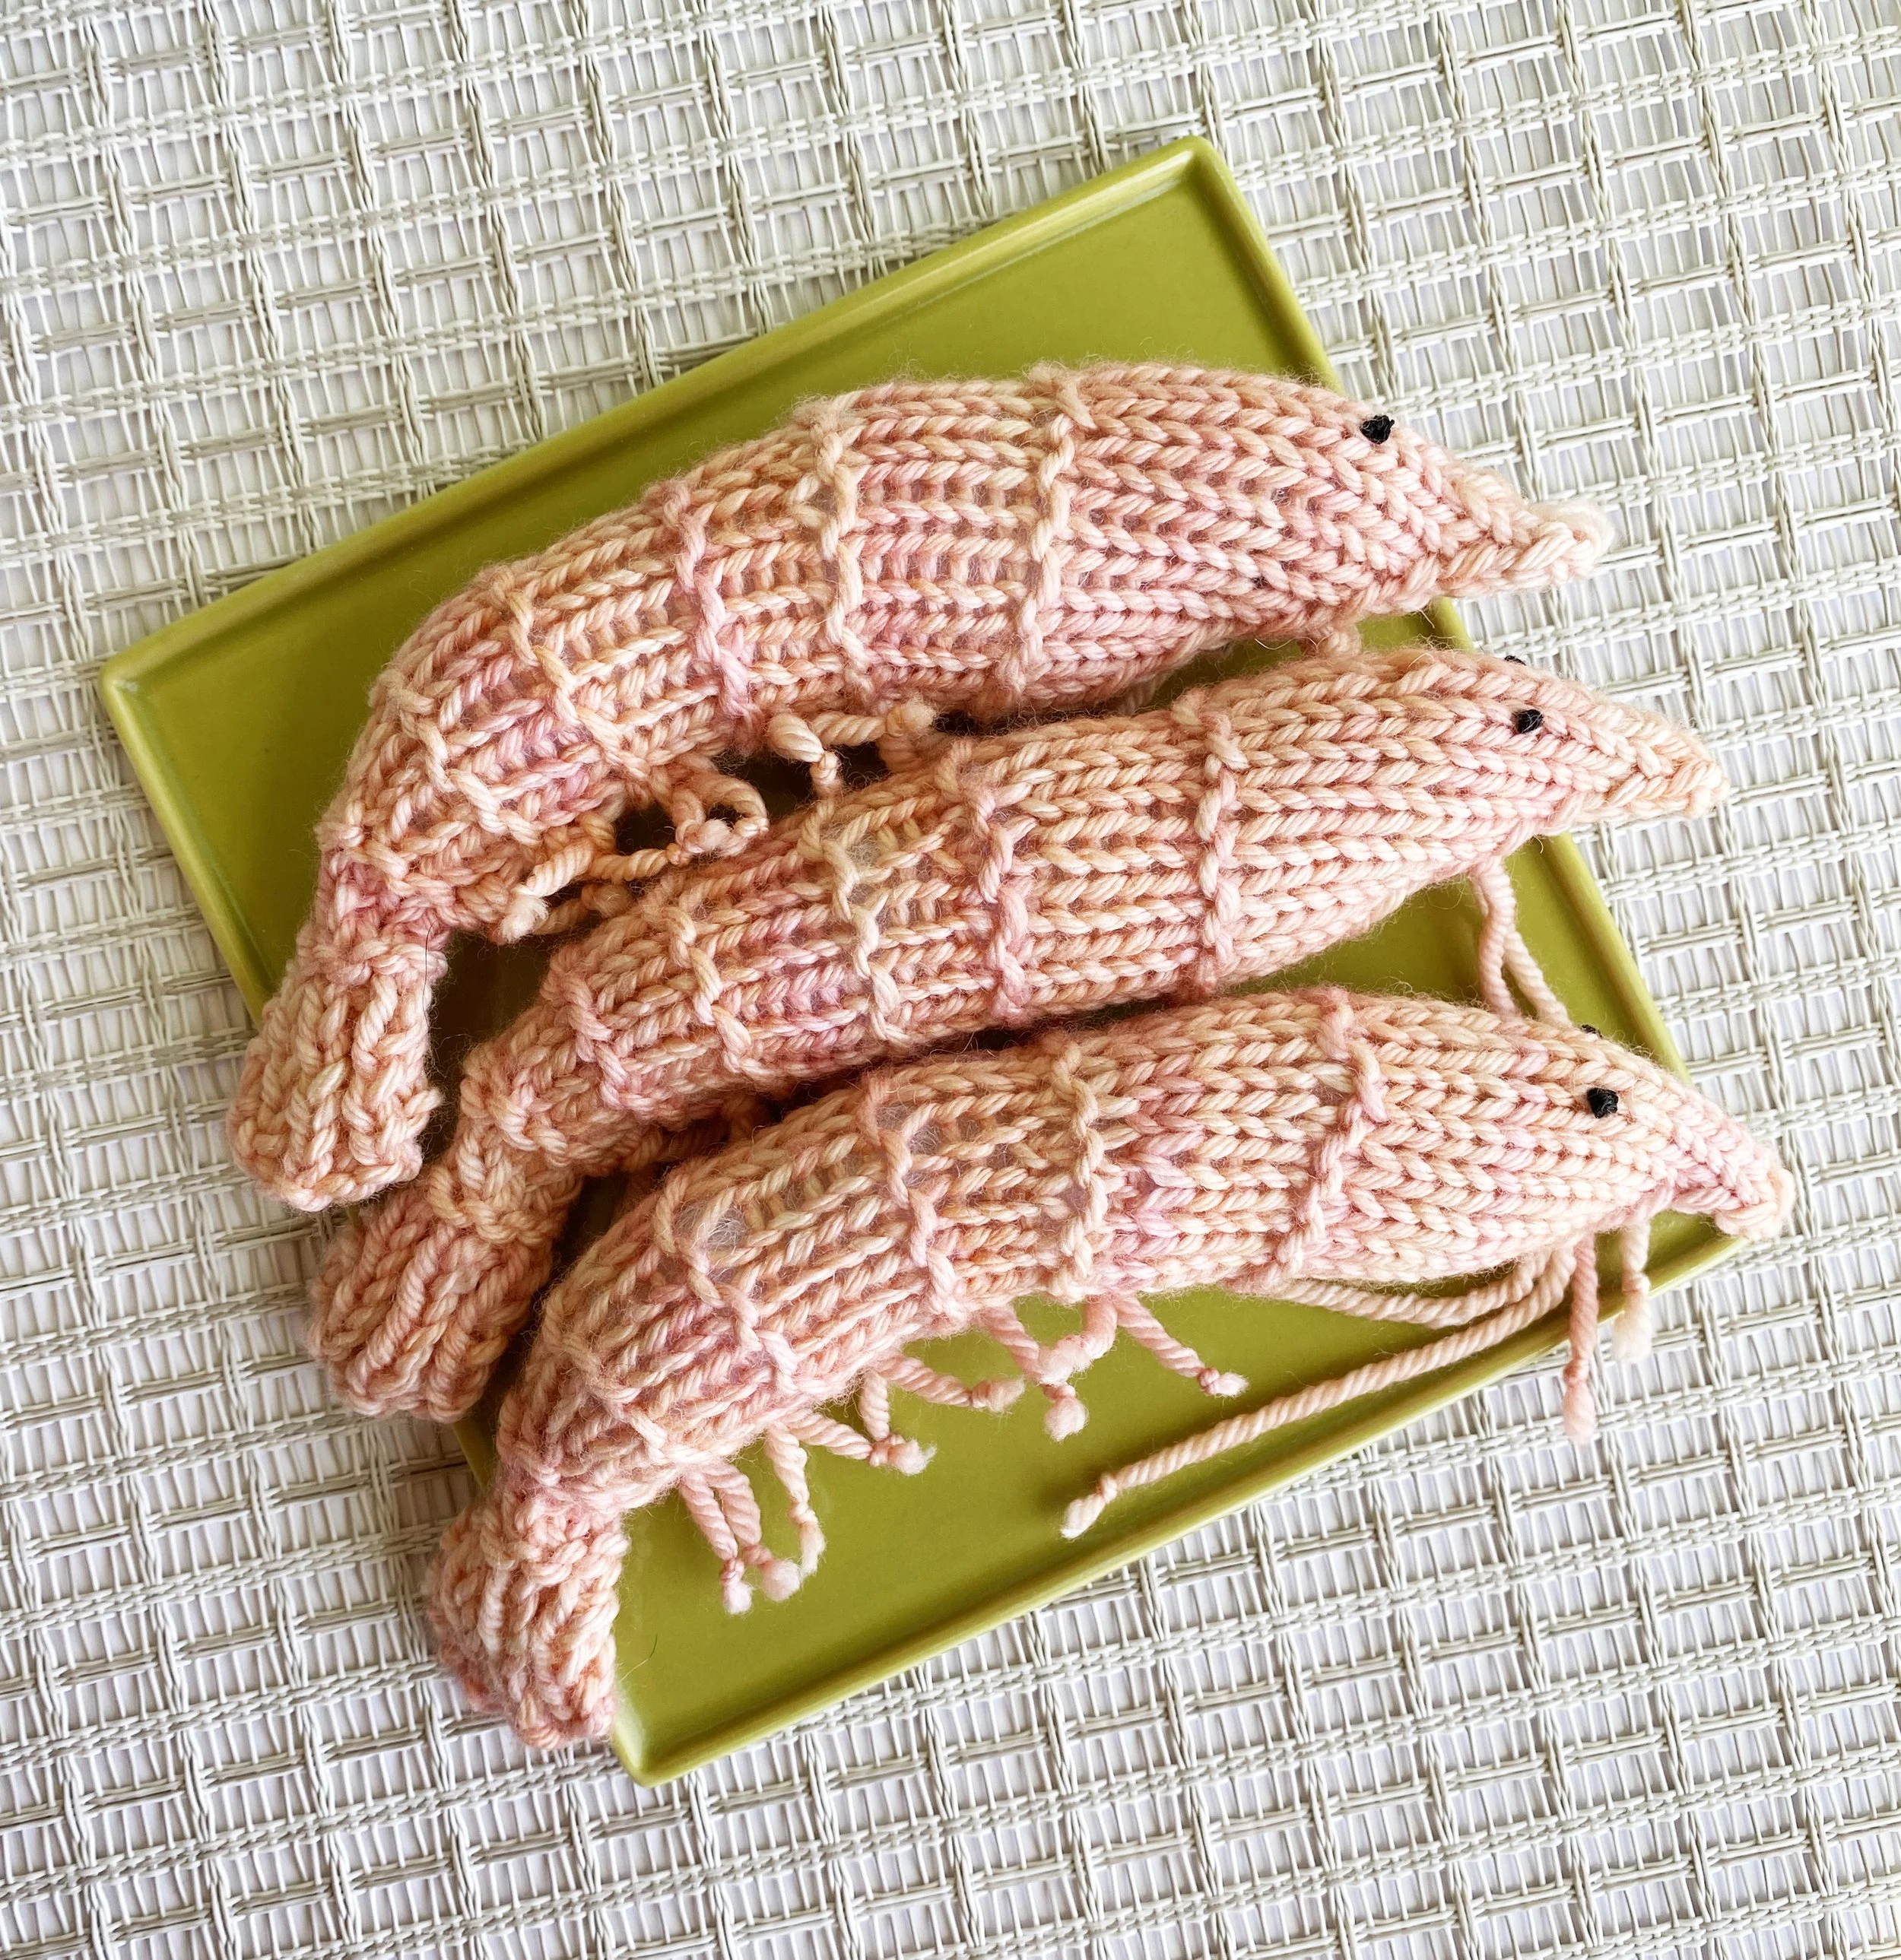
Sometimes you need a little emotional support, and shrimp is here for you.
Hand knit with love from 100% superwash merino wool and stuffed with polyfil. Measures approximately 6×3”.
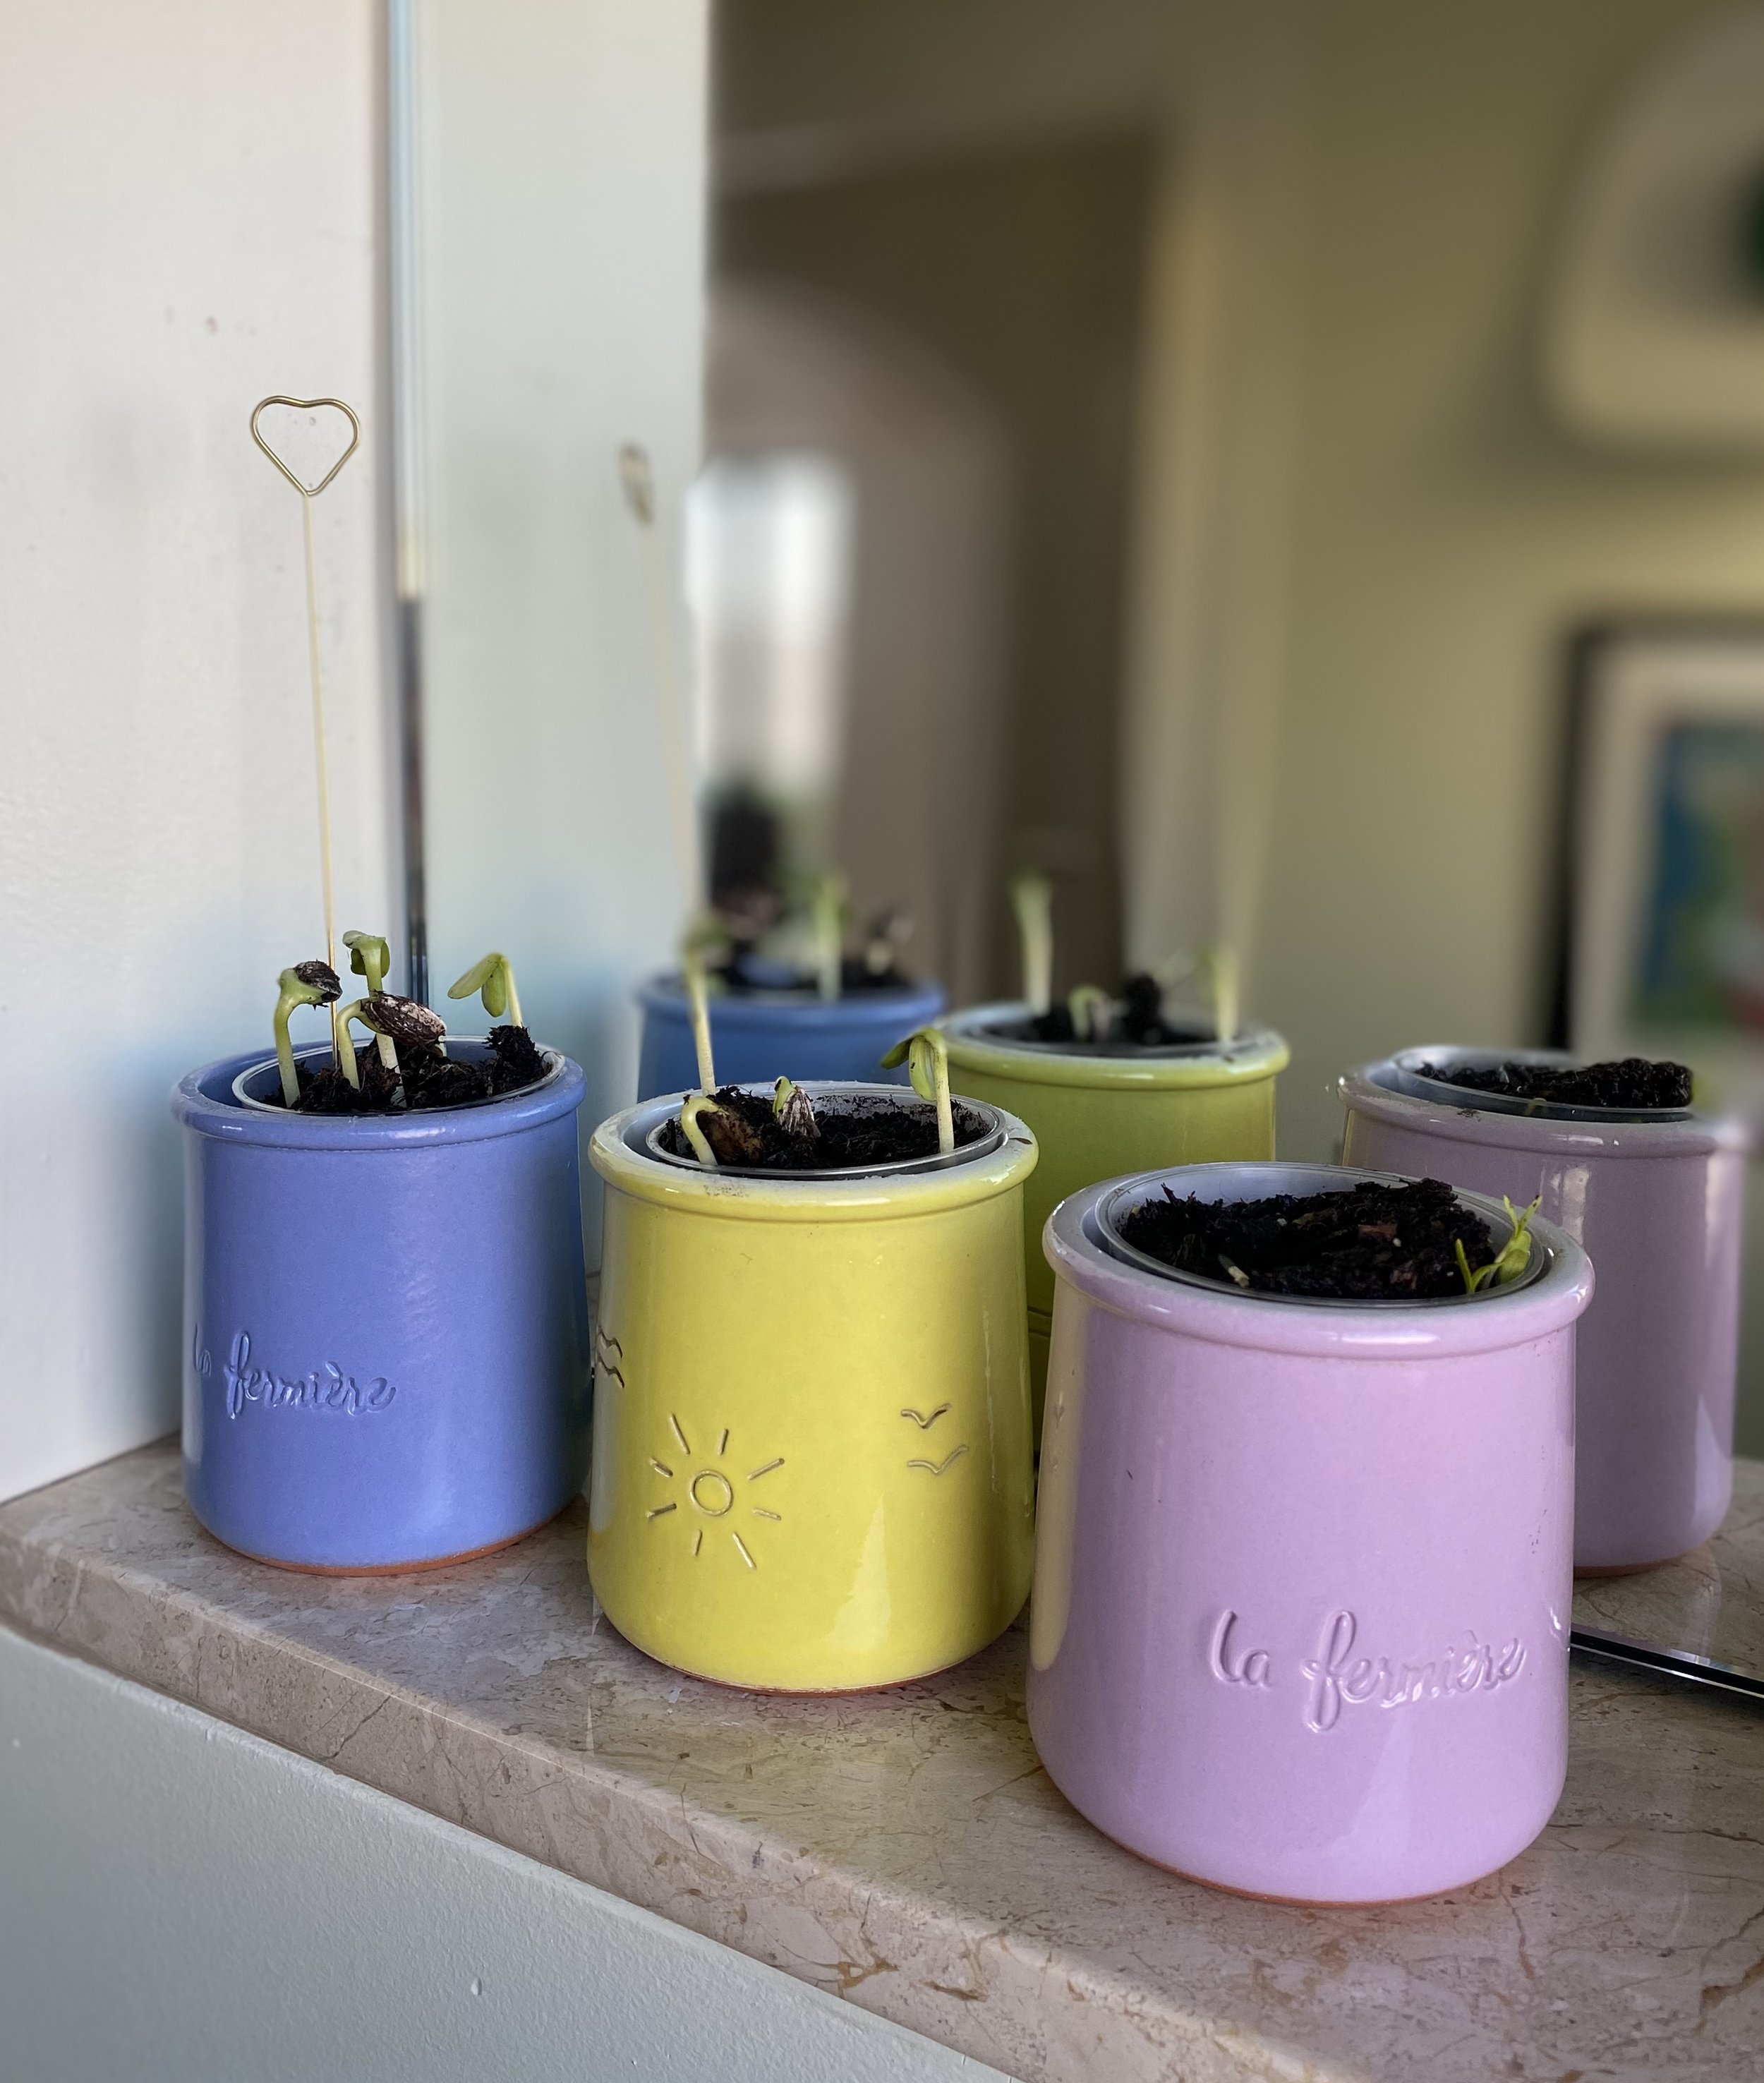
Keep the cycle of reuse going with a crock grow kit! Each kit contains everything you need to convert your empty crock candle into a mini sunflower garden. Super easy and fun, even if you don’t think you have a green thumb!
Kit contains:
2” plastic plant insert with drainage holes
wooden riser
non-gmo mammoth sunflower seeds
organic potting soil
wire plant marker + watering card
detailed planting and care instructions
bonus sunflower paper clip!
kits
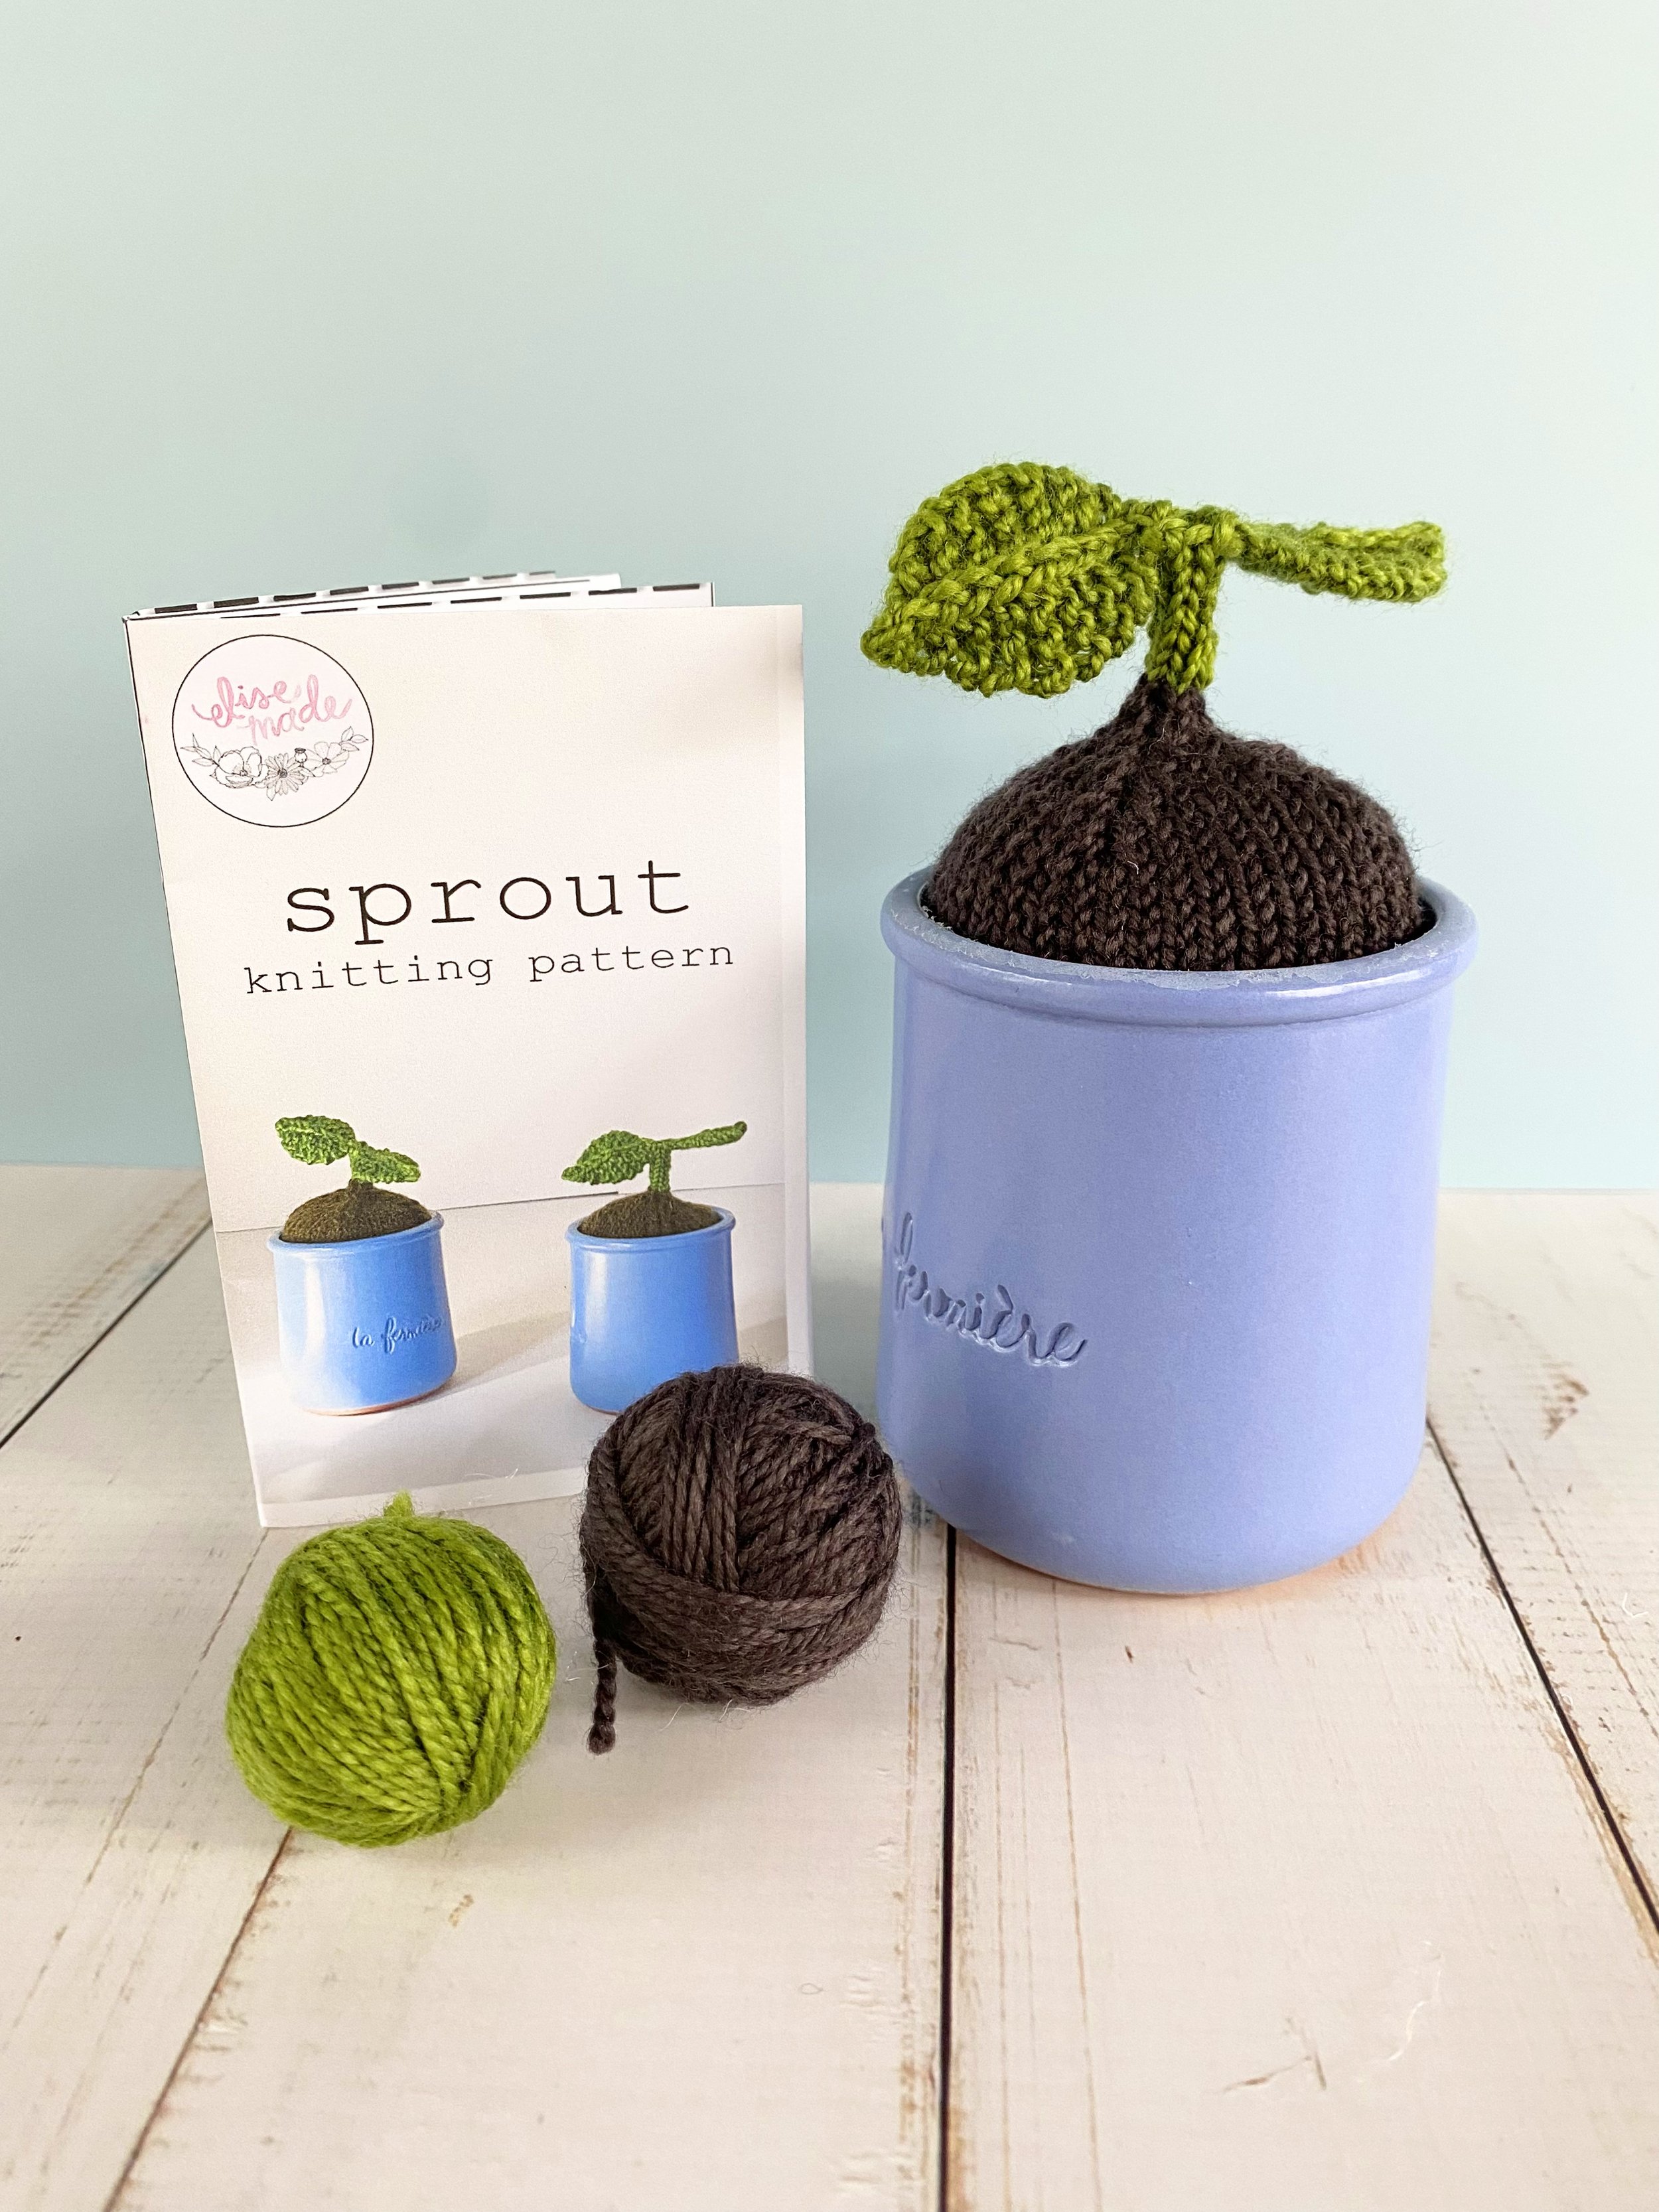
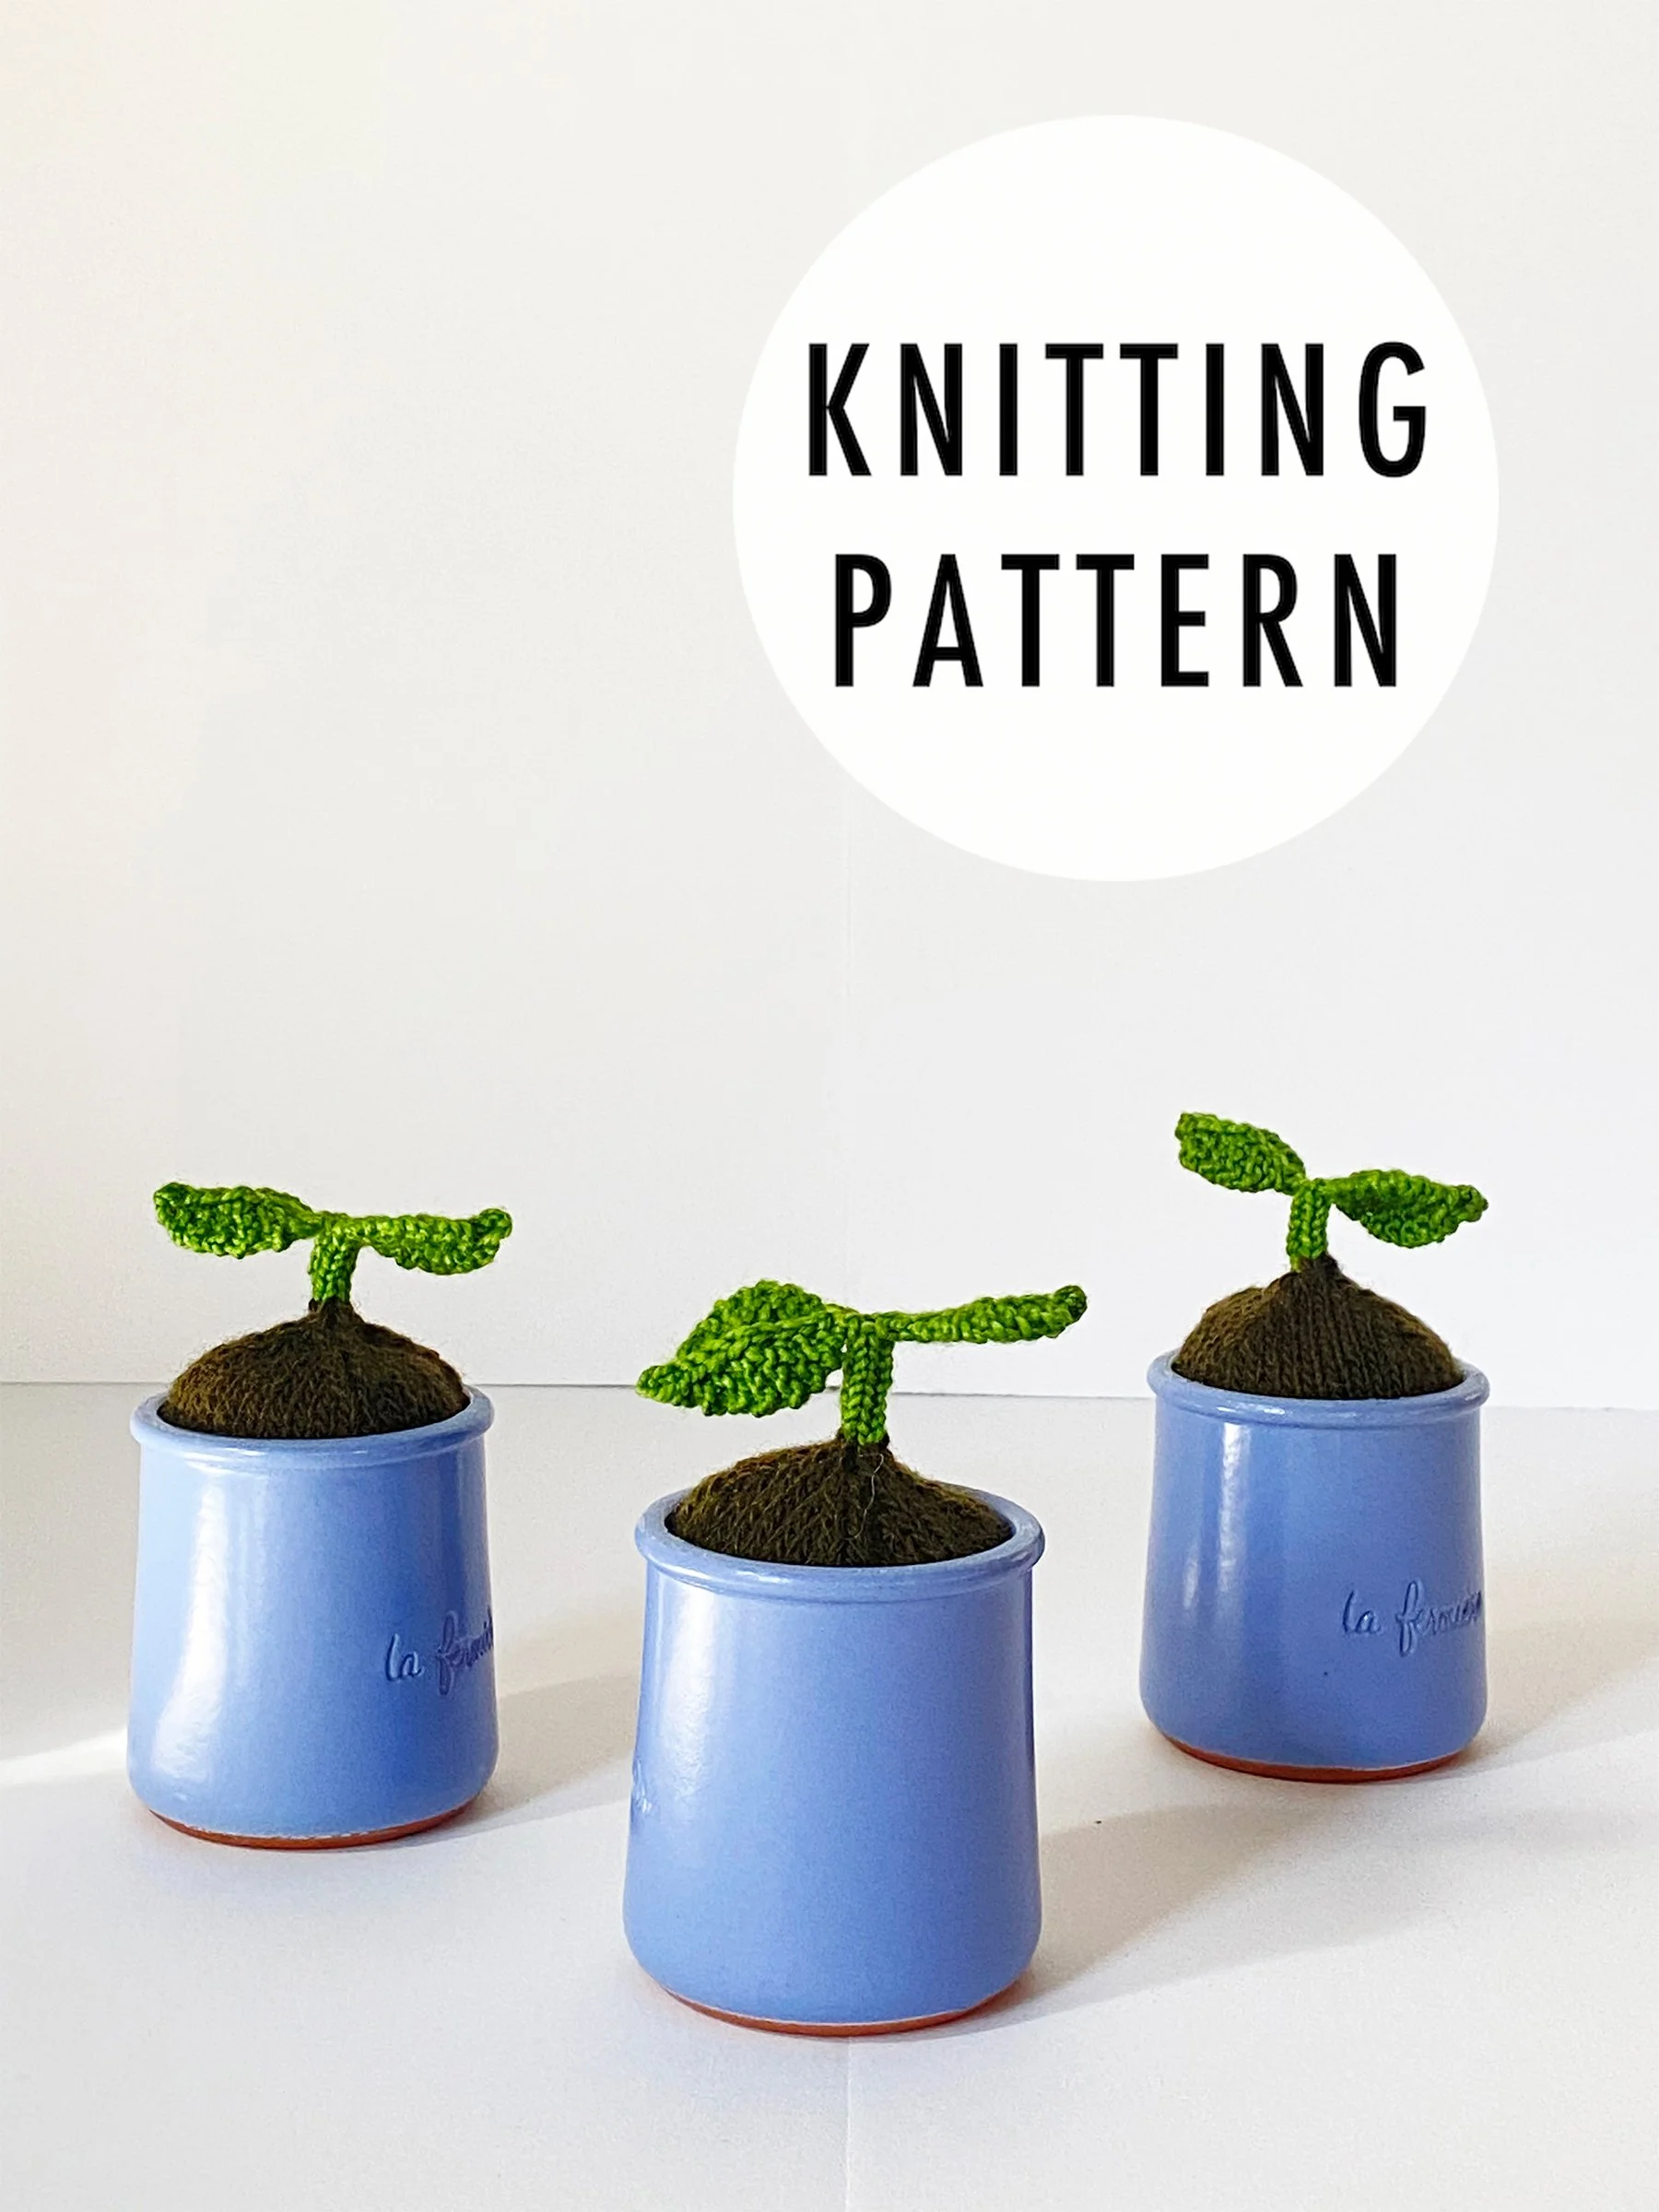
I am always looking for unique ways to recycle empty Crock Candles, so I designed the Sprout knitting pattern as a quick and cute way to add some green to any space.
These kits contain everything you need to knit your own tiny Sprout.
Kit includes:
7 page pattern zine with photo references
Ravelry digital pattern download code
6g brown fingering weight superwash wool for soil
2g green fingering weight superwash wool for sprout
polyfill stuffing
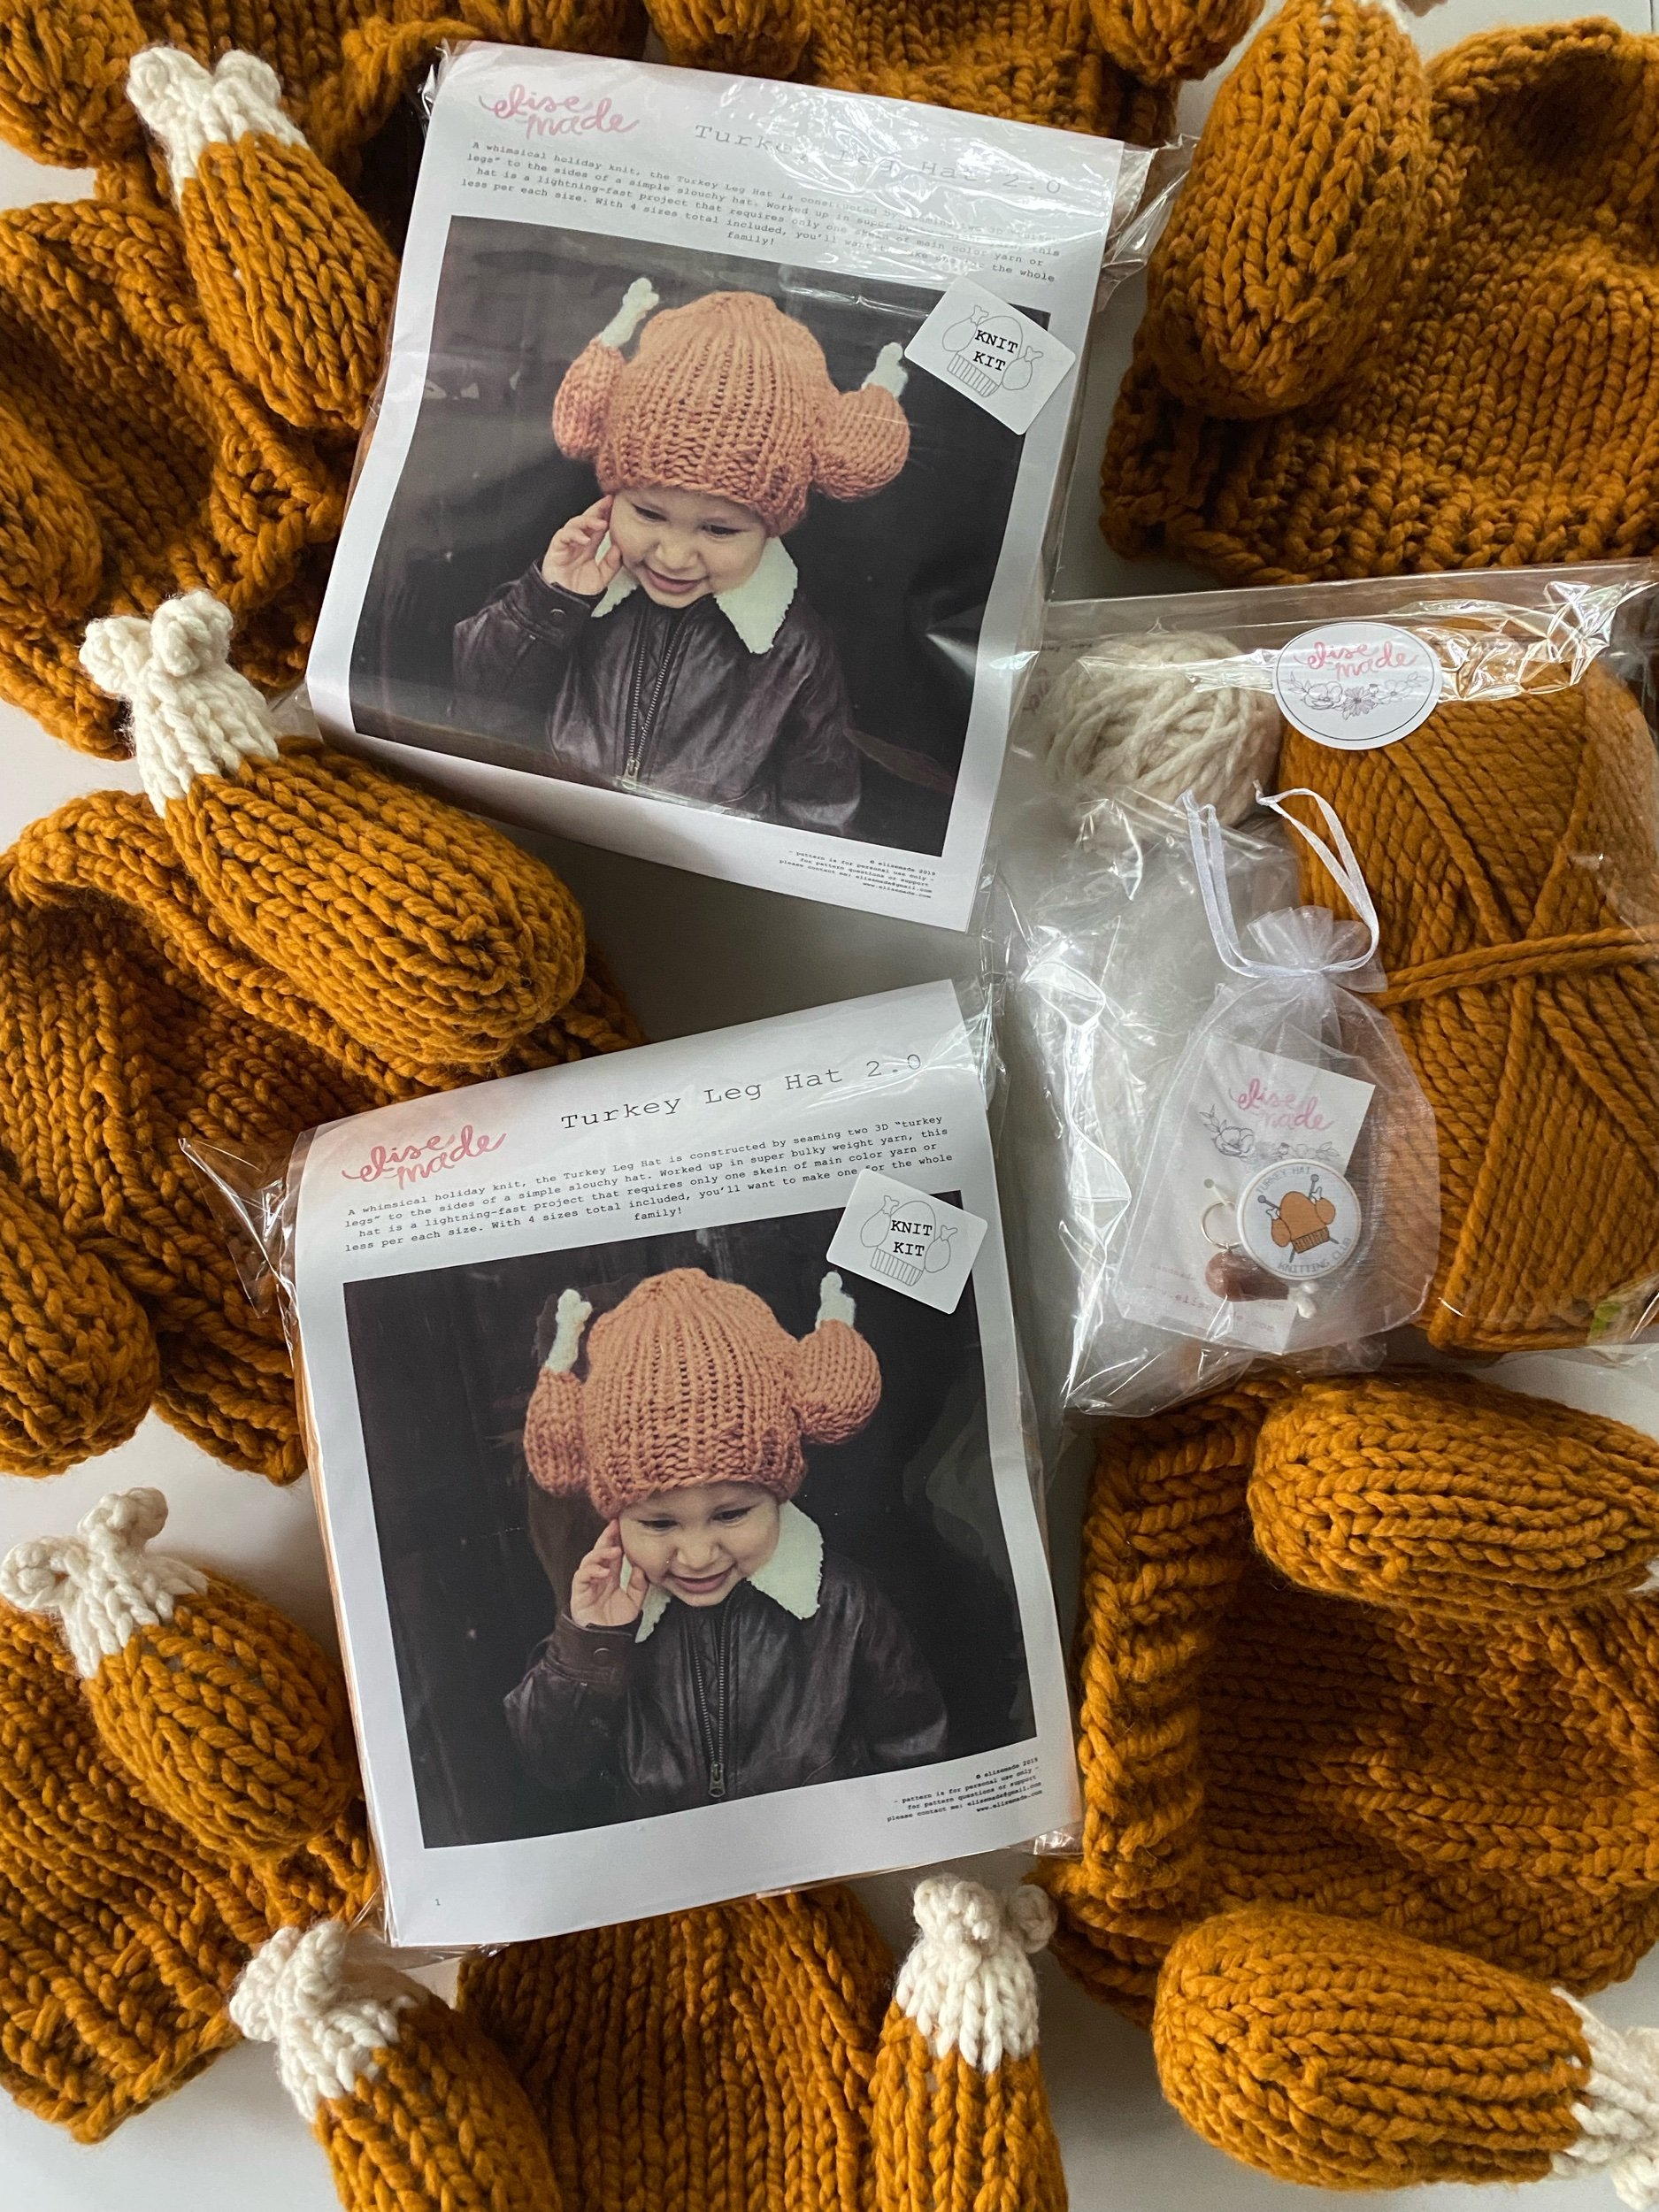
Everything you need to knit your own Turkey Leg Hat conveniently gathered together - plus some exclusive handmade goodies! All you need is your preferred needles.
Kit includes:
Full copy of the Turkey Leg Hat pattern printed on sturdy cardstock
Enough main color and contrast color yarn to make 1 hat in any size
Stuffing for the Turkey legs
Turkey Leg stitch marker
Exclusive THKC pin
patterns
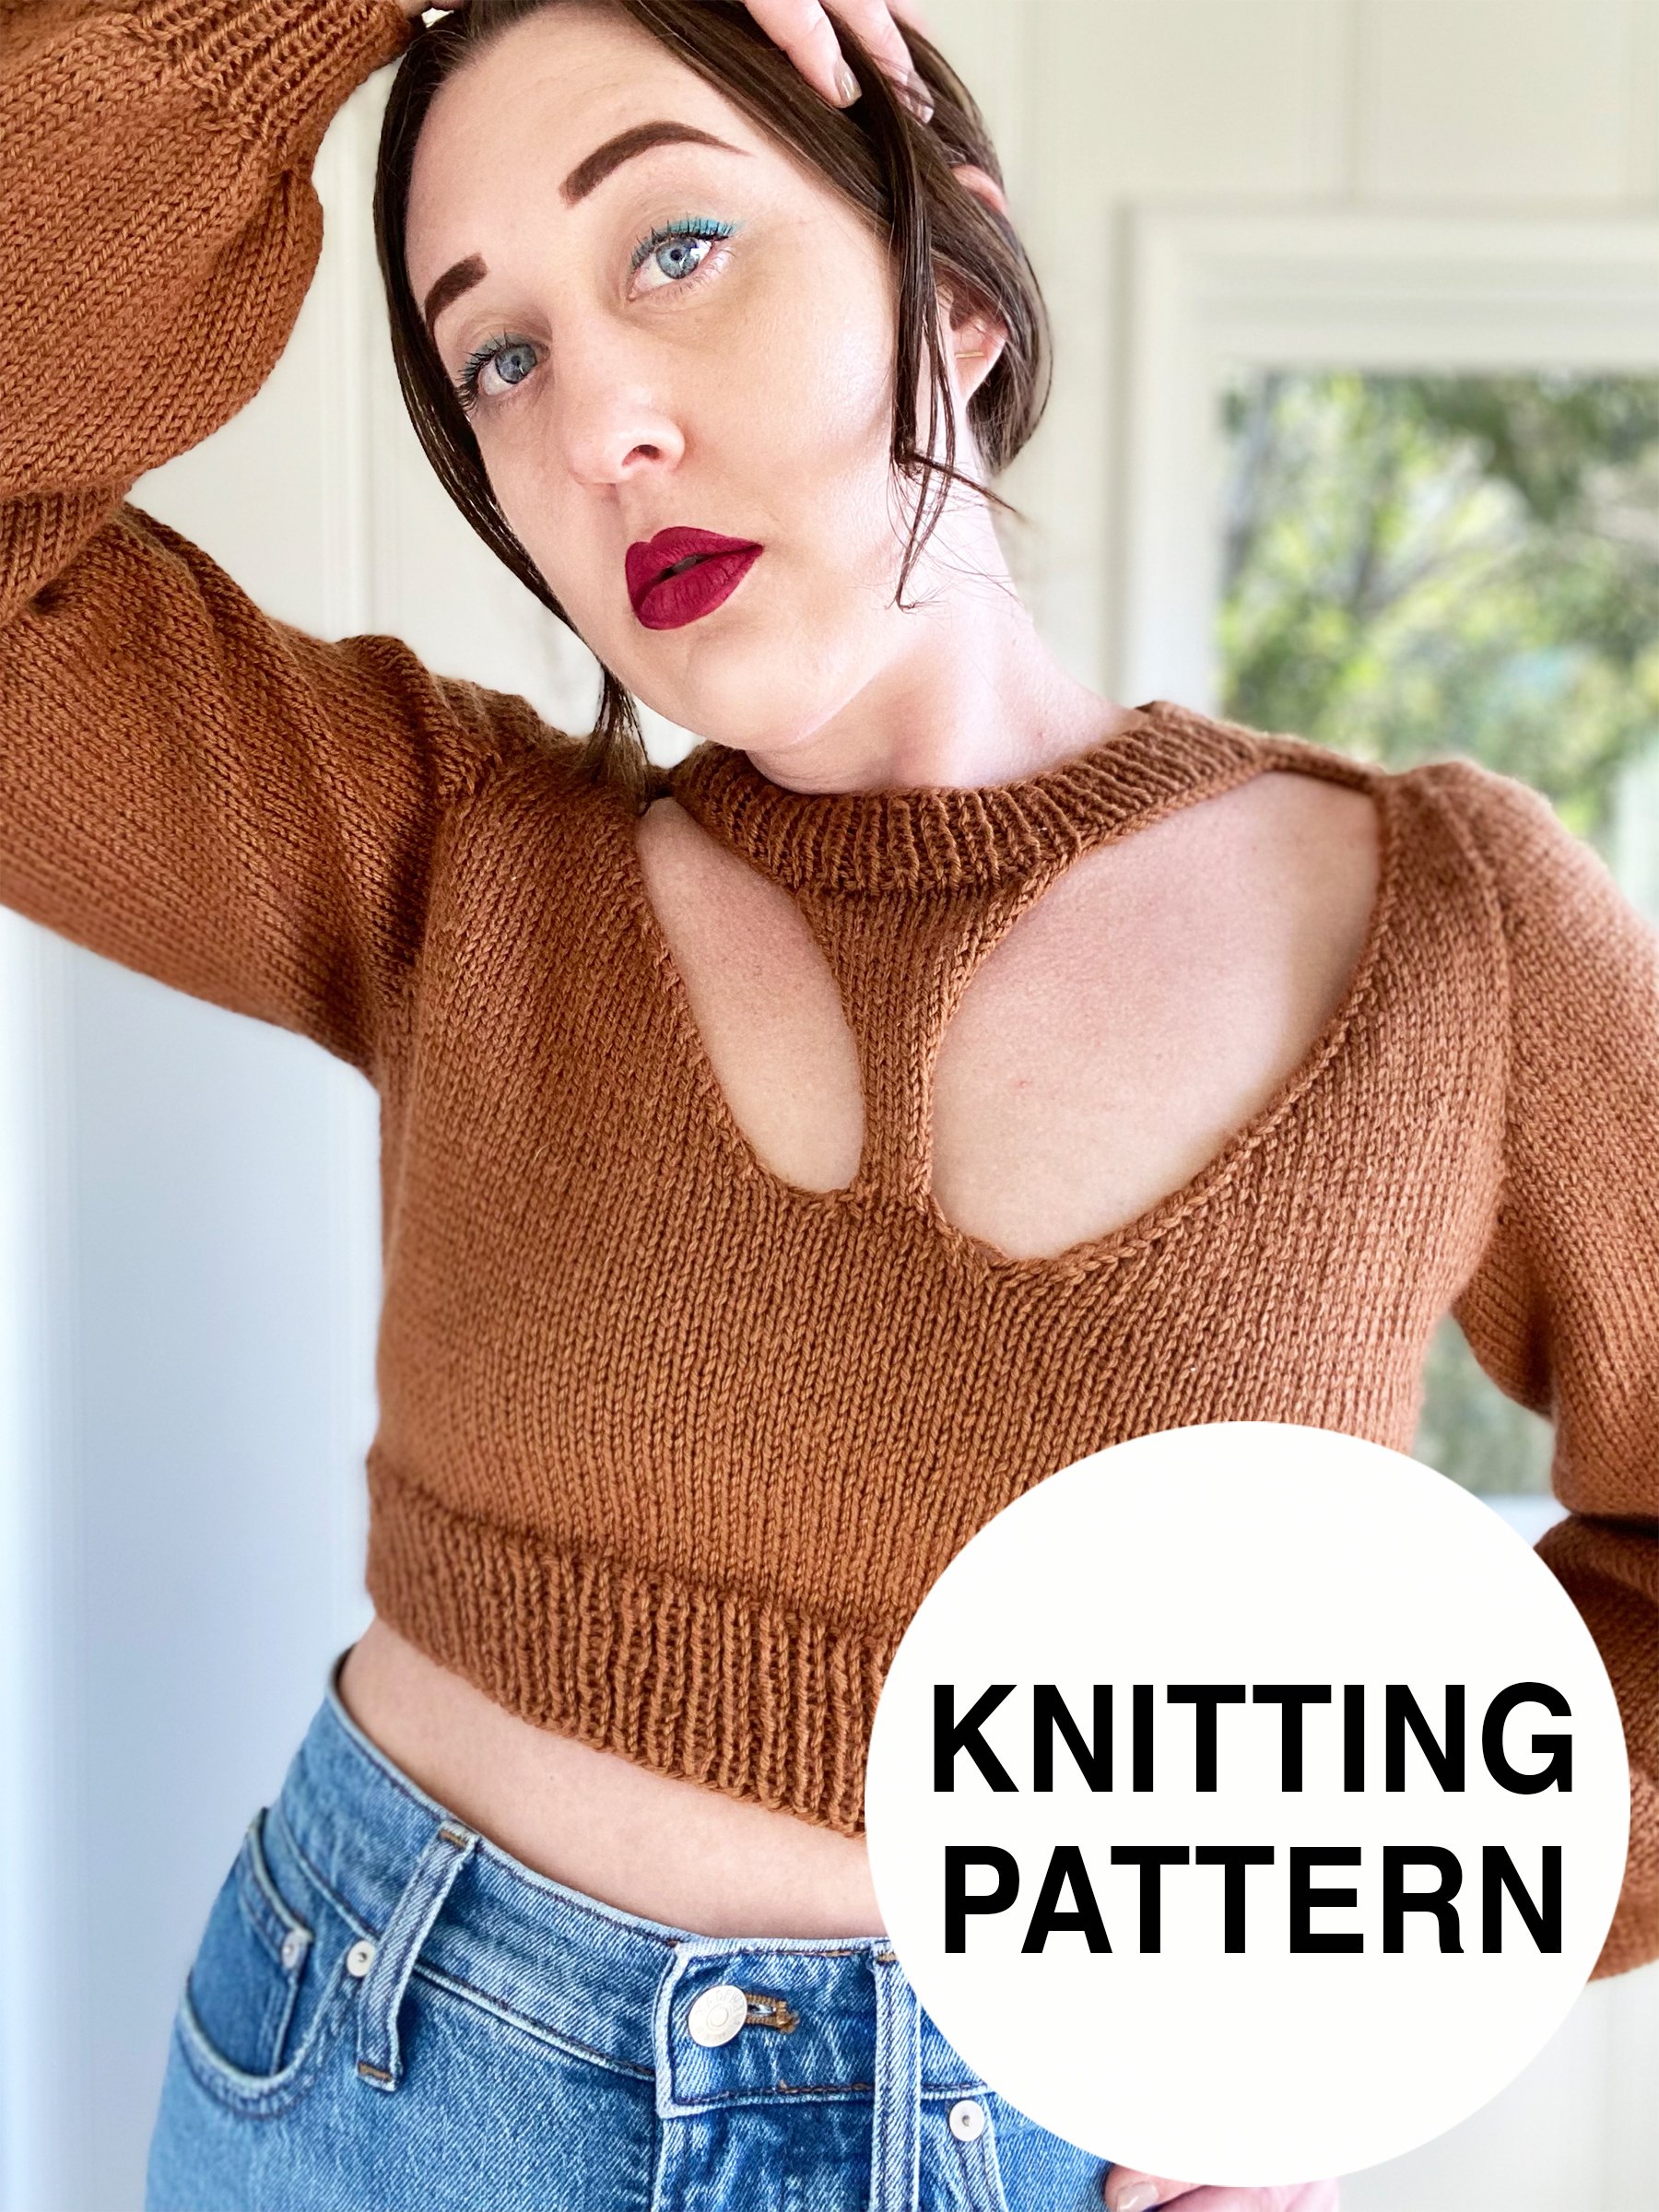
The sexy sister to Vitrine, Curio is a cropped pullover with a triangle bandage neckline and yoke “cutouts.”
Simple techniques and a unique construction come together to create a statement sweater that is engaging for experienced knitters and accessible for adventurous beginners!
I love to see what you make! Share your project on Instagram using hashtag #TheCurioSweater and tag me @elisemade
Sizing
1(2, 3, 4, 5)(6, 7, 8, 9, 10)
Corresponding to chest measurement:
28-30 (32-34, 36-38, 40-42, 44-46)(48-50, 52-54, 56-58, 60-62, 64-66)”
71-76 (81-86, 91.5-96.5, 101.5-106.5, 111.5-117)(112-127, 132-137, 142-147, 152-158, 162.5-167.5) cm
Chest Measurement of finished garment:
30 (32, 34, 40, 45)(48, 52, 56, 60, 62”
Click here to view full size schematic!
Sweater is meant to be worn with 0 to -4” of ease, depending on the fullness of your chest and your fit preferences. If you fall between chest measurements, I recommend sizing down.
Yarn
Worsted weight wool or wool blend, or any combination of yarns that meets gauge
APPROXIMATE Yardage (long sleeves)
775-800(800-850, 850-875, 875-900, 950-1075)(1075-1100, 1100-1200, 1200-1300, 1300-1400, 1400-1500) yards
708-731(731-777, 777-795, 800-822, 869-983)(983-1005, 1005-1097, 1097-1188, 1188-1280, 1280-1371) meters
Needles
Yoke, body & sleeve ribbing: US 4 (3.5mm) 16” and either 24 or 32”
Body and sleeves: US 6 (4.0mm) 16” and 24, 32, or 40”
Tools
BOR marker, Removeable stitch marker, 6 stitch holders or waste yarn, tapestry needle for finishing
Gauge
On US 6 (4.0mm), 20 sts over 20 rows in stockinette = 4”
Techniques
Knitting, purling, simple decreases, slipped stitches, picking up stitches, grafting live stitches together
Construction
Starting with a circular yoke, straps are worked individually using simple decreases and slipped stitches. Live stitches from yoke are held as the body is worked from the bottom up. Live yoke stitches are grafted to live stitches at the front and back neckline, and live stitches at the shoulder are the beginning of a simple set-in sleeve.
Key
B/O – Bind off
C/O – Cast on
CDD – Centered double decrease
K - Knit
K2T – Knit 2 stitches together; single st decrease
M1 – Make 1 (choose either left or right); single st increase
P – Purl
P2T – Purl 2 stitches together; single st decrease
PM – Place marker
PSSM – Place side seam marker
PU – Pick up st
RM – Remove marker
RS – Right side of fabric
SSK – Slip 2 stitches knitwise, knit these stitches together through back loops; single st decrease
SSM - Side seam marker
SSP – Slip 2 stitches knitwise, return these 2 stitches to left needle and purl them together through back loops; single decrease
ST/STS – Stitch/stitches
WS – Wrong side of fabric
After purchase you will receive your PDF file via email. Please note the link to download your patten will expire 24 hours after purchase. Please contact me if you need any assistance downloading your file.You can also purchase this pattern on Ravelry here.

This is a downloadable PDF knitting pattern for the “Turkey Leg Hat.”
A whimsical holiday knit, the Turkey Leg Hat is constructed by seaming two 3D “turkey legs” to the sides of a simple slouchy hat. Worked up in super bulky weight yarn, this hat is a lightning-fast project that requires only one skein of main color yarn or less per each size. With 4 sizes total included, you’ll want to make one for the whole family!
Pattern Details:
Yarn
Main Color (MC): 76 (86, 96, 106) yards super bulky weight yarn in burnt orange
Secondary Color: approximately 15 yards super bulky weight yarn in white
Recommended:
Lion Brand Wool Ease Thick & Quick in Butterscotch (MC) and Fisherman (CC)
Needles
Size US 13 (9mm) double-pointed or circular needles
Tools
Poly-fill or other stuffing material
Tapestry needle for finishing
Gauge
9 stitches and 12 rows = 4x4”
Sizing
For best fit, choose your size based on the closest finished circumference measurements.
Due to the yarn choice and needle size, finished hats will have about 4-6” of stretch.
To determine size, measure head circumference and subtract 4-6“
Approximate age ranges: Baby (0-2 yrs) Toddler (3-5 yrs), Kids (6-12 yrs), Adult (13+)
Hat finished circumference: 12 (14, 16, 18)“
Key
K - Knit
P - Purl
K2T - Knit two stitches together)
P2T - Purl two stitches together
STS - stitches
MC - main color

Worsted weight cotton held triple worked on small needles creates a dense and thick fabric that effectively shields hands and countertops from heat. Simple lines and finishing techniques elevate this simple knit into a luxe kitchen item perfect for cooks and entertainers. Pair with the Perfect Potholder for the ultimate handmade kitchen set
I love to see what you make! Share your project on Instagram using hashtag #ThePerfectOvenMitt and tag me @elisemade, or via email to elisemade@gmail.com
PATTERN NOTES:
Sizing
Finished dimensions: 11x7” (28 x 18cm)
Yarn
Worsted weight 100% cotton, held triple (meaning you will need three separate balls of yarn to work with, or pull a strand from both ends on one ball)
Recommended: Lily Sugar’n Cream Super Size
113g/4oz, 184m/200yds
Sample 1:* 2 strands Ecru, 1 strand Hot Green
Sample 2:* 3 strands Overcast
Yardage
175-200 (total of three strands together)
Note: two balls of super size will make one mitt + 2 potholders or 2 mitts
Needles
US 8 (5mm)16” circular and/or DPNs for finishing
Gauge
On US 8, 9.5 sts and 15 rows in stockinette in the round = 4”
Tools
BOR marker, two stitch markers, stitch holder or waste yarn, tapestry needle for finishing
Key
B/O – bind off
C/O – cast on
K – knit
K2T – knit 2 stitches together; single right-leaning decrease
M1L – make 1 left; single left-leaning decrease
M1R – make 1 right; single right-leaning decrease
PM – place marker
STS - stitches
Techniques
Knitting in the round, simple increases and decreases, picking up stitches, 2 stitch i-cord
Construction
Mitt is knit in the round from the bottom up, working simple increases to create the thumb and simple decreases to shape the top of the mitt. Stitches are picked up from the body of the mitt to finish the thumb in the round. Stitches are picked up at the bottom of the mitt to make an i-cord loop.
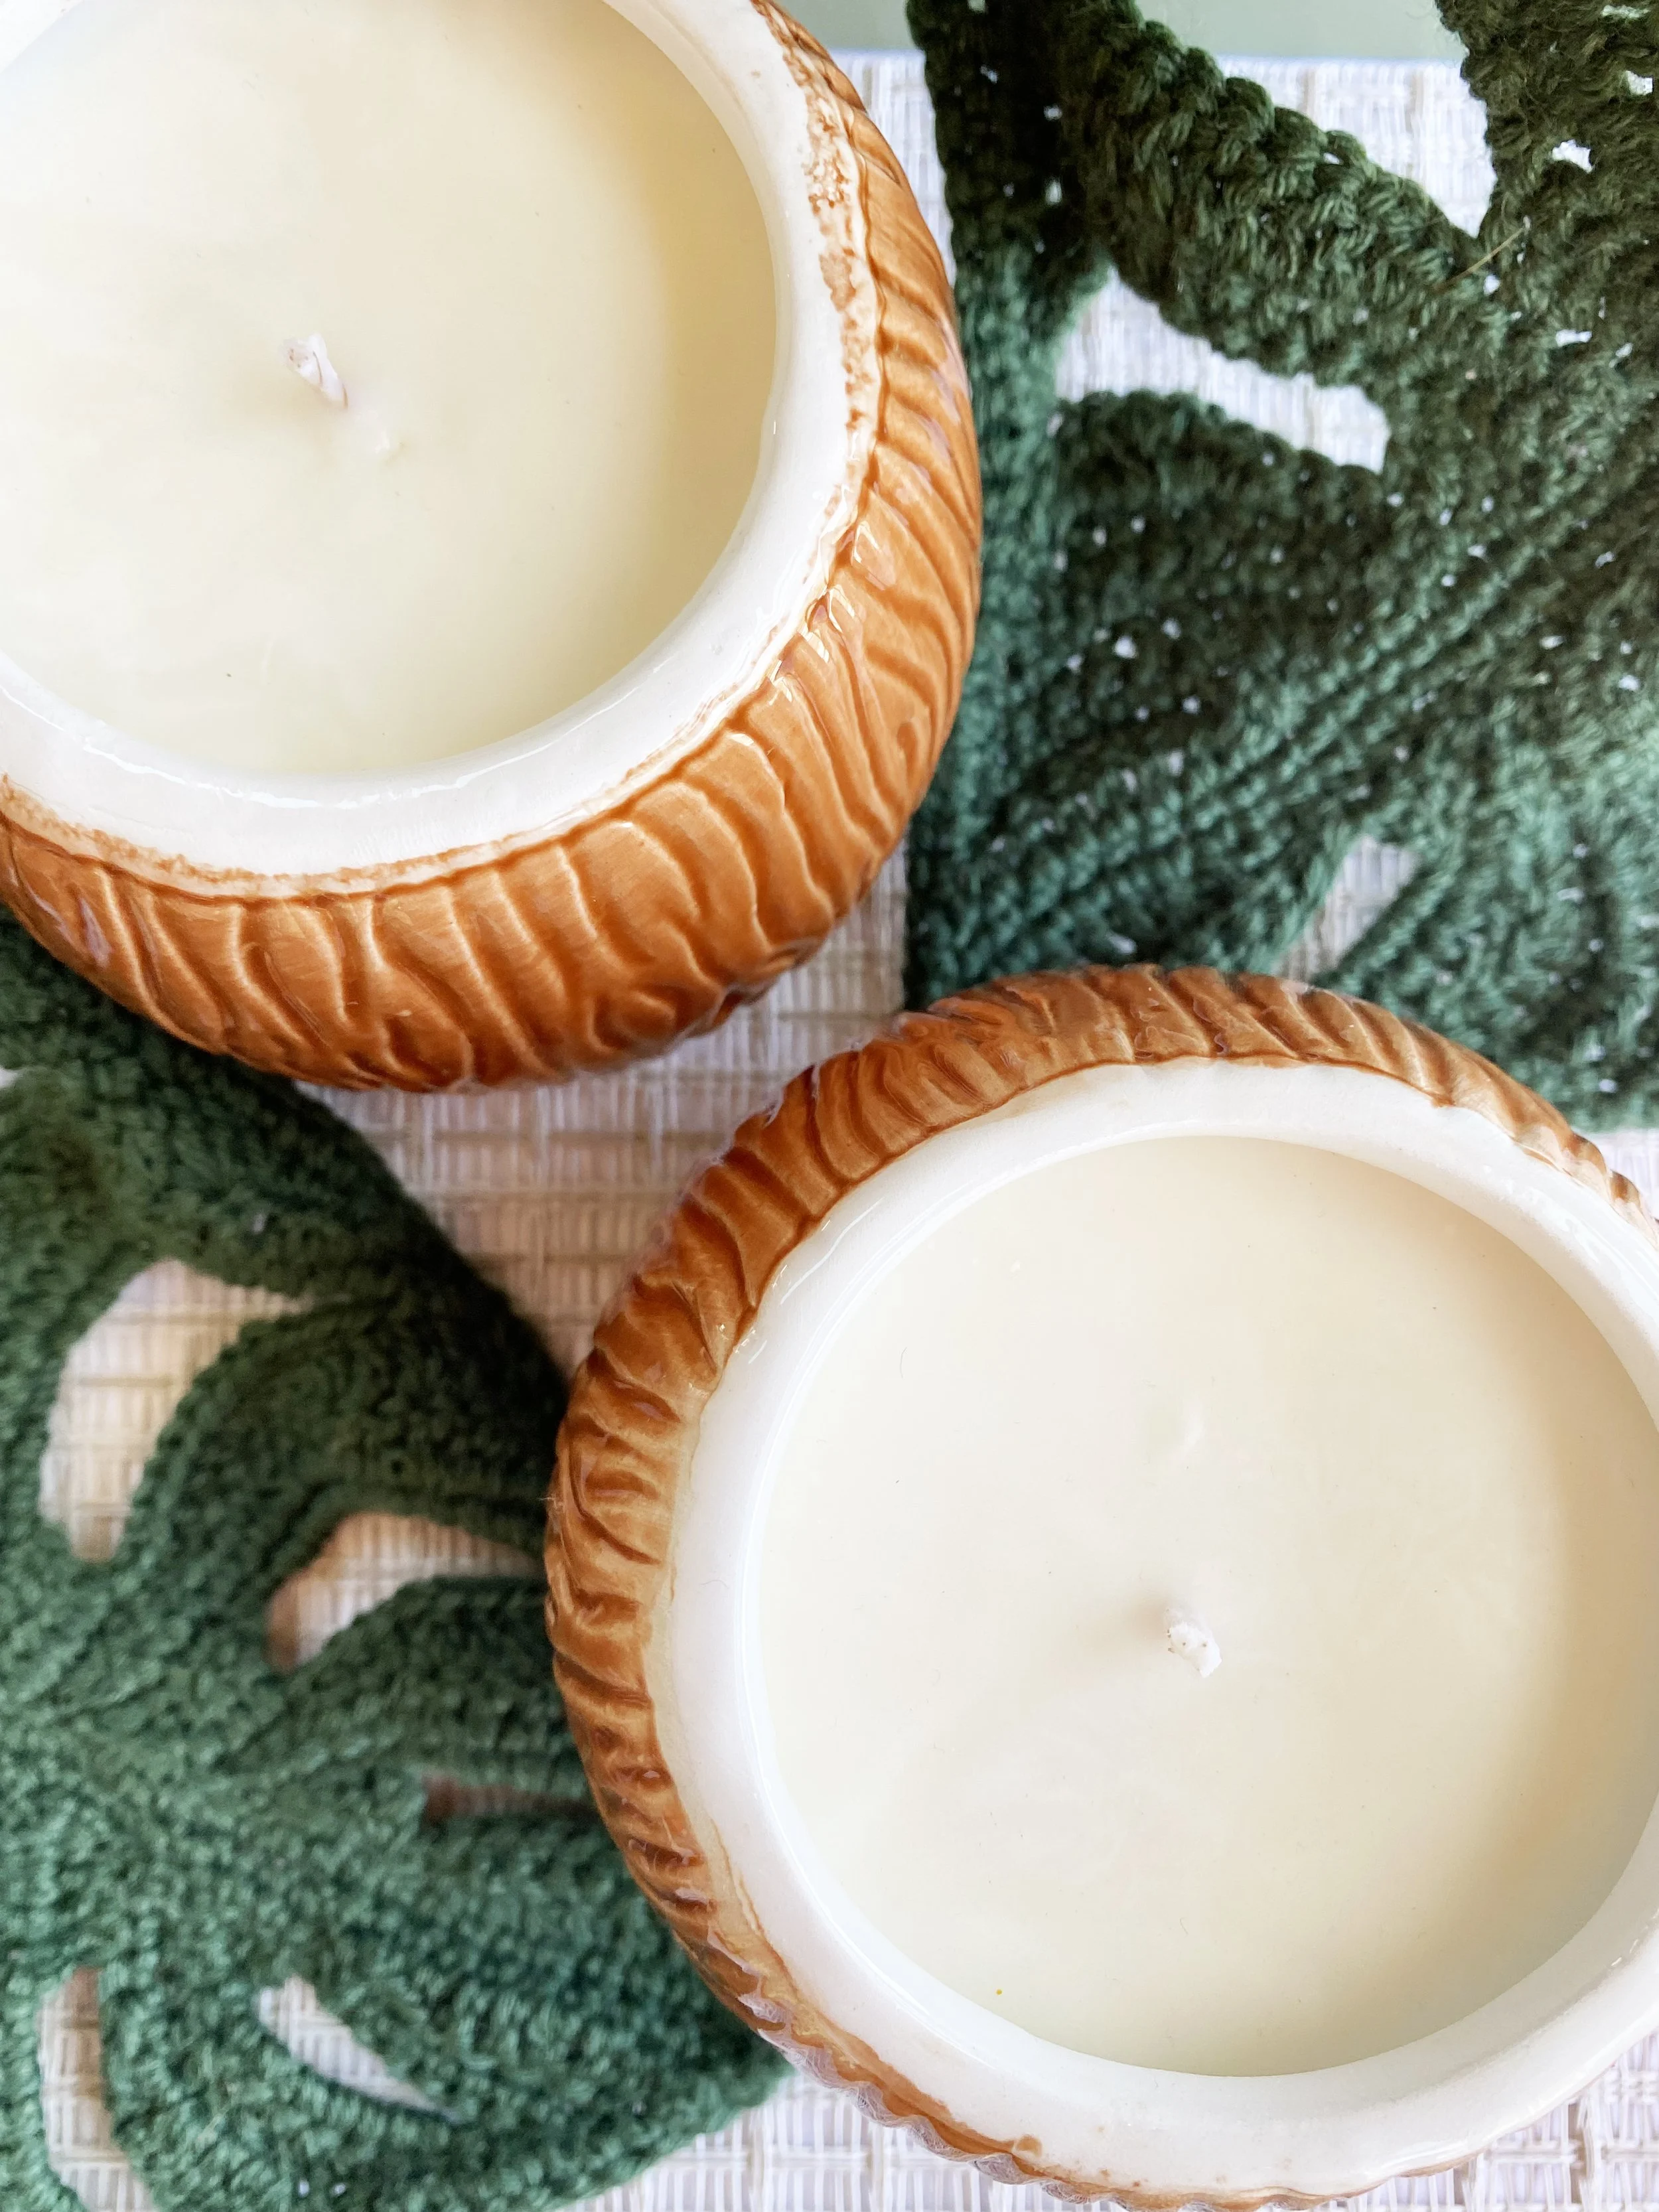
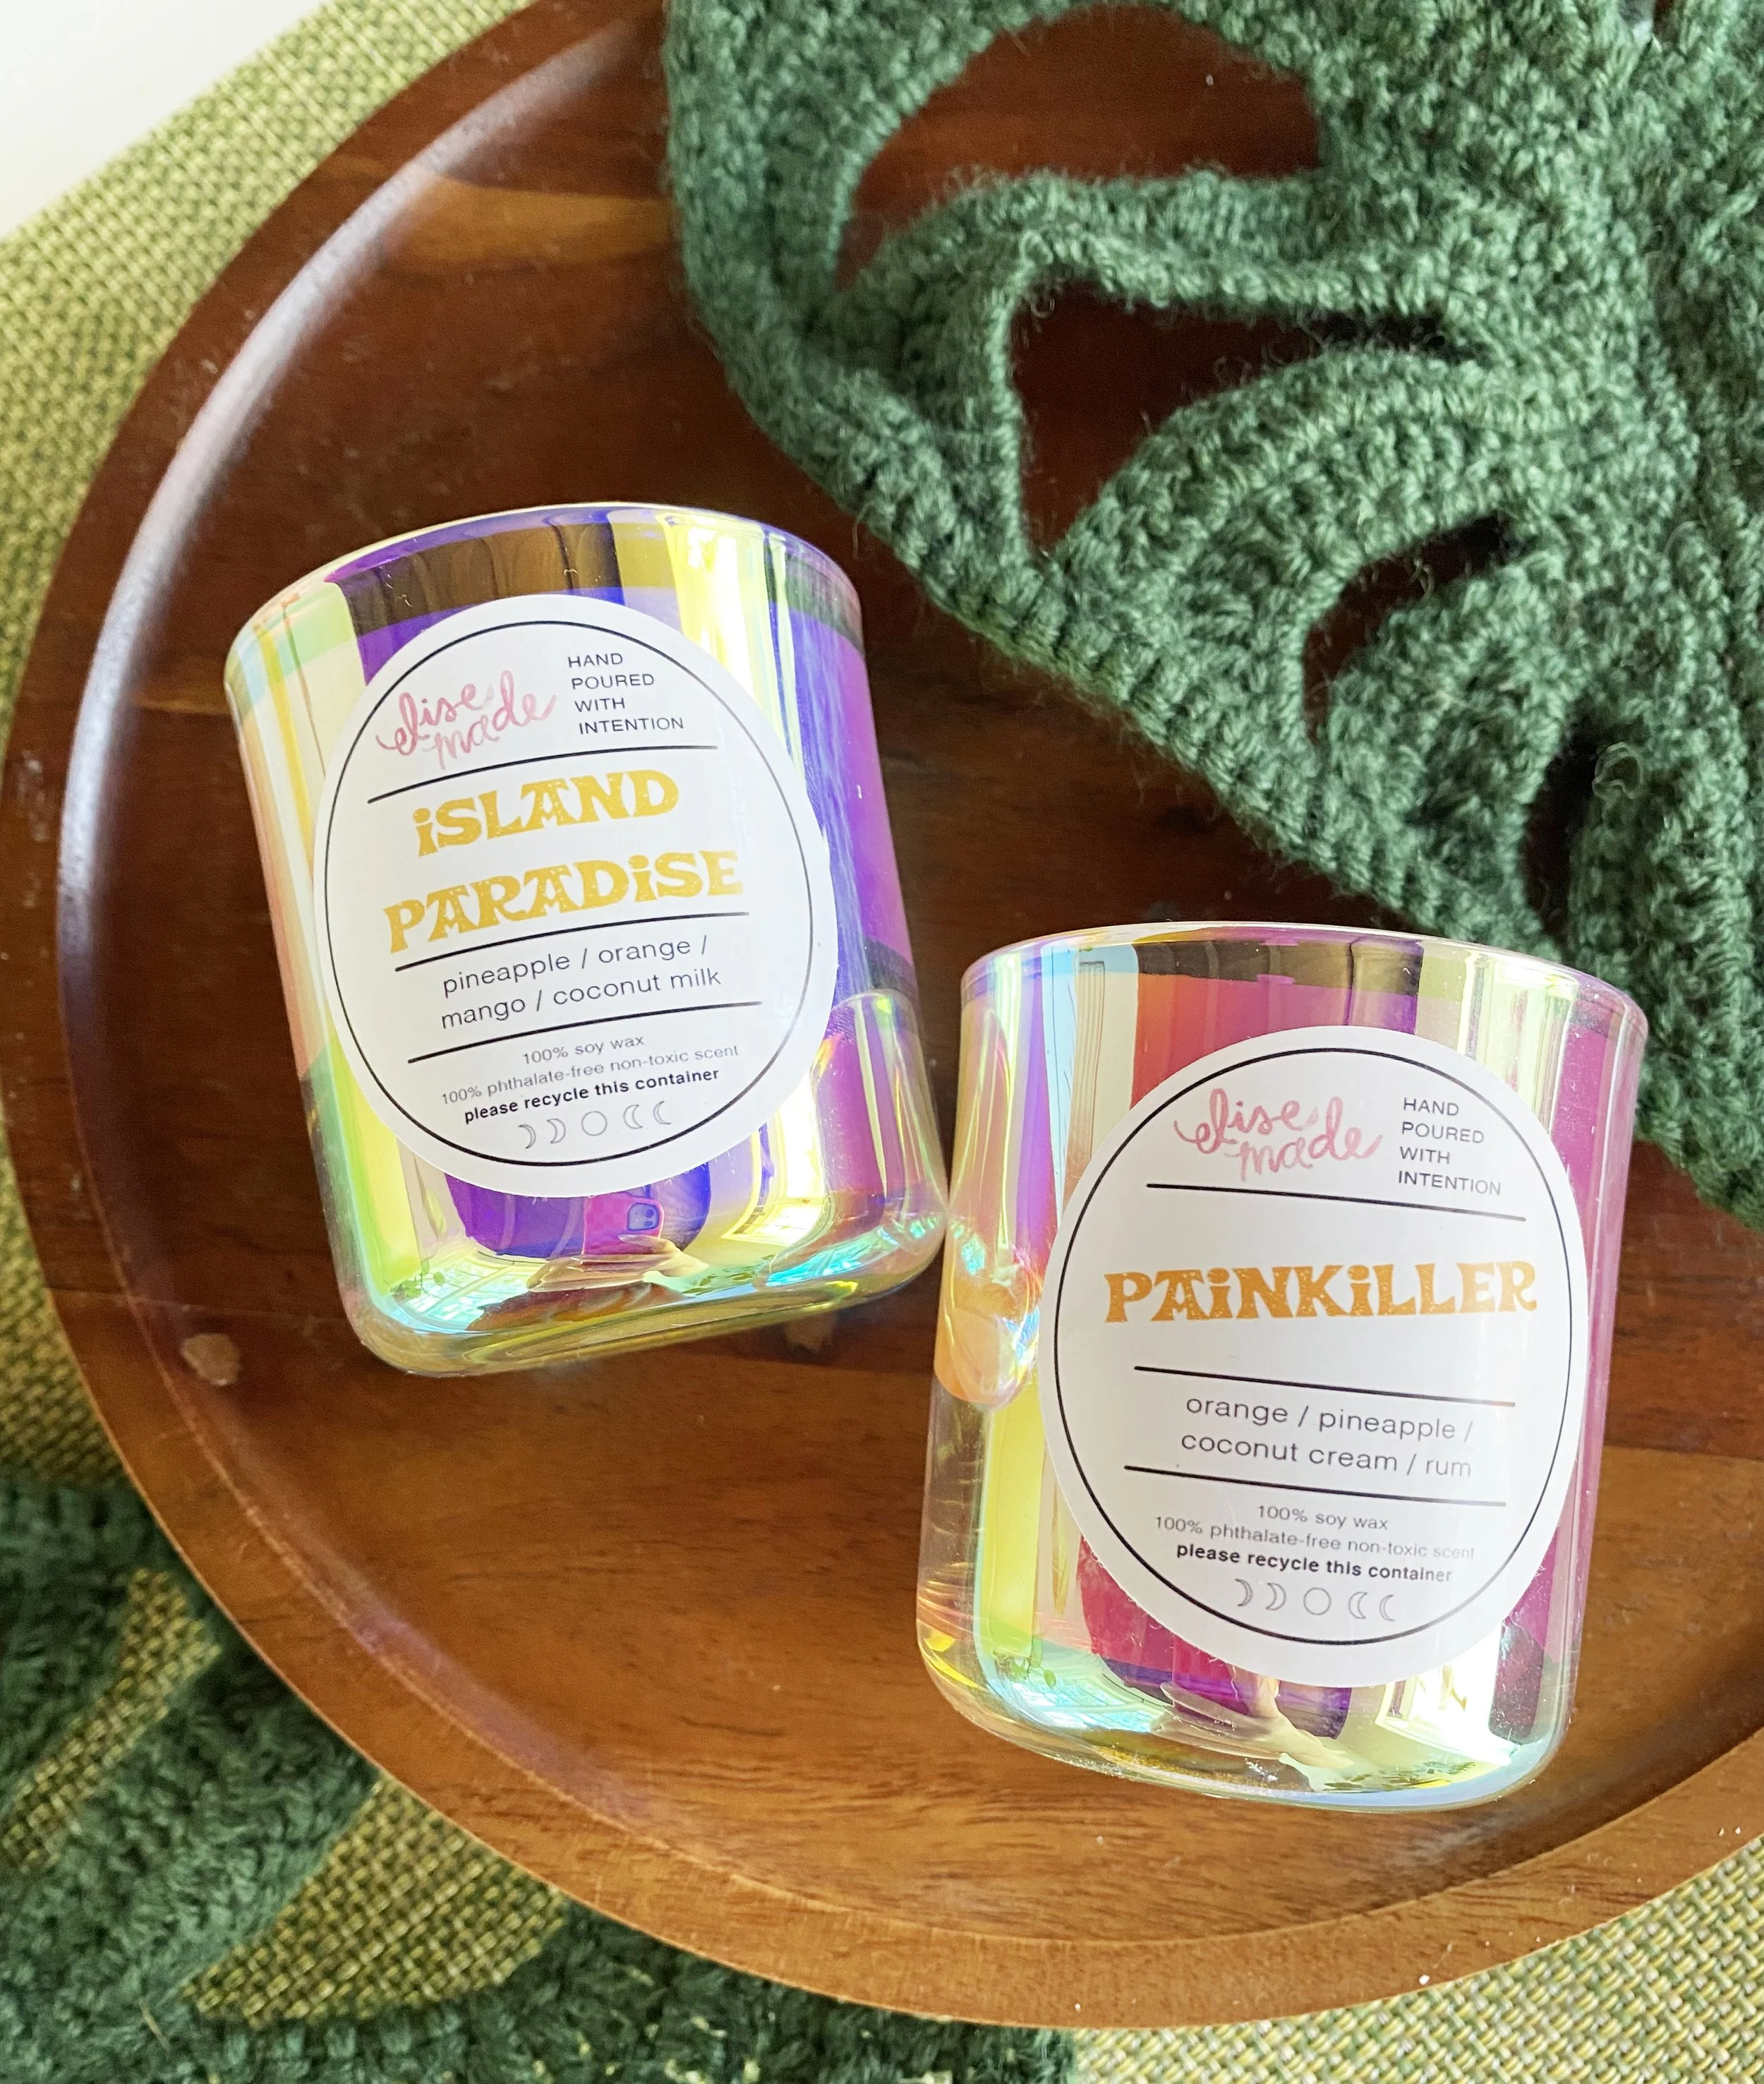
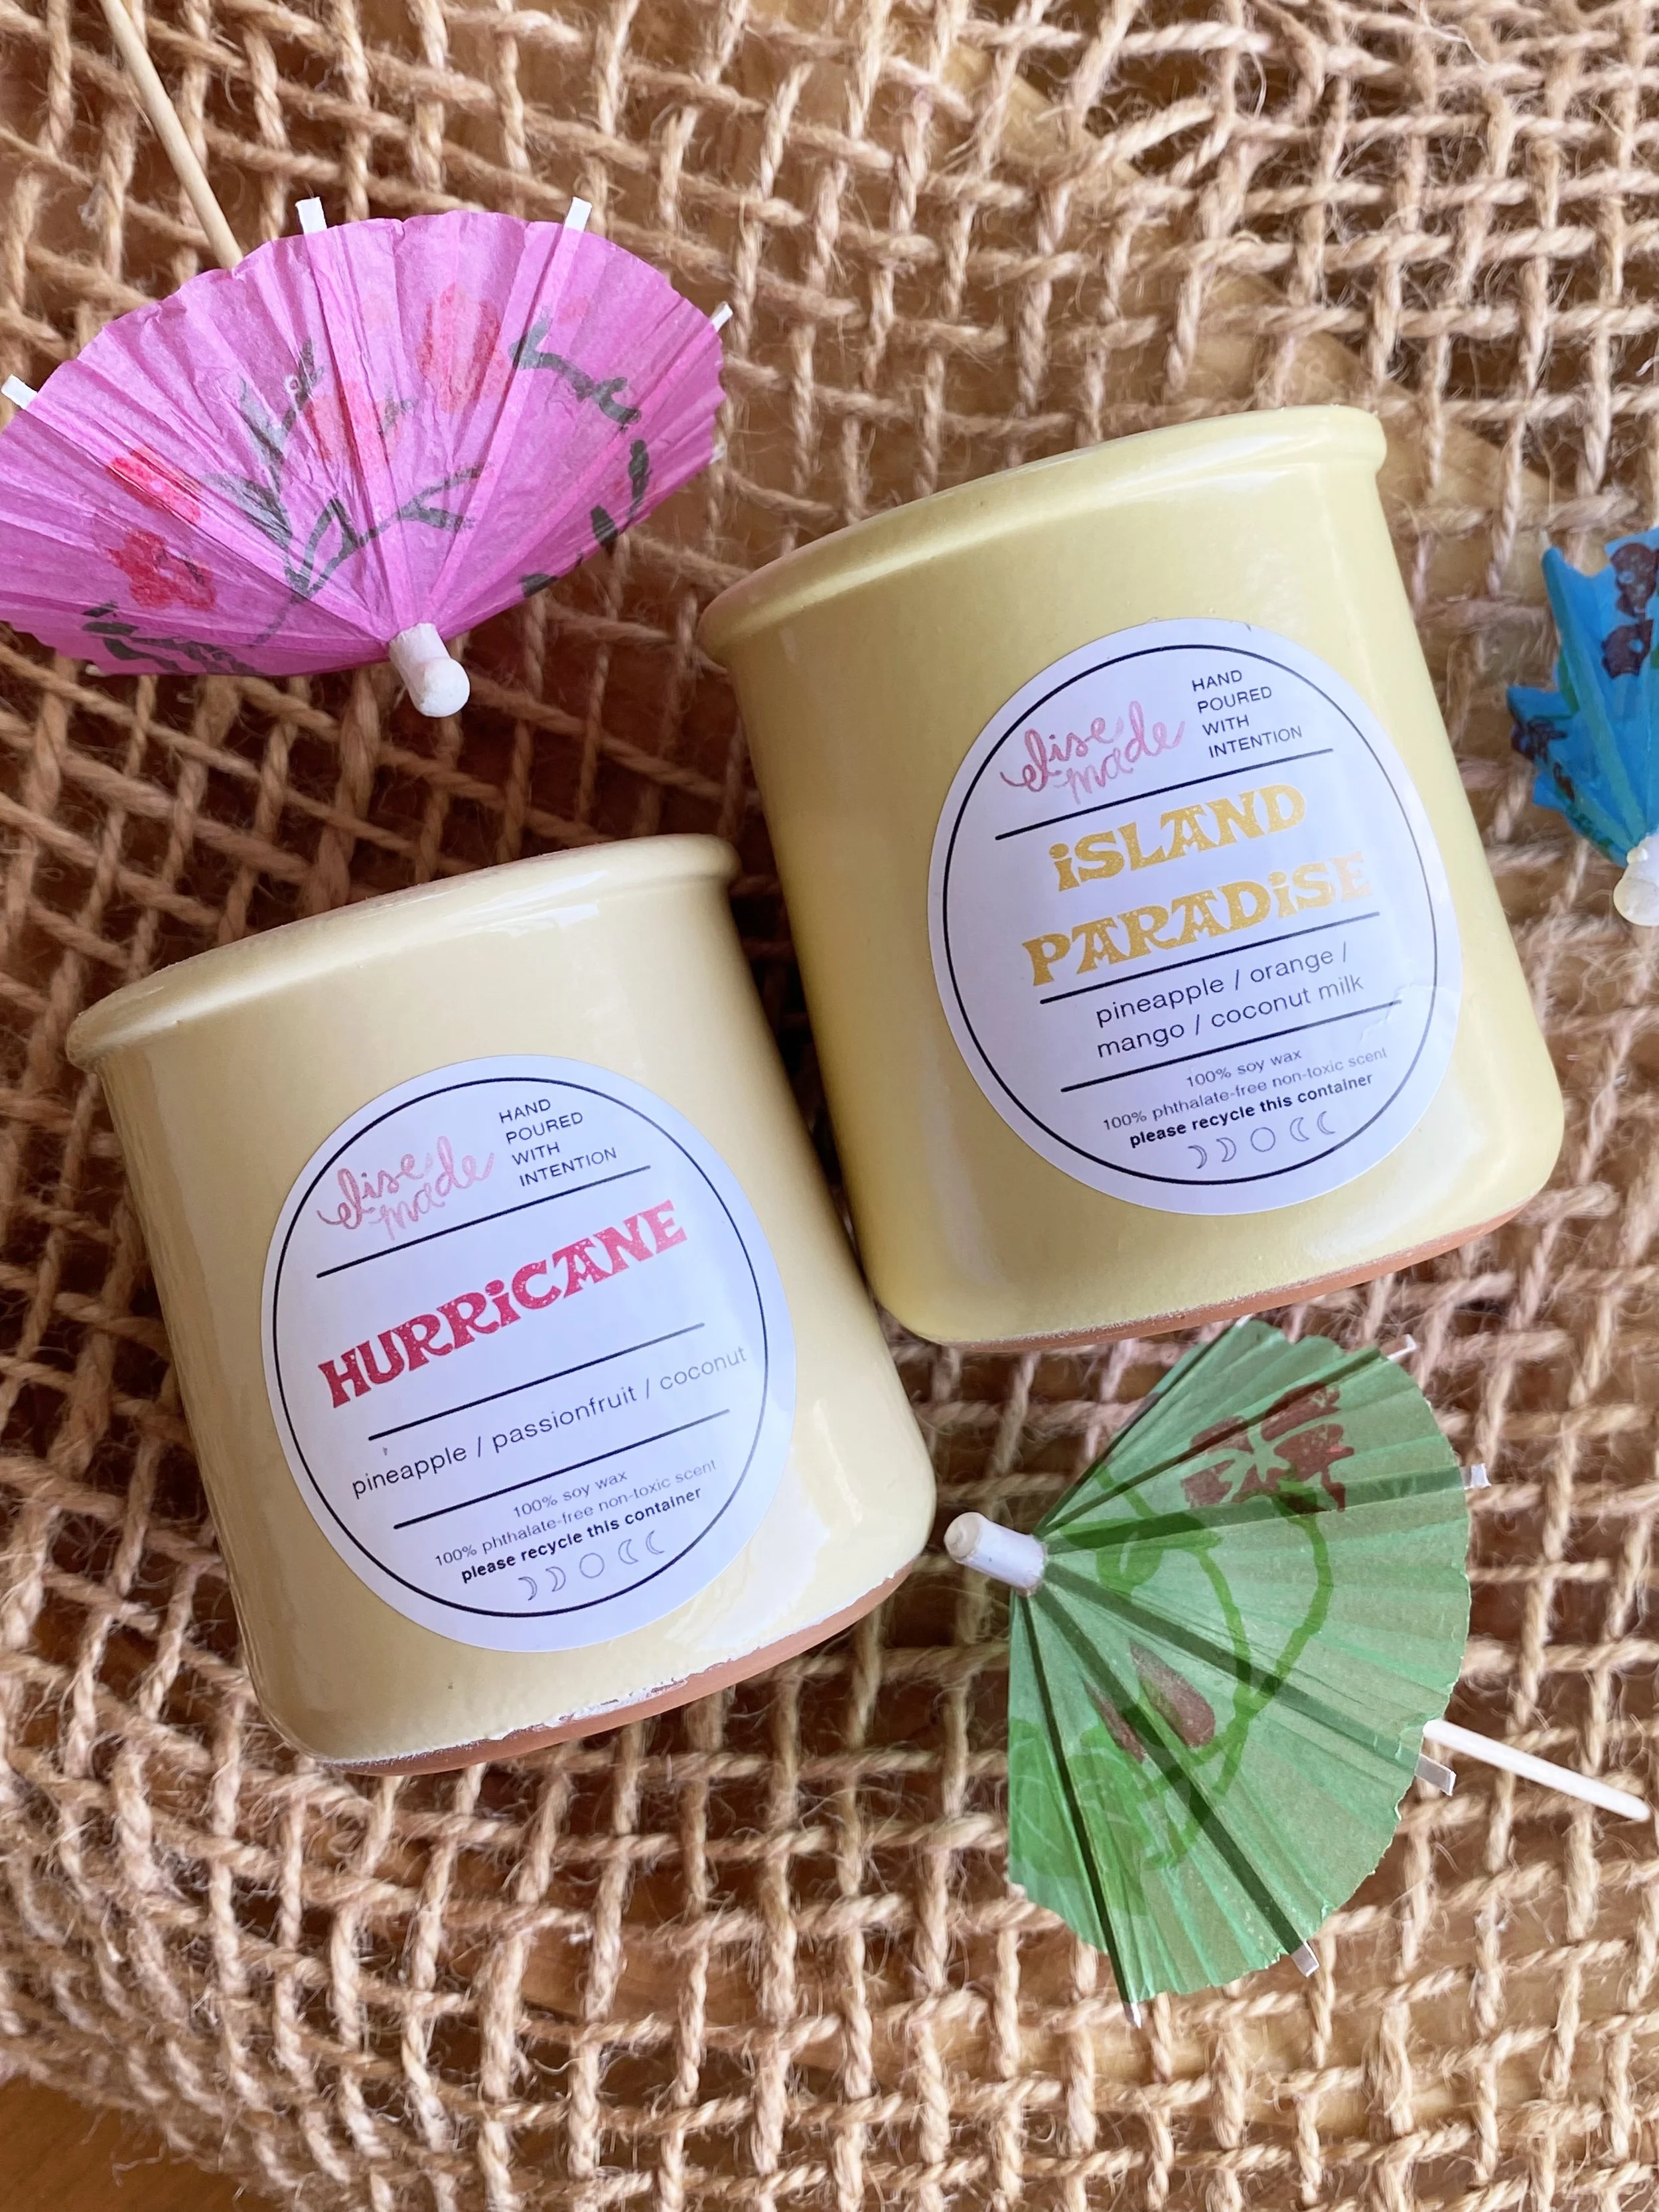
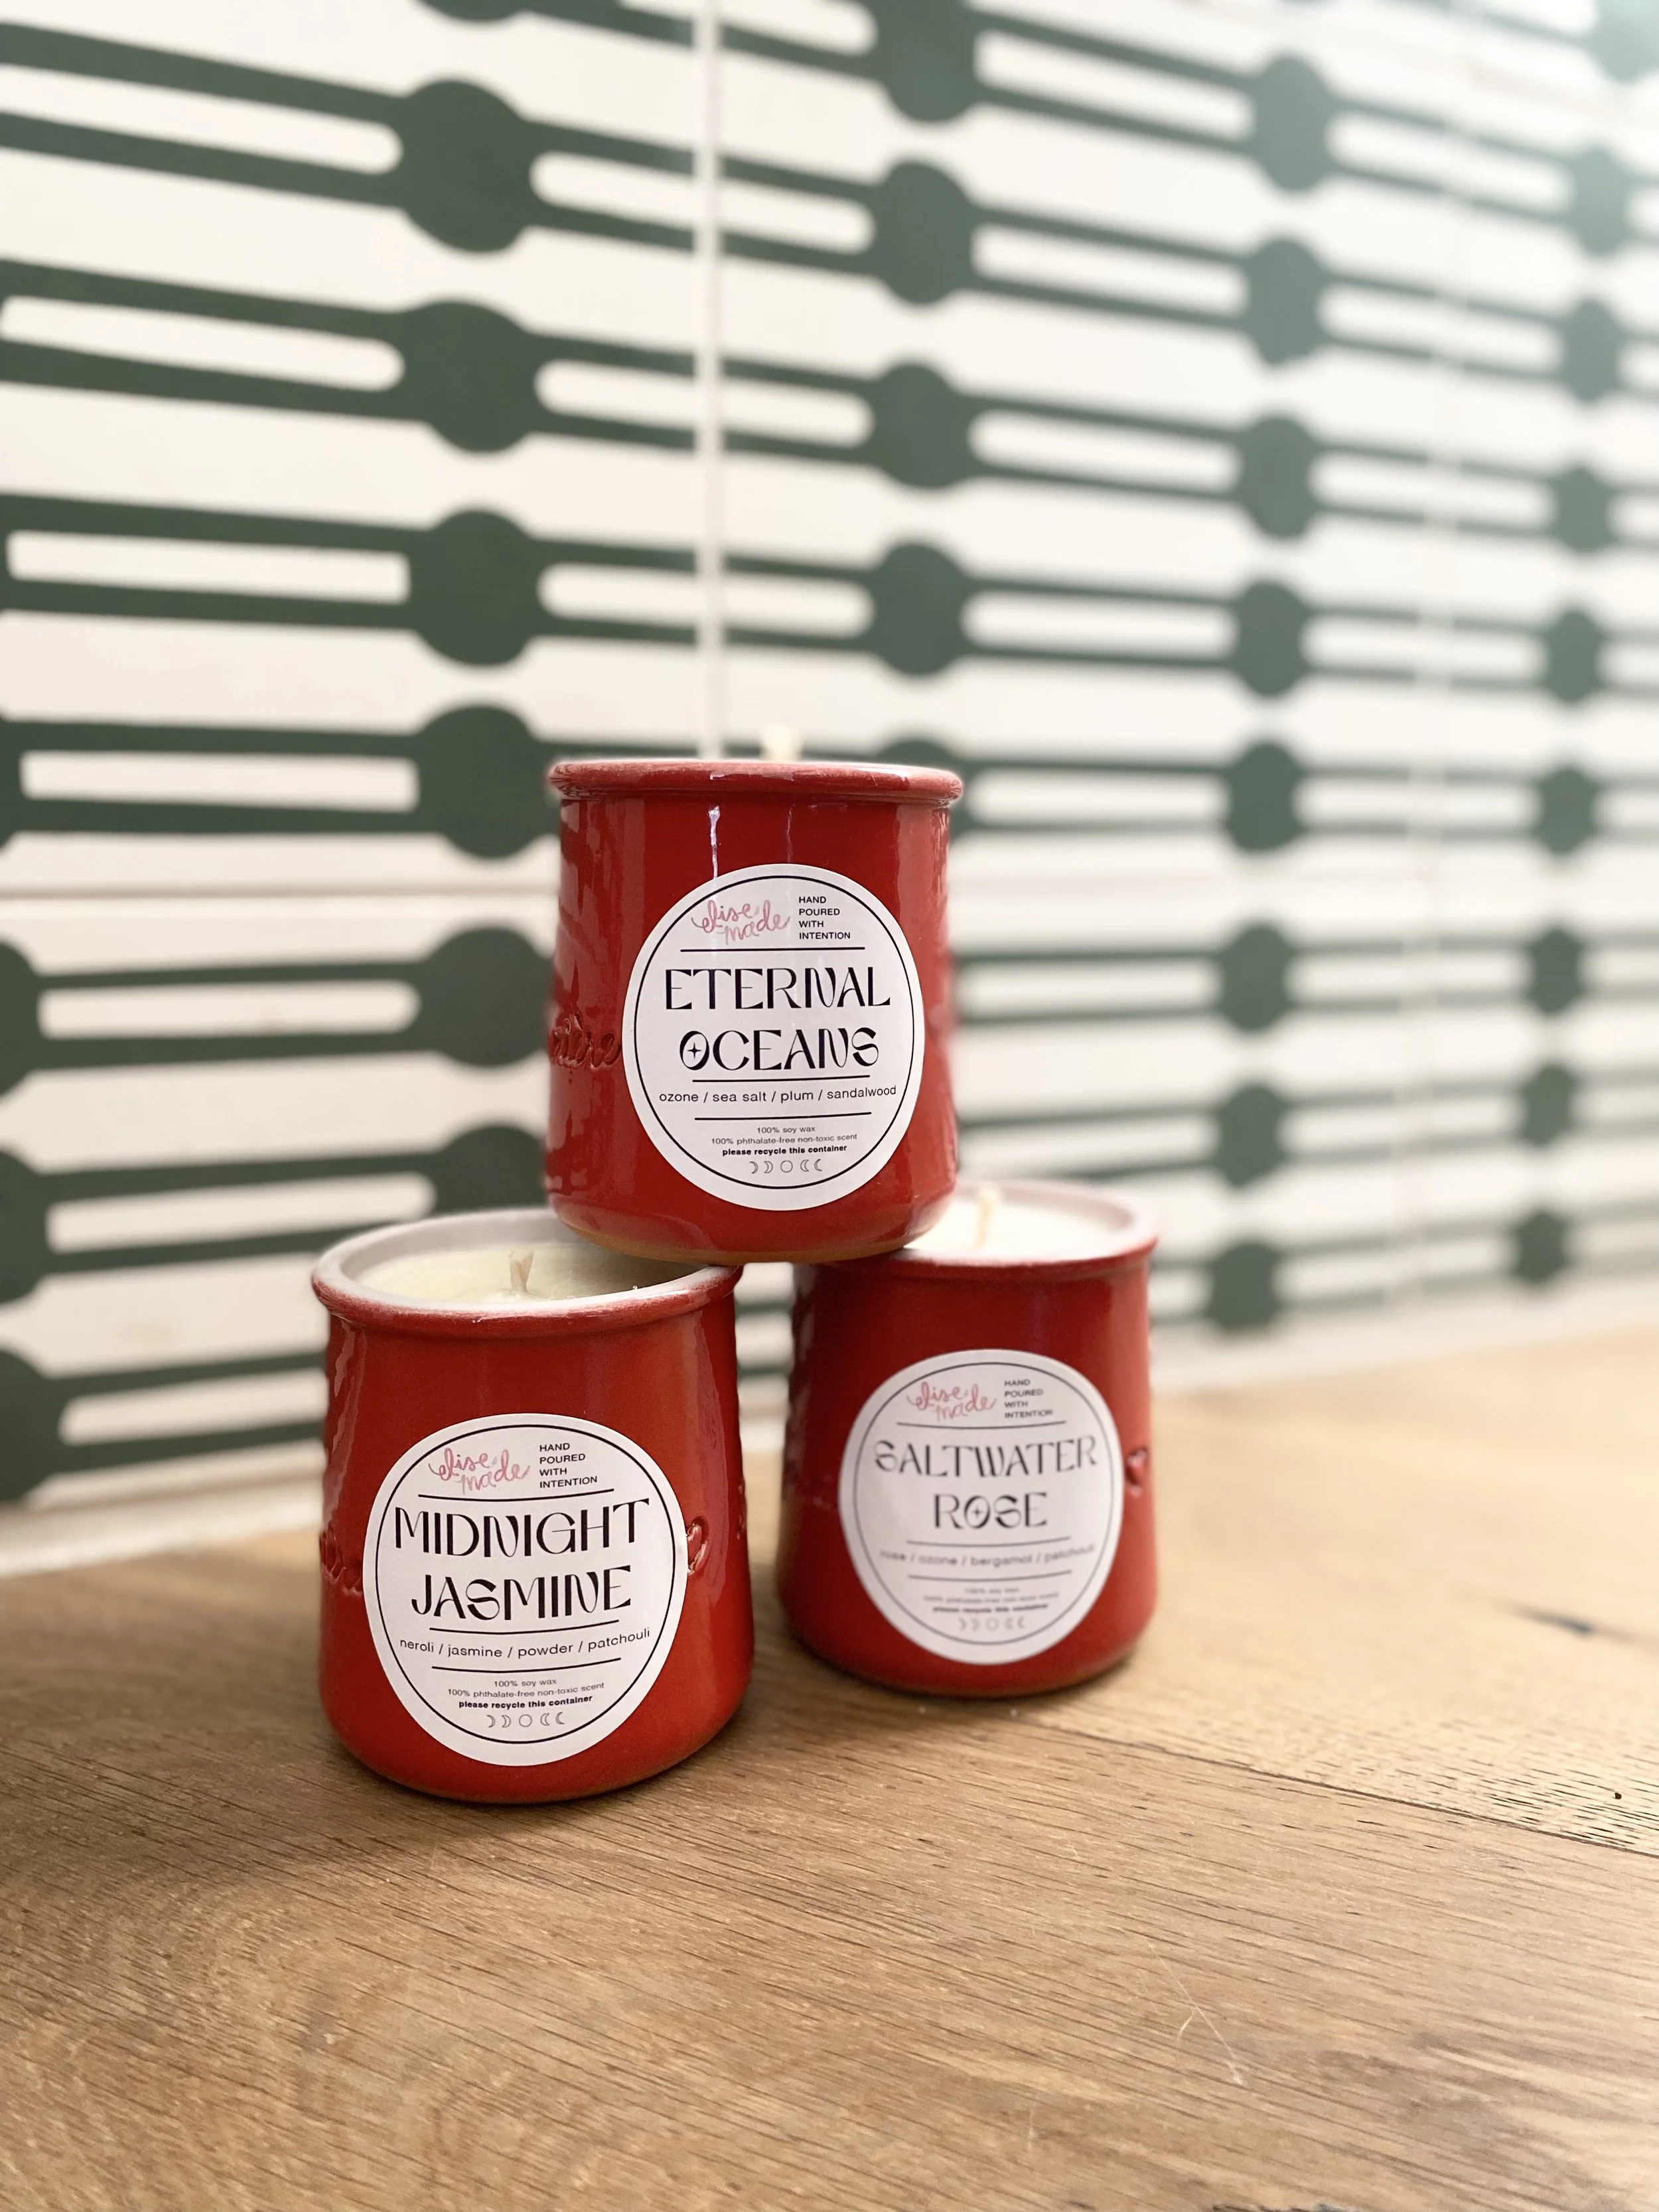
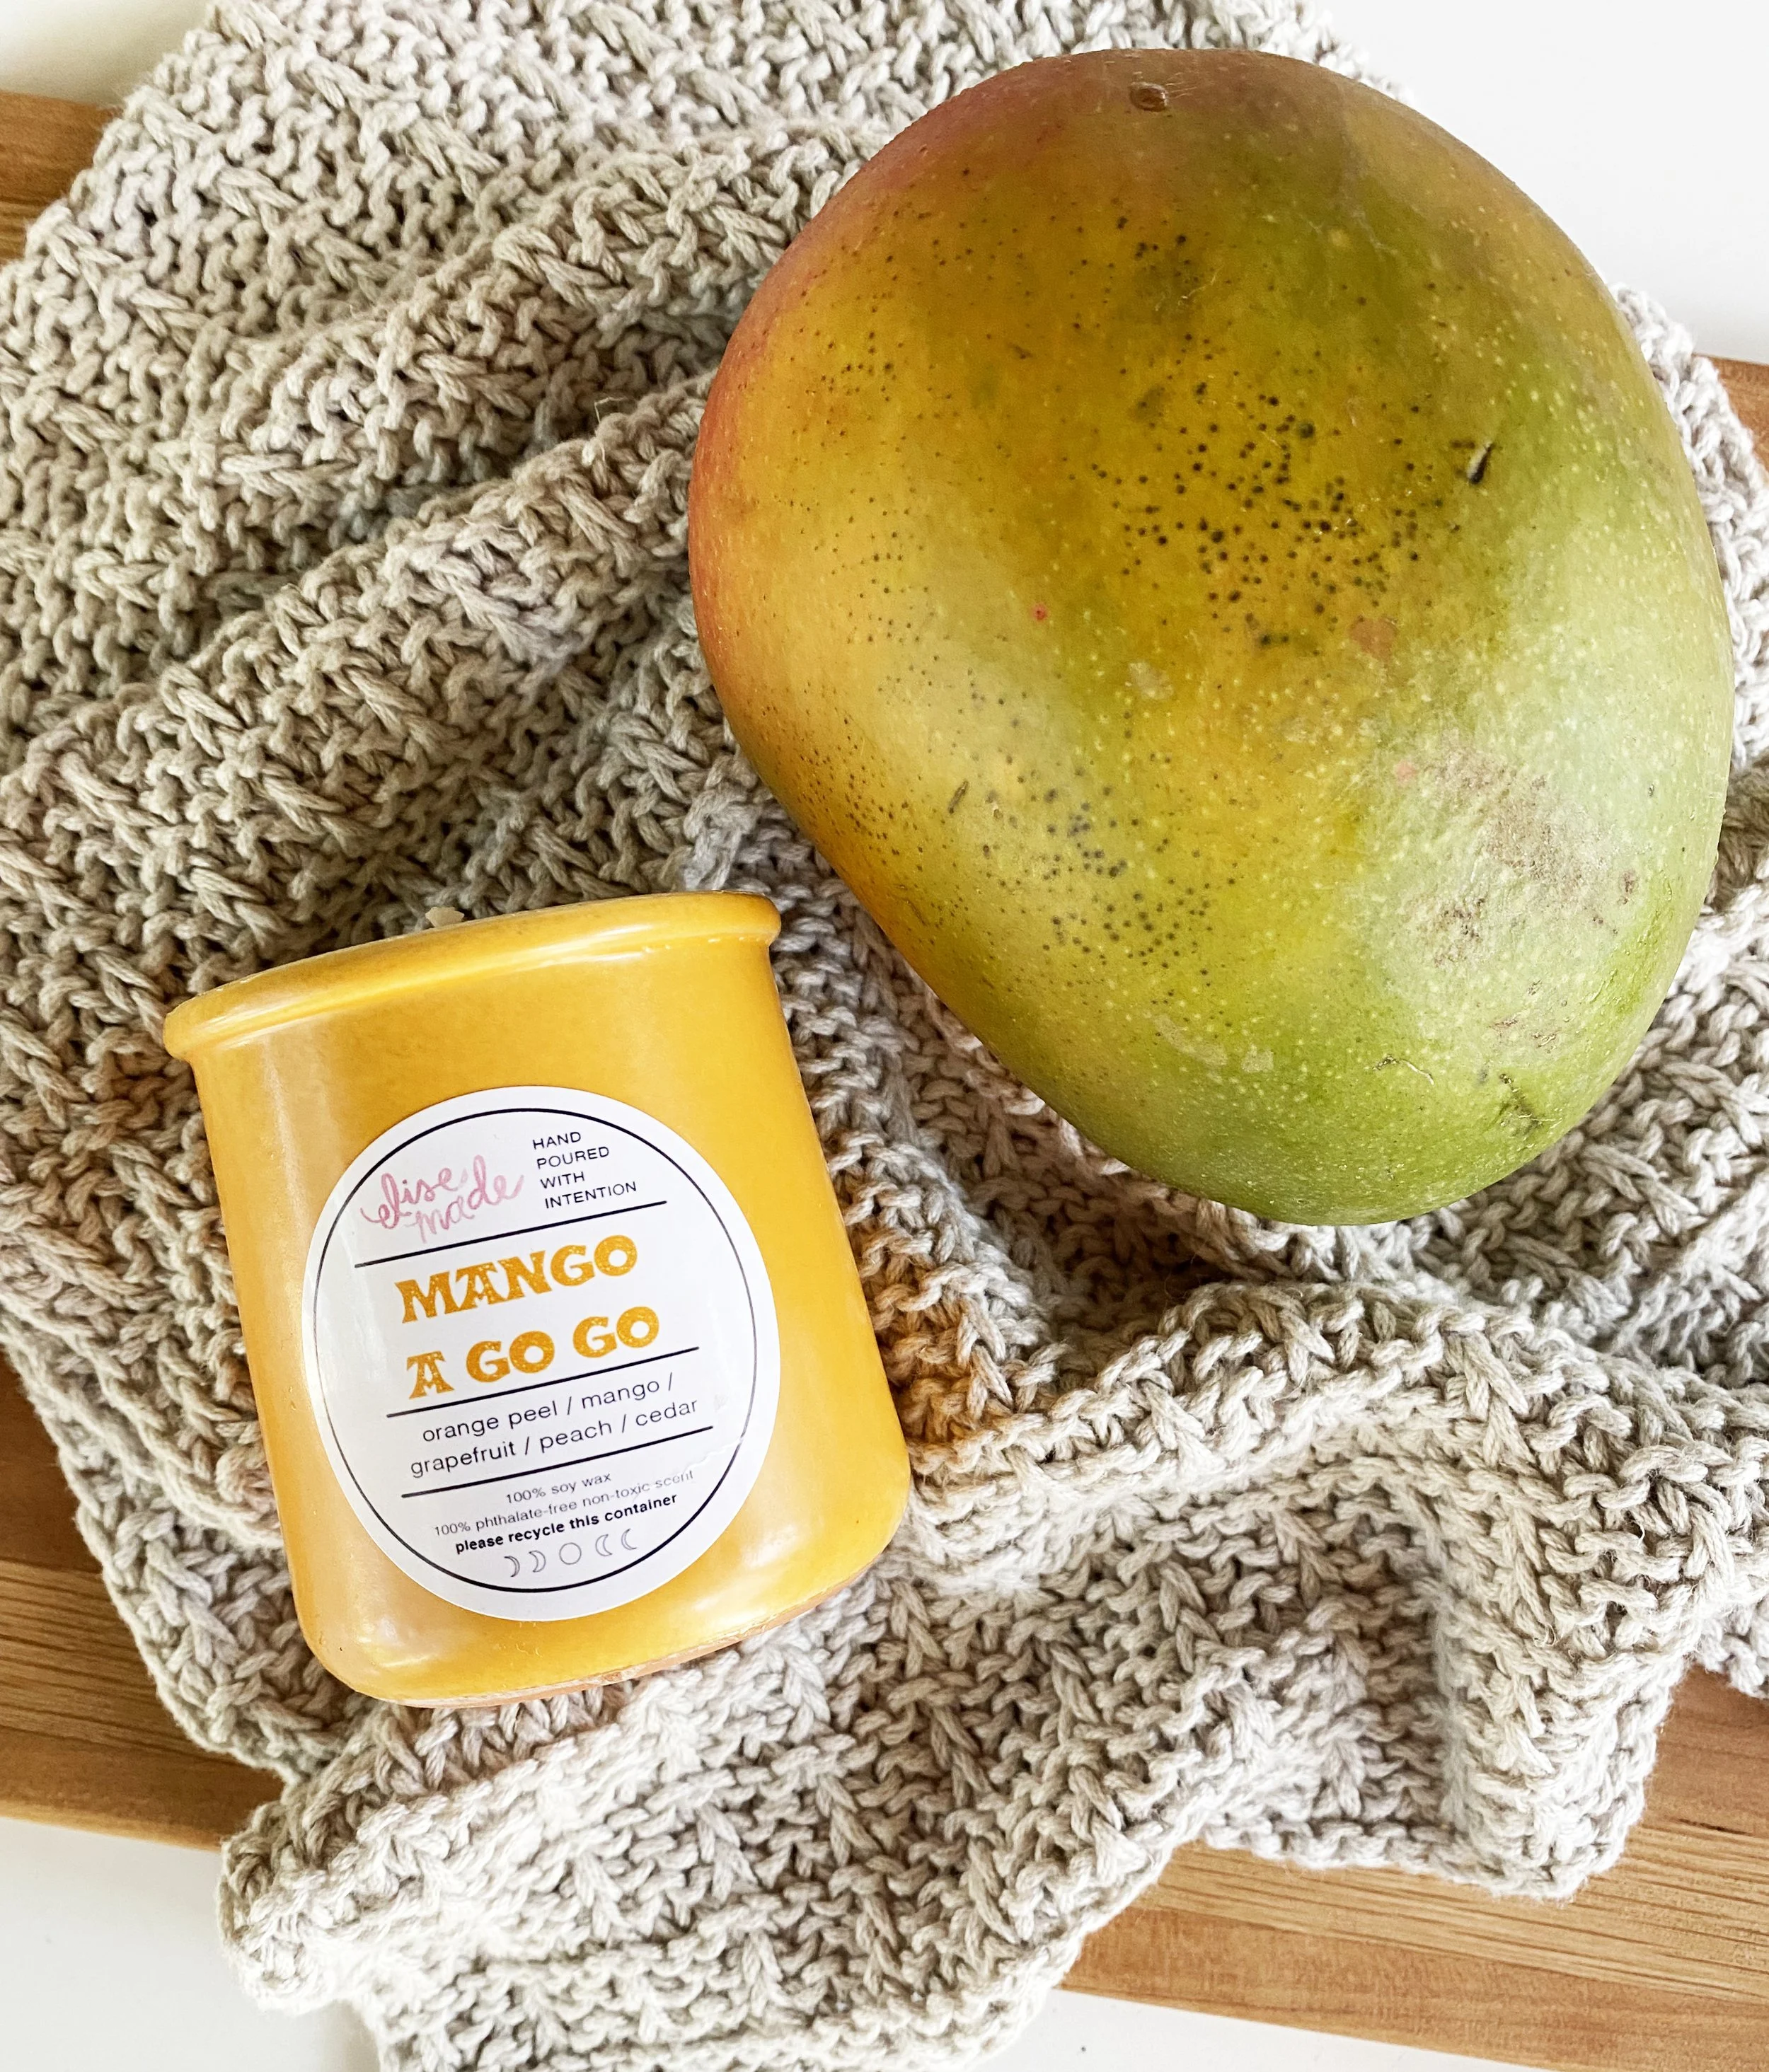
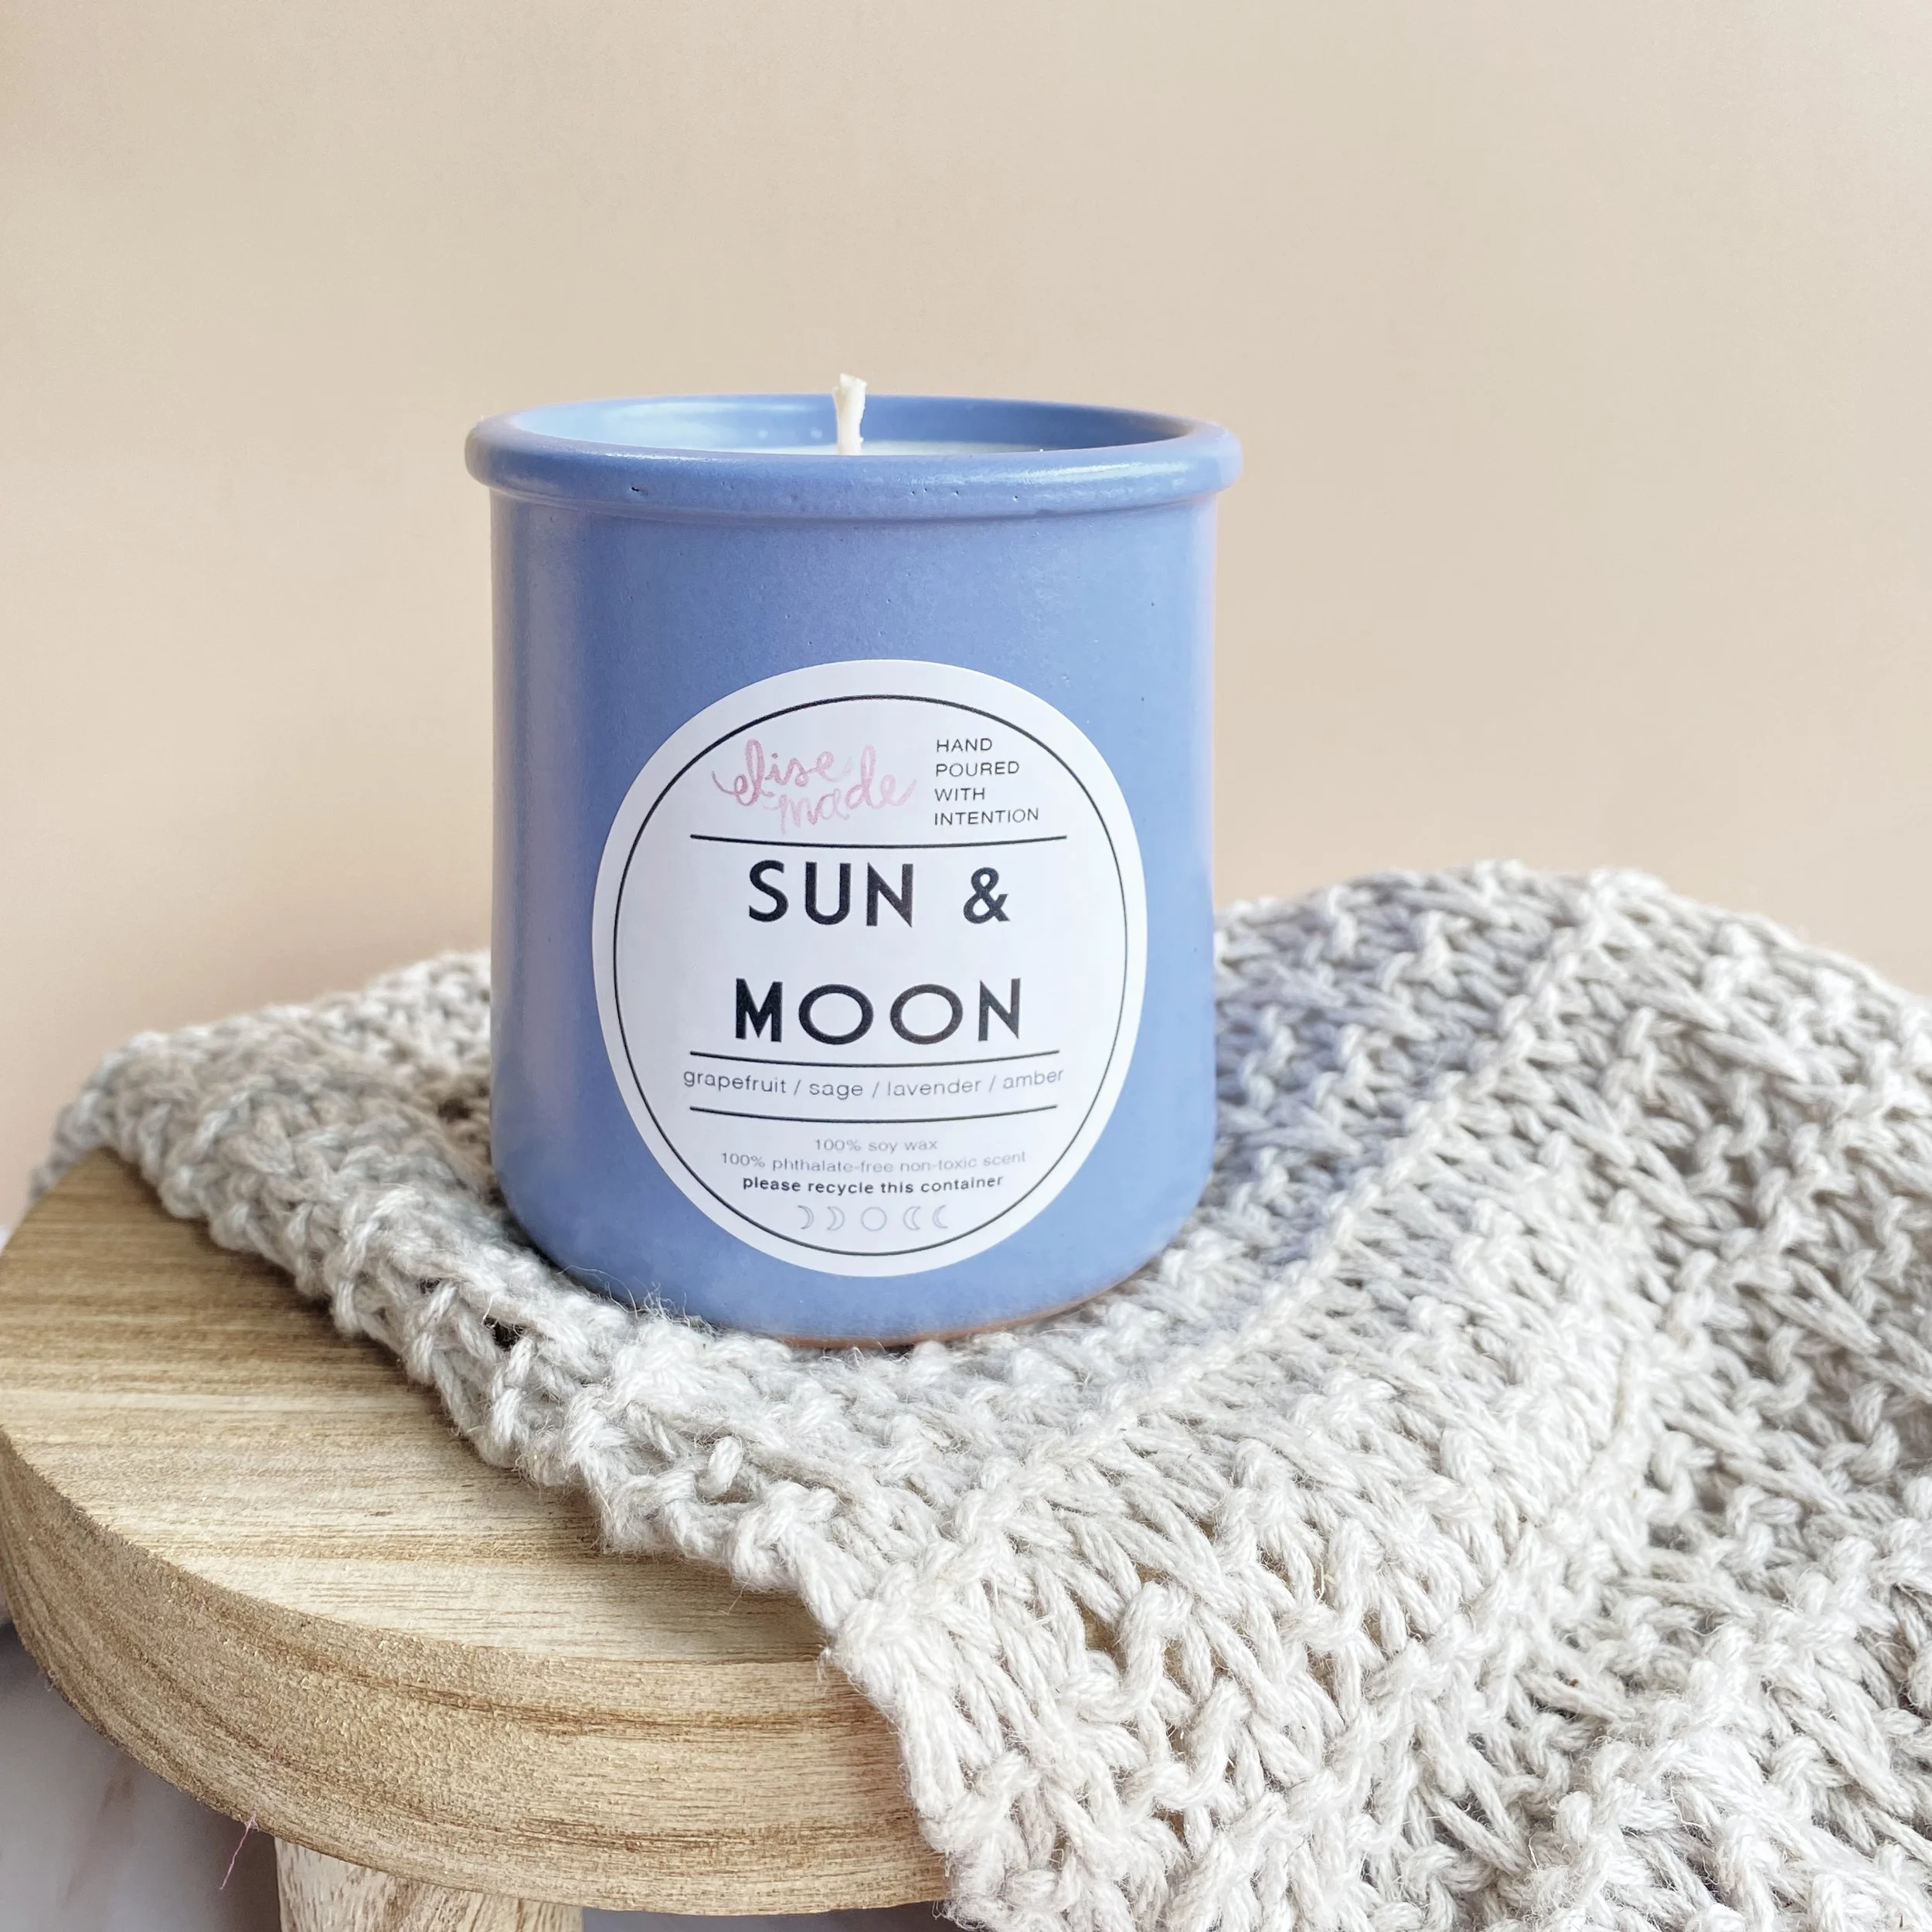
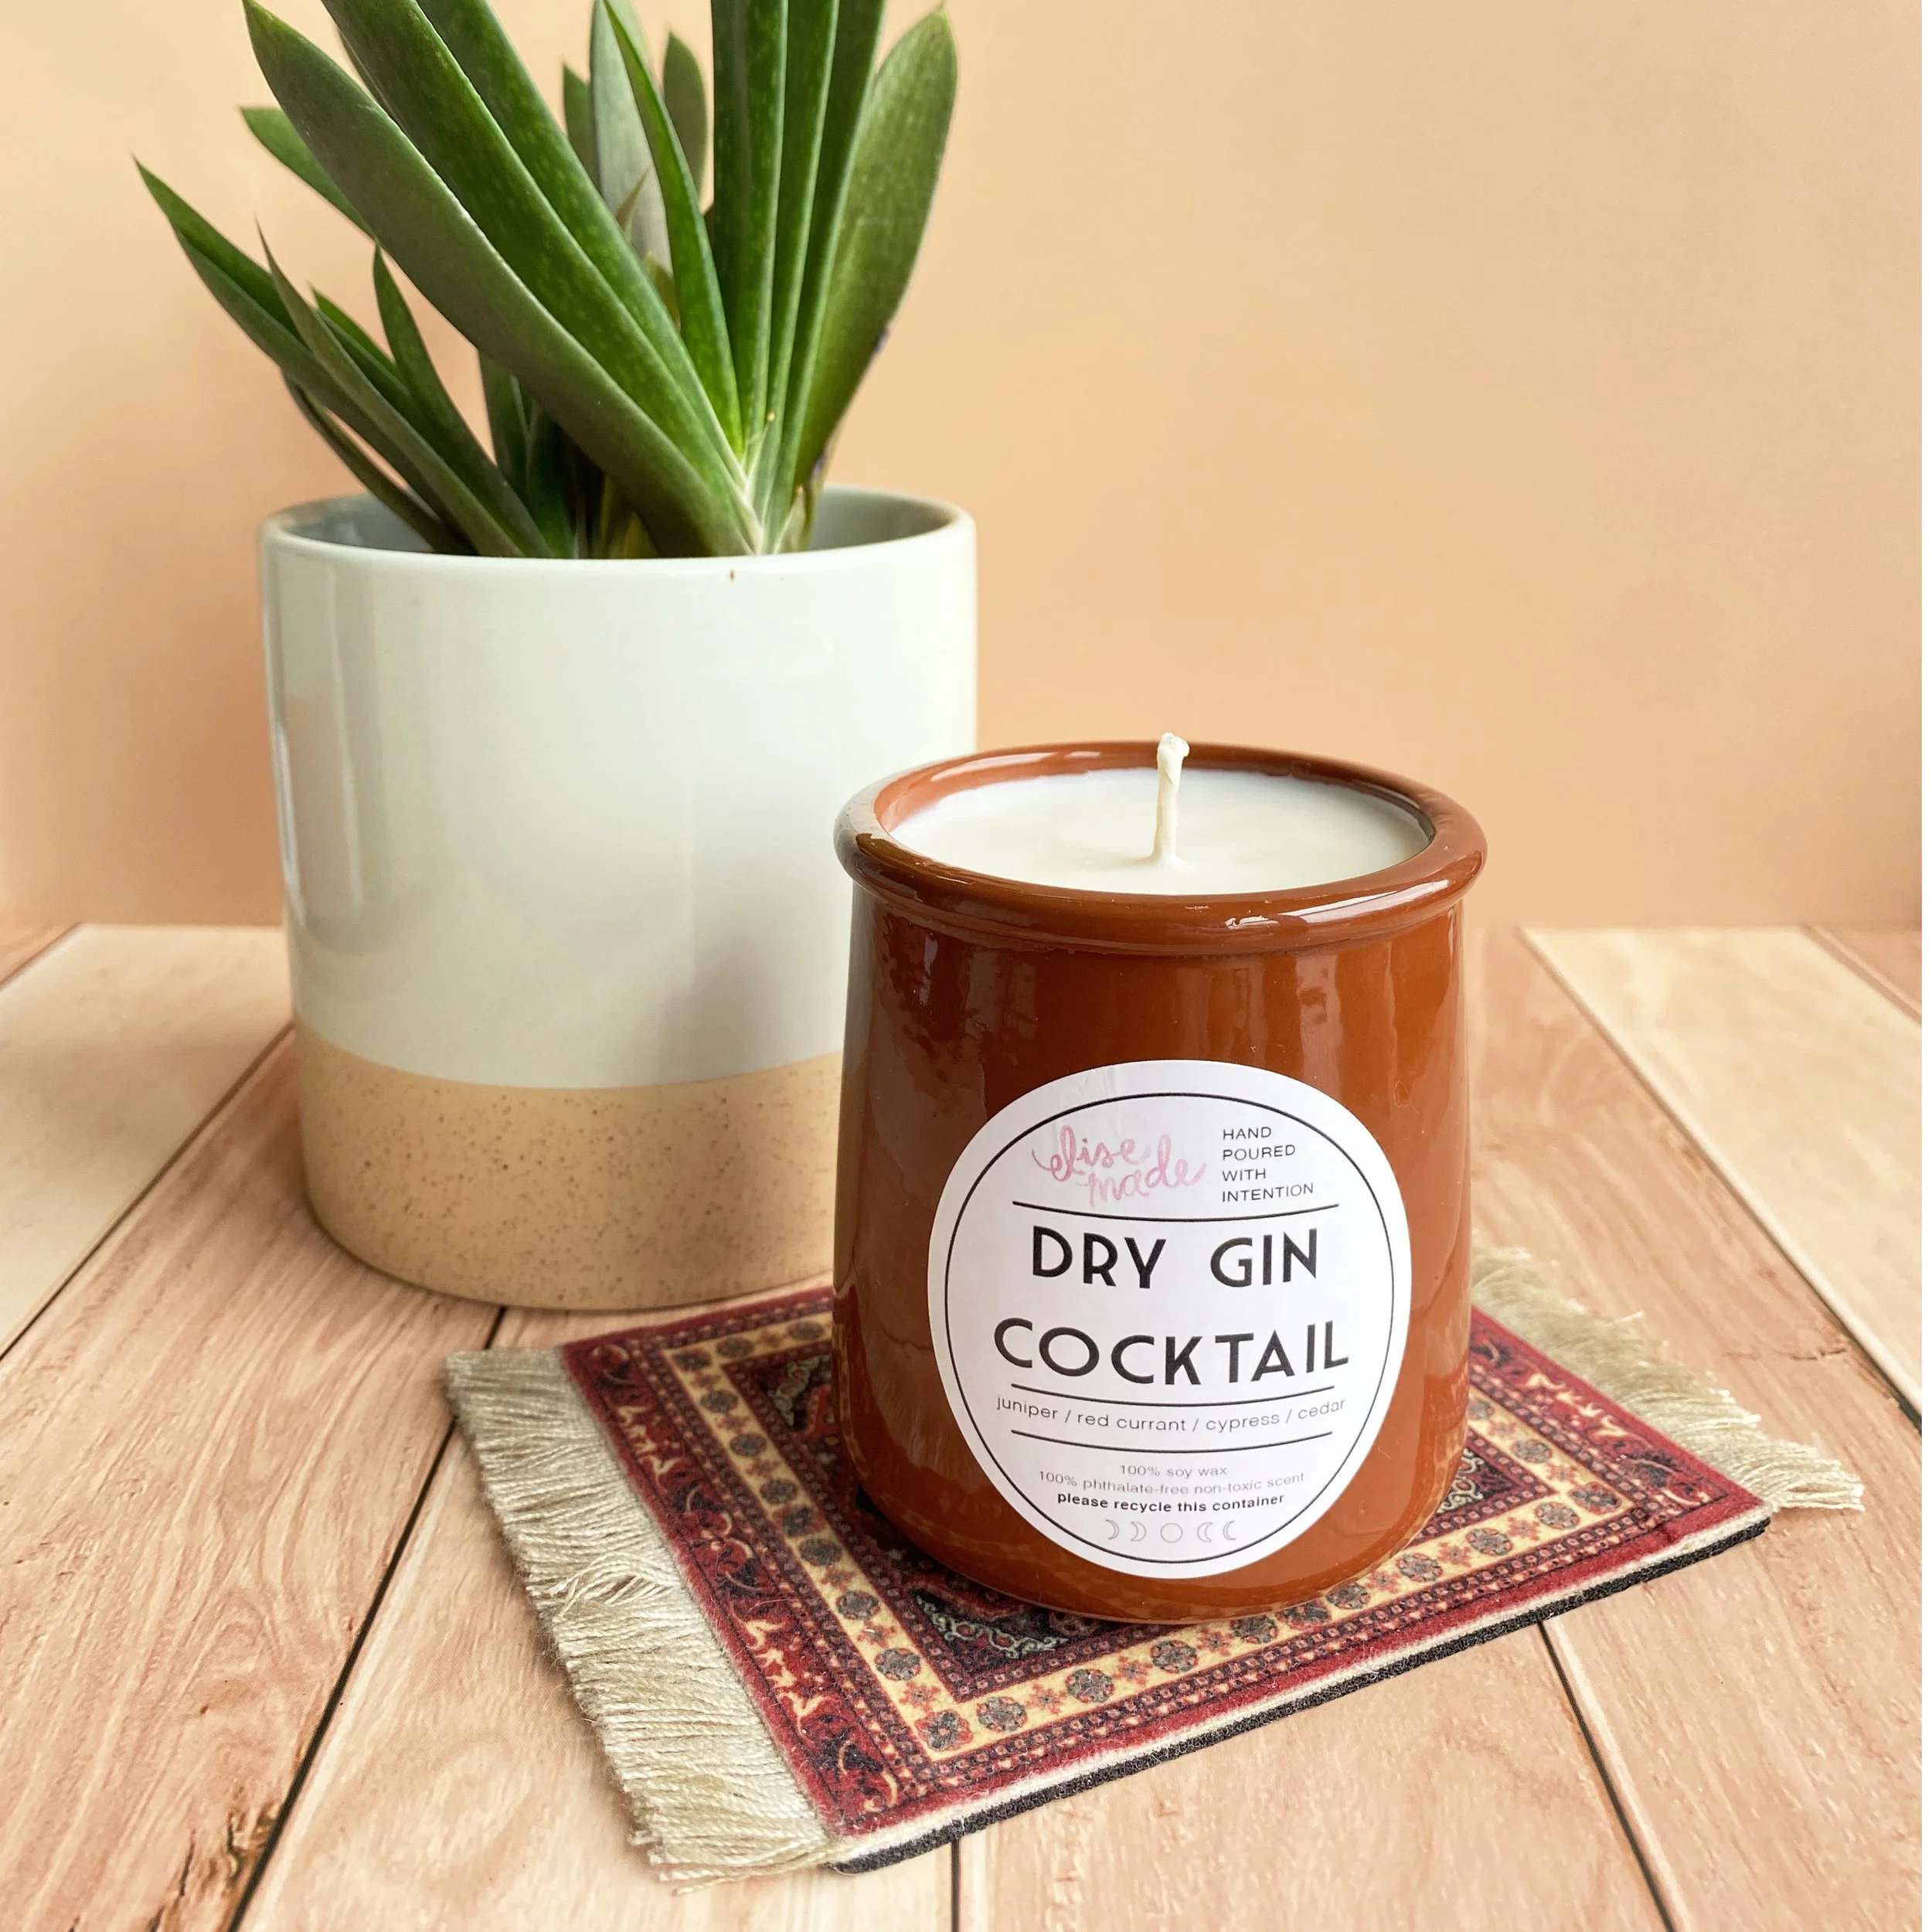
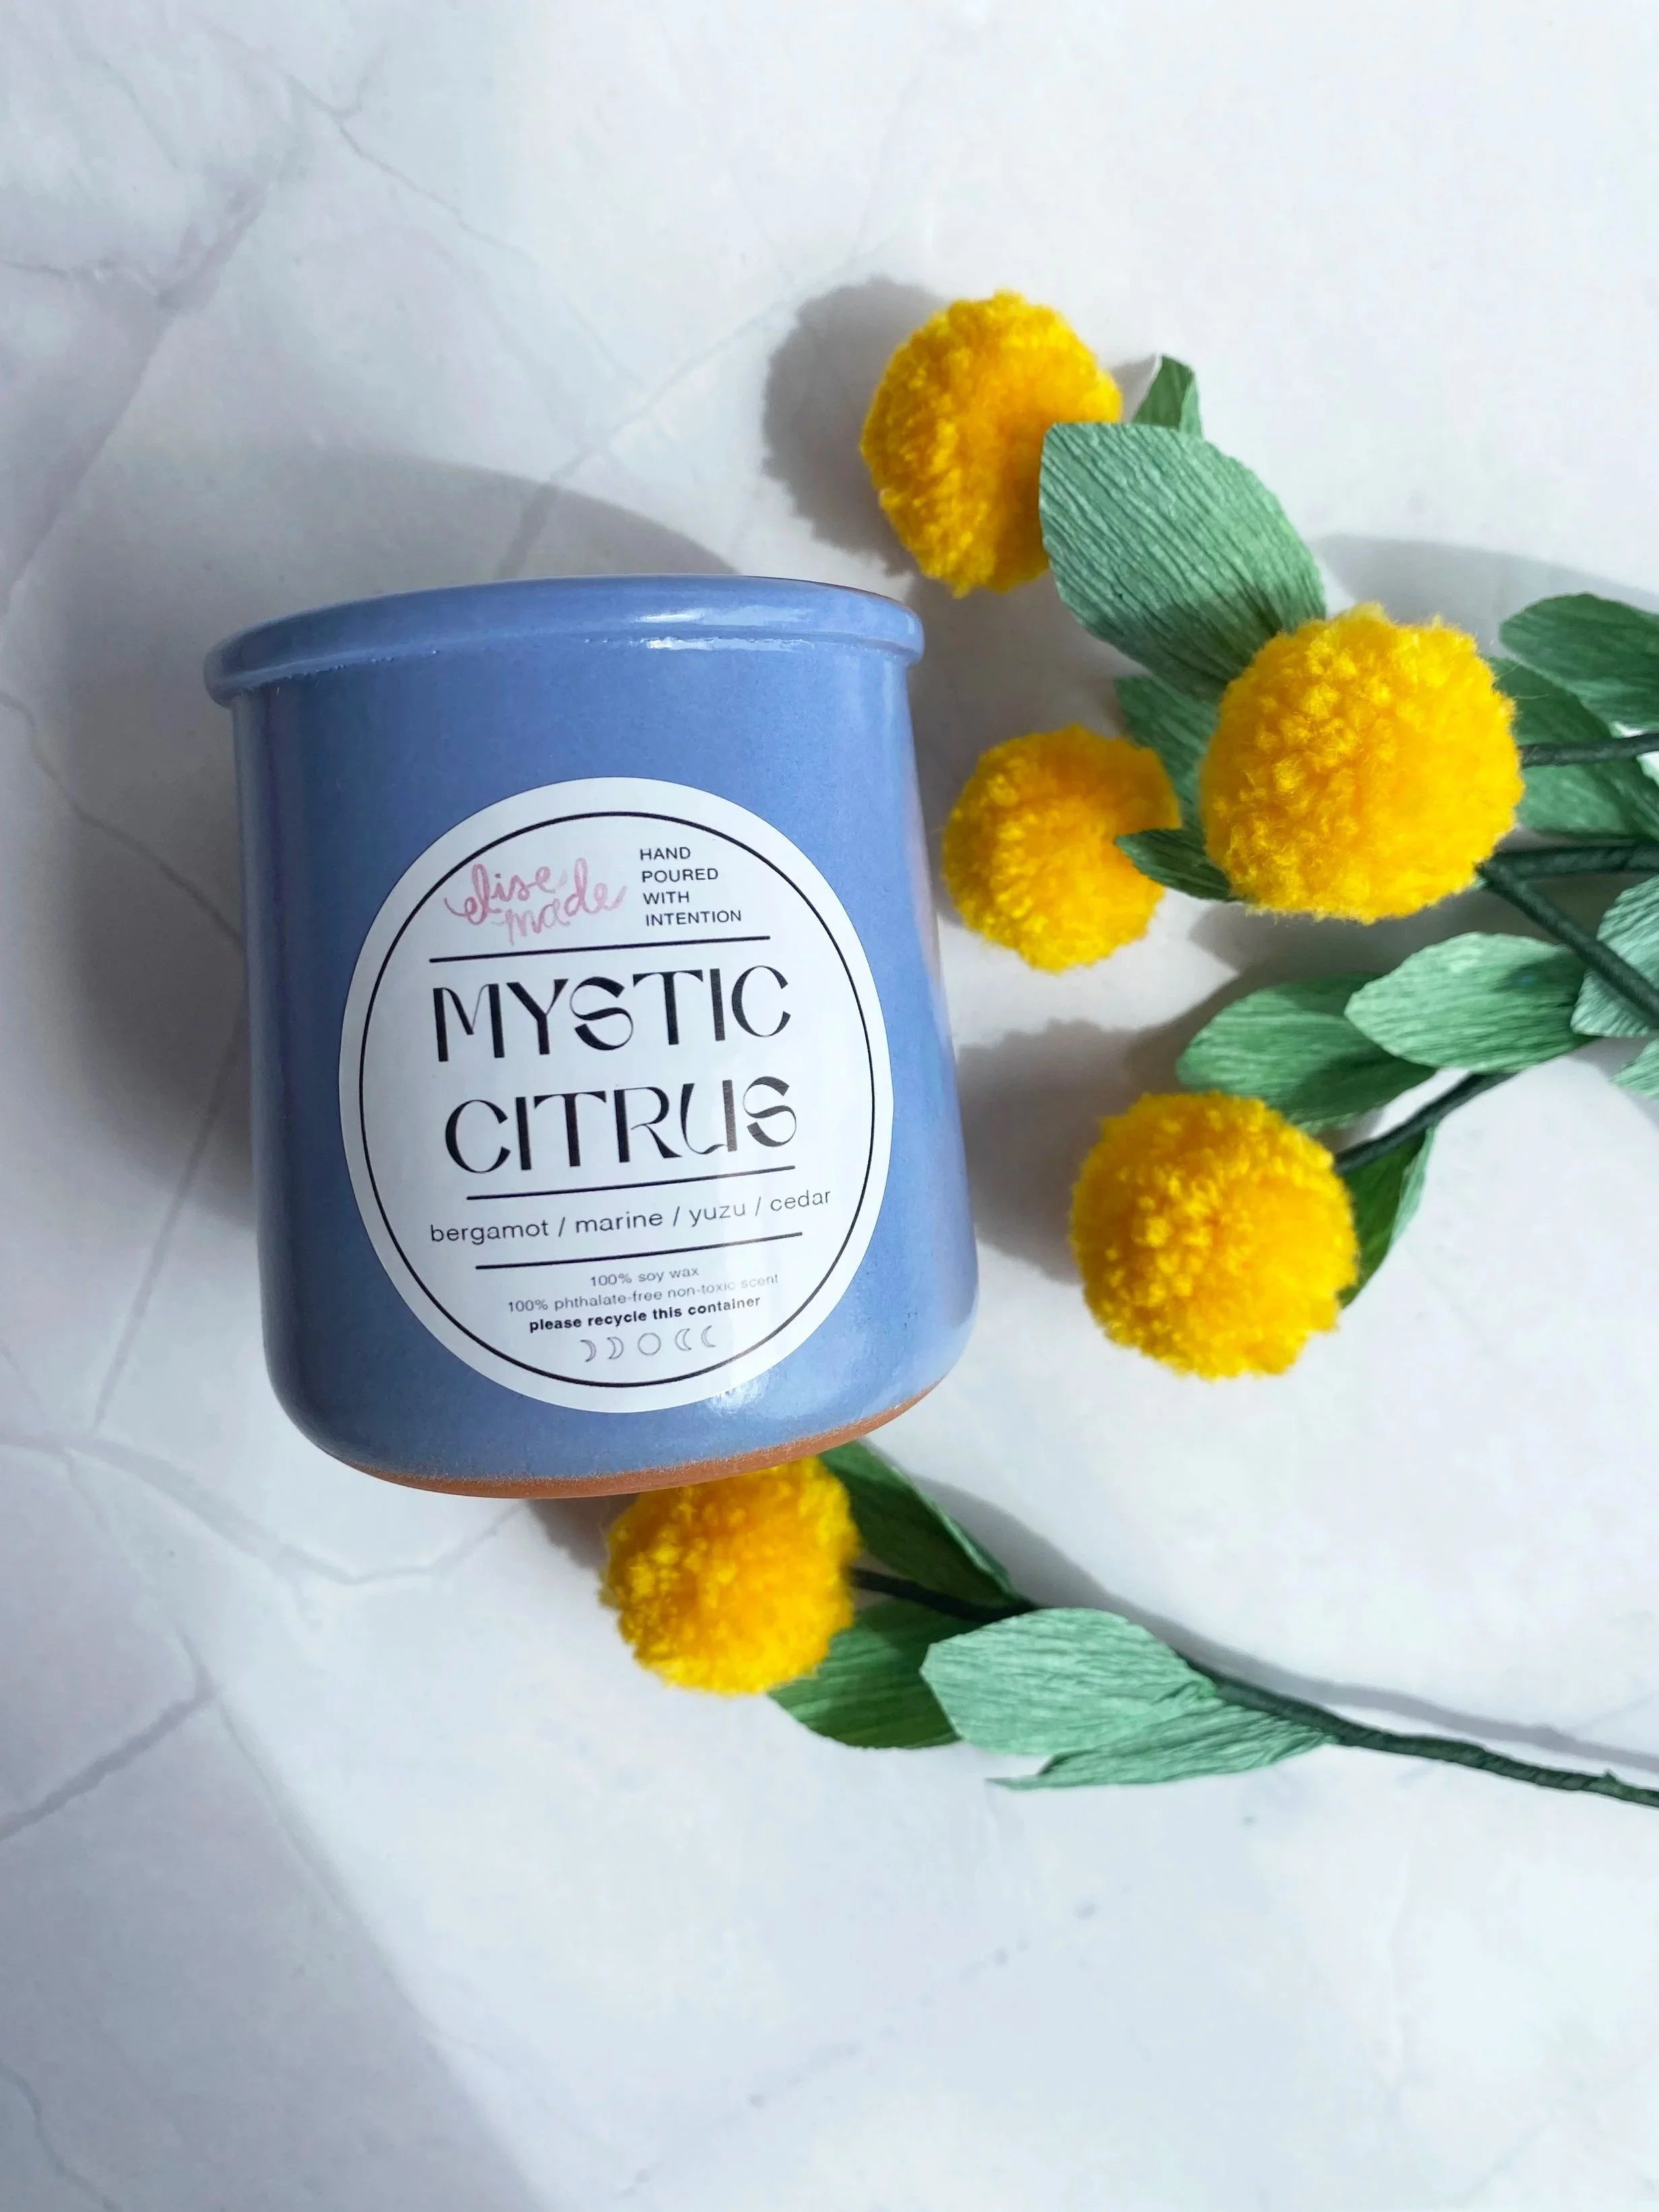
Handmade and poured in very small batches, these candles are made with high quality soy wax and essential oil fragrances. Each candle is made in recycled Le Fermiere ceramic yogurt crocks.
Crocks measure 2.5” x 3” and 4.9 oz (140 g).
Current scents:
Summer Fig (fig/greenery/jasmine/musk)
Blood Orange (blood orange/bergamot/grapefruit)
Coastal Fog (greenery/ozone/sea salt/marine/peony)
Grapefruit and Mint (grapefruit/mind/rose/vanilla)
Lavender Driftwood (lavender/green leaves/marine/cedar)
Moonlit Waves (marine/lavender/pineapple/musk/cedar)
Morning Matcha (bergamot/green tea/sandalwood)
Mountain Breeze (lavender/pine/cypress/rosemary)
Relax & Refresh (aloe/lime/fresh bamboo/moss/amber)
Tobacco & Spice (leather/tobacco/clove/sandalwood)
The purpose of this project is to recycle the beautiful crocks in a meaningful way, and I hope you will also recycle it when your candle has finished burning! (Learn how to remove wax from old candle jars here.) Use the empty vessel to corral things like pens, beauty products, or knitting needles. The ceramic crocks are oven/microwave/dishwasher safe and can be used for cooking and baking. The glass crocks are microwave and dishwasher safe. They would also make a great home for a small plant or succulent, which in turn could make a great little gift!