
 Image 1 of 4
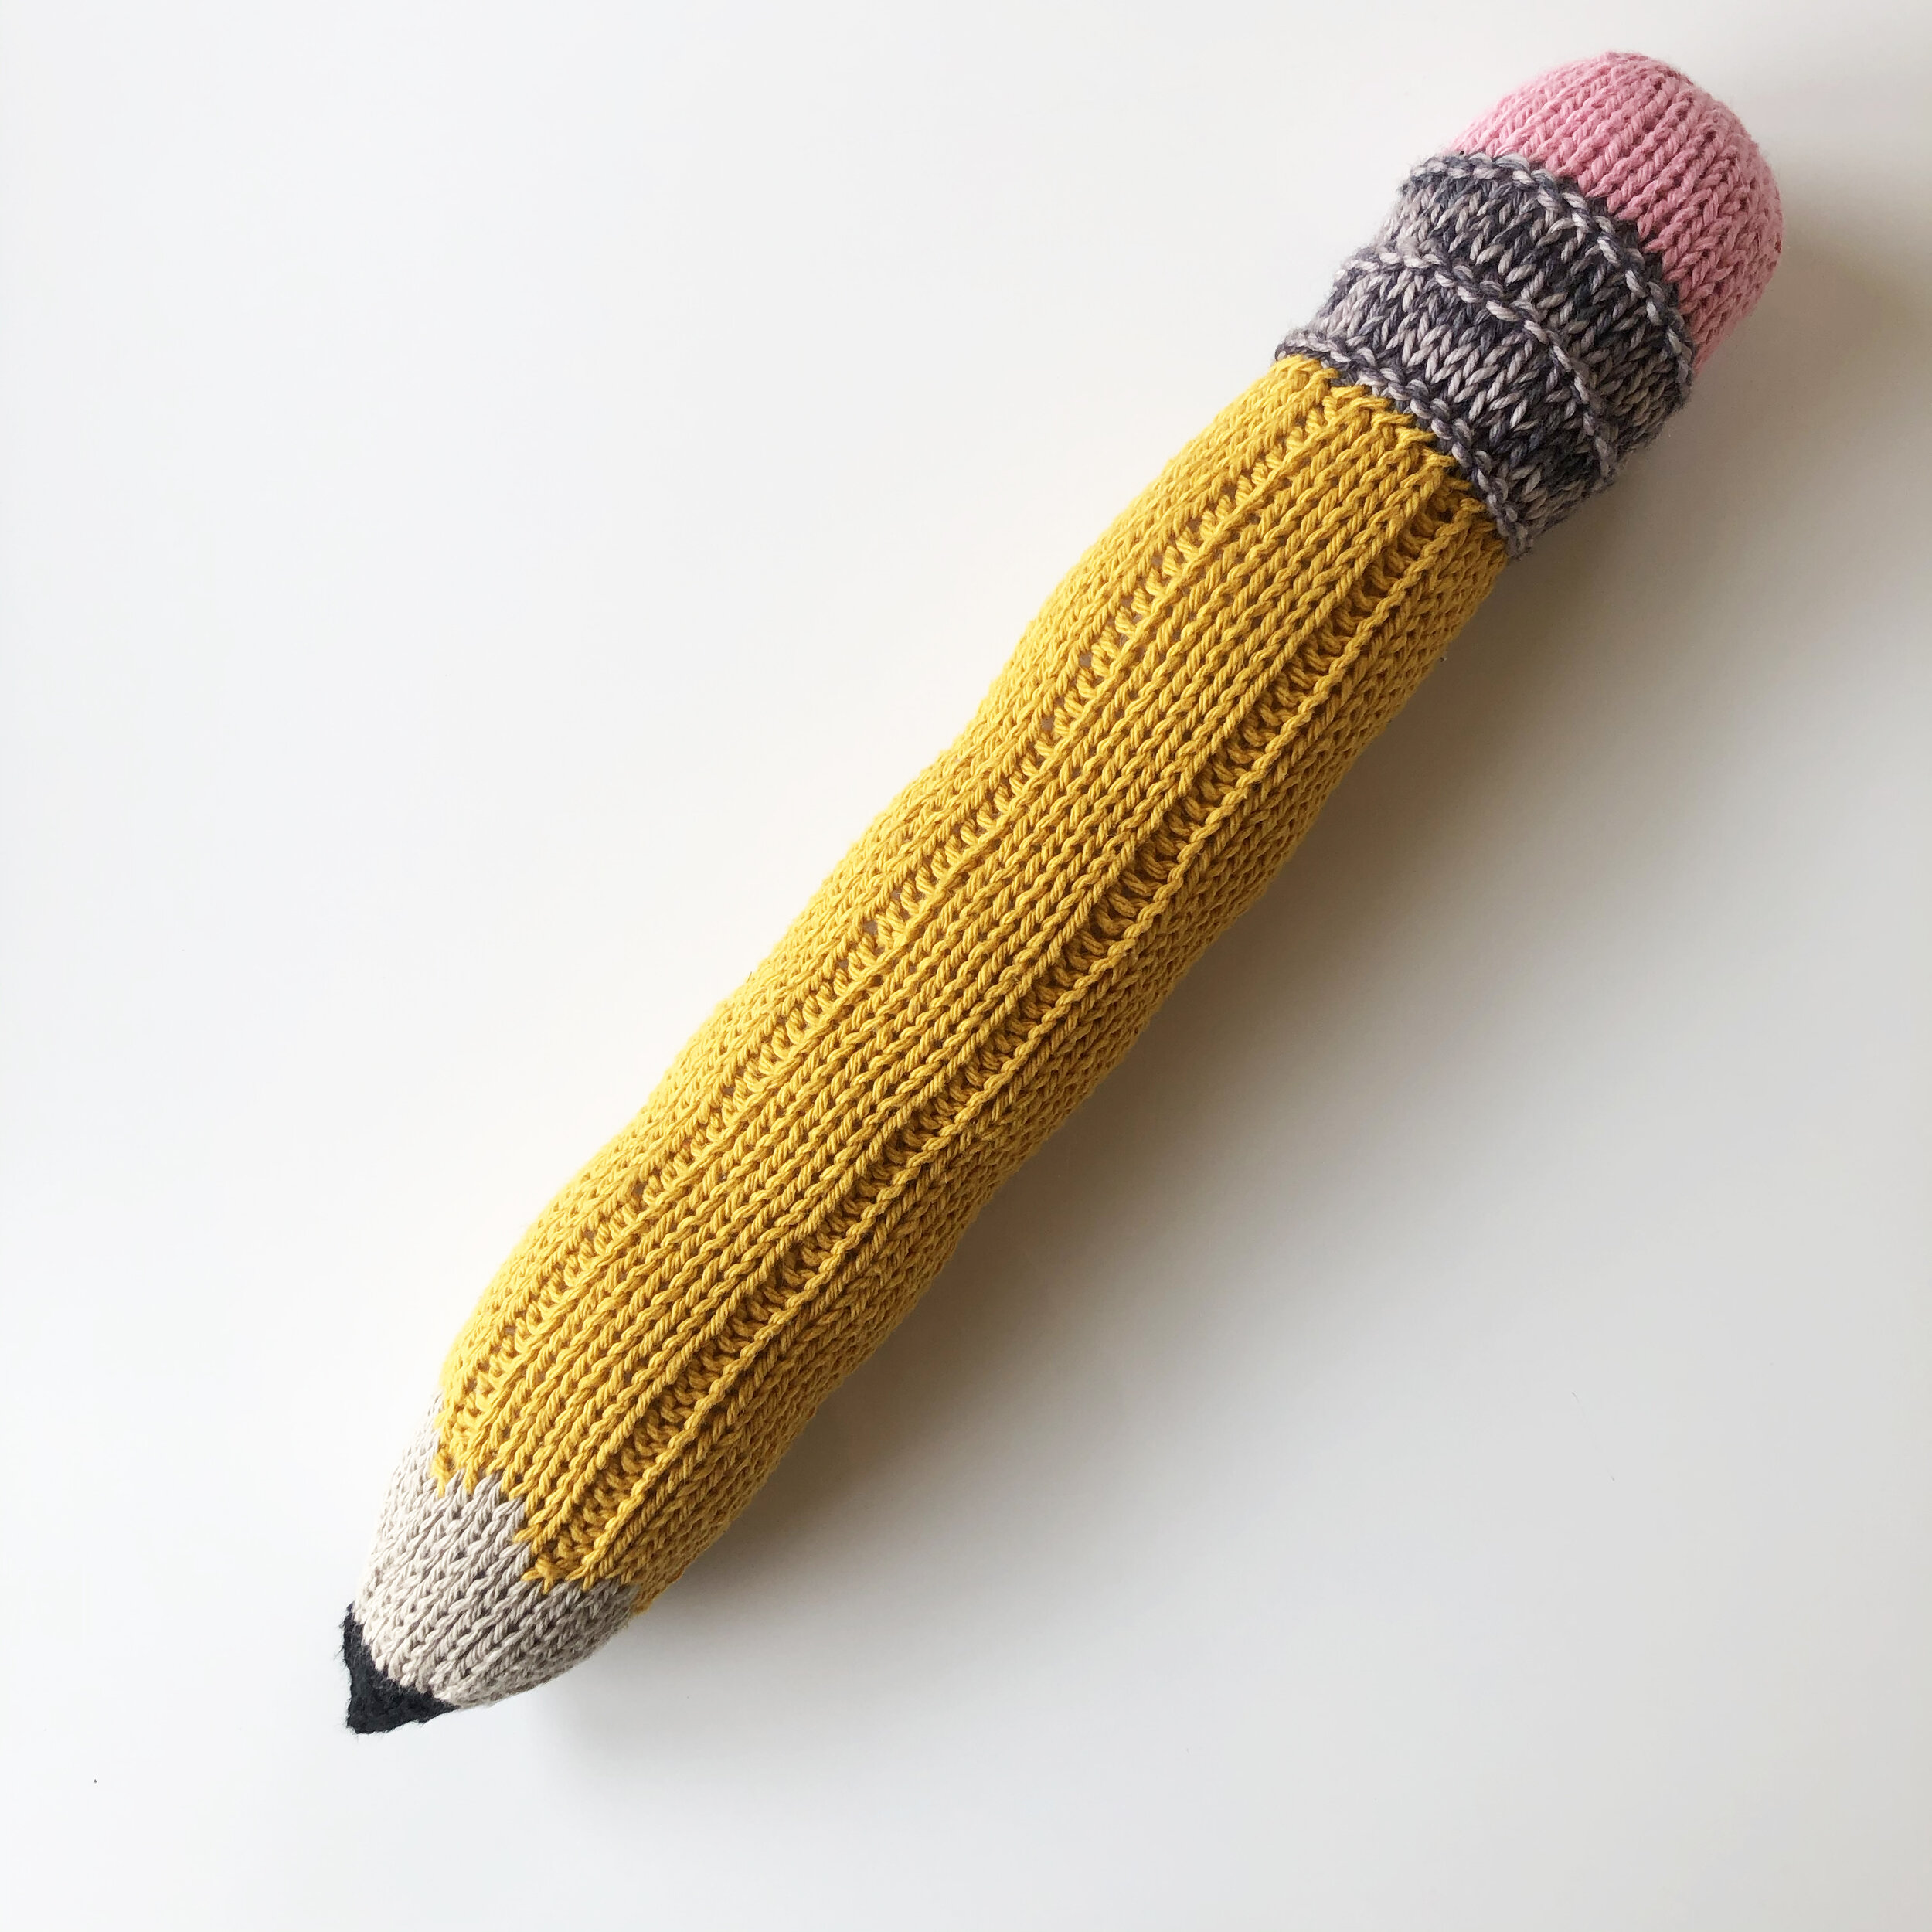 Image 2 of 4
 Image 3 of 4
 Image 4 of 4
Knitting Pattern: Giant Pencil Toy
This is a downloadable PDF knitting pattern for the “Giant Pencil Toy.”
A whimsical oversized toy designed for my nephew and godson’s first days of school.
Pattern Notes:
Yarn:
Color A (main color): approx. 15 yards of worsted weight yarn in a bright color
(Suggestions: yellow, red, bright blue)
Color B: approx. 3 yards worsted weight (light brown, ecru, tan, beige)
Color C: approx. 3 yards worsted weight (black, dark brown, dark gray)
Color D: approx. 5 yards worsted weight (gray, silver, gold, metallic)
Color E: approx. 5 yards worsted weight (pink, coral, red)
Needles:
Size US 6 (4 mm)
Tools:
Tapestry needle for finishing
Poly-fill or other stuffing material
Gauge:
Gauge is not important for this project!
Finished Dimensions:
Measures approximately 16.5” tall (42cm)
Key:
K - Knit
P - Purl
K2T - Knit two together
SSK - Slip slip knit
STS - Stitches
Techniques:
Knitting in the round, stranded colorwork, simple decreases, picking up stitches. basic embroidery (optional).
(Pattern includes charted colorwork instructions)
Construction:
Start by knitting a tube in the round. Two rounds of simple stranded colorwork start to form the sharpened end, and simple decreases form a point. Stitches are picked up at the other end to knit the metal crimp and eraser.
This is a downloadable PDF knitting pattern for the “Giant Pencil Toy.”
A whimsical oversized toy designed for my nephew and godson’s first days of school.
Pattern Notes:
Yarn:
Color A (main color): approx. 15 yards of worsted weight yarn in a bright color
(Suggestions: yellow, red, bright blue)
Color B: approx. 3 yards worsted weight (light brown, ecru, tan, beige)
Color C: approx. 3 yards worsted weight (black, dark brown, dark gray)
Color D: approx. 5 yards worsted weight (gray, silver, gold, metallic)
Color E: approx. 5 yards worsted weight (pink, coral, red)
Needles:
Size US 6 (4 mm)
Tools:
Tapestry needle for finishing
Poly-fill or other stuffing material
Gauge:
Gauge is not important for this project!
Finished Dimensions:
Measures approximately 16.5” tall (42cm)
Key:
K - Knit
P - Purl
K2T - Knit two together
SSK - Slip slip knit
STS - Stitches
Techniques:
Knitting in the round, stranded colorwork, simple decreases, picking up stitches. basic embroidery (optional).
(Pattern includes charted colorwork instructions)
Construction:
Start by knitting a tube in the round. Two rounds of simple stranded colorwork start to form the sharpened end, and simple decreases form a point. Stitches are picked up at the other end to knit the metal crimp and eraser.
More Knitting Patterns by Elisemade:
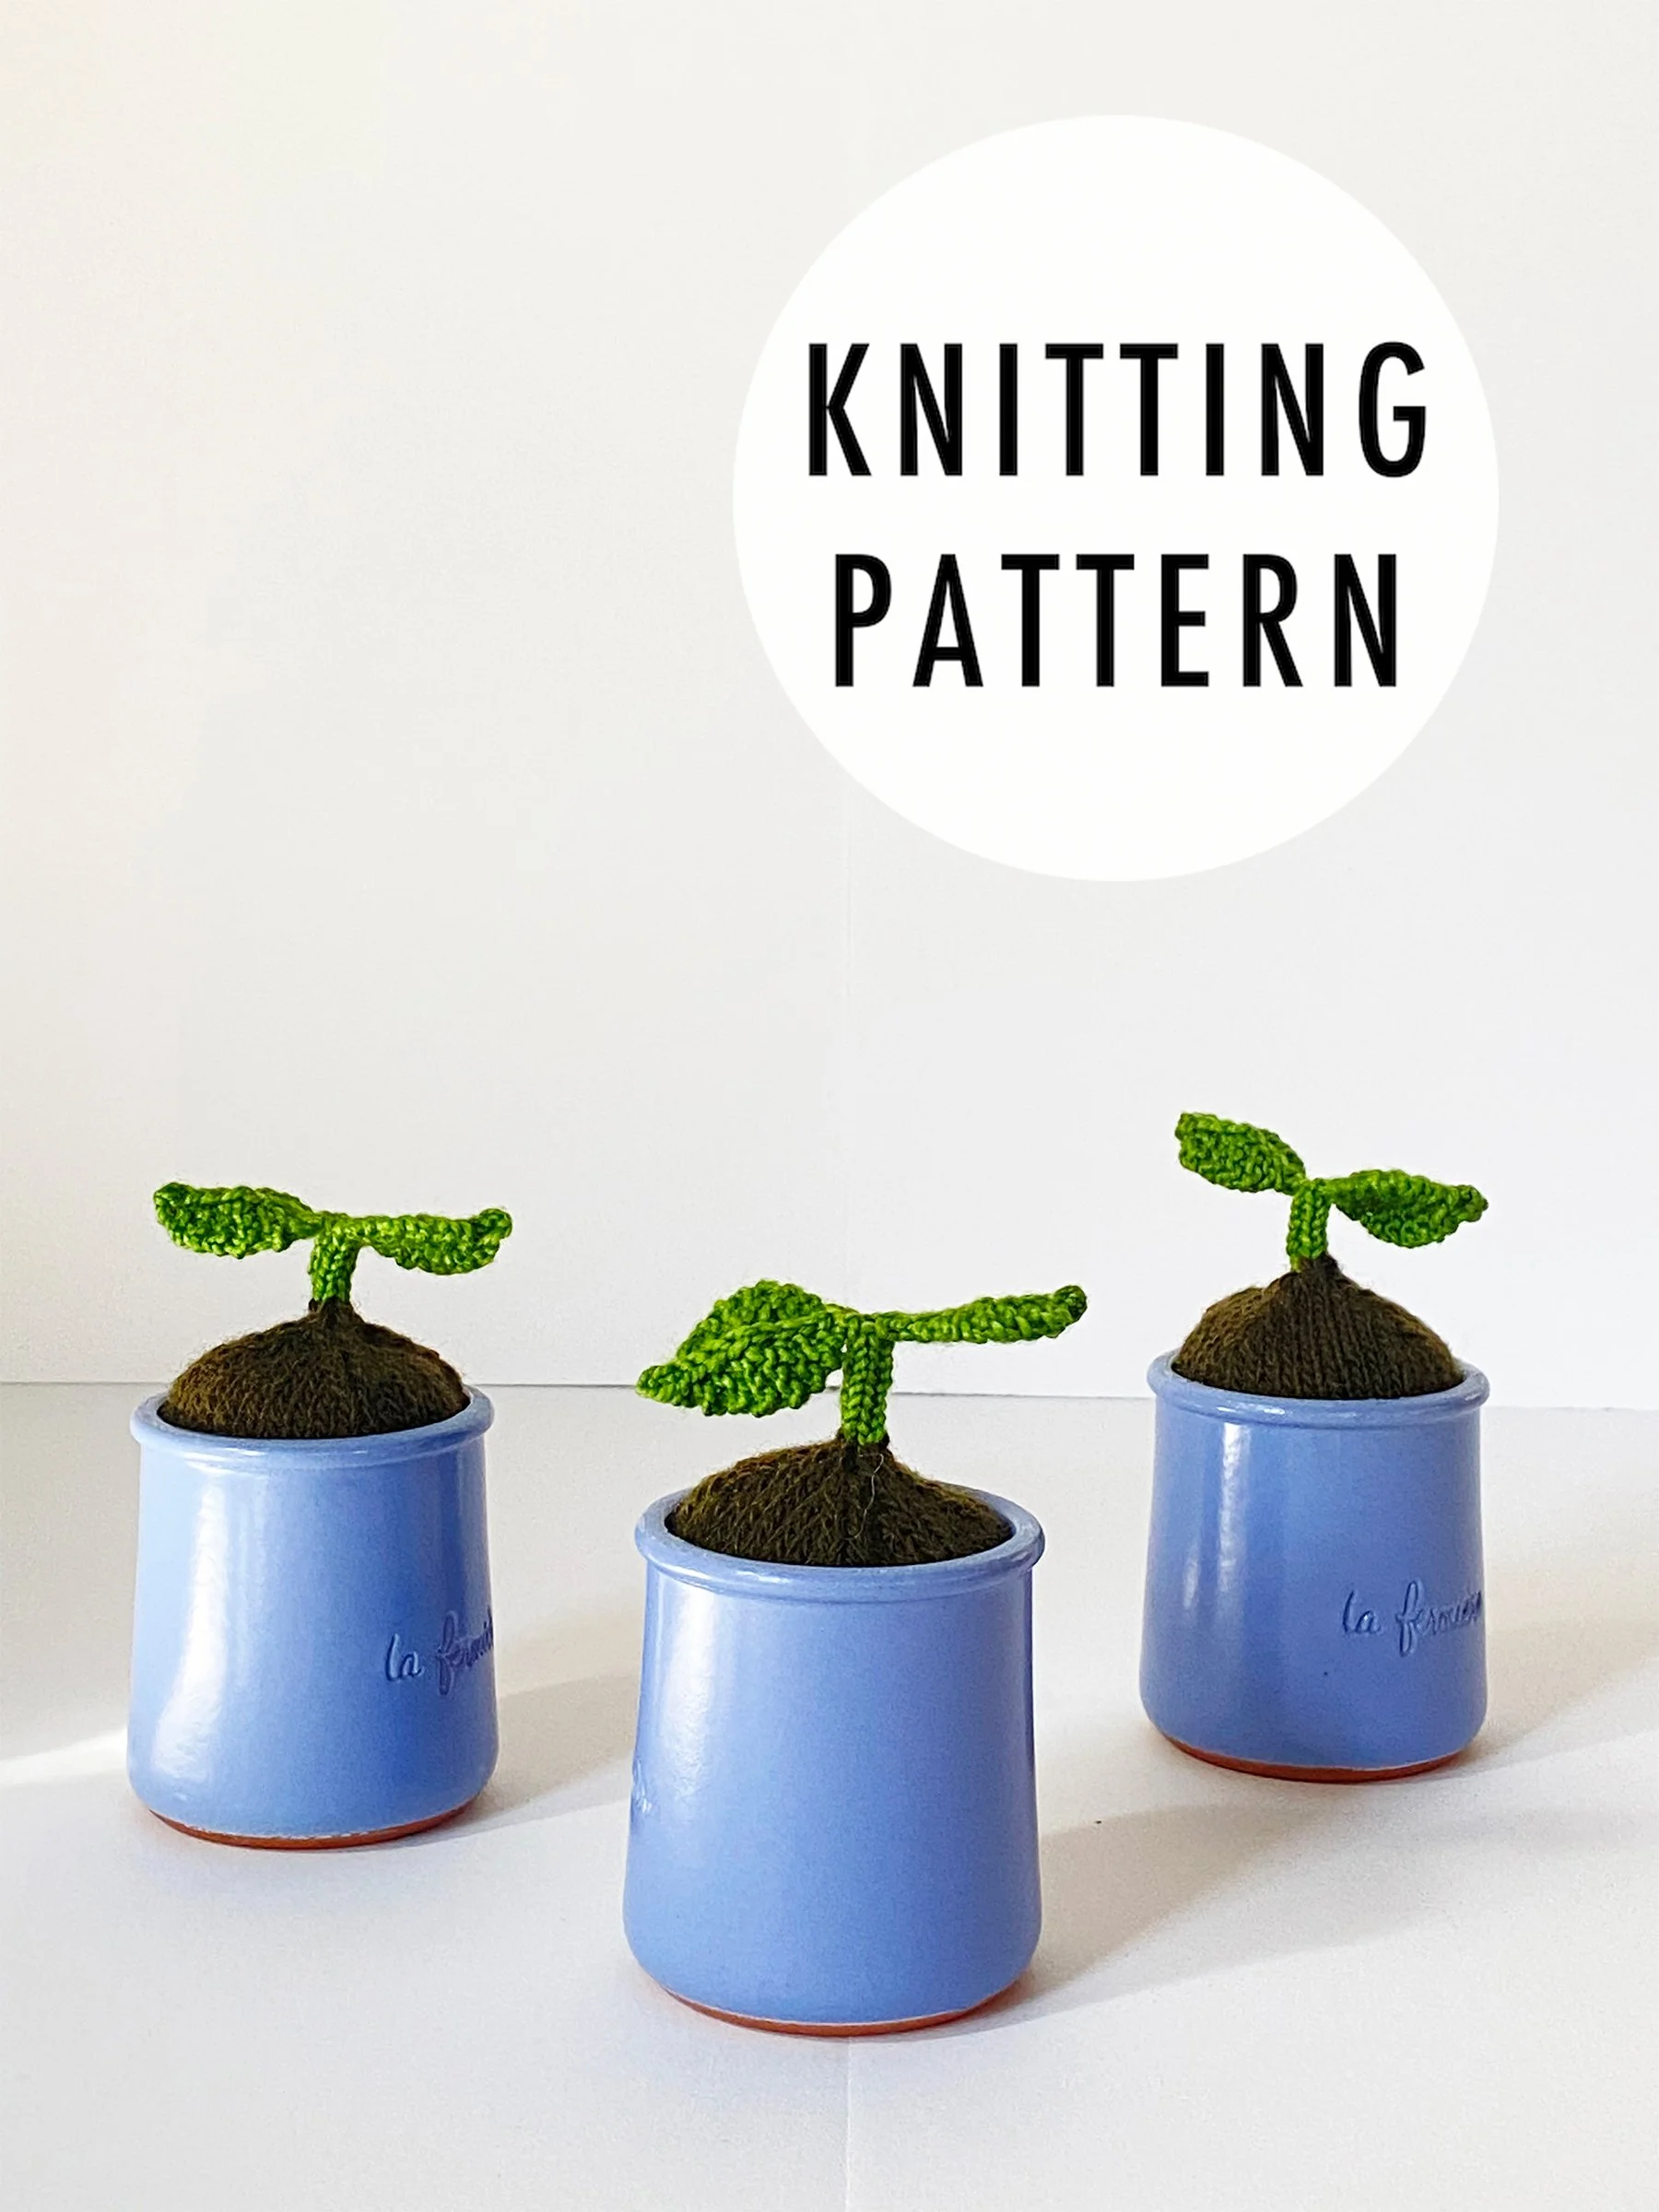
A friendly little sprout is the perfect way to recycle your le fermiere crocks.
I love to see what you make! Share your project on Instagram and tag me @elisemade, or via email to elisemade@gmail.com
Finished Dimensions
Sprout: 3 x 3.5” (7.6 x 8.9 cm)
In crock: 3 x 5.5” (7.6 x 14 cm)
Yarn & Yardage
Soil: 4g/14 yds fingering weight in brown
Sprout: 2g/7yds fingering weight in green
Needles
US 2 (2.75mm) using preferred small circumference method (DPNs, magic loop, 2 circulars)
Gauge
24 sts and 36 rows in 4”/10cm in stockinette stitch in the round
Tools
Tapestry needle
Polyfil stuffing
Clean & empty La Fermiere crock
Key
BO – bind off
CO – cast on
CDD – centered double decrease; slip two stitches knitwise, then knit the next stitch. Pass 2 slipped stitches over as if to bind off (2 stitches decreased)
K - knit
K2TOG – knit 2 stitches together (right-leaning decrease)
KFB – knit front and back (increase)
M1L – make one left (left -leaning increase)
M1R – make one right (right-leaning increase)
P - purl
SL1KW – slip one stitch knitwise with yarn in back
SSK – slip 2 stitches knitwise, knit these 2 sts together through the back loops (left-leaning decrease)
ST/STS – stitch/stitches
Note: instructions written inside square brackets are worked as a repeat across the round
Construction
Soil is knit starting at the bottom in round stockinette and then shaped with simple directional decreases. With remaining live stitches, color is changed and sprout stem is knit in icord. Finally, stitches are split to create leaves in flat garter stitch.
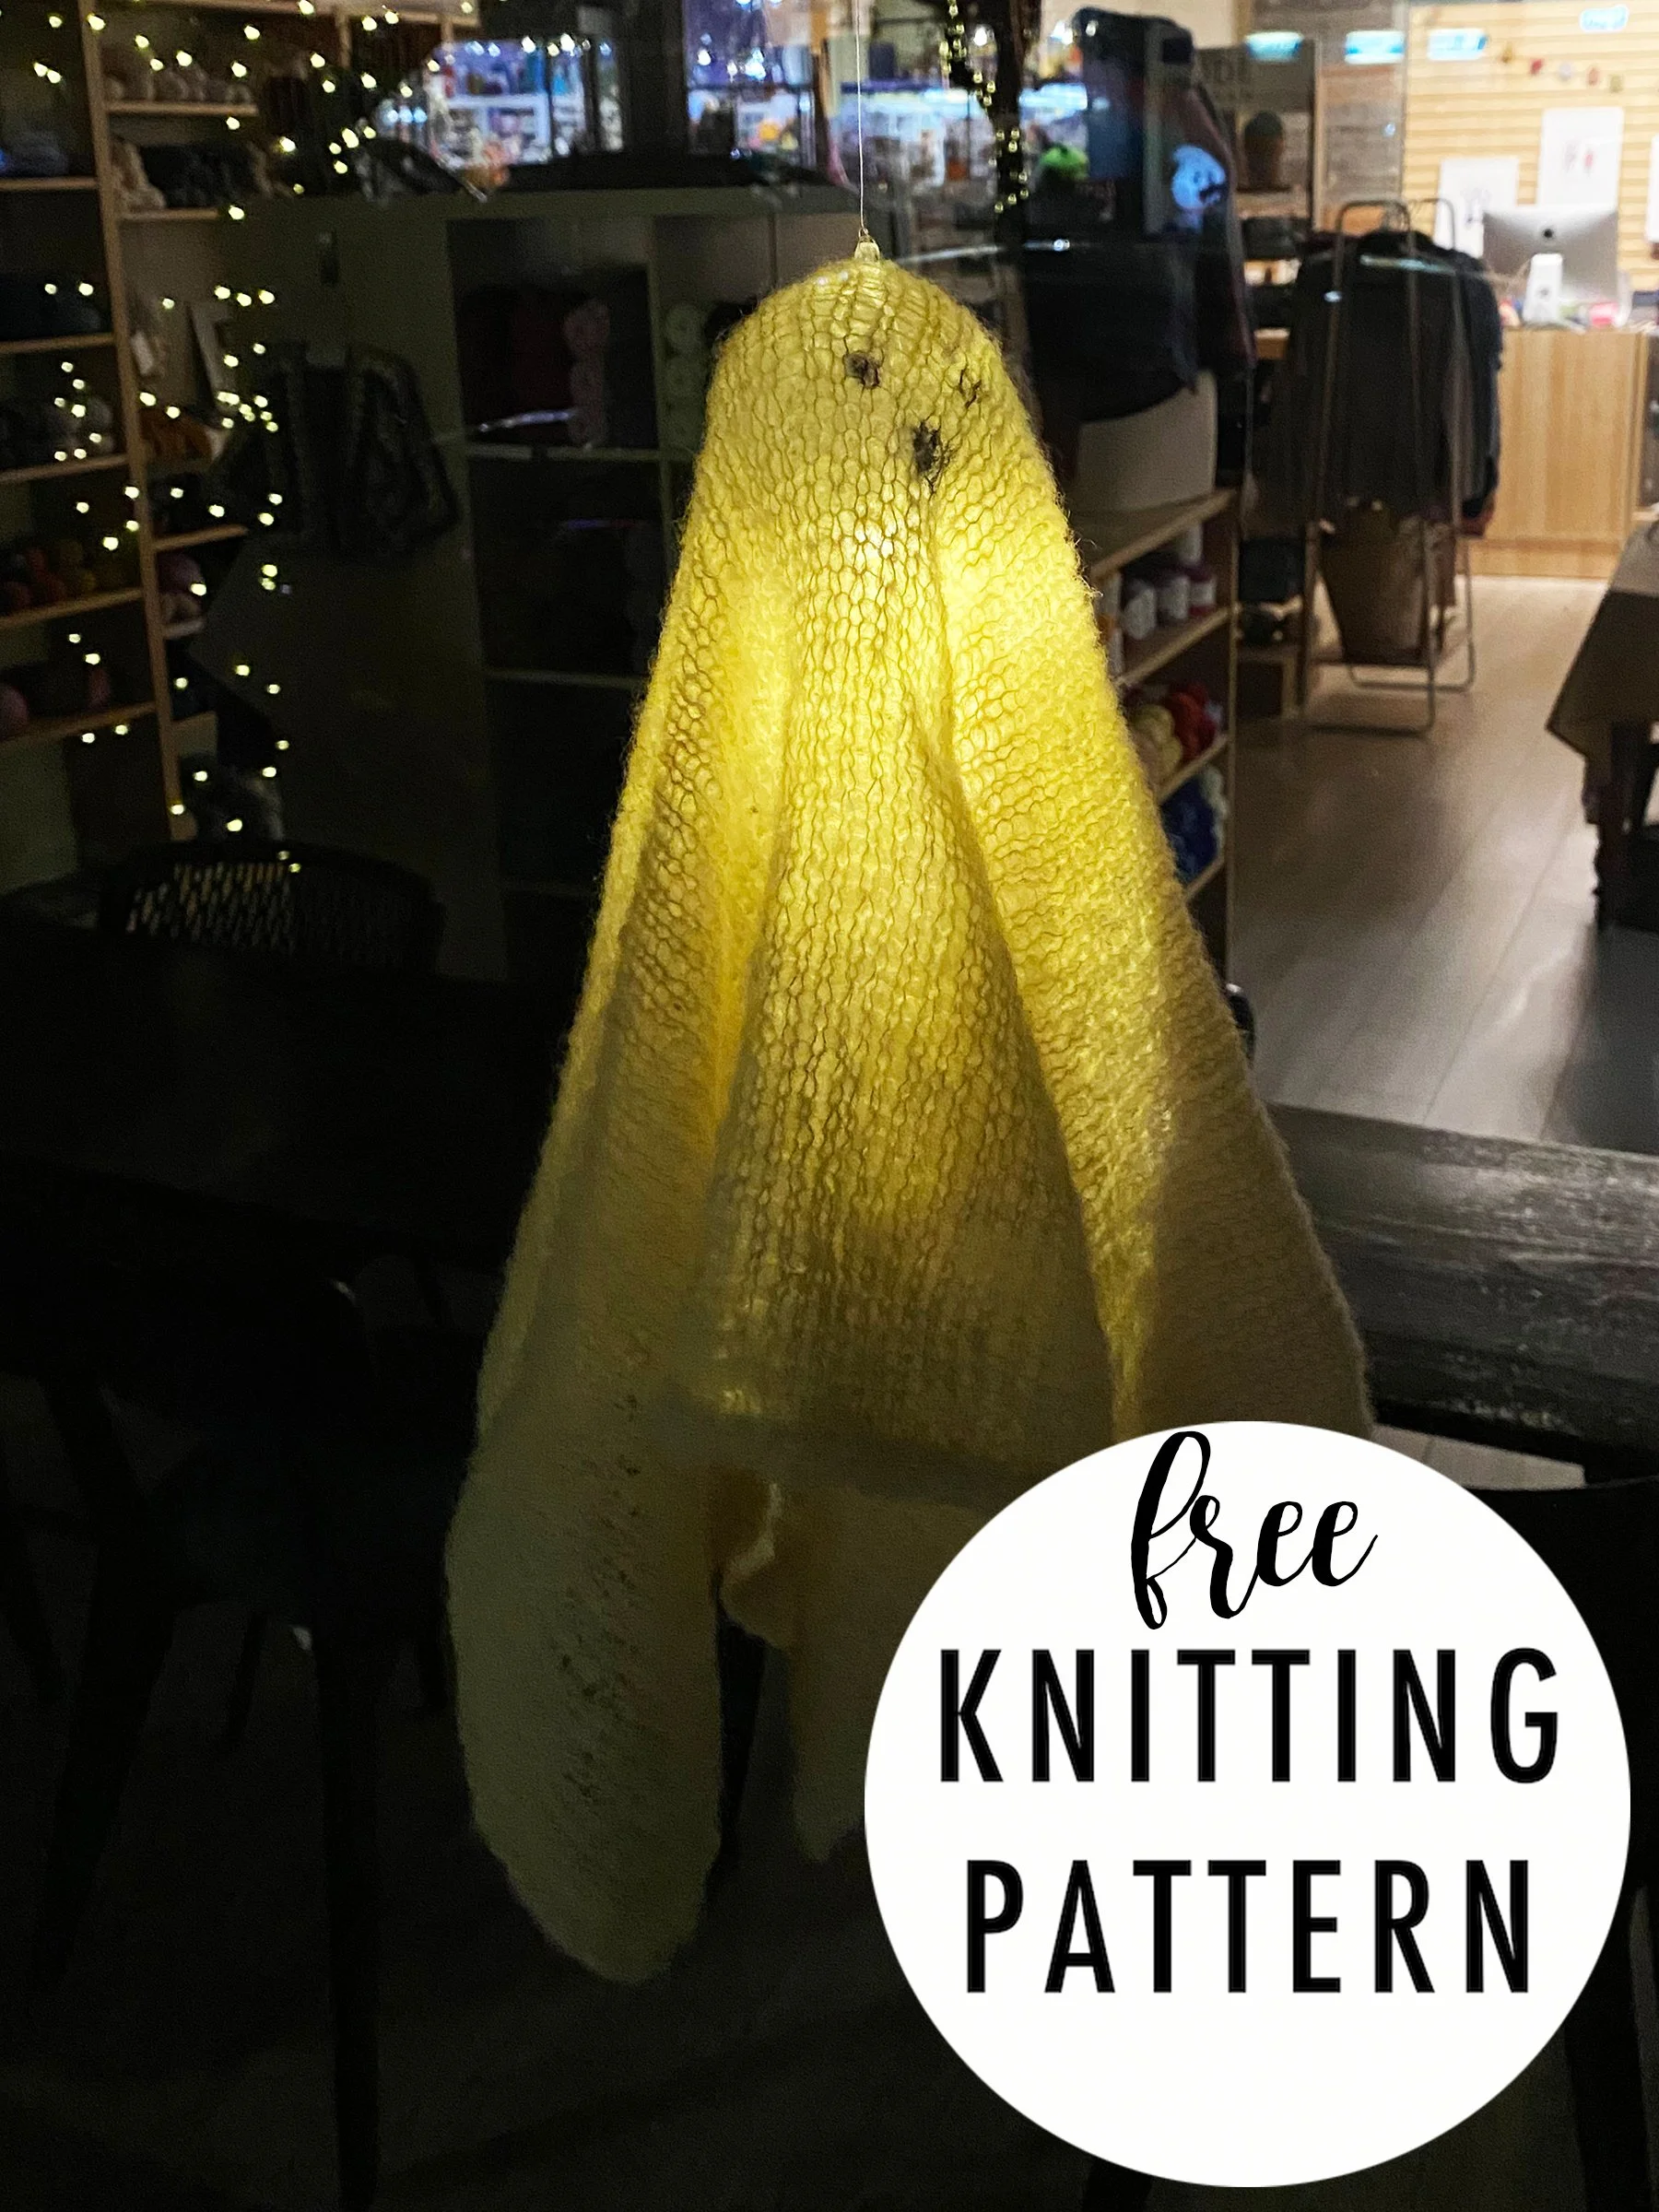
A simple square with some quick and clever finishing is transformed into a fun and spooky Halloween decoration!
I love to see what you make! Share your project on Instagram and tag me @elisemade, or via email to elisemade@gmail.com
Finished Dimensions
21 x 21” (53.3 x 53.3 cm)
Yarn & Yardage
1 ball of Mode at Rowan Alpaca Haze
58% Alpaca, 22% Wool, 20% Polyamide
212m/233yds, 25g
Sample color: 013 Silk
Needles
US 9 (5.5 mm) 40” circular
Gauge
15 sts and 21 rows in 4”/10cm
Tools
LED tealights [Click to Purchase]
60mm clear fillable ornament balls [Click to Purchase]
Clear fishing line for hanging
Black Sharpie for making face
I have put together component kits so you don't have to chase down all the little pieces! Includes 1 x 60mm ornament ball and 1 x LED tealight. Click HERE to purchase kit.
Key
BO – bind off
CO – cast on
K – knit
K2TOG TBL – knit 2 stitches together through the back loops
P – purl
PU – pick up (sts)
ST/STS – stitch/stitches
Construction
A large square is knit in stockinette stitch using mohair held double. Square is bound off using a 3-stitch icord and then stitches are picked up all the way around the square and bound off continuing the 3-stitch icord. Mohair square is -draped over a clear fillable ornament ball with a clear string tied to the top for hanging.
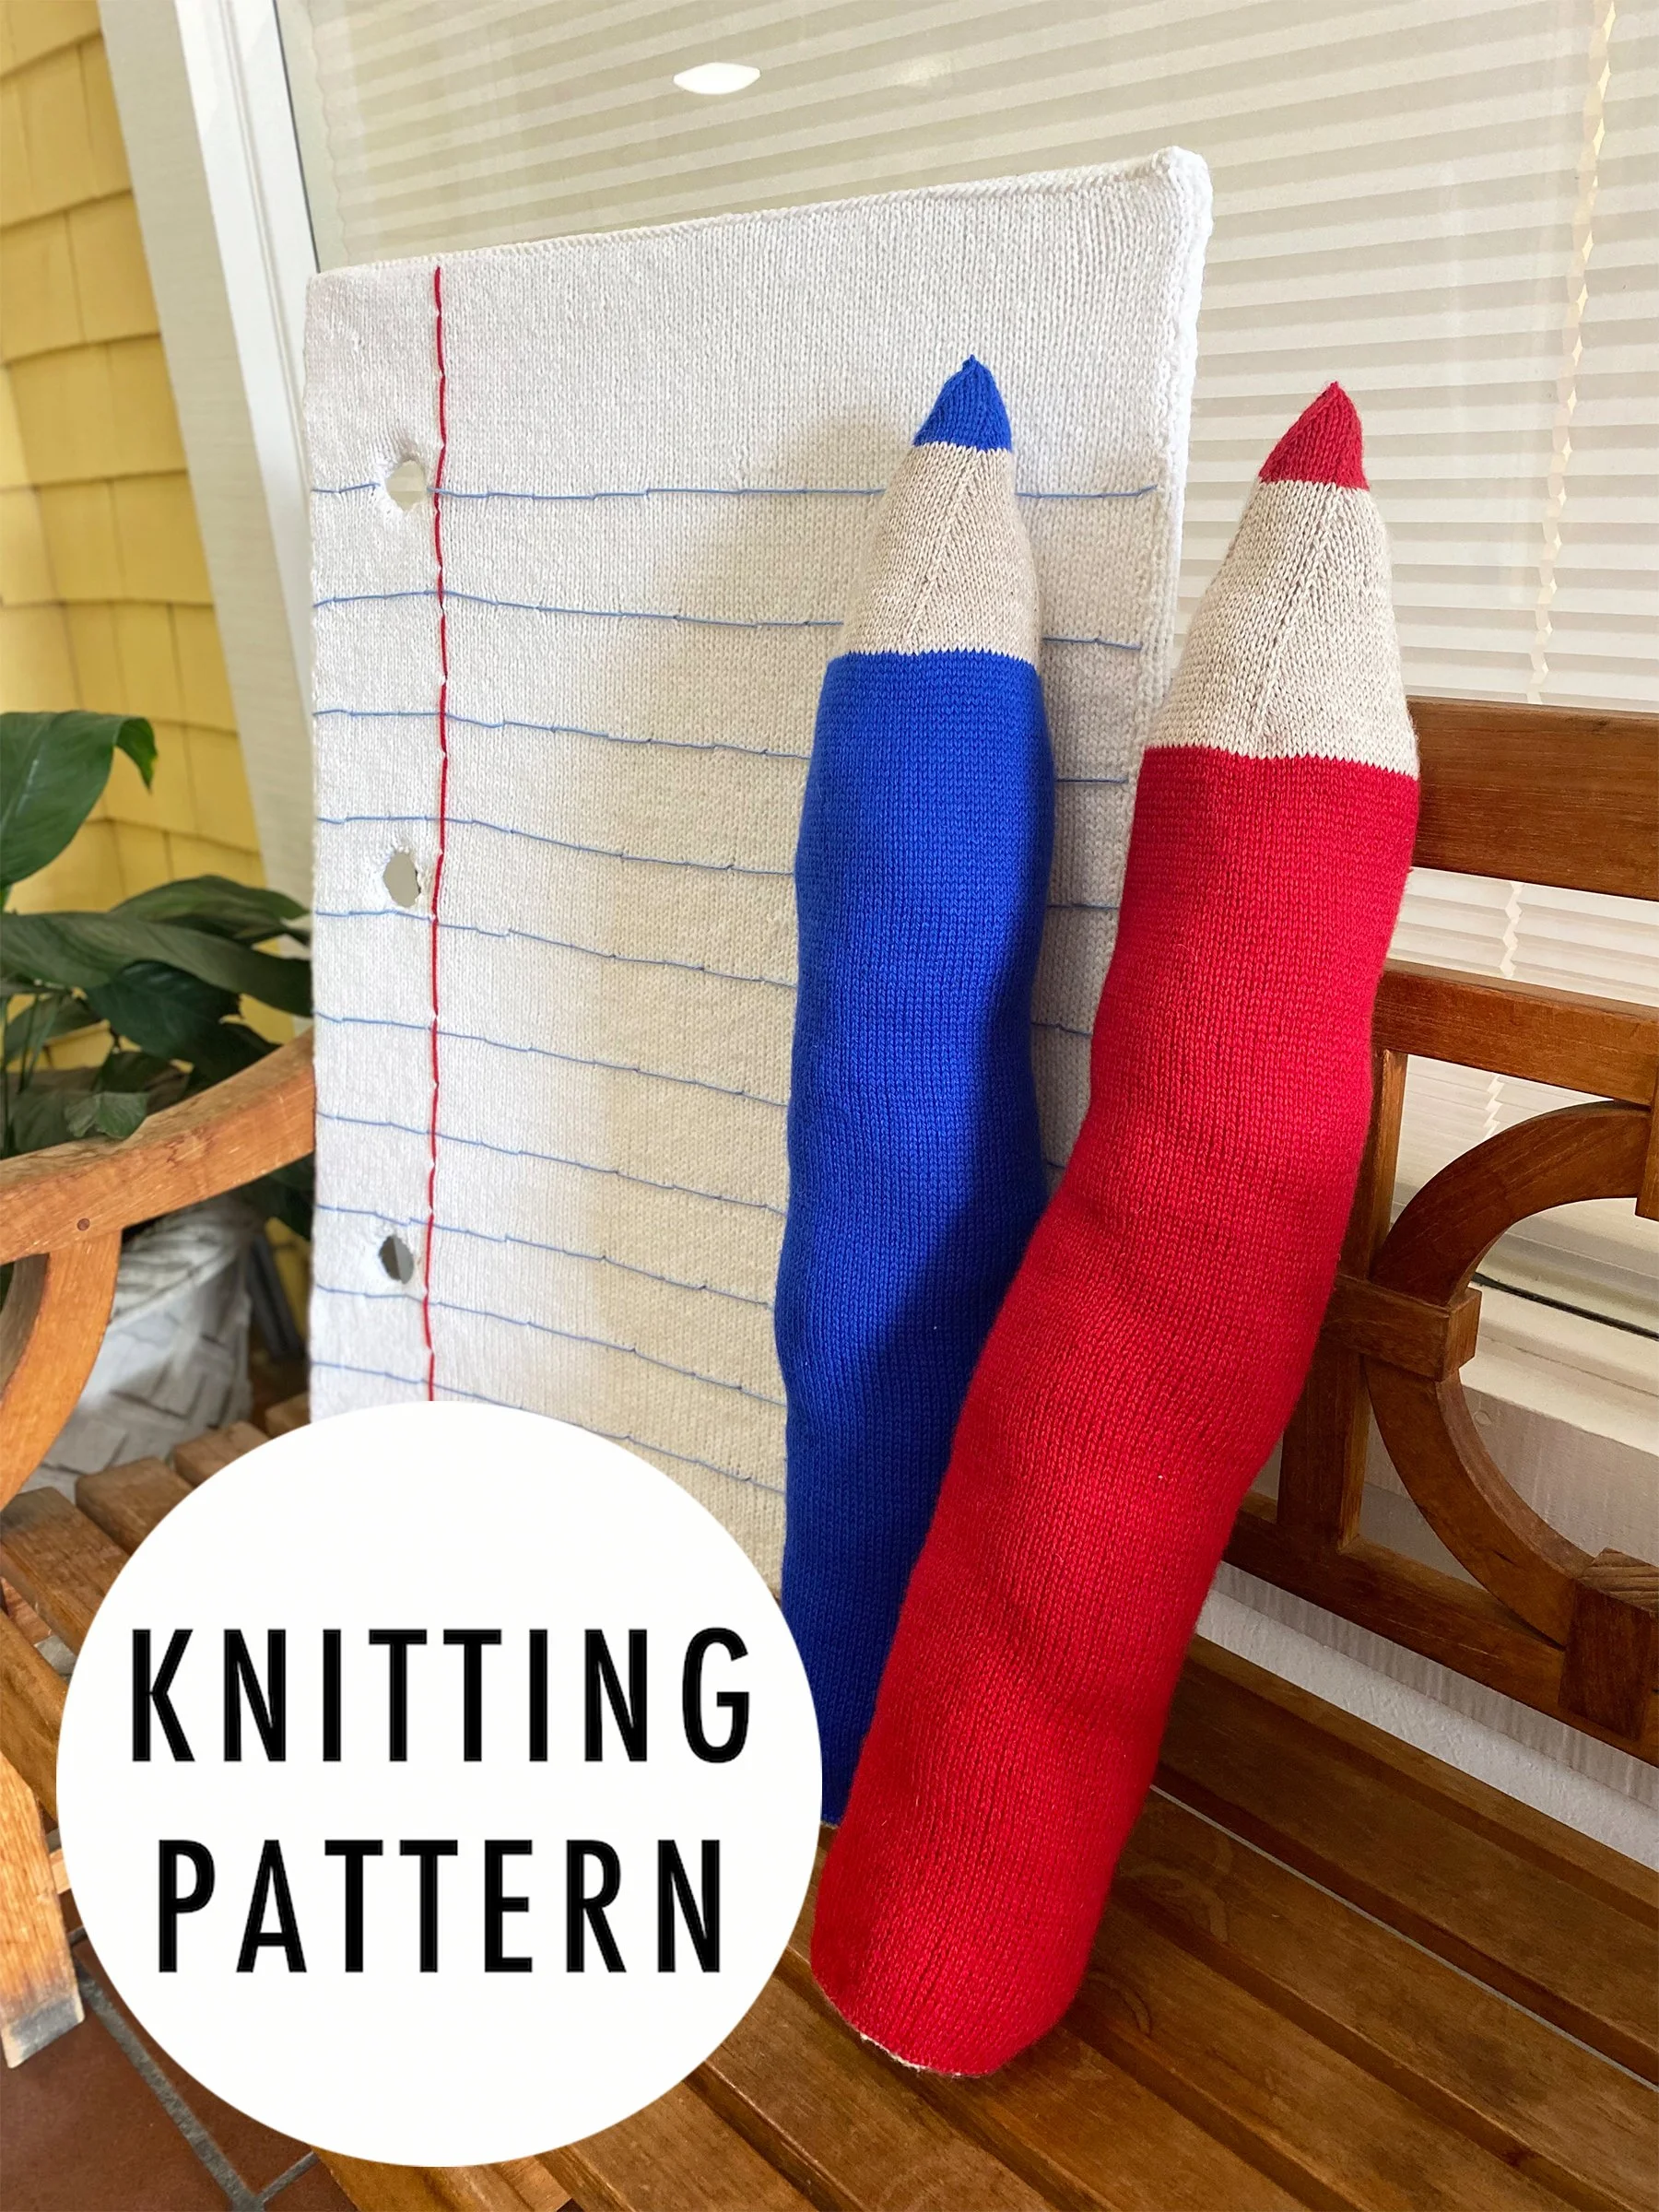
A whimsical oversized toy designed to celebrate “Back to School.” Makes a great gift for teachers or artists!
You can download the corresponding “Binder Paper” pattern guide for free HERE!
I love to see what you make! Share your project on Instagram and tag me @elisemade, or via email to elisemade@gmail.com
Finished Dimensions
30” long x 15” circumference (76.2 x 38.1 cm)
Yarn & Yardage
Berroco Vintage Baby DK
52% Acrylic, 40% wool, 8% Nylon
1.75 oz/50g, 145yds/133m
1 ball in color 10072 Toast (color B)
2 balls in color of your choice (color A)
Sample colors: 10033 Poppy &
10034 Royal Blue
Needles
US 4 (00.0 mm) double pointed needles & 16” circular
or 40” circular for magic loop
Gauge
24 sts and 26 rows in 4”/10cm
Tools
4 stitch markers including 1 unique BOR marker
Tapestry needle
Polyfil stuffing
Cardboard cut into 4” circumference circle
Key
BO – bind off
CO – cast on
K - knit
K2TOG – knit 2 stitches together (decrease)
KFB – knit front and back (increase)
P - purl
PM – place marker
ST/STS – stitch/stitches
Construction
Toy is knit in the round starting from the bottom (flat end) of the pencil by casting on stitches and working outward in simple increases, with color changes creating the pencil base pattern. Tube is then continued in main pencil color. Cardboard reinforcement is sewn into the bottom before continuing to work the colored tube. Simple decreases are used to shape the sharpened end and colored tip of the pencil.
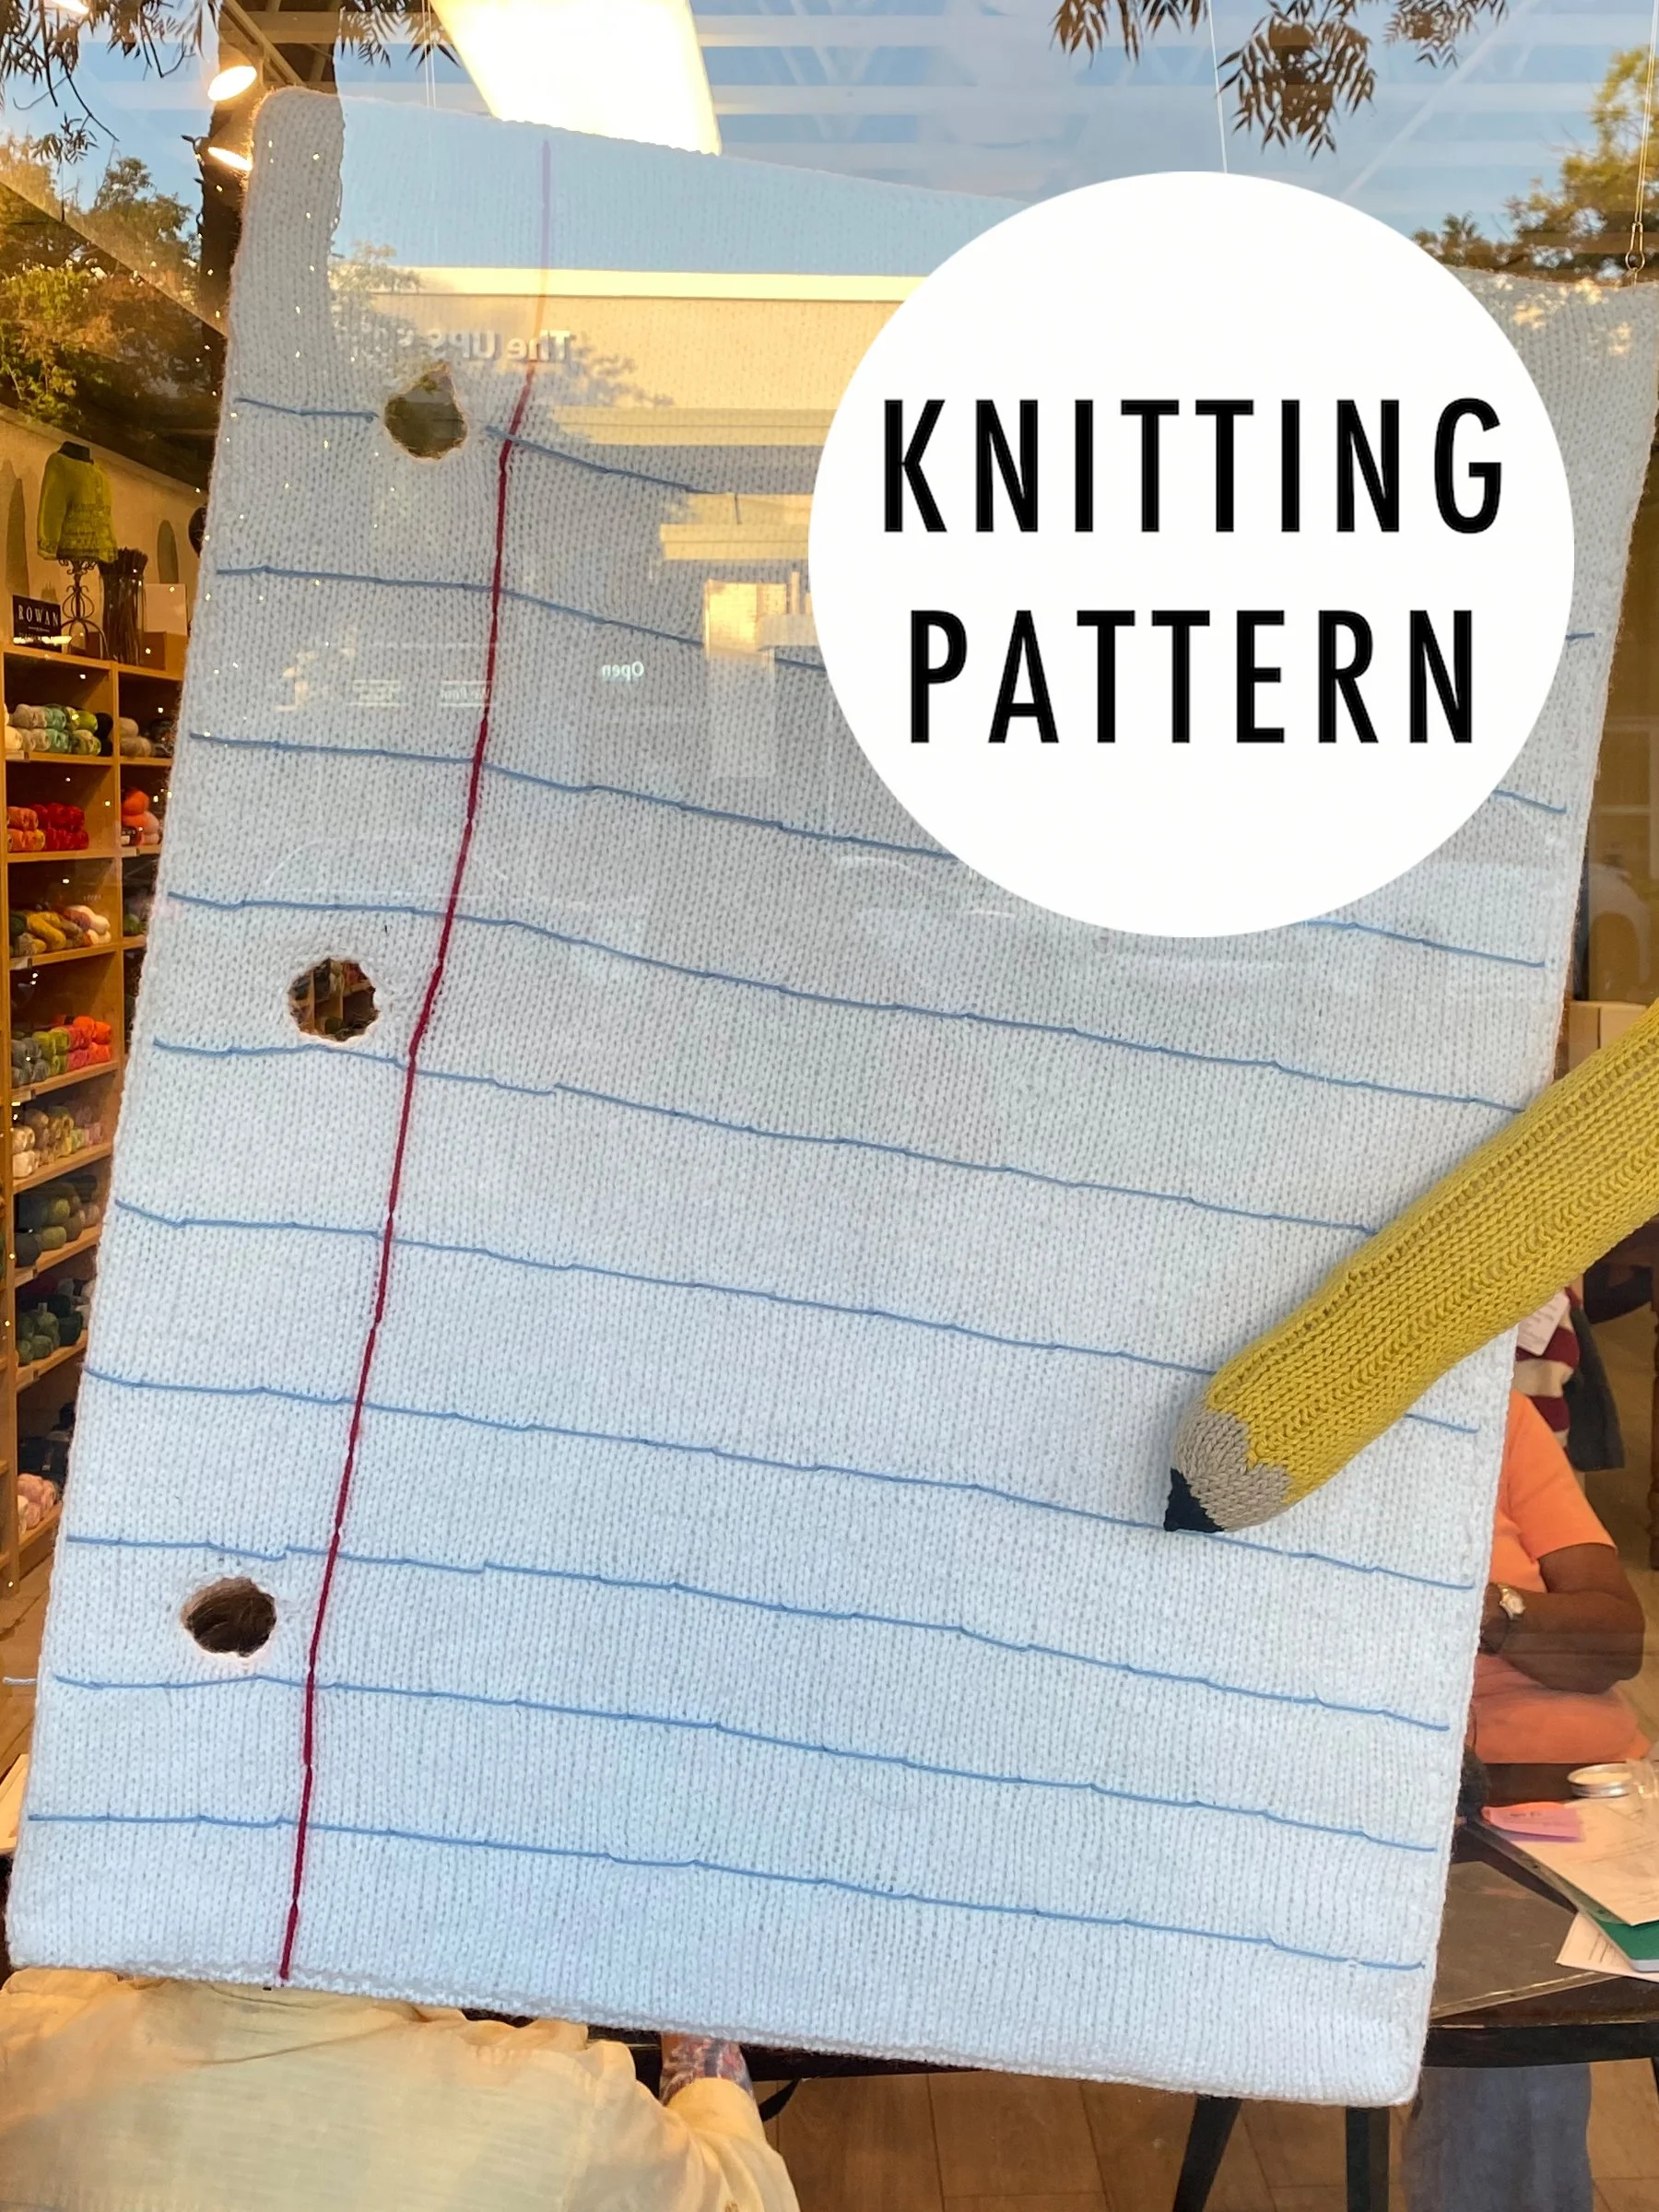
A whimsical oversized toy designed to celebrate “Back to School.” Makes a great gift for teachers or artists!
You can download the corresponding “Giant Colored Pencil” pattern HERE!
I love to see what you make! Share your project on Instagram and tag me @elisemade, or via email to elisemade@gmail.com
Finished Dimensions
24 x 31.5” (61 x 80 cm)
Yarn & Yardage
5 balls of Plymouth Encore
75% Acrylic, 25% Wool
200 yds (182m)/100g
Sample color: 0149 White
or
1000 yards of white worsted weight yarn of your choice
Scrap yarns in light blue and red for embroidery
Needles
40” circular US 8 (5.0 mm)
Gauge
17 sts and 23 rows in 4”/10cm
Tools
Tapestry needle
Poster board information
Key
BO – bind off
CO – cast on
K - knit
K2TOG – knit 2 stitches together (decrease)
KFB – knit front and back (increase)
P – purl
P2TOG – purl 2 stitches together (decrease)
PFB – purl front and back (increase)
ST/STS – stitch/stitches
Construction
A flat panel is knit in stockinette stitch with 3 large “binder holes” created along the left-hand side. A second panel is knit with the holes mirrored on the right-hand side; the two panels are then seamed together around a foam poster board with corresponding holes and embroidered to look like binder paper.
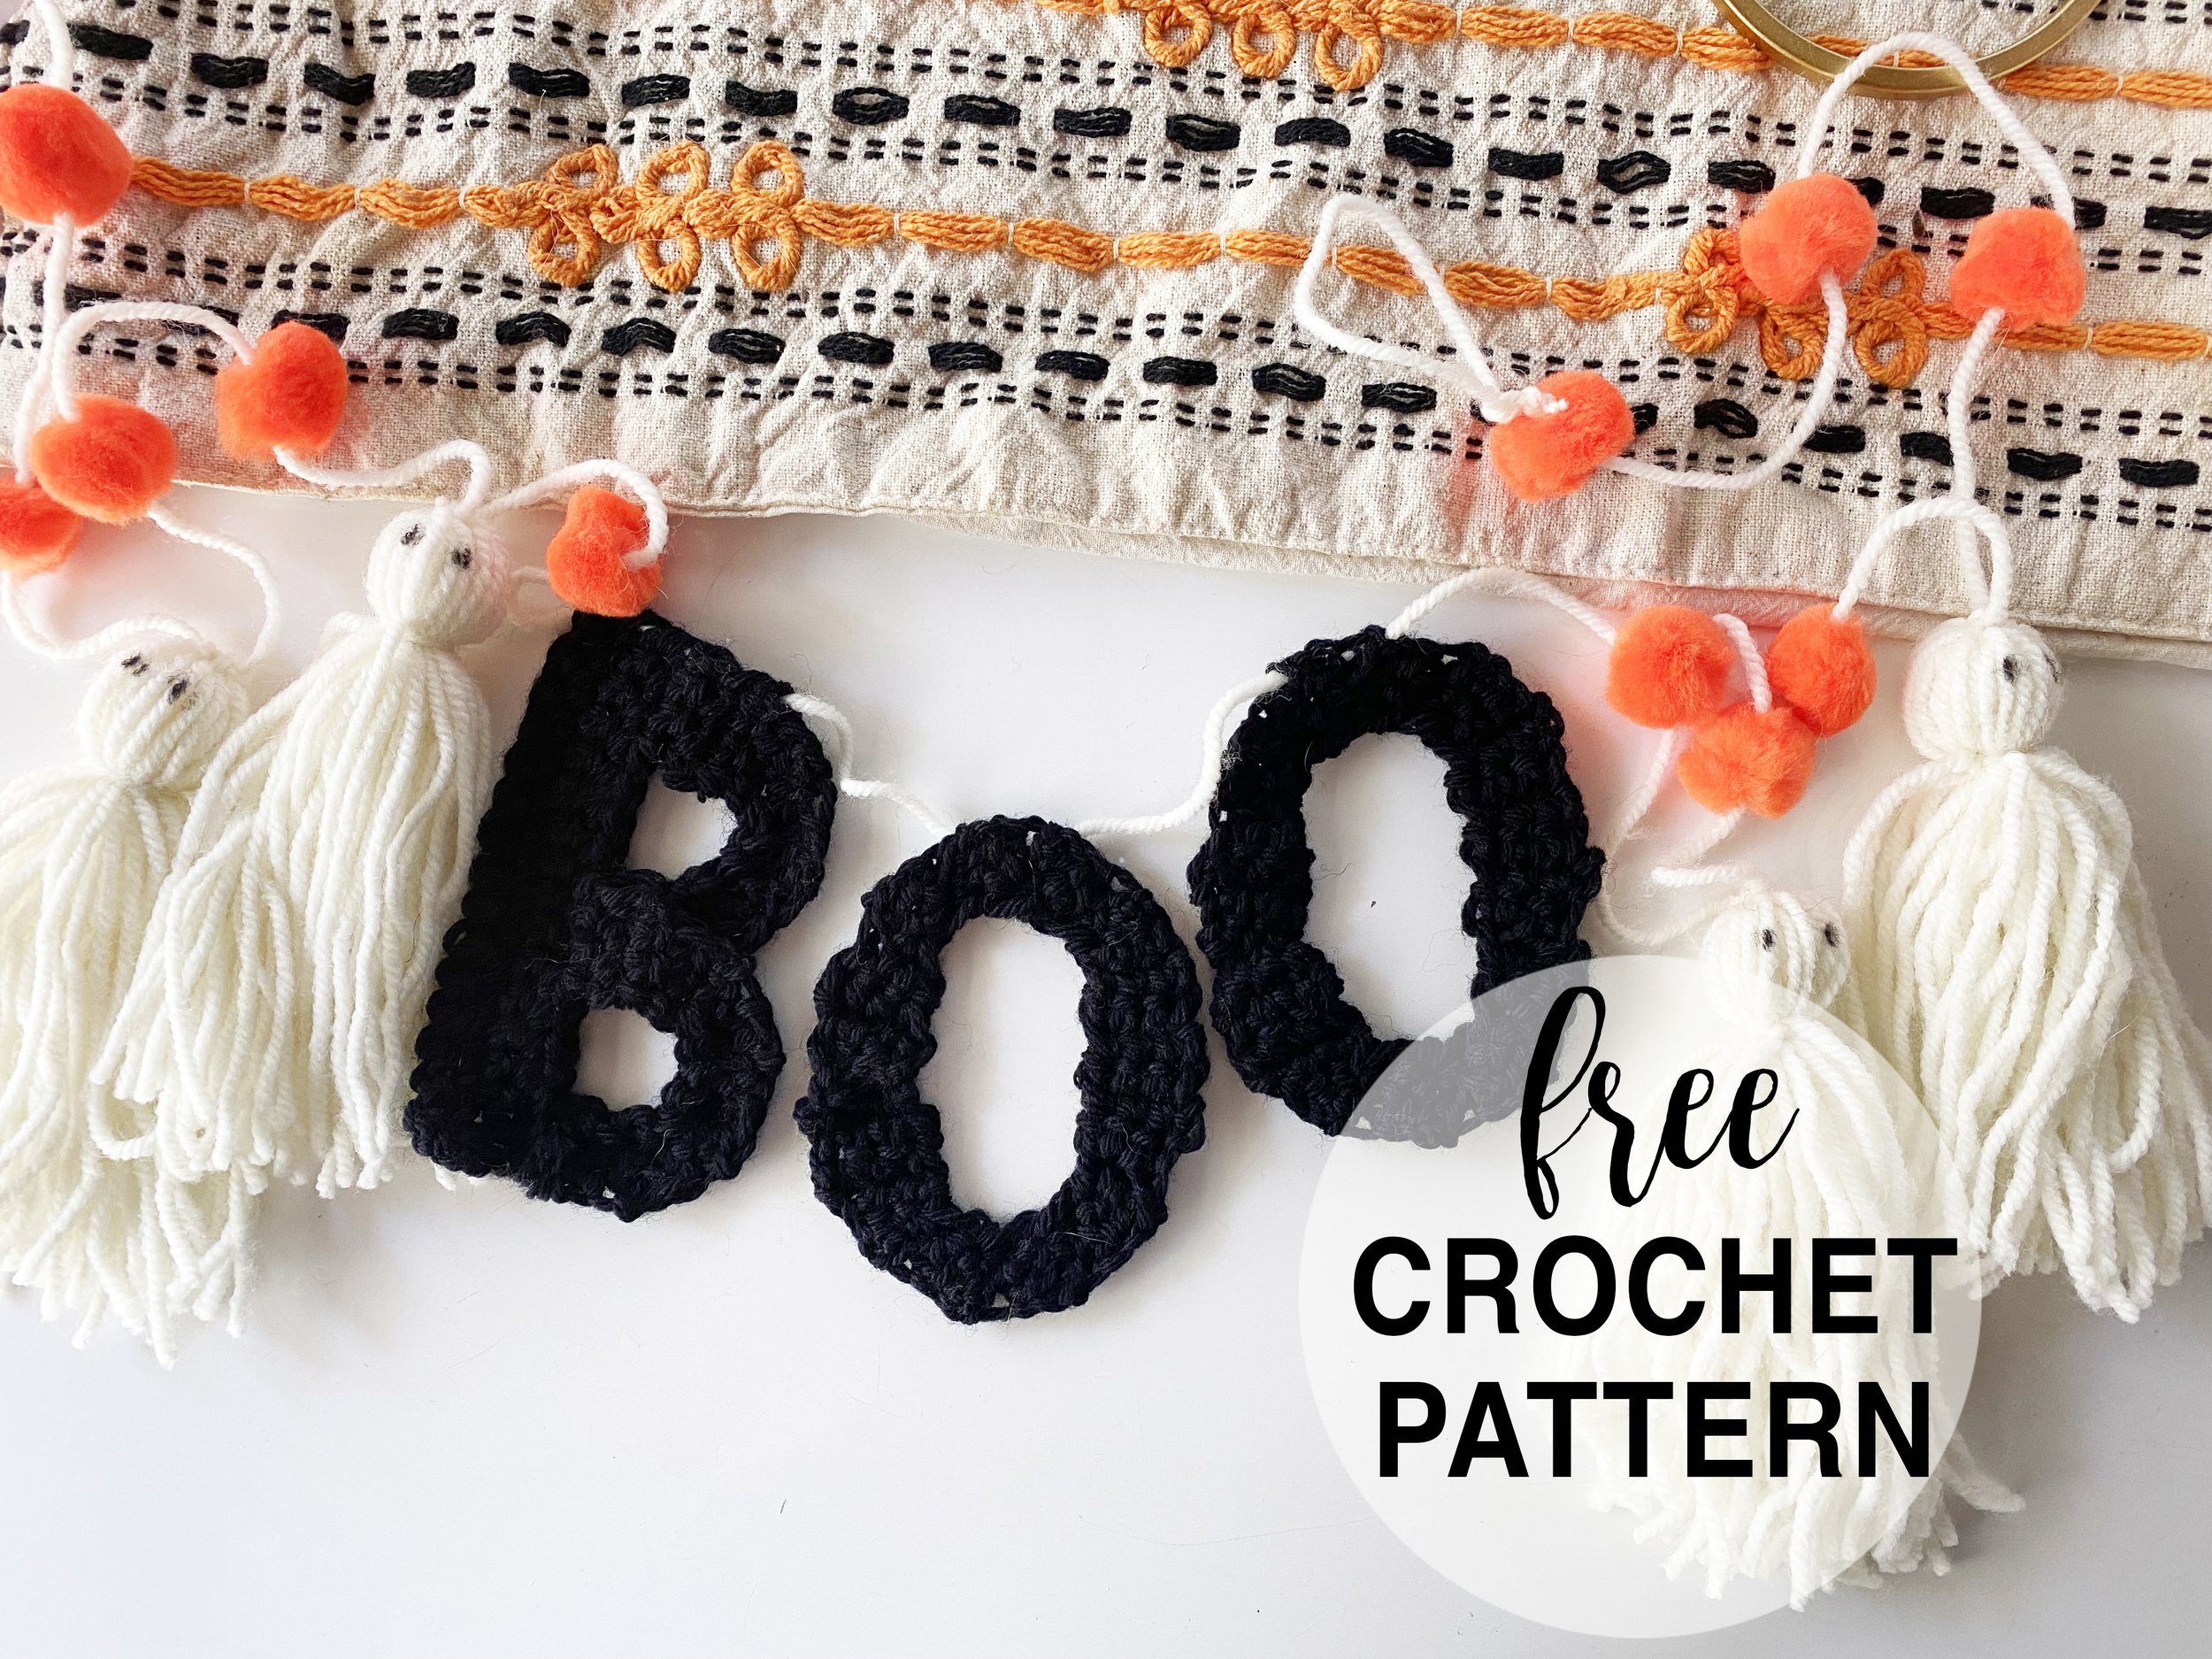
Whip up some spooky halloween decor using simple crochet and a few yarn tassels. Pattern includes instructions for creating letters to spell out “B O O” plus a guide on how to make tassel ghosts.
Yarn/Hook
Worsted weight yarn
G/4.0mm crochet hook
I recommend white yarn for the tassel ghosts and either black or orange for the crochet letters.
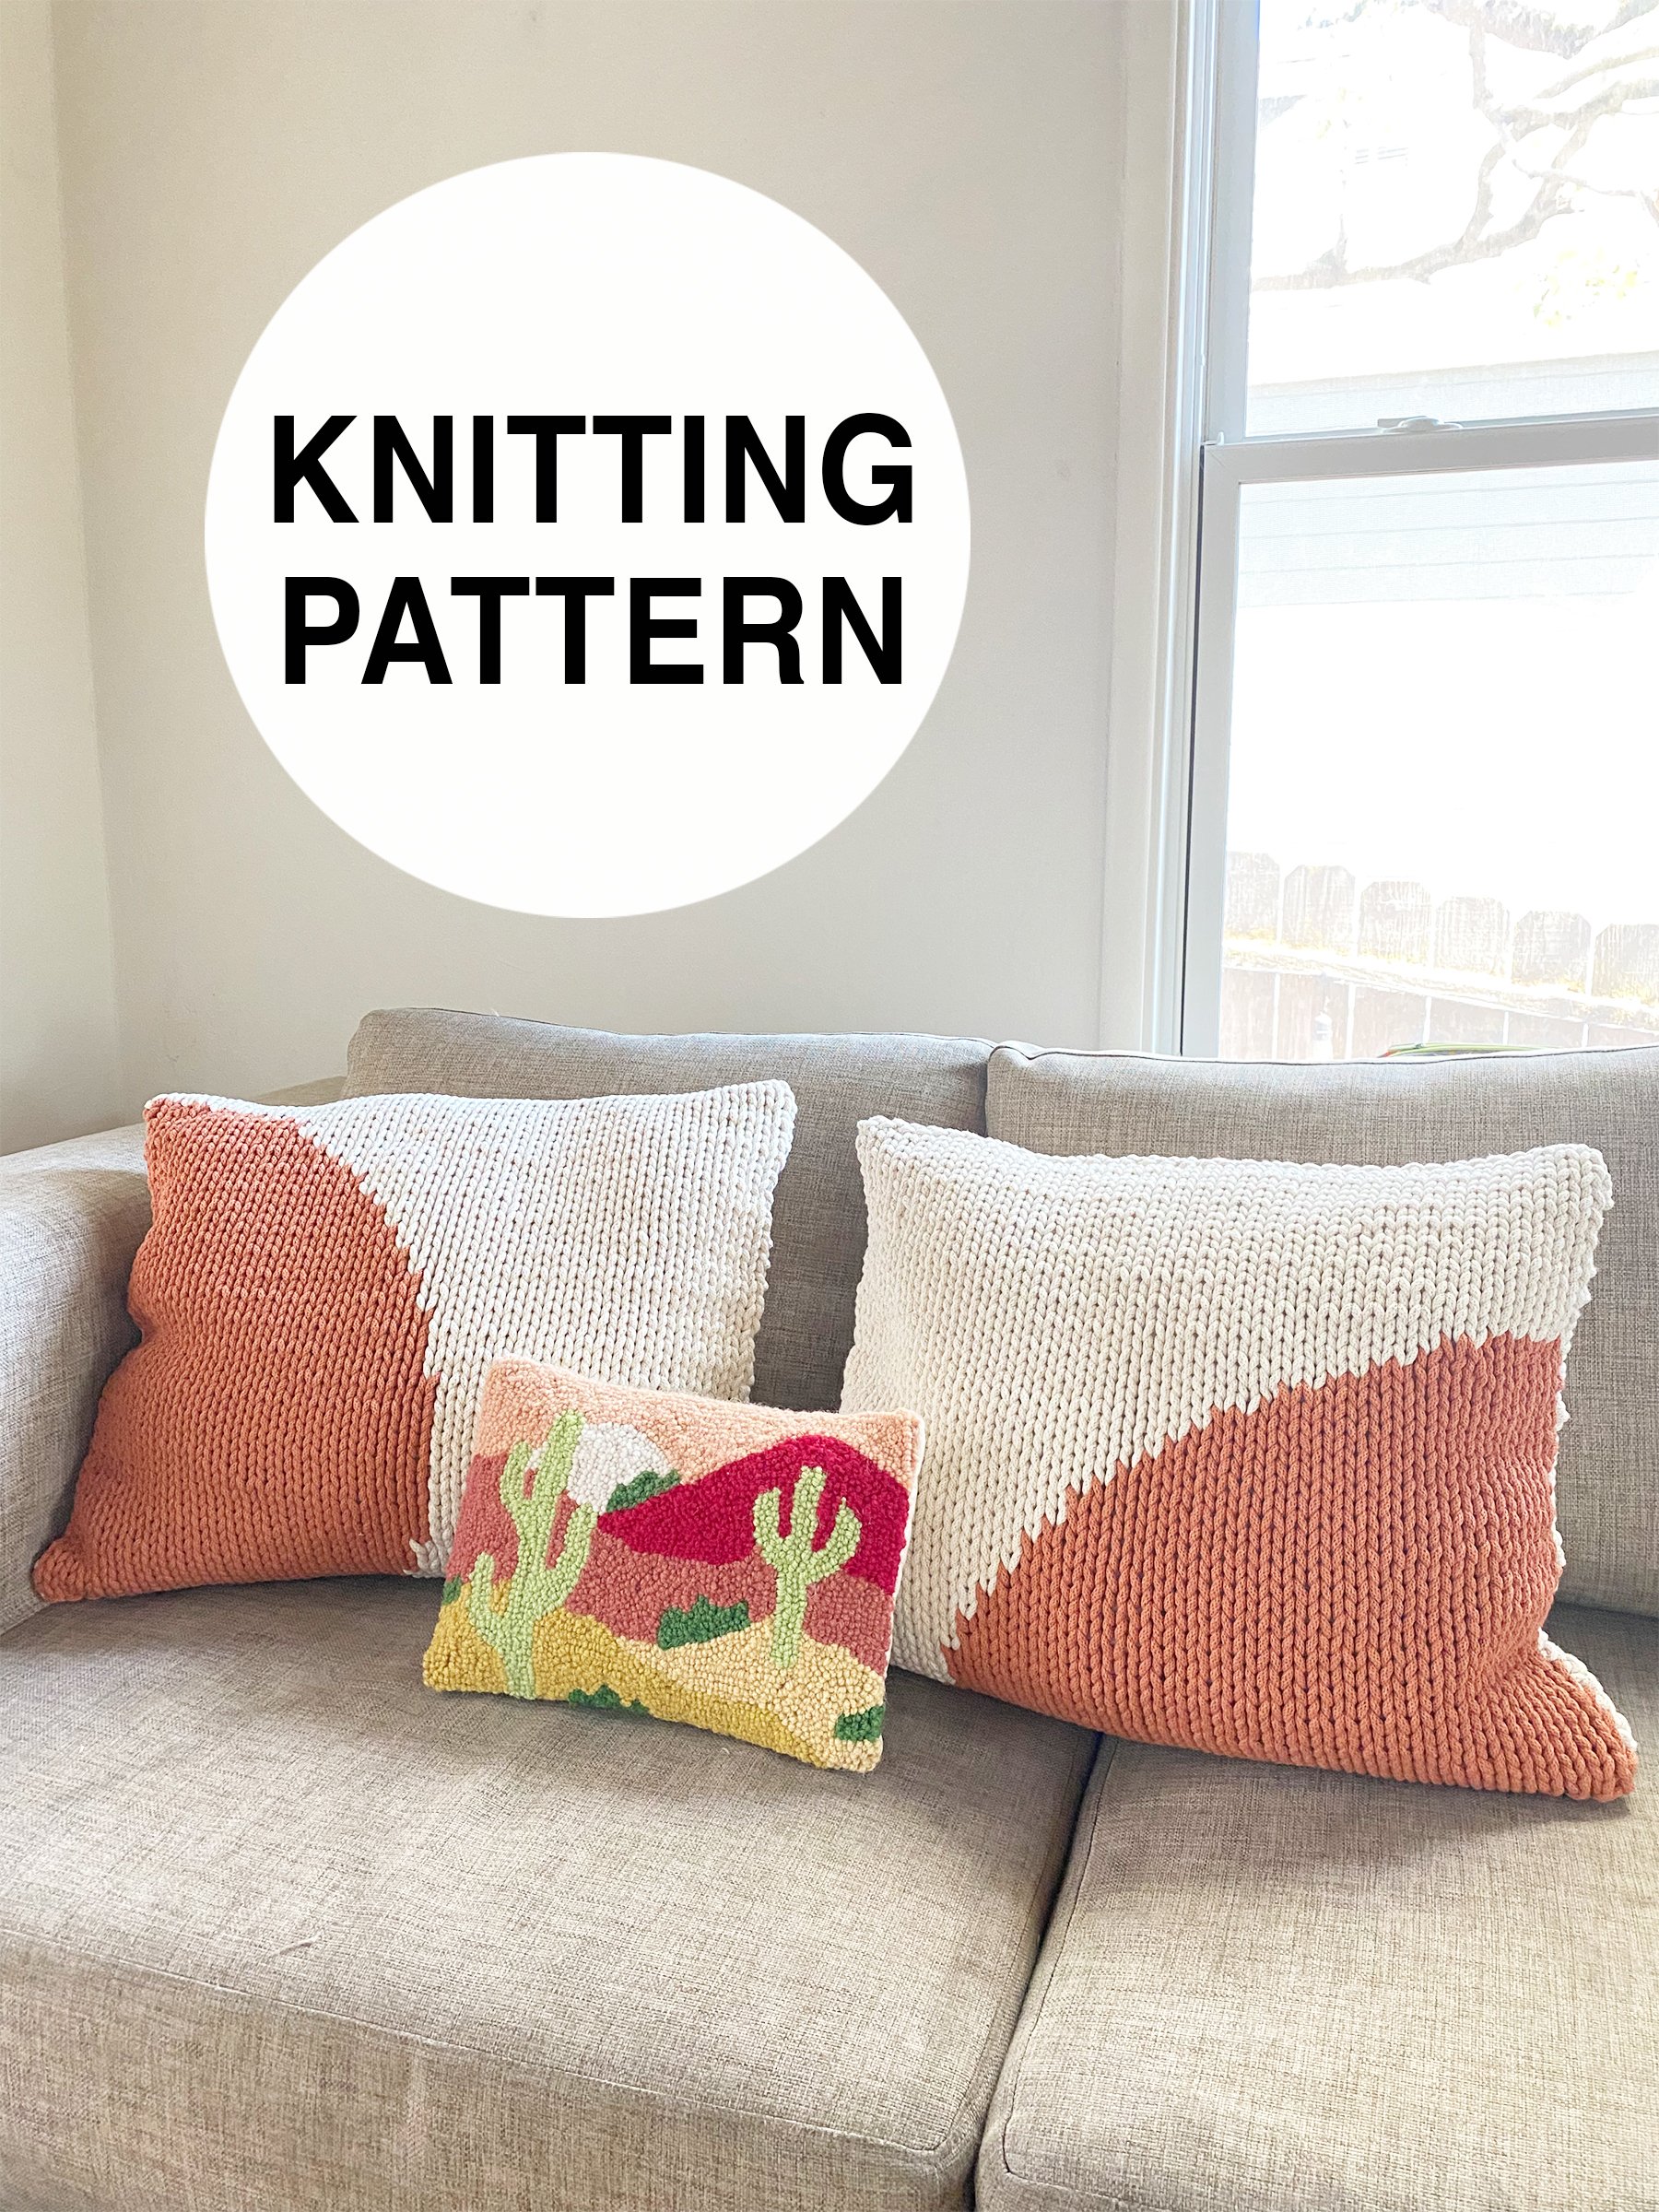
Bring some sophisticated west coast style to your space with these modern pillows, knit in a simple and sophisticated intarsia design perfect for beginners.
Jumbo weight yarn ensures these knit up in no time. Pattern includes video tutorials to add in a zipper so covers can be washable.**
I love to see what you make! Share your project on Instagram using hashtag #SunGlowPillows and tag me @elisemade, or via email to elisemade@gmail.com
Finished Dimensions
Pillows measure approximately 20 x 20” (50.8 x 50.8 cm)
Yarn & Yardage
Bobbiny Premium 5mm Braided Cord
100% Cotton; 109 yds/100 M; 17.28 oz/490 g
for one pillow
MC - 218 yards (2 skeins)
CC – 109 yards (1 skein)
for both pillows
MC – 436 yards (4 skeins)
CC – 218 yards (2 skeins)
or other category 7/jumbo yarn – I would recommend using cotton, cotton blend, or another washable synthetic blend
Needles
32” US 11 (8.0mm) circular needle
Gauge
8 sts and 10 rows in flat stockinette stitch = 4”
Tools
-Large eyed tapestry needle
-Sewing needle
-1 or 2 9” zipper(s) in a color matching your MC (I used these, purchased from Joann’s)
-Sewing thread in a color matching your MC (I used this, purchased from Joann’s)
-20 x 20” pillow inserts (I used these, purchased from Amazon)
Key
CC – contrast color
CO – cast on
BO – bind off
K – knit
MC – main color
P - purl
ST/STS – stitch/stitches
Construction/Skills
Each pillow is knit flat in two panels, a front worked in stockinette stitch with a simple 2-color intarsia pattern, and a back panel knit in garter stitch. Panels are seamed together using mattress stitch leaving a 9” opening at the bottom and a 9” zipper is sewn into the opening.
Zipper Tutorials
Part 1: Pinning in the zipper
Part 2: Sewing in the zipper

Every day is Taco Tuesday with this fun play food set! Single crochet stitches and simple shapes make this a lightning-fast project with maximum cute impact. Perfect for pretend play, learning colors, and sorting practice.
I love to see what you make! Share your project on Instagram using hashtag #CrochetTacoParty and tag me @elisemade, or via email to elisemade@gmail.com
Finished Dimensions
Assembled taco measures approx. 5.5 x 3” (14 x 7.5 cm)
Yarn & Yardage
Worsted weight 100% cotton
Suggested: Lily Sugar’N Cream
100% Cotton; 120 yds/109 M; 2.5 oz/70.9 g
Sample yarns:
Tortillas – Color: Bamboo
Yardage for 4 pieces: 30-32 yards
Steak – Color: Warm Brown
Yardage for 8 pieces: 14-15 yards
Avocado – Color: Sage Green
Yardage for 4 pieces: 4 yards
Hot sauce – Color: Red
Yardage for 4 pieces: 2-3 yards
Hooks
G/4.0mm hook
Tools
Tapestry needle and scissors for finishing
Gauge
Gauge is not important for this project!
Key
Ch - chain
Sc – single crochet
Sl st – slip stitch
St - stitch

A free mini flag pattern to show solidarity with Palestine.
I love to see what you make! Share your project on Instagram and tag me @elisemade, or via email to elisemade@gmail.com
Size
Finished dimensions:
1.5 x 3” (3.8 x 7.6 cm)
Yarn
Scrap worsted weight yarn in RED, GREEN, BLACK, and WHITE.
Needles/Hooks
US 6 (4.0 mm) circular needle
Gauge
Gauge is not important for this project!
Tools
Tapestry needle
Scissors
Construction
Knit from the bottom up in flat intarsia.
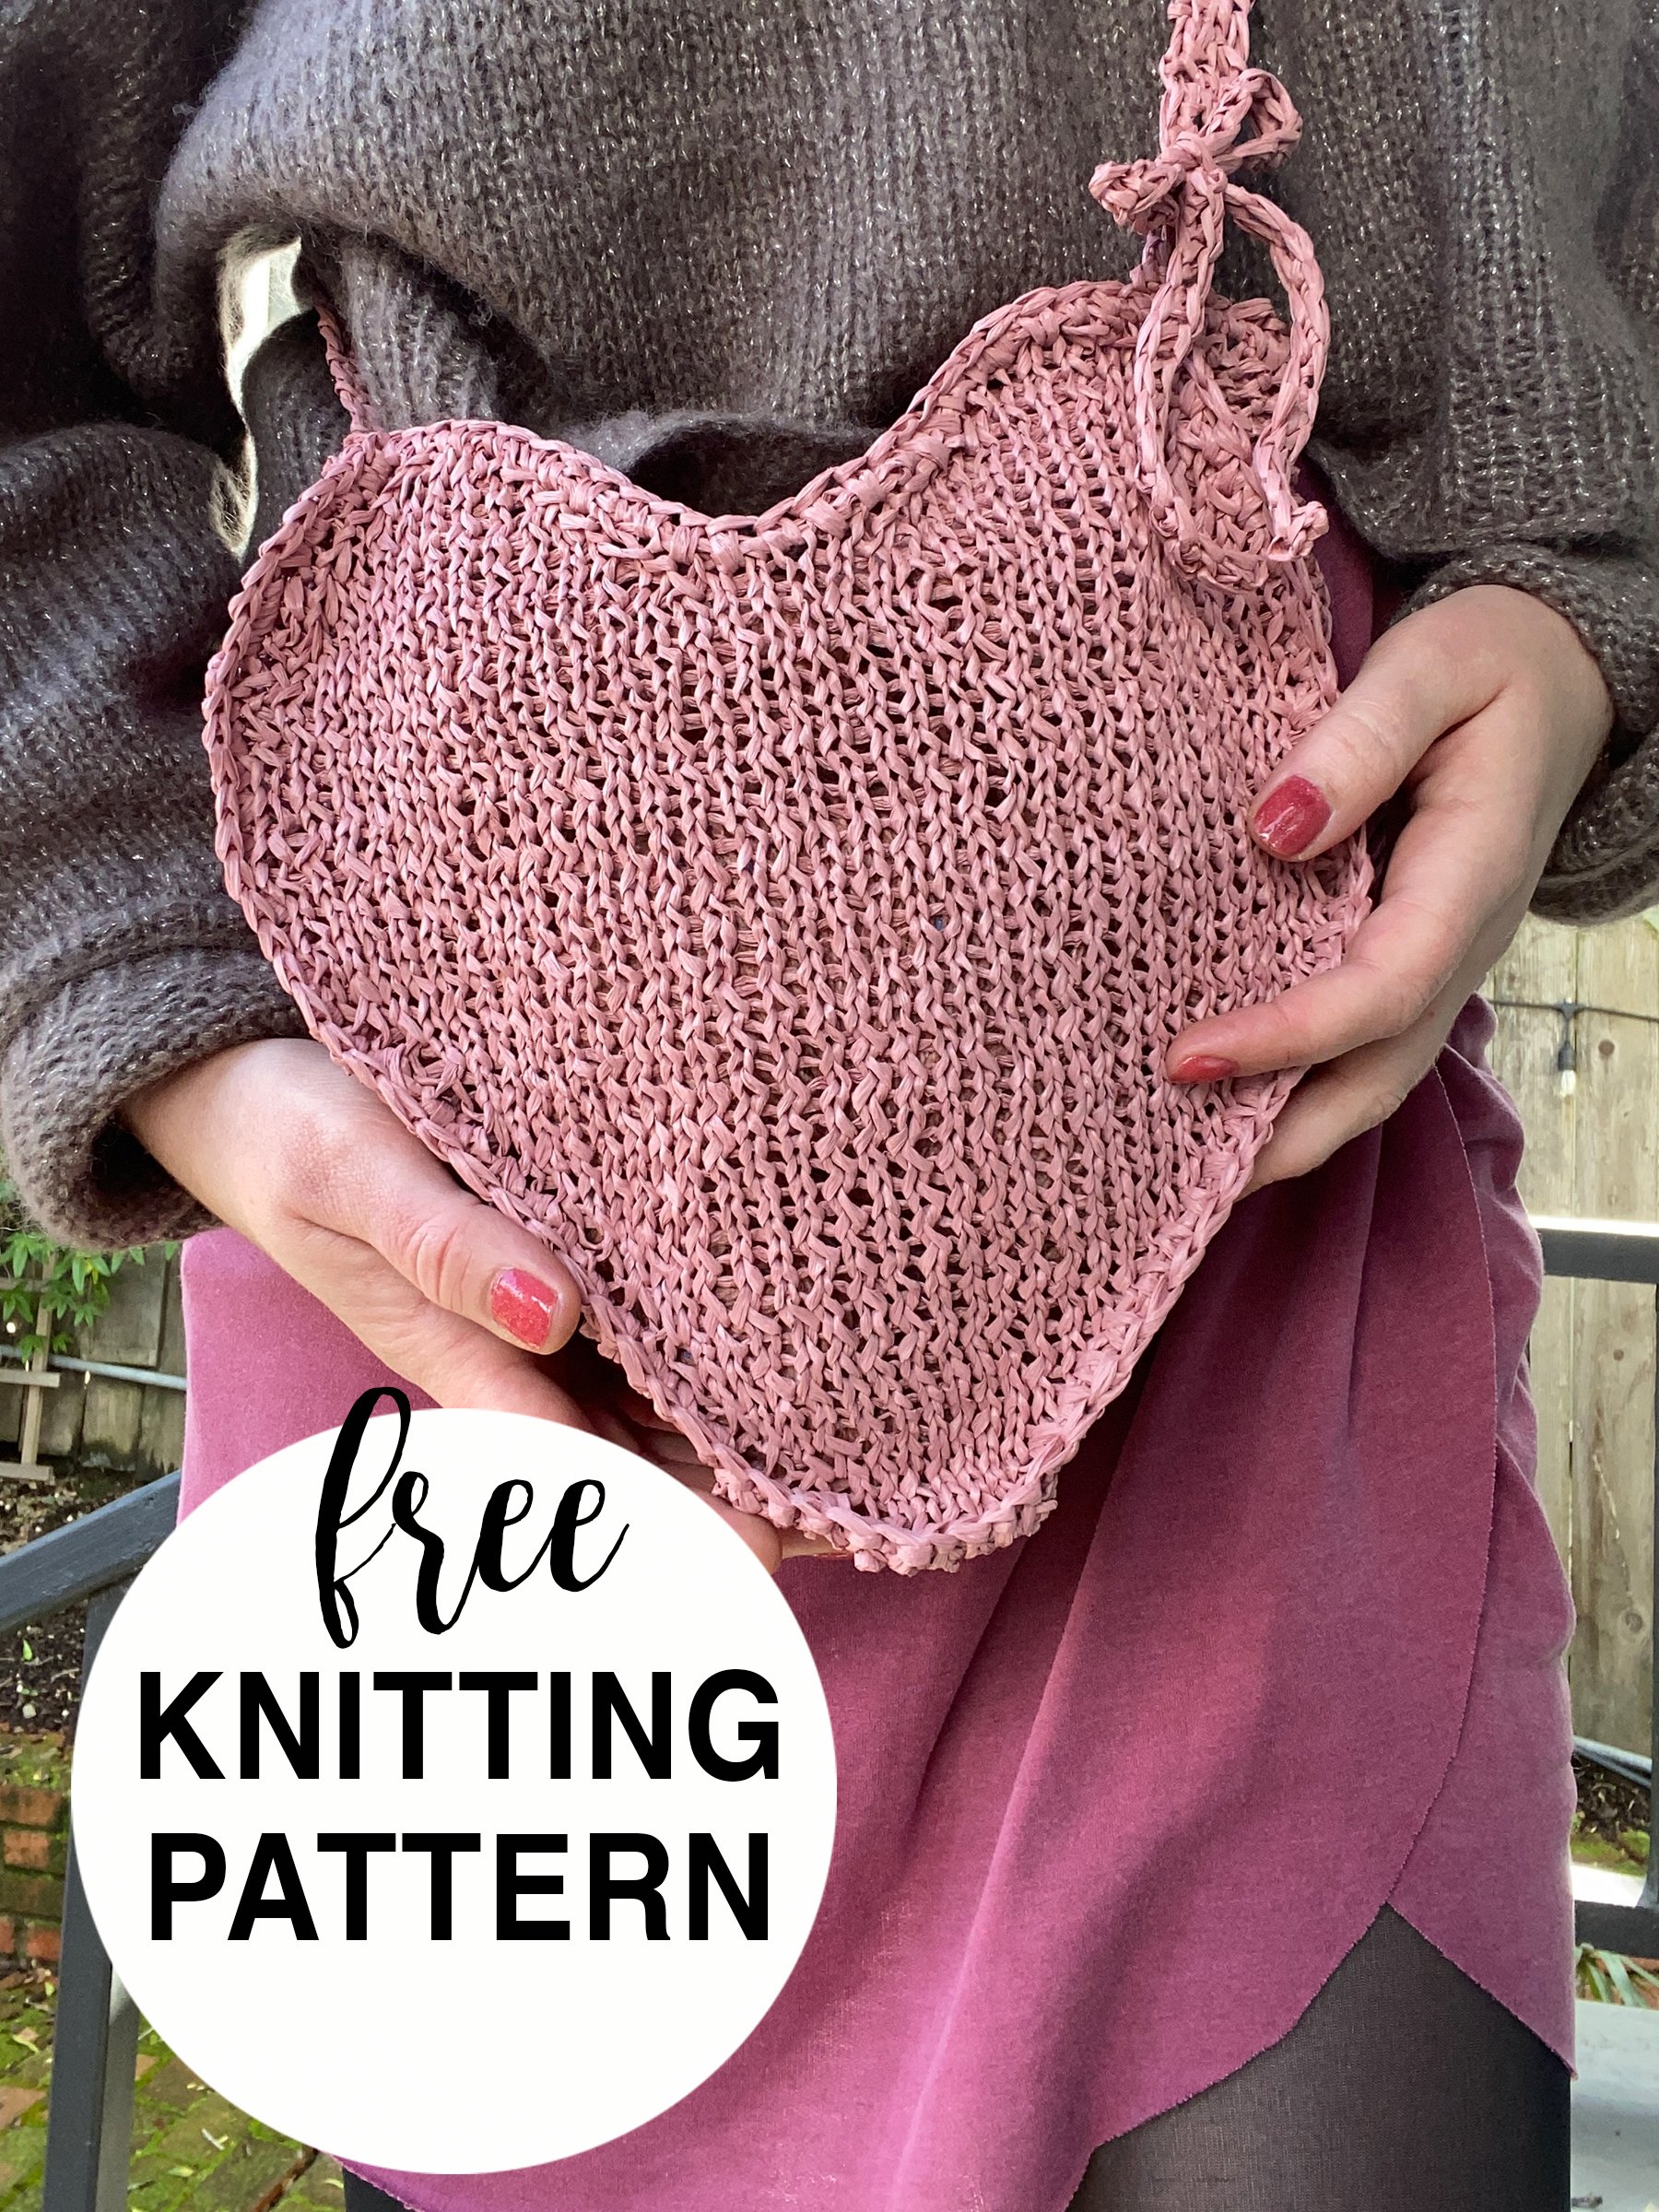
A sweet little raffia purse for all the lovers <3
I love to see what you make! Share your project on Instagram using hashtag #SackdeCoeur and tag me @elisemade, or via email to elisemade@gmail.com
Size
Finished dimensions:
10 x 11” (25.4 x 28 cm)
Yarn
Wool and the Gang “Ra-Ra Raffia”
273 yards / 120 grams
100% viscose
Approximately 180-185 yards / 165-170 meters
Needles/Hooks
US 7 (4.5 mm) circular needle
H/5.0 mm crochet hook for joining
Gauge
On US 7 (4.5 mm), 13 sts and 22 rows in flat stockinette = 4”
Tools
Tapestry needle
Scissors
Key
B/O – bind off
C/O – cast on
K - knit
P - purl
K2T – knit two sts together; single right-leaning decrease
M1L – make one right; single right-leaning increase
M1R – make one left; single left-leaning increase
PSO – pass stitch over to bind off 1
RS – right side
SL1 – slip 1 stitch knitwise
SSK – slip 2 stitches knitwise; knit these 2 sts together through the back loops; single left-leaning decrease
ST/STS – stitch/stitches
SC – single crochet
WS – wrong side
Construction
Two panels are knit flat in a heart shape. Bottom and side panels are knit in one long strip and attached to front and back panels using single crochet stitches. Straps can be worked in either single crochet or knit i-cord by picking up sts in opposite corners, or use a ready-made purse chain or straps.
A friendly little pothos is the perfect way to recycle your le fermiere crocks.
Find handmade candles in recycled crocks by elisemade here.
Finished Dimensions
In crock: approx. 7 x 7” (17.5 x 17.5 cm)
Yarn & Yardage
Soil: 2g/5.5 yds DK weight in brown
Pothos: 12g/32 yds DK weight in green
Needles
US 2 (2.75mm) using preferred small circumference method (DPNs, magic loop, or 2 circulars)
Gauge
26 sts and 36 rows in 4”/10cm in stockinette stitch in the round
Tools
Tapestry needle
Polyfil stuffing
22 gauge green floral wire
Wire cutters
Clean & empty La Fermiere crock, or other 3x3” (7.5 x 7.5 cm) container
Hot glue gun or other strong adhesive
Key
BO – bind off
CO – cast on
CDD – centered double decrease; slip two stitches knitwise, then knit the next stitch. Pass 2 slipped stitches over as if to bind off (2 stitches decreased)
K - knit
K2TOG – knit 2 stitches together (right-leaning decrease)
KFB – knit front and back (increase)
M1L – make one left (left -leaning increase)
M1R – make one right (right-leaning increase)
P - purl
SL1KW – slip one stitch knitwise with yarn in back
SKP – slip 1 stitch purlwise, knit the next stitch; pass slipped stitch over
SSK – slip 2 stitches knitwise, knit these 2 sts together through the back loops (left-leaning decrease)
ST/STS – stitch/stitches
YO – yarn over
Note: instructions written inside square brackets are worked as a repeat across the round
Construction
Soil is knit starting at the bottom in round stockinette and then shaped with simple directional decreases. With remaining live stitches, color is changed and pothos stem is knit in icord then shaped into leaves. Additional vines and leaves are knit starting with shorter icord and seamed to original vine piece