

DIY: Crochet Bobble Hand Towel

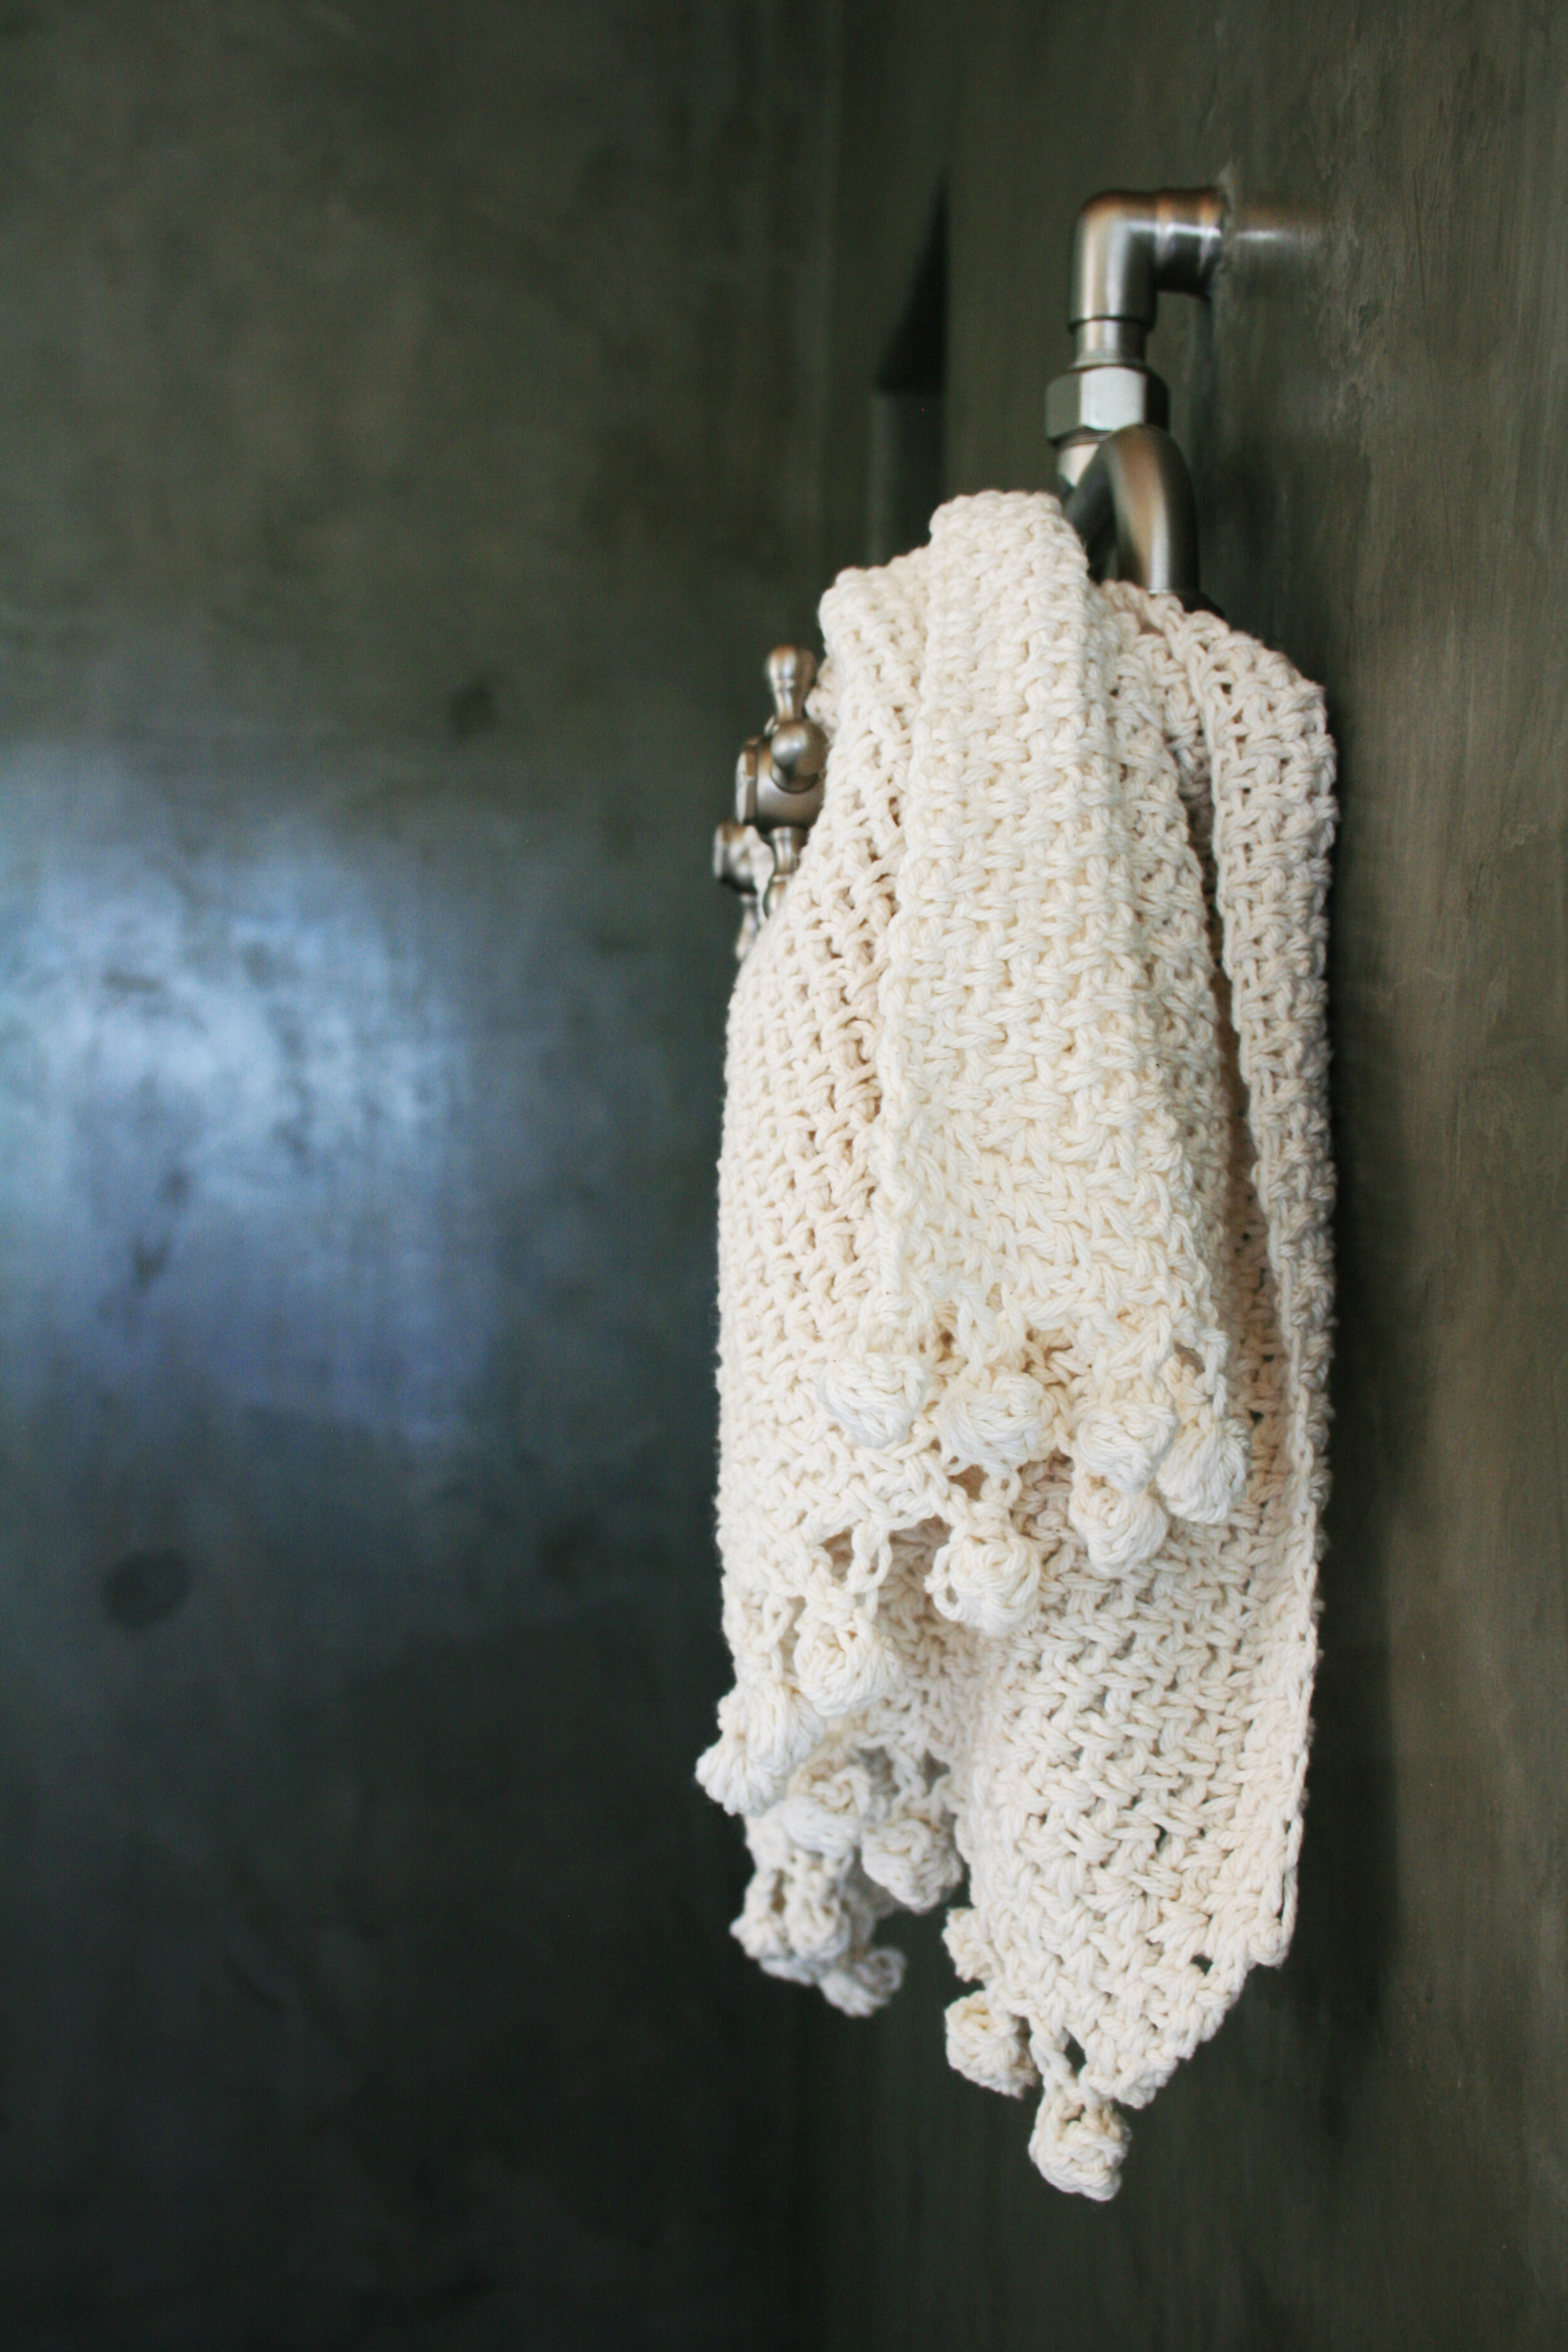
i absolutely love cotton yarn, and lily sugar’n’cream remains my undefeated favorite. it’s the perfect yarn for making home accessories: it comes in the best colors, washes and wears exceptionally well, is widely and easily available, and best of all, it’s like $3 a ball.
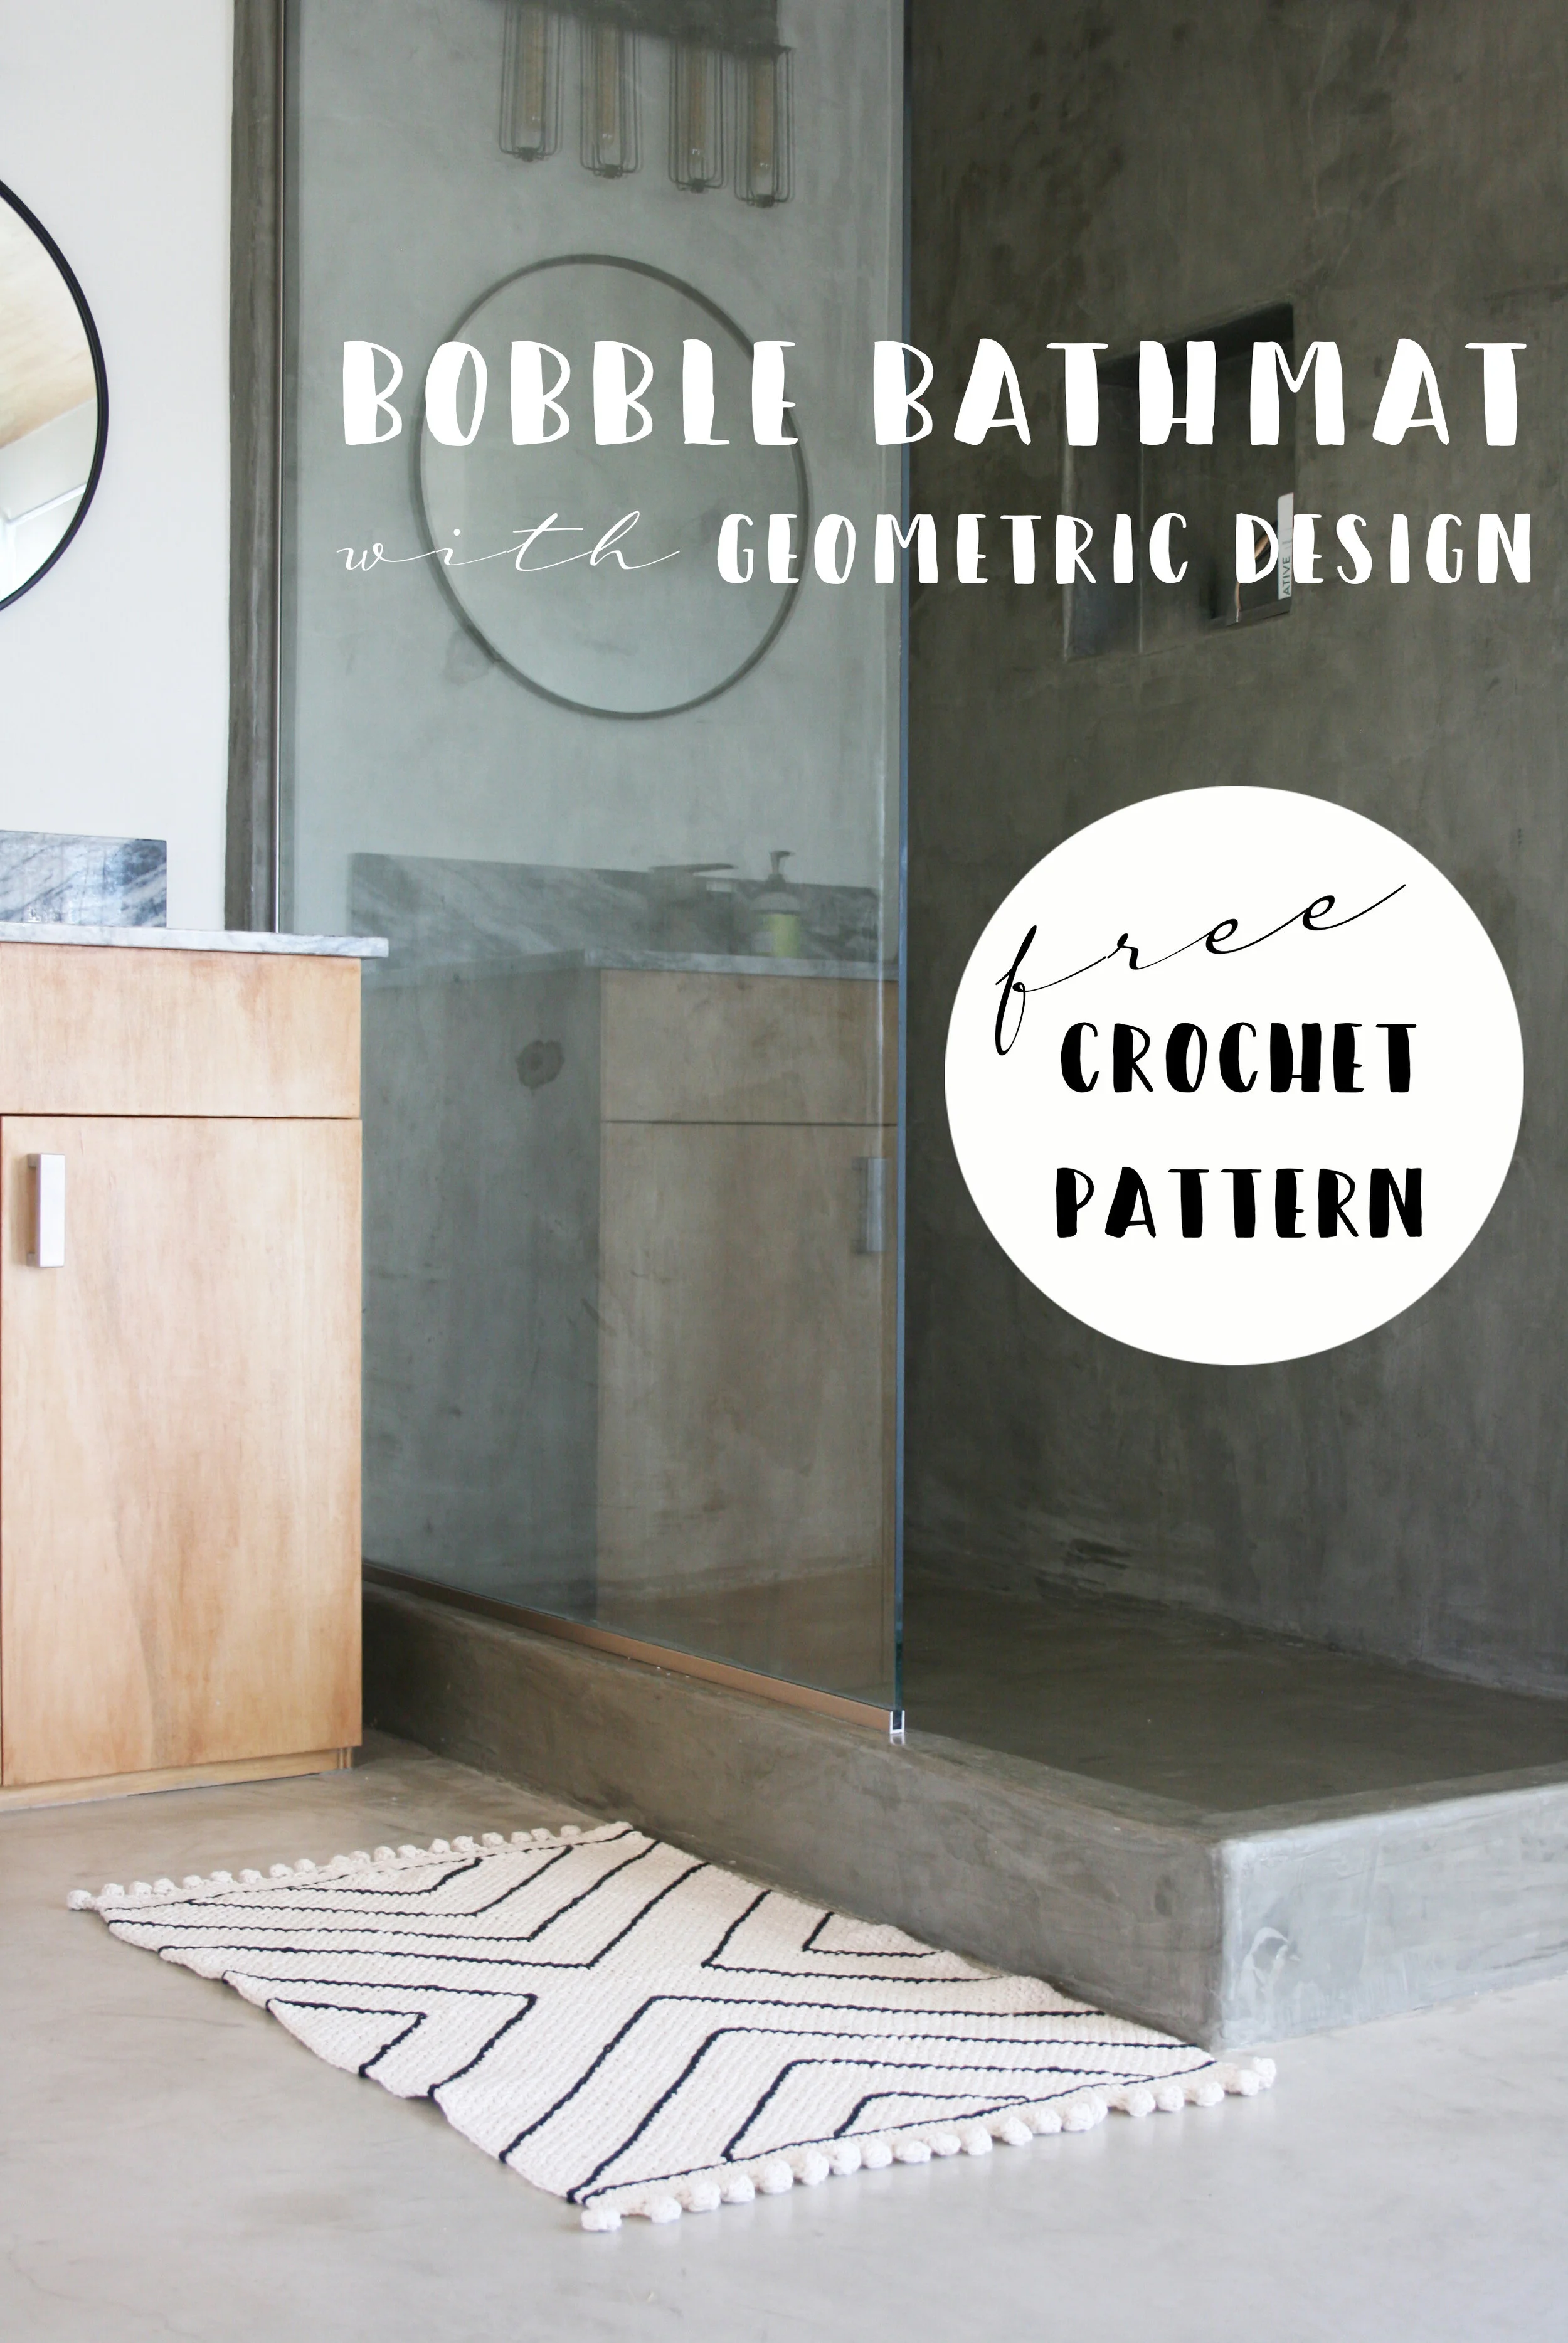
after designing the perfect potholder pattern, i realized how easy it is to transform this humble cotton yarn into luxurious and expensive-looking accessories. next came the perfect tea towel pattern, and then my favorite to-date, the crochet bobble bathmat and the embellished geometric version. i’m so obsessed with the bathmat i knew i had to make a matching hand towel.
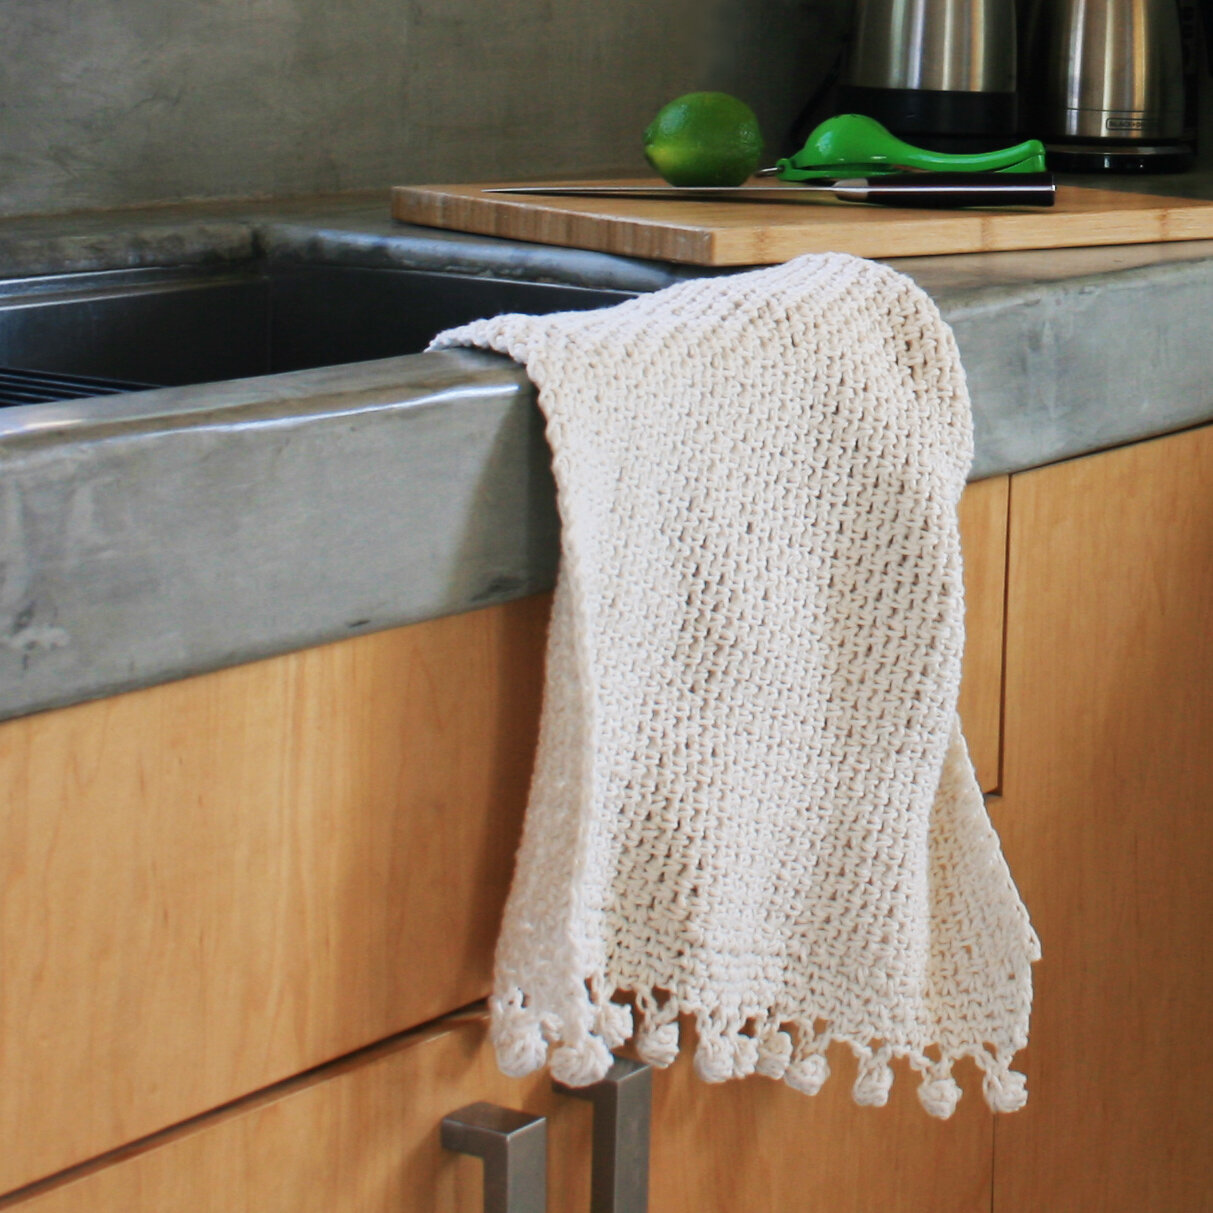
whether you use it in the bathroom or the kitchen, this towel is the perfect mix of functional and stylish.

MATERIALS
YARDAGE/YARN: approx. 350 YARDS, 4-PLY WORSTED WEIGHT 100% COTTON
SUGGESTED: 2 supersize balls of LILY SUGAR’N CREAM (I USED COLOR ECRU)
HOOKS: MAIN HOOK/BOBBLE HOOK: H/8-5.00MM
TRIM HOOK: F/5-3.75MM
FINISHED DIMENSIONS: 24x16”
PAttern

the hand towel uses the same hook sizes and is worked in the same stitch pattern as the original bath mat.
you can reference the bath mat pattern instructions and tutorial photos in the original blog post here.
hand towel modifications:
WITH MAIN HOOK, FOUNDATION CHAIN 44 STS
WORK FLAT SINGLE CROCHET MOSS/LINEN/GRANITE STITCH UNTIL PIECE MEASURES approx. 16”.
USING THE TRIM HOOK, JOIN YARN TO THE SIDE EDGE AND WORK MOSS/LINEN/GRANITE STITCH FOR 4 ROWS.
SWITCH TO MAIN HOOK SIZE AND WORK 6 STITCH BOBBLES ACROSS THE ROW:
CHAIN 4, 6 ST BOBBLE INTO 3RD CHAIN, FINISH BOBBLE ON 4TH CHAIN. CHAIN 1 AND ATTACH 1 SPOT AWAY, THEN 1 MOSS ST BEFORE NEXT BOBBLE. 13 BOBBLES TOTAL.
REPEAT TRIM ROWS AND BOBBLES ON OTHER SIDE.
DIY: Crochet Bath Mat with Geometric Design

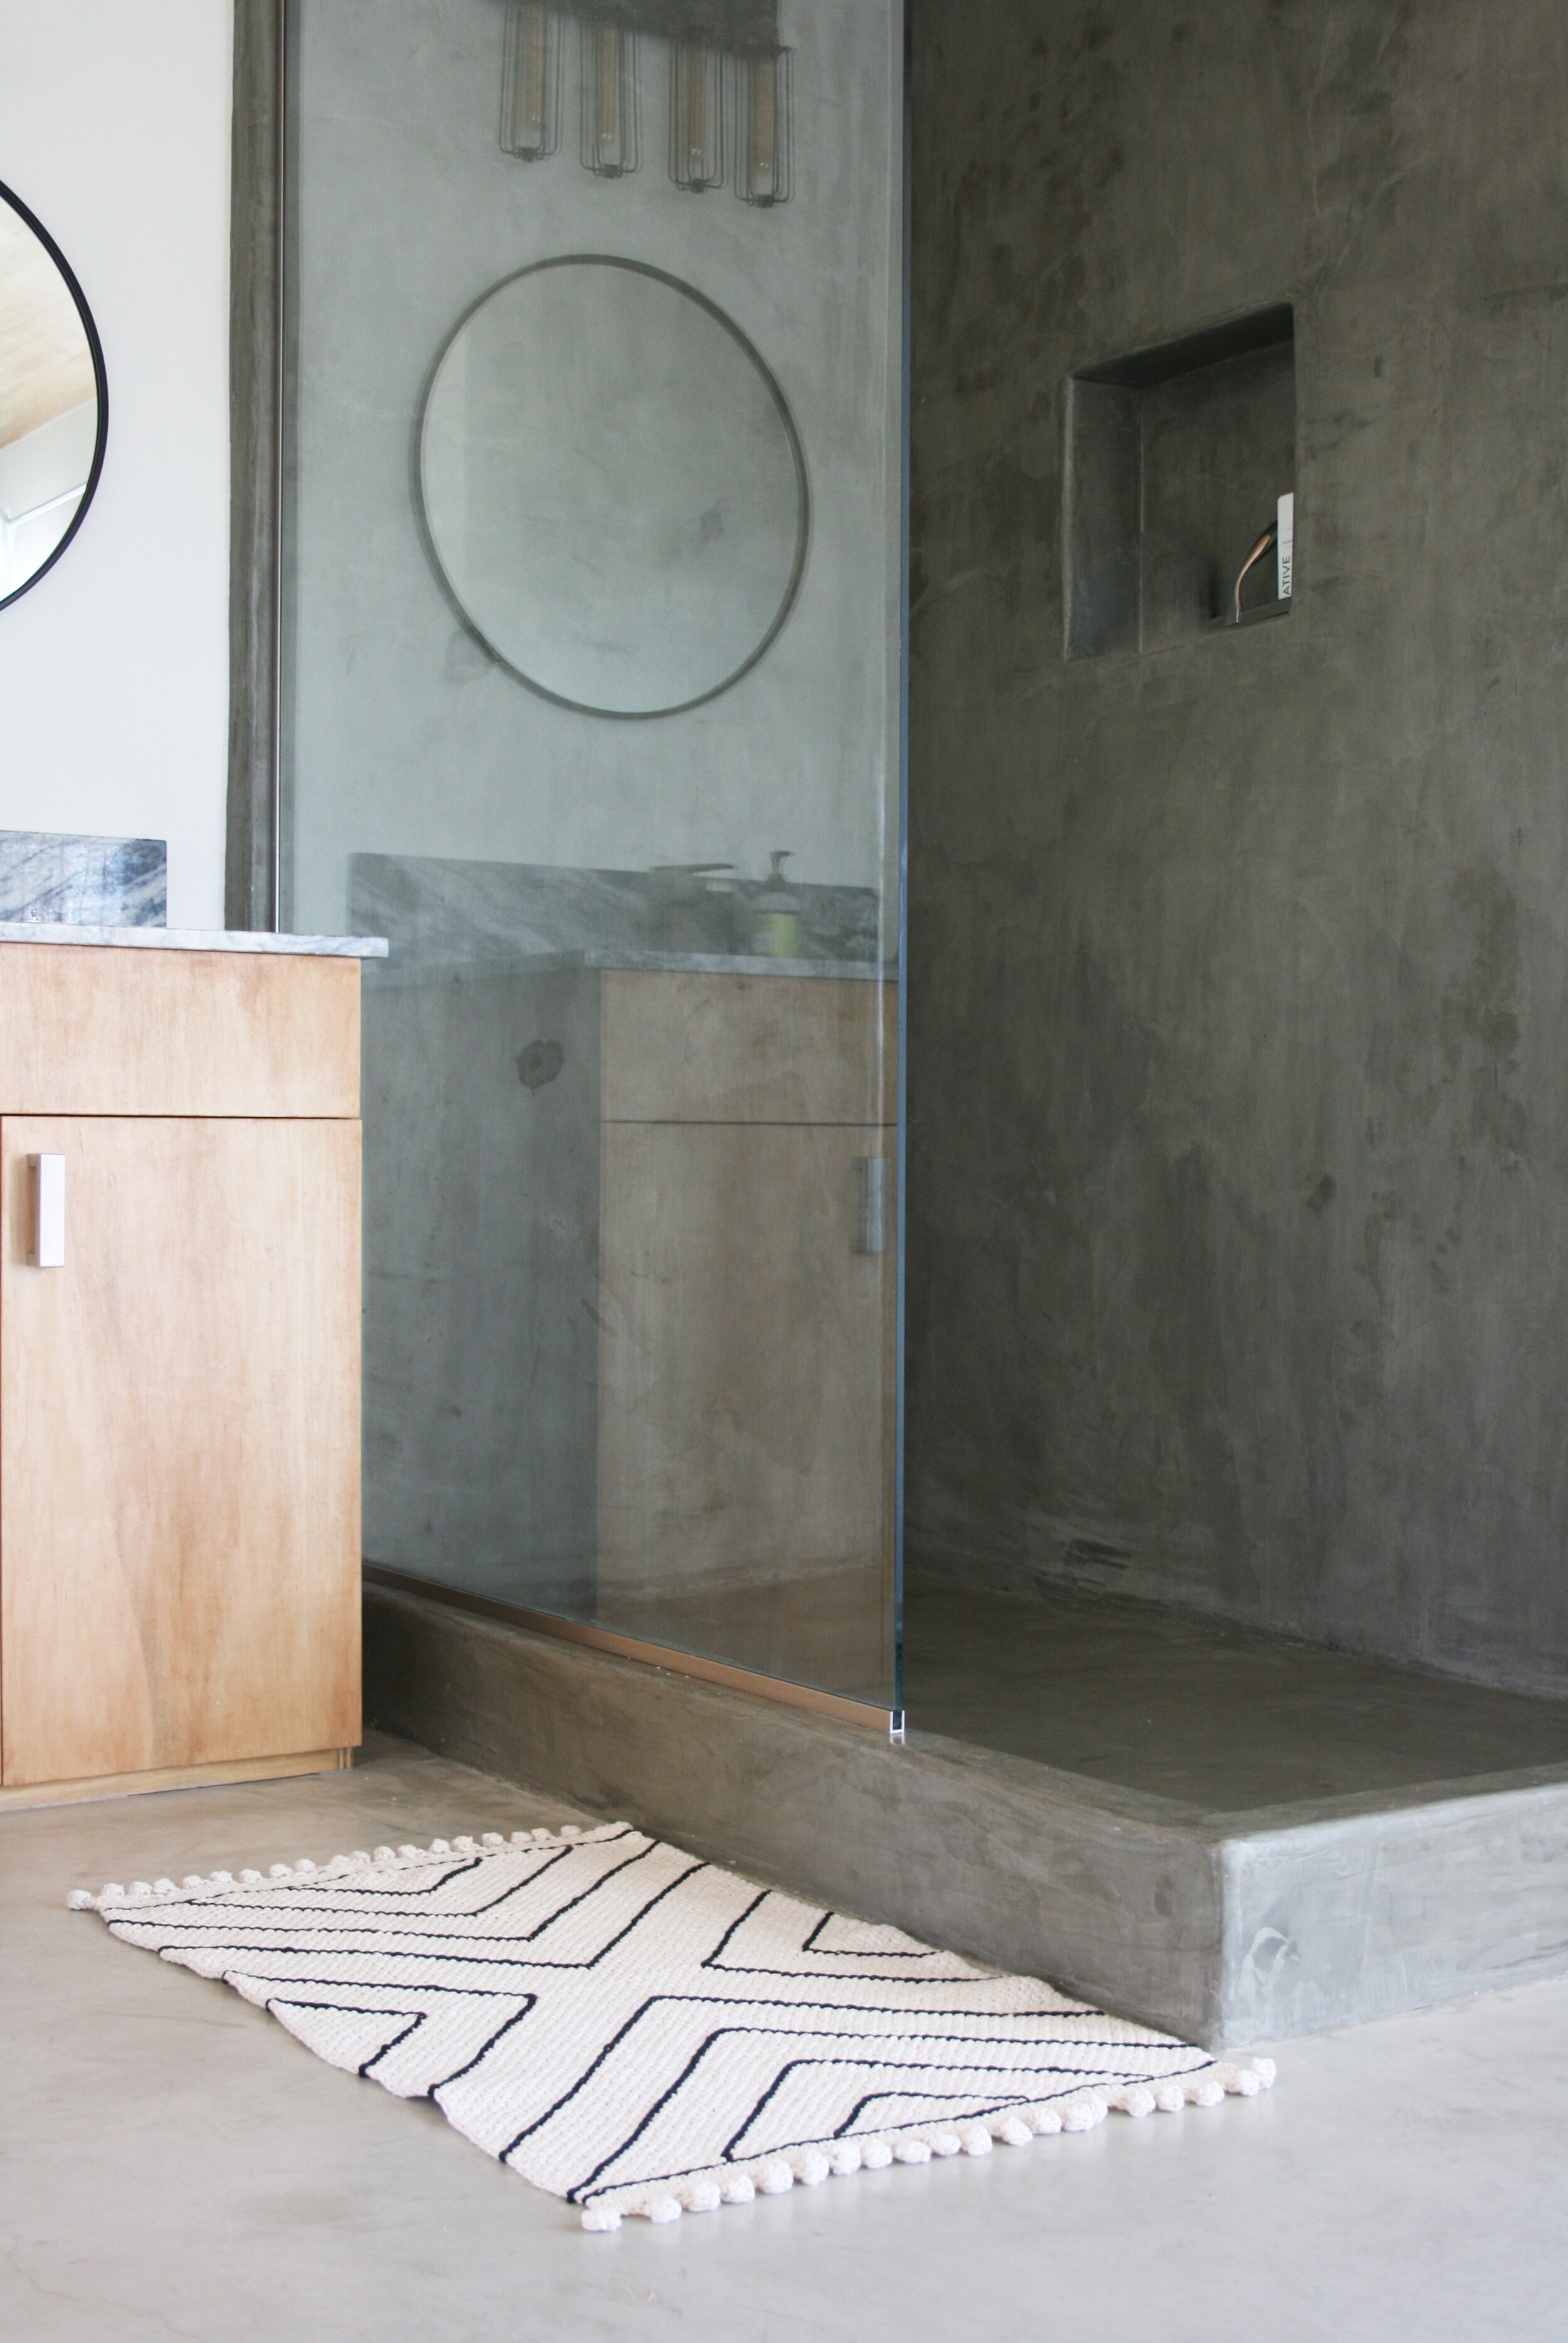
I’ve been really into making knit and crochet home goods lately, and one of my favorite recent creations is a super easy and cute cotton bath mat with bobbles. I recently whipped up another one adding a contrast geometric design and I am obsessed. grab some worsted weight cotton and a crochet hook and get ready to turn out a super chic and modern bath accessory in no time.

Materials
YARDAGE/YARN: 690 YARDS, 4-PLY WORSTED WEIGHT 100% COTTON in main color
approx. 100 yards, 4-ply worsted weight 100% cotton in contrast color
a few yards of waste yarn
SUGGESTED: LILY SUGAR’N CREAM (I USED main COLOR ECRU and contrast color black)
HOOKS: MAIN HOOK/BOBBLE HOOK: H/8-5.00MM
TRIM HOOK: F/5-3.75MM
surface stitch hook: j/10-6.00mm
TOOLS: tapestry needle
FINISHED DIMENSIONS: 38X22”
Pattern
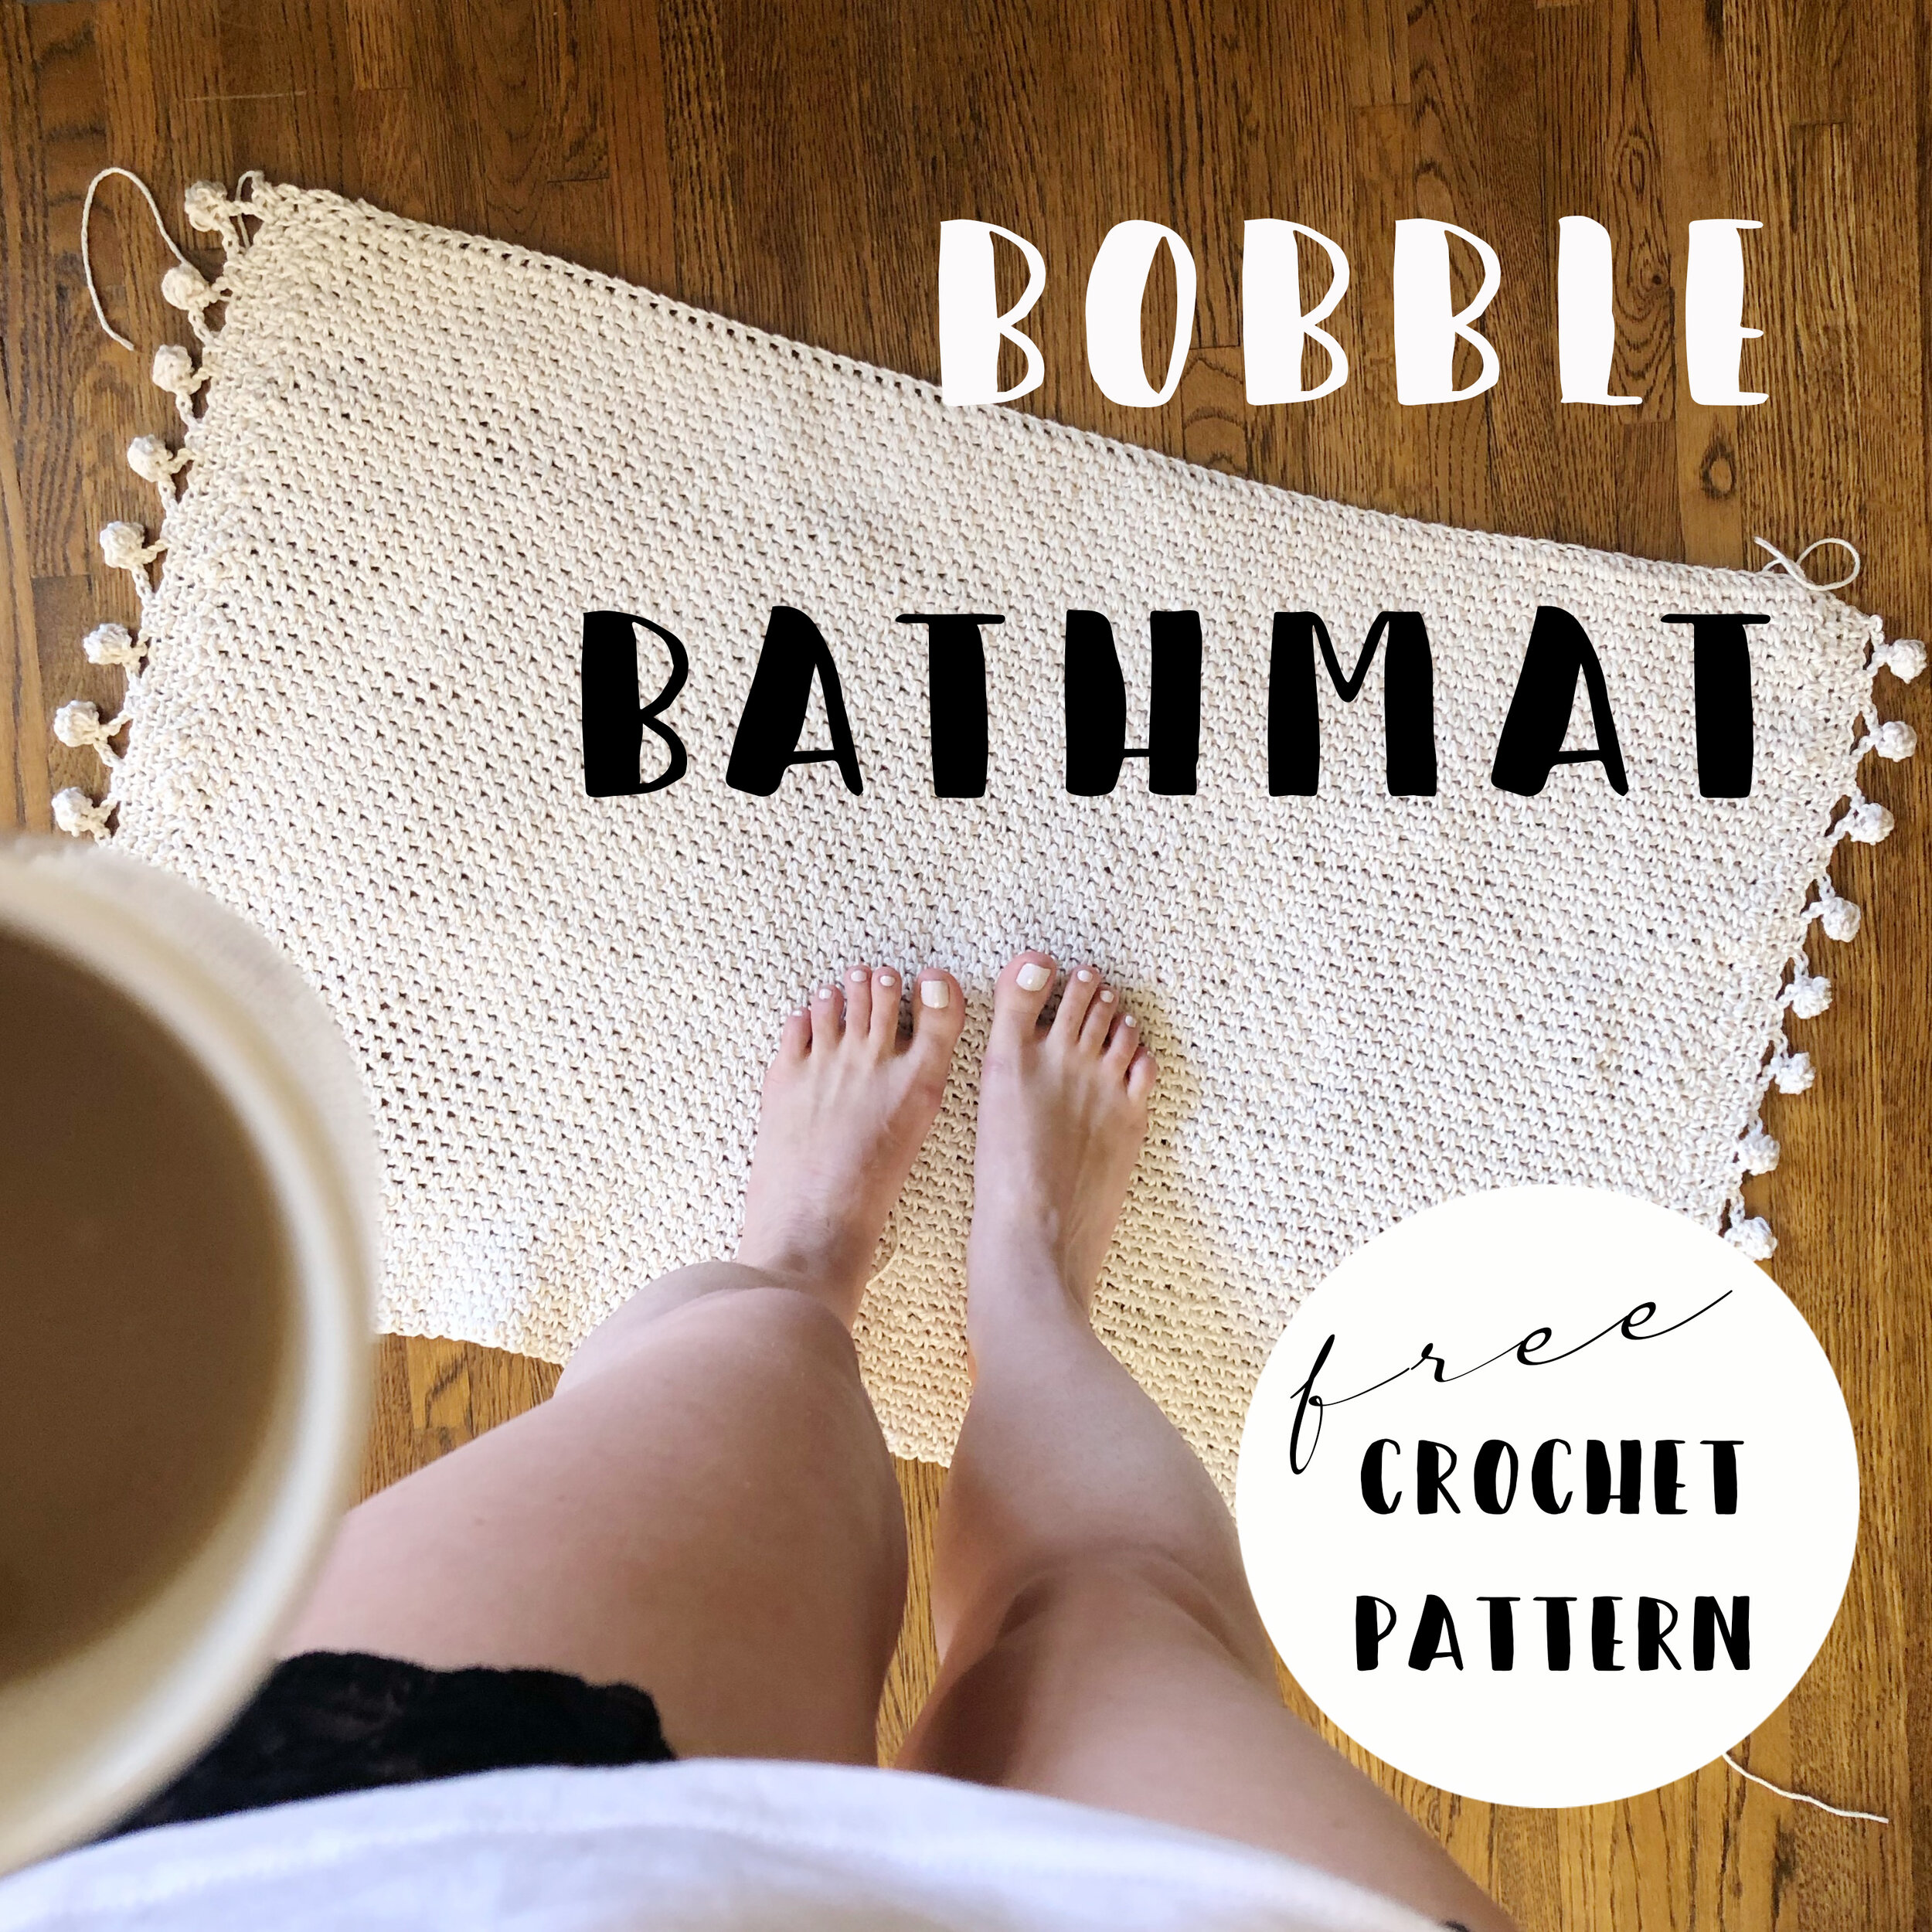
Step 1
to start, you’ll need to make the original crochet bath mat with bobbles.
Complete all instructions and weave in all ends.
Step 2
once you’ve completed the basic bathmat, the next step is to mark the center lines so the geometric design is evenly spaced. start by marking the vertical center line:
thread a few yards of waste yarn onto a tapestry needle, and then fold the bathmat in half so the two bobble edges are together. identify the hole in the stitch pattern that is centered in the fold and thread your needle through.
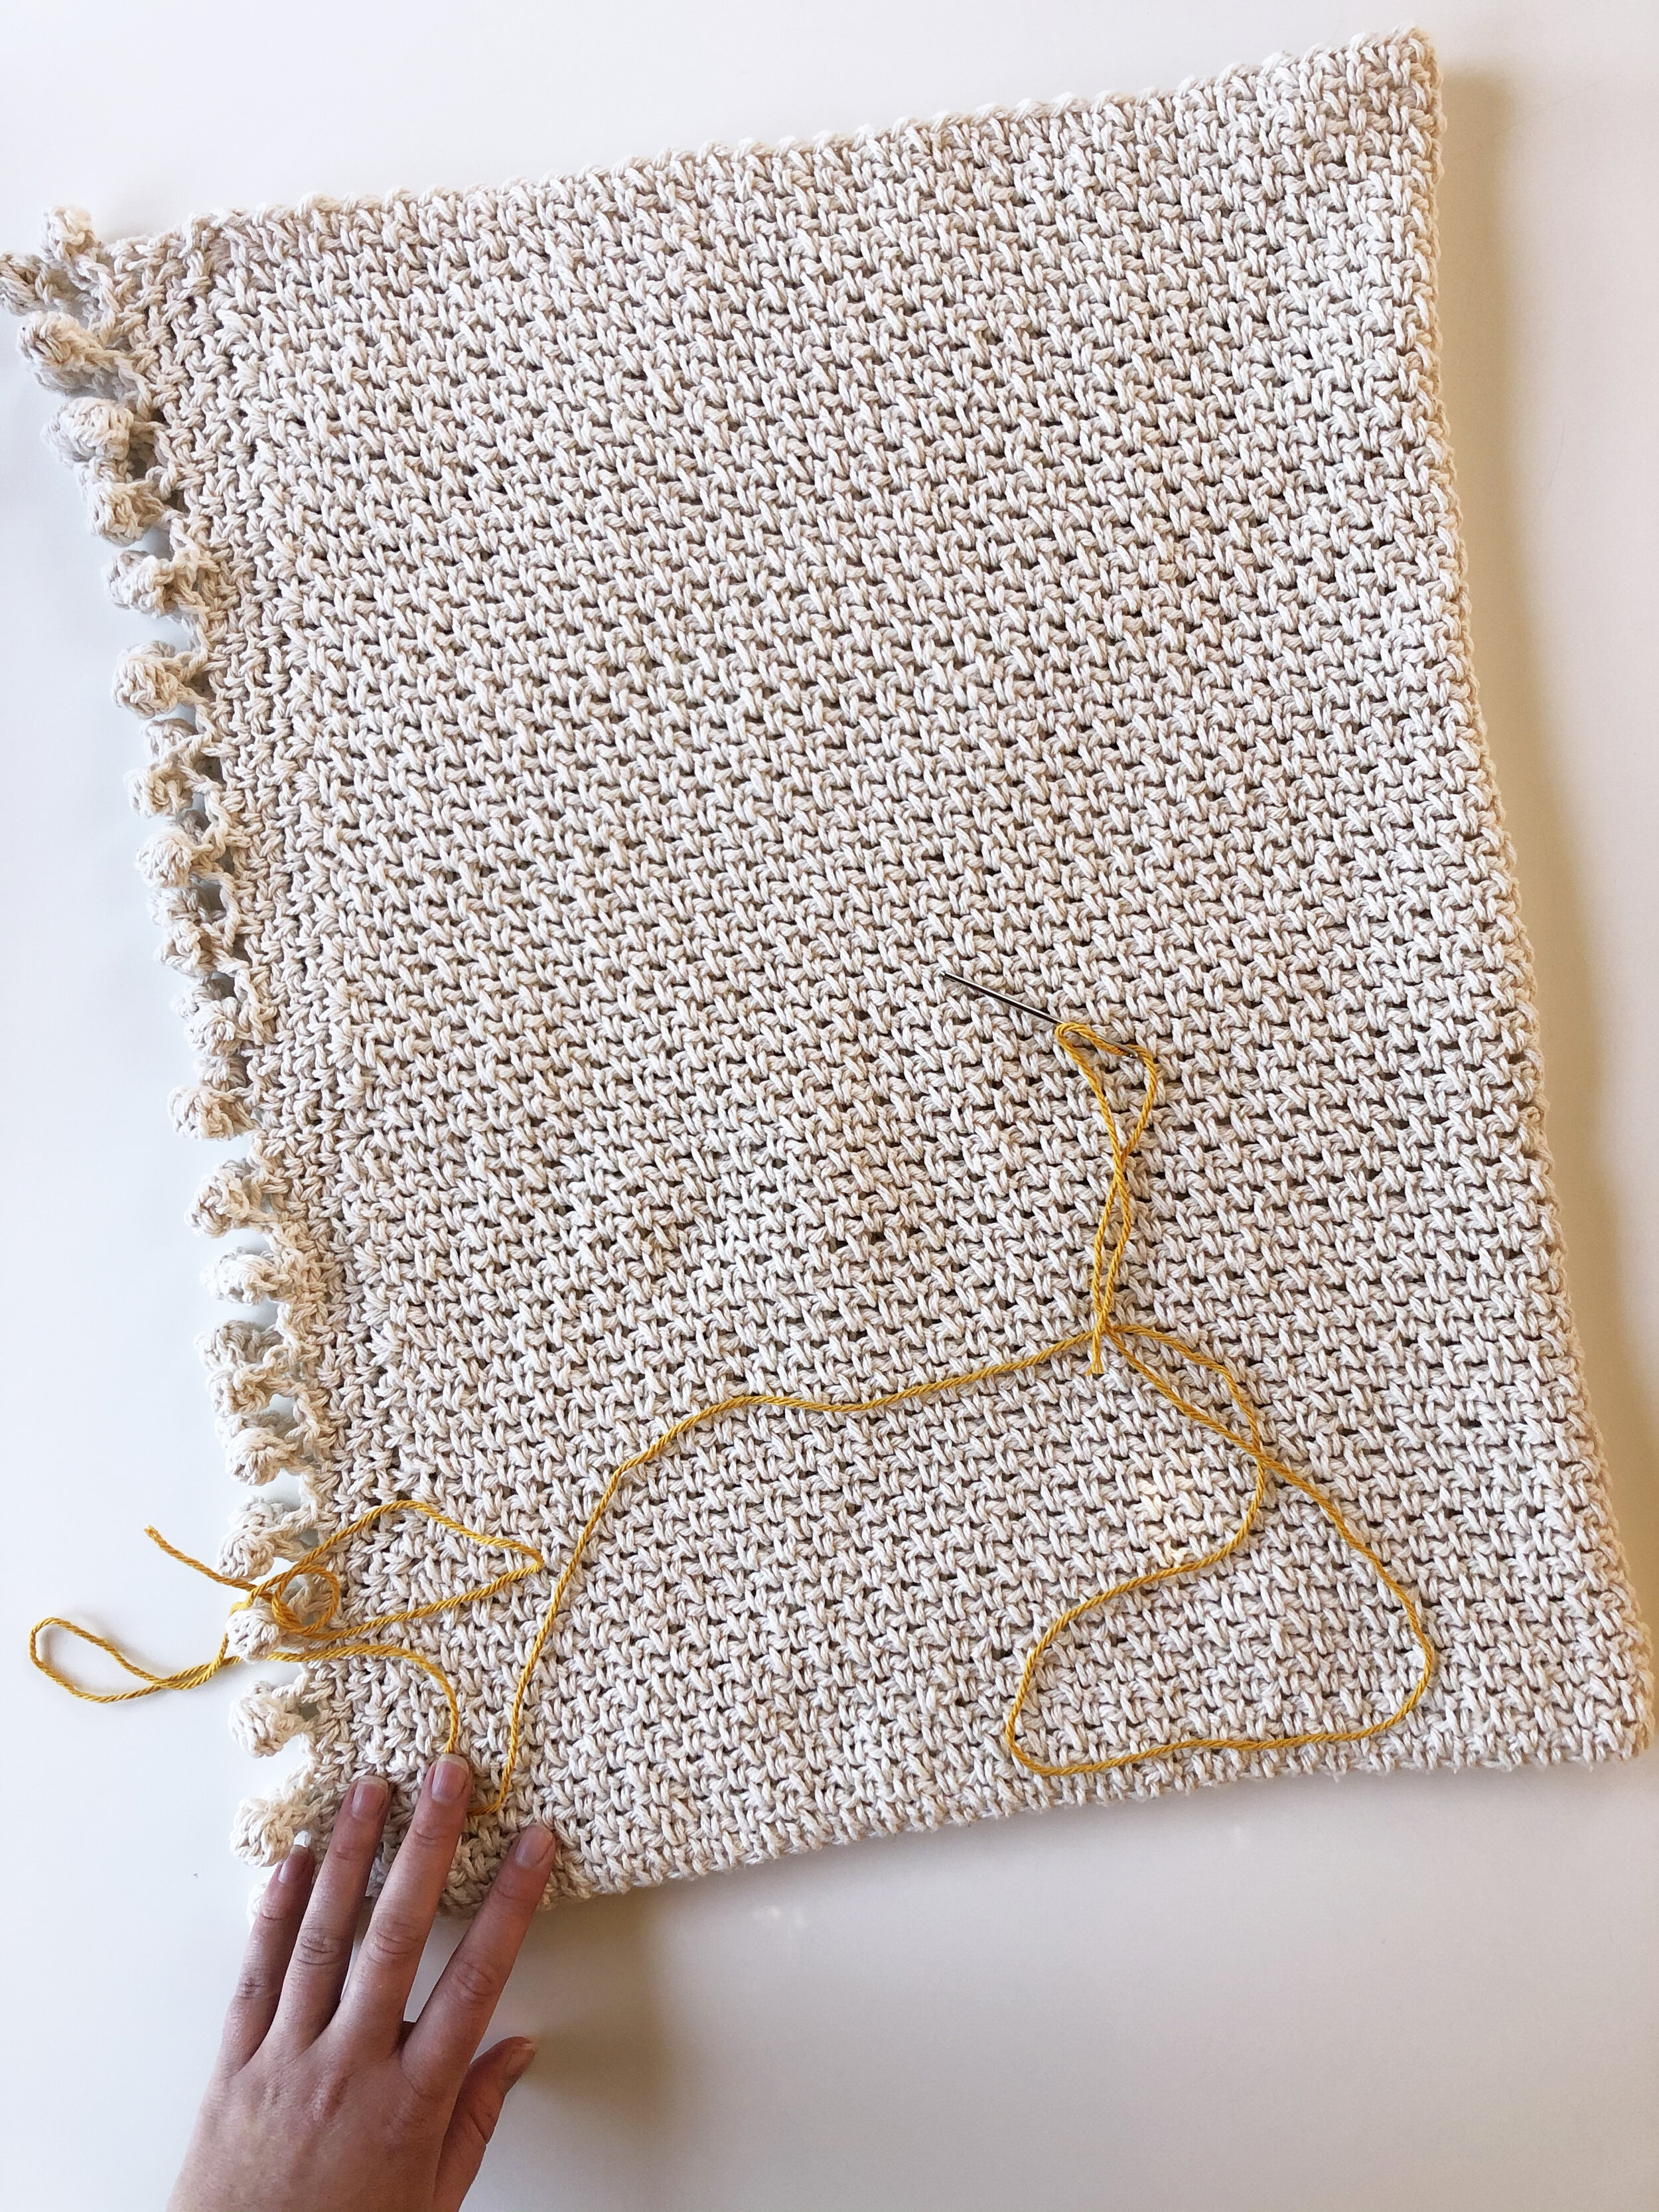
begin weaving the waste yarn vertically, through the holes in the stitch pattern and over and under the crochet stitches.

continue weaving the waste yarn in this way all the way up the vertical center line of the bath mat.

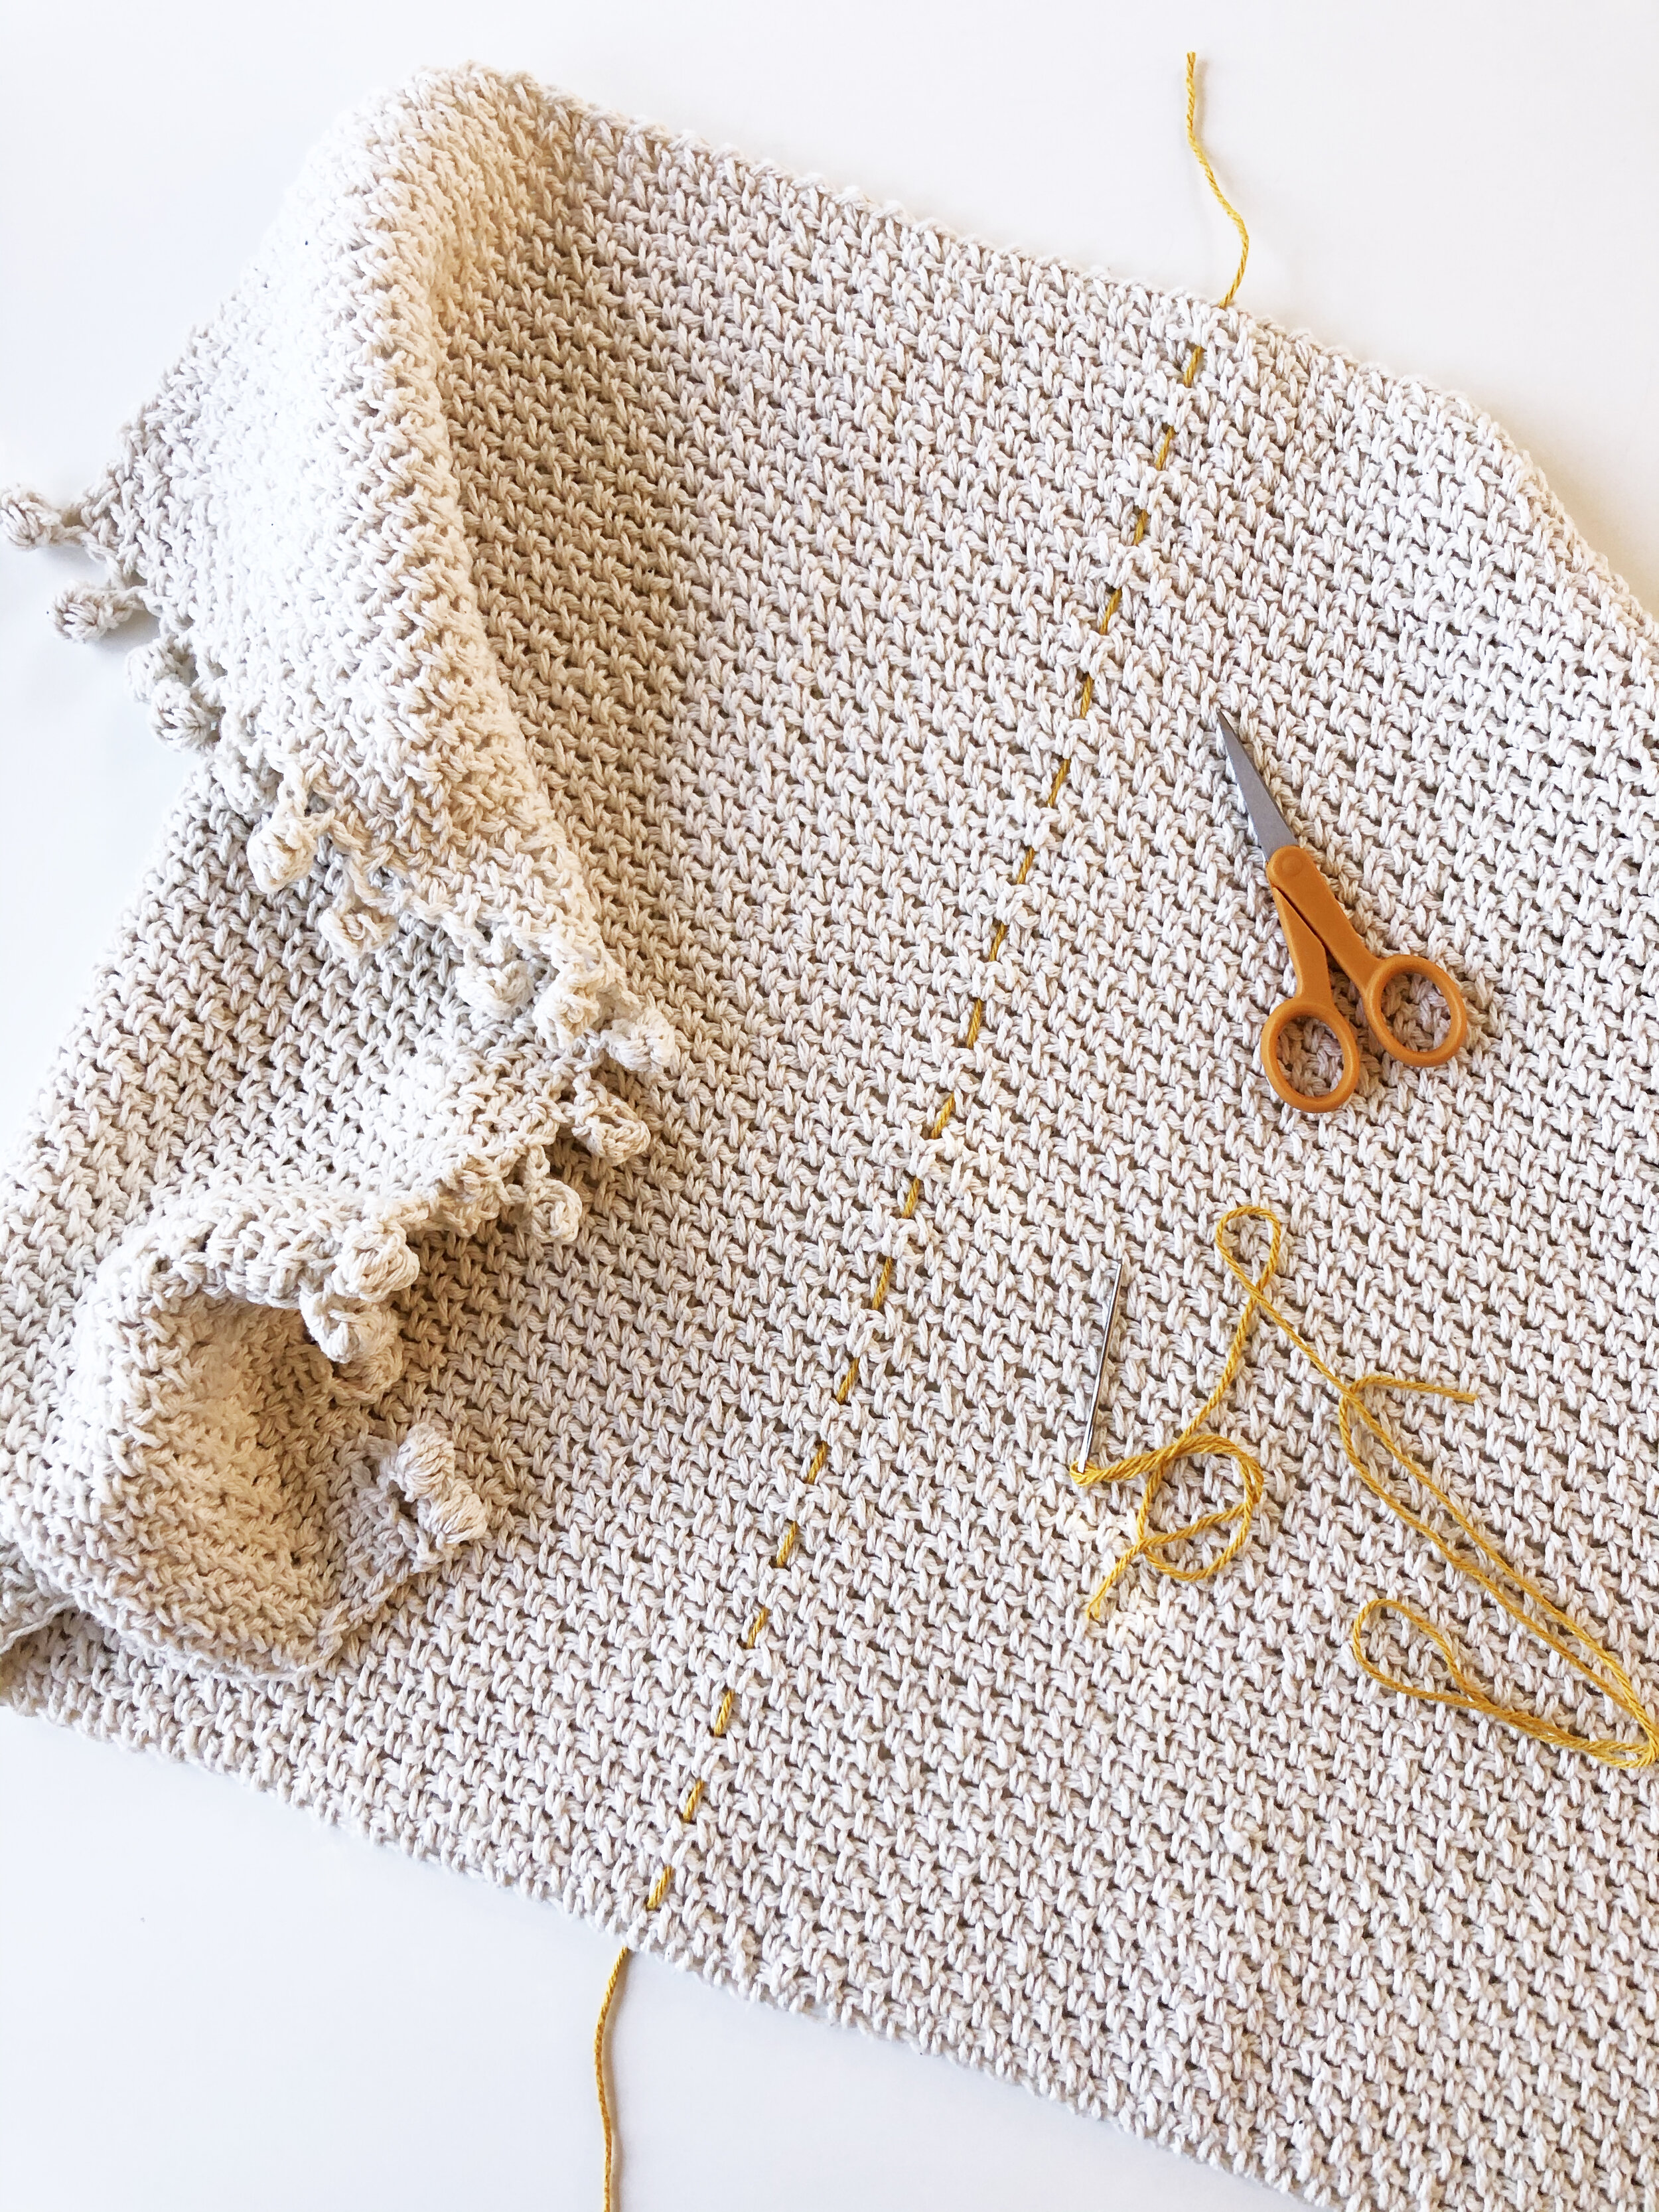

continue weaving the waste yarn horizontally, through the holes in the stitch pattern and over and under the crochet stitches, across the horizontal center line of the mat.

step 3
next, use the same method to mark the horizontal center line. fold the bathmat in half the long way so the top and bottom non-bobbled edges are together. thread another few yards of waste yarn on the tapestry needle and find a hole in the stitch pattern that is centered in the fold. thread the needle through.

Step 4
Now that the center lines have been marked, you are ready to start working surface stitches in the contrast color, with the J/10-6.00mm crochet hook (if you don’t have this size, the main mat hook size H/8-5.00MM would also work here).
begin by locating the crochet stitch that sits in the center of both vertical and horizontal center lines. along the horizontal line, count four (4) stitch pattern holes to the left of the center and mark it with your tapestry needle (see reference photo: the red dashes show the holes in the stitch pattern and the red square is around the fourth hole to the left). this is the left side starting point (red squarE).
next, find the diagonal line of stitch pattern holes running down and to the left from the starting point - each next stitch pattern hole will be one row down and one hole directly left of the one above (represented by the red arrow). follow this line all the way to the last hole on the edge of the mat. anchor your contrast yarn here.
begin working surface stitches back up this diagonal line in a “v” shape until you reach the center point. At the center point, turn the work 90 degrees and continue working surface stitches in a diagonal line moving up and to the left (along the blue arrow).


step 6
using the same method as steps 4 and 5, you will now work surface stitches three more times on each side, in the same “v” shape pattern.
to find each next starting point, measure six (6) stitch pattern holes back from the apex of your starting “v.”
when finished, you will have four “v” shape lines on the left side and four on the right side.
step 5
repeat step 4 on the right side of the horizontal center line, marking the fourth stitch pattern hole from the middle with your tapestry needle.
follow a diagonal line (see blue arrows) to the last hole on the edge and anchor your contrast yarn there.
work surface stitches back along the diagonal line to the starting point, turn 90 degrees and continue in a “v” shape diagonally in the upward direction until you reach the edge.


Step 7
You will now repeat the same steps to create the same shapes along the vertical center line of the mat.
to find the first starting point, locate the center crochet stitch and count six (6) stitch pattern holes below that center stitch. mark this hole with your tapestry needle.
repeat steps 4 and 5, creating the bottom “v” shape. locate the top “V” starting point by counting six (6) stitch pattern holes above the center stitch, and Repeat Steps 4 and 5.
step 8
repeat step 6 to WORK SURFACE STITCHES two MORE TIMES ON EACH SIDE, IN THE SAME “V” SHAPE PATTERN.
to find each next starting point, measure six (6) stitch pattern holes back from the apex of your starting “v.”
when finished, you will have two “v” shape lines on the top side and two on the bottom side.


step 9
work a straight line of surface stitches in your contrast color along the left-side edge of the mat, where the trim meets the main body of the mat.
turn mat and repeat on the right-side edge.
weave in all ends and enjoy your new crochet bath mat!


DIY: Free Crochet Bath Mat Pattern


I recently whipped up this super easy bath mat using worsted weight cotton yarn and two sizes of crochet hooks. The bobble trim on the side makes it extra cute! Enjoy this free pattern.
Materials
YARDAGE/YARN: 690 yards, 4-Ply worsted weight 100% cotton
SUGGESTED: Lily Sugar’n Cream (I used color ECRU. Get 4 balls of super size and you’ll have enough leftover for a wash cloth ☺️)
HOOKS: Main hook/Bobble hook: H/8-5.00mm
Trim hook: F/5-3.75mm
Finished Dimensions: 38x22”
Pattern
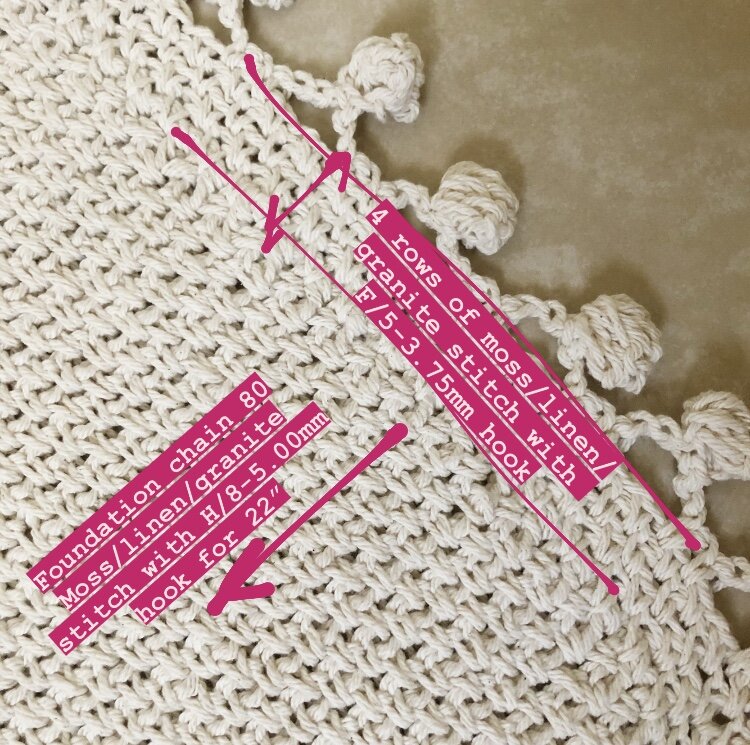
With main hook, foundation chain 80 sts
Work flat single crochet moss/linen/granite stitch until piece measures 22”.
Using the trim hook, join yarn to the side edge. For the first row, work moss/linen/granite stitch, skipping every other hole. Continue working moss/linen/granite stitch for 3 more rows.
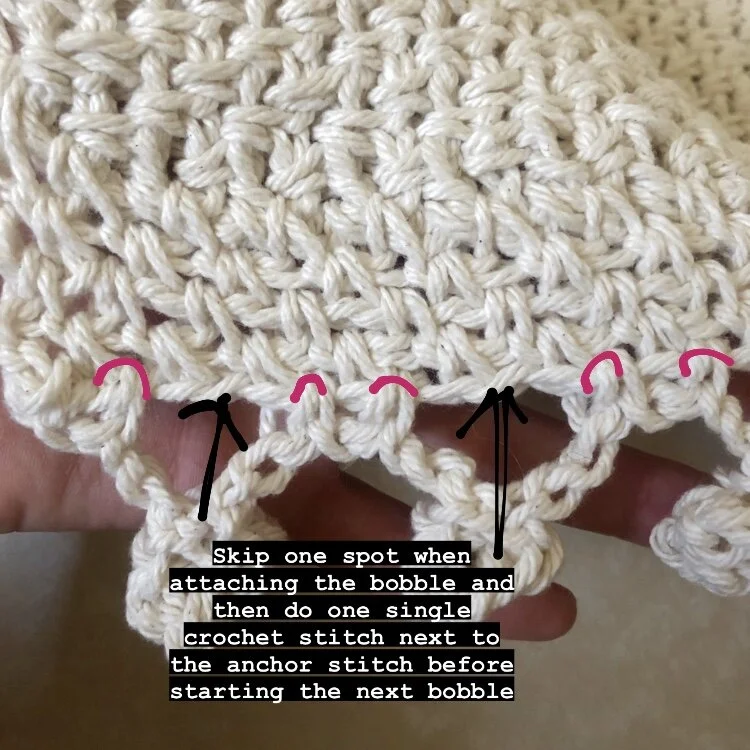
Switch to main hook size and work 6 stitch bobbles across the row:
Chain 4, 6 st bobble into 3rd chain, finish bobble on 4th chain. Chain 1 and attach 1 spot away, then 1 moss st before next bobble. 13 bobbles total.
Repeat trim rows and bobbles on other side.


DIY: Steek With Me - Steeking (Cutting) a Pullover Sweater into a Cardigan
Steeking looks and sounds super scary but I’m here to report that it’s actually really simple, and you likely already have the skills necessary to give it a try!

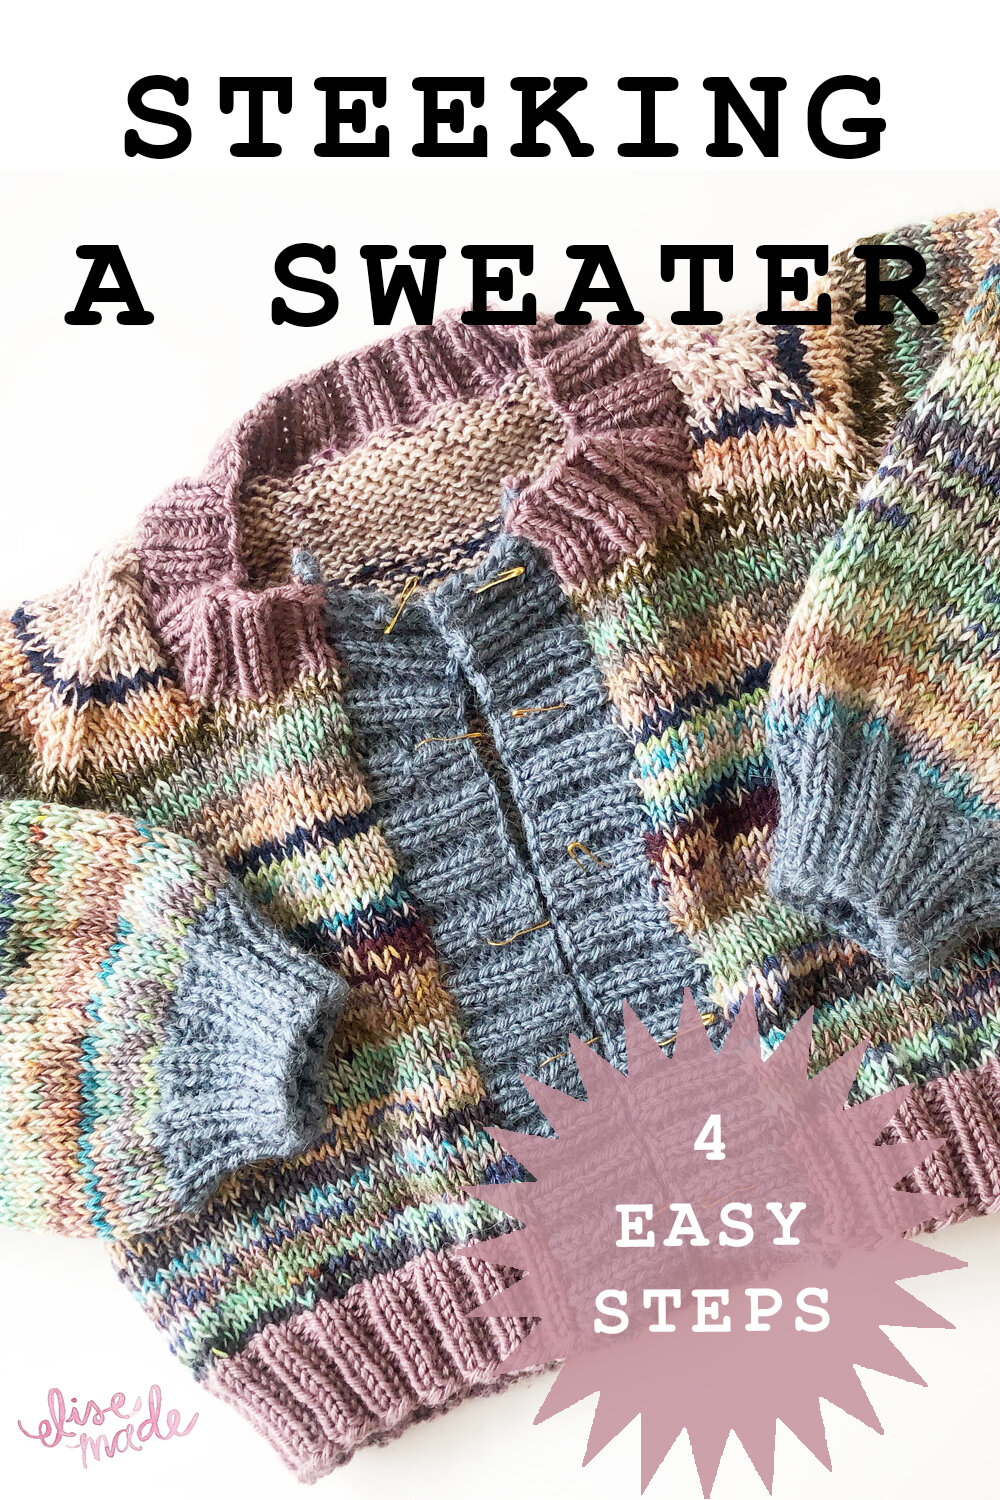
I’d been planning a super scrappy baby cardigan project since the beginning of this year, and quarantine times just felt like the perfect opportunity to teach myself a new skill. So I settled on my go-to baby sweater pattern, the FinnleyMarline by Park Williams, with plans to steek it into a cardigan.

Steeking looks and sounds super scary but I’m here to report that it’s actually really simple, and you likely already have the skills necessary to give it a try! I really enjoyed the learning process on a scrappy baby sweater - the project was a quick knit made entirely from scraps, so committing to cutting it in half felt a little less scary.
Follow the progression of sweater to cardigan in my four-part video series documenting my first steek!
Step 1: Mark the center
Some knitting patterns are written specifically for steeking, and thus the center lines and reinforcement lines are made clear in some way and should be easy to locate. I chose a regular raglan pullover, a pattern not written specifically for steeking, so my first step after knitting and weaving in all the ends was to locate the center. Since this pattern doesn’t have a perfect center, this first video talks about how I found the center line of the FinnleyMarline and how I plan to maintain symmetry. I also show close up the location of stitches on both sides of the center line that will be reinforced with crochet stitches in video 2.
Step 2: Reinforce stitches with crochet
I chose a crochet hook size slightly smaller than the needle I used to knit the sweater, and the same scrap yarn I used on the sweater edging.
Step 3: Pick up stitches for the button band
In this video I explain how I will pick up stitches for the button band, and how I used the gauge of the sweater band to figure out how many stitches to pick up.
Step 4: Cutting the center line!
The prep steps are so simple and straightforward - it’s clear the big reason people are intimidated by steeking is the final cut. Fear not! Your crochet reinforcements will hold tight. Watch in this video as I cut my work on camera!
I hope you enjoyed watching this process and feel inspired to try steeking yourself!

DIY: Free Giant Pencil Knitting Pattern
A whimsical and oversized toy designed for my nephew and godson’s first days of school.


My nephew and my godson just started their first weeks of kindergarten and preschool respectively, and I am so incredibly proud of them! To celebrate, I was inspired to make a giant pencil plush. This was a satisfying, super-fast project with a variety of techniques to keep you engaged. the best part is that I was able to make two using entirely scrap yarn. some simple embroidery finishing makes them personalized and extra cute!

Materials:
Yarn:
Color a (main color): Approx. 15 yards of worsted weight yarn in a bright color
(suggestions: yellow, red, bright blue)
color B: Approx. 3 yards worsted weight (light brown, ecru, tan, beige)
Color c: Approx. 3 yards worsted weight (Black, dark brown, dark gray)
Color D: Approx. 5 yards worsted weight (Gray, silver, gold, metallic)
Color e: Approx. 5 yards worsted weight (Pink, coral, red)
Needles:
Size US 6 (4 mm)
Tools:
Tapestry needle for finishing
poly-fill or other stuffing material
Gauge:
Gauge is not important for this project!
Finished Dimensions:
Measures approximately 16.5” tall (42cm)
Key:
k - knit
p - purl
k2T - Knit two together
ssk - slip slip knit
sts - stitches
techniques:
Knitting in the round, stranded colorwork, simple decreases, picking up stitches. basic embroidery (optional).
[Pattern includes charted colorwork instructions]
construction:
Start by knitting a tube in the round. two rounds of simple stranded colorwork start to form the sharpened end, and simple decreases form a point. stitches are picked up at the other end to knit the metal crimp and eraser.

This is a downloadable PDF knitting pattern for the “Giant Pencil Toy.”
A whimsical oversized toy designed for my nephew and godson’s first days of school.
Pattern Notes:
Yarn:
Color A (main color): approx. 15 yards of worsted weight yarn in a bright color
(Suggestions: yellow, red, bright blue)
Color B: approx. 3 yards worsted weight (light brown, ecru, tan, beige)
Color C: approx. 3 yards worsted weight (black, dark brown, dark gray)
Color D: approx. 5 yards worsted weight (gray, silver, gold, metallic)
Color E: approx. 5 yards worsted weight (pink, coral, red)
Needles:
Size US 6 (4 mm)
Tools:
Tapestry needle for finishing
Poly-fill or other stuffing material
Gauge:
Gauge is not important for this project!
Finished Dimensions:
Measures approximately 16.5” tall (42cm)
Key:
K - Knit
P - Purl
K2T - Knit two together
SSK - Slip slip knit
STS - Stitches
Techniques:
Knitting in the round, stranded colorwork, simple decreases, picking up stitches. basic embroidery (optional).
(Pattern includes charted colorwork instructions)
Construction:
Start by knitting a tube in the round. Two rounds of simple stranded colorwork start to form the sharpened end, and simple decreases form a point. Stitches are picked up at the other end to knit the metal crimp and eraser.
