
 Image 1 of 7
 Image 2 of 7
 Image 3 of 7
 Image 4 of 7
 Image 5 of 7
 Image 6 of 7
 Image 7 of 7
KNITTING PATTERN BUNDLE: Kitchen Essentials Set
This is a downloadable PDF knitting pattern bundle featuring the Perfect Potholder, Perfect Tea Towel, and Perfect Oven Mitt patterns.
Save $3 by purchasing the pattern bundle!
The Perfect Potholder and Perfect Oven Mitt are made using worsted weight cotton held triple worked on small needles, creating a dense and thick fabric that effectively shields hands and countertops from heat. Pair with the Perfect Tea Towel for the ultimate handmade kitchen set!
This is a downloadable PDF knitting pattern bundle featuring the Perfect Potholder, Perfect Tea Towel, and Perfect Oven Mitt patterns.
Save $3 by purchasing the pattern bundle!
The Perfect Potholder and Perfect Oven Mitt are made using worsted weight cotton held triple worked on small needles, creating a dense and thick fabric that effectively shields hands and countertops from heat. Pair with the Perfect Tea Towel for the ultimate handmade kitchen set!
MORE KNITTING PATTERNS BY ELISEMADE
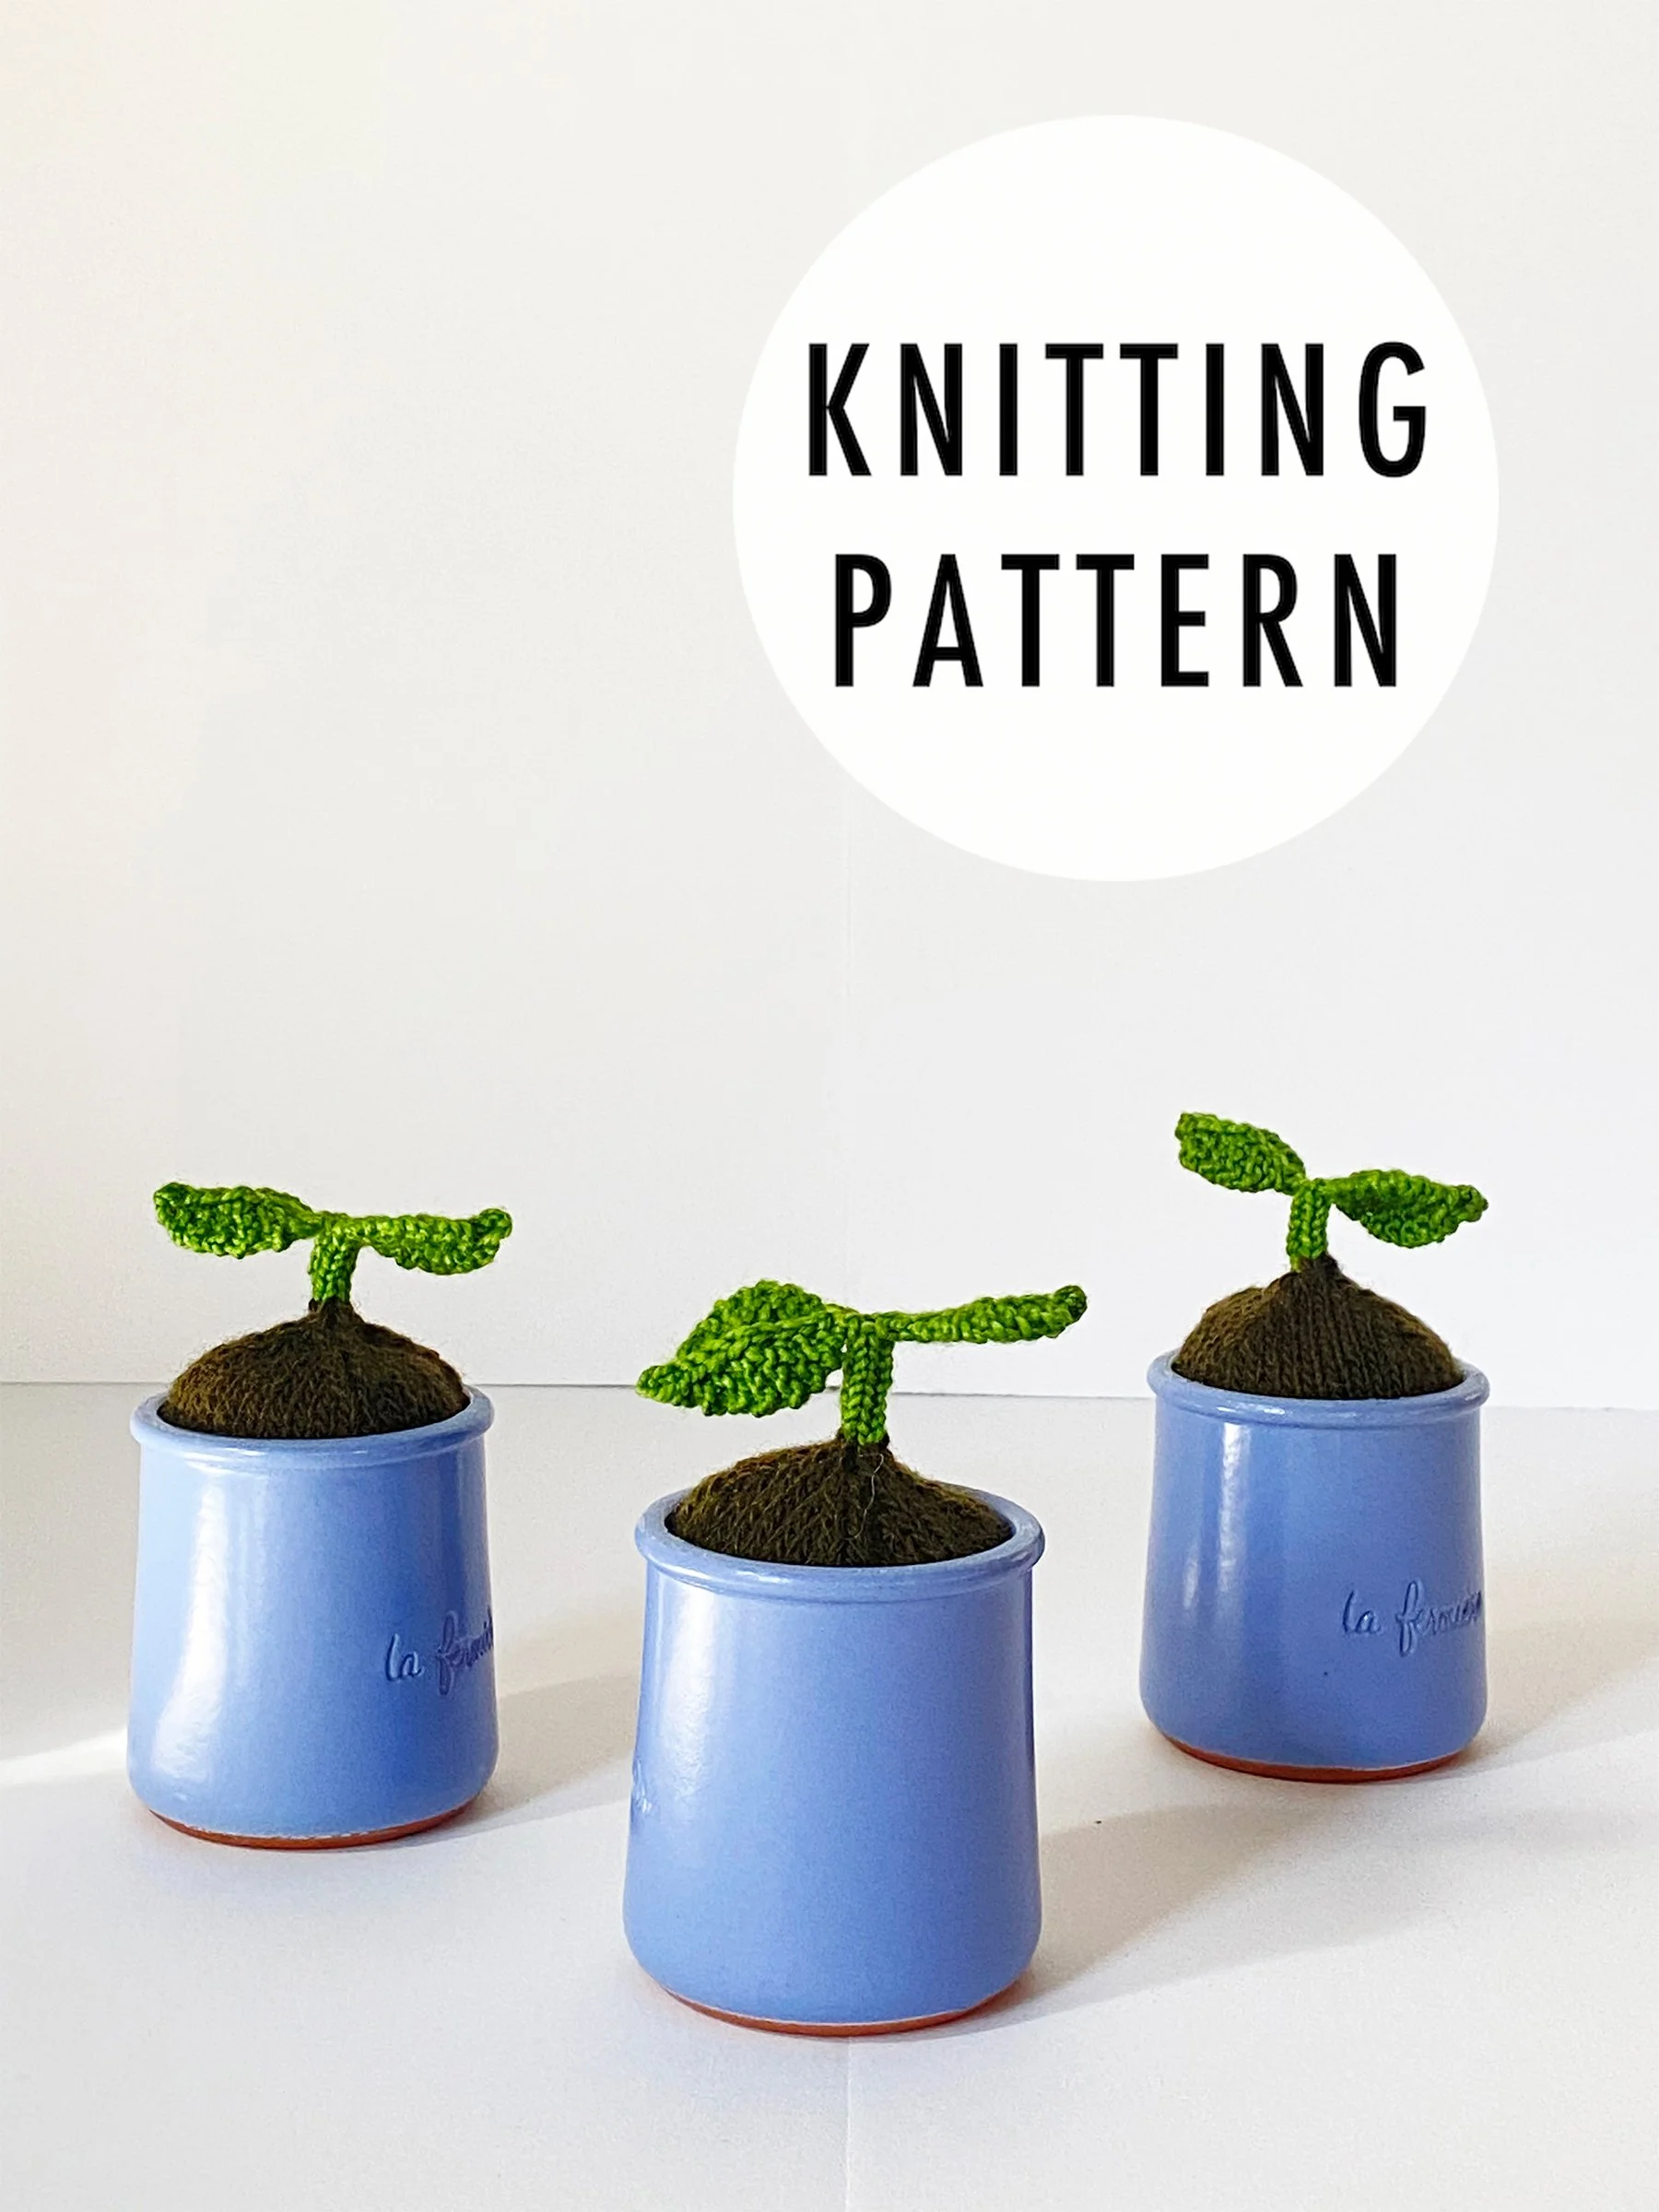
A friendly little sprout is the perfect way to recycle your le fermiere crocks.
I love to see what you make! Share your project on Instagram and tag me @elisemade, or via email to elisemade@gmail.com
Finished Dimensions
Sprout: 3 x 3.5” (7.6 x 8.9 cm)
In crock: 3 x 5.5” (7.6 x 14 cm)
Yarn & Yardage
Soil: 4g/14 yds fingering weight in brown
Sprout: 2g/7yds fingering weight in green
Needles
US 2 (2.75mm) using preferred small circumference method (DPNs, magic loop, 2 circulars)
Gauge
24 sts and 36 rows in 4”/10cm in stockinette stitch in the round
Tools
Tapestry needle
Polyfil stuffing
Clean & empty La Fermiere crock
Key
BO – bind off
CO – cast on
CDD – centered double decrease; slip two stitches knitwise, then knit the next stitch. Pass 2 slipped stitches over as if to bind off (2 stitches decreased)
K - knit
K2TOG – knit 2 stitches together (right-leaning decrease)
KFB – knit front and back (increase)
M1L – make one left (left -leaning increase)
M1R – make one right (right-leaning increase)
P - purl
SL1KW – slip one stitch knitwise with yarn in back
SSK – slip 2 stitches knitwise, knit these 2 sts together through the back loops (left-leaning decrease)
ST/STS – stitch/stitches
Note: instructions written inside square brackets are worked as a repeat across the round
Construction
Soil is knit starting at the bottom in round stockinette and then shaped with simple directional decreases. With remaining live stitches, color is changed and sprout stem is knit in icord. Finally, stitches are split to create leaves in flat garter stitch.
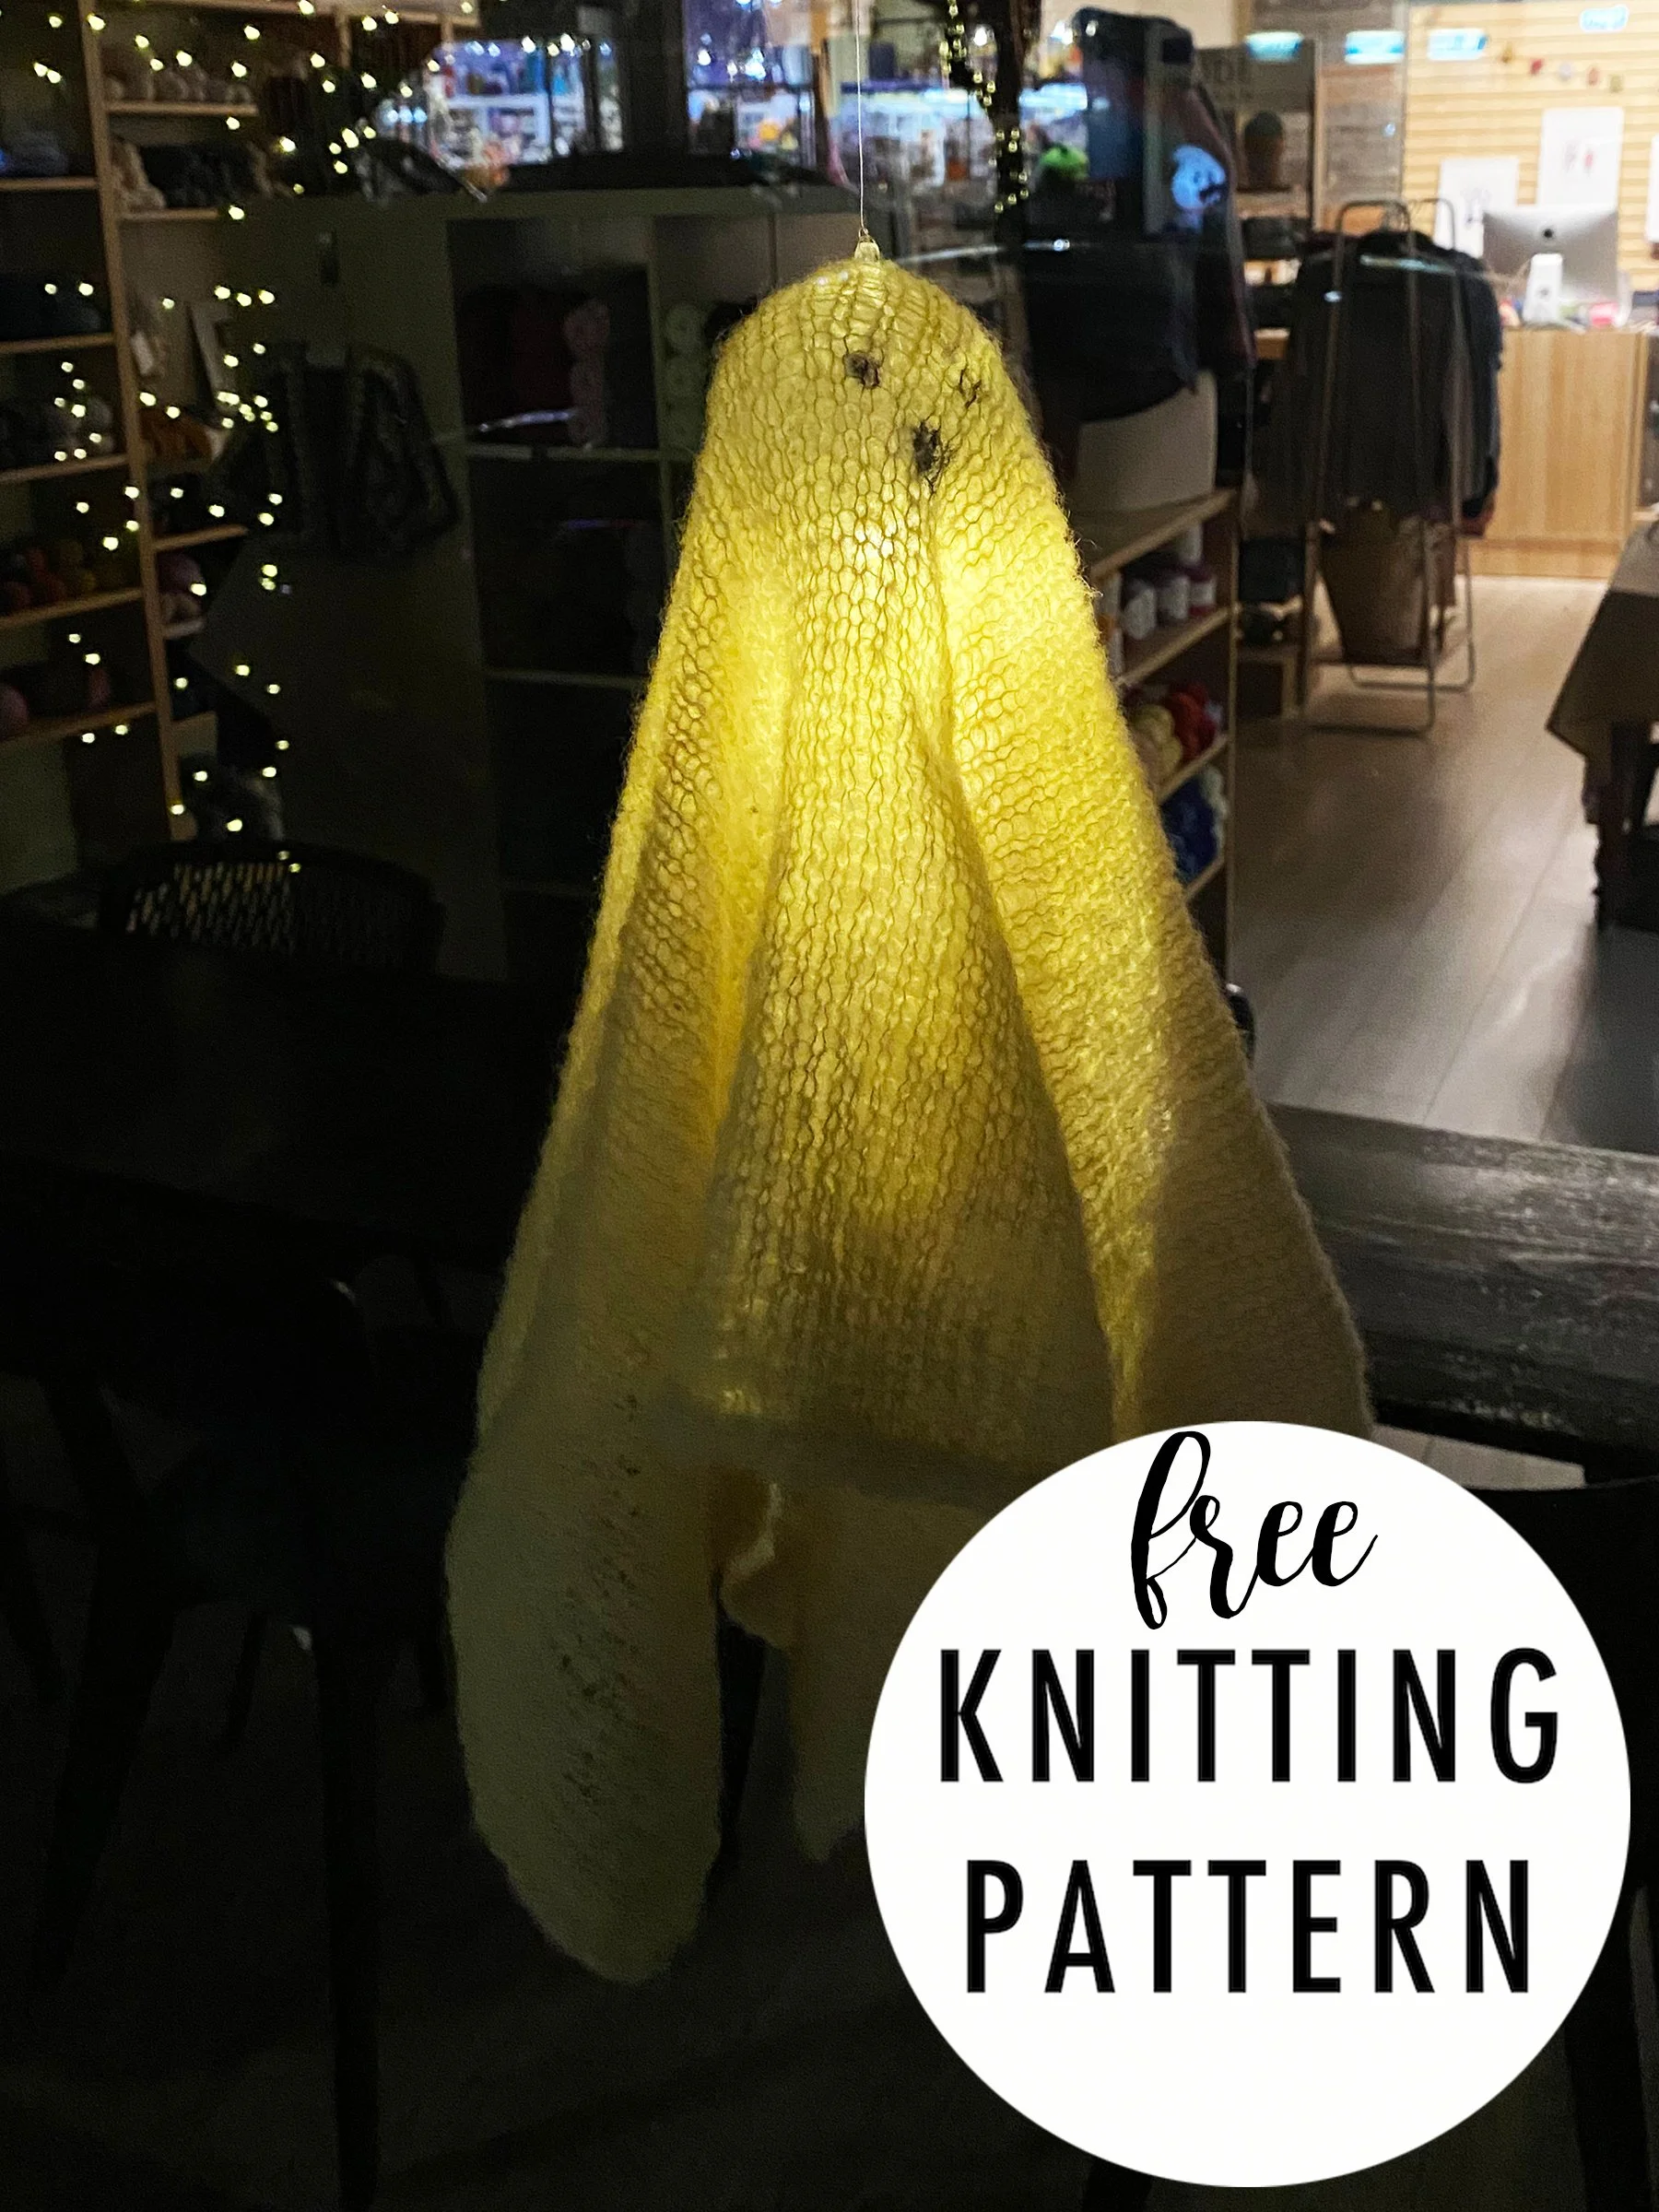
A simple square with some quick and clever finishing is transformed into a fun and spooky Halloween decoration!
I love to see what you make! Share your project on Instagram and tag me @elisemade, or via email to elisemade@gmail.com
Finished Dimensions
21 x 21” (53.3 x 53.3 cm)
Yarn & Yardage
1 ball of Mode at Rowan Alpaca Haze
58% Alpaca, 22% Wool, 20% Polyamide
212m/233yds, 25g
Sample color: 013 Silk
Needles
US 9 (5.5 mm) 40” circular
Gauge
15 sts and 21 rows in 4”/10cm
Tools
LED tealights [Click to Purchase]
60mm clear fillable ornament balls [Click to Purchase]
Clear fishing line for hanging
Black Sharpie for making face
I have put together component kits so you don't have to chase down all the little pieces! Includes 1 x 60mm ornament ball and 1 x LED tealight. Click HERE to purchase kit.
Key
BO – bind off
CO – cast on
K – knit
K2TOG TBL – knit 2 stitches together through the back loops
P – purl
PU – pick up (sts)
ST/STS – stitch/stitches
Construction
A large square is knit in stockinette stitch using mohair held double. Square is bound off using a 3-stitch icord and then stitches are picked up all the way around the square and bound off continuing the 3-stitch icord. Mohair square is -draped over a clear fillable ornament ball with a clear string tied to the top for hanging.
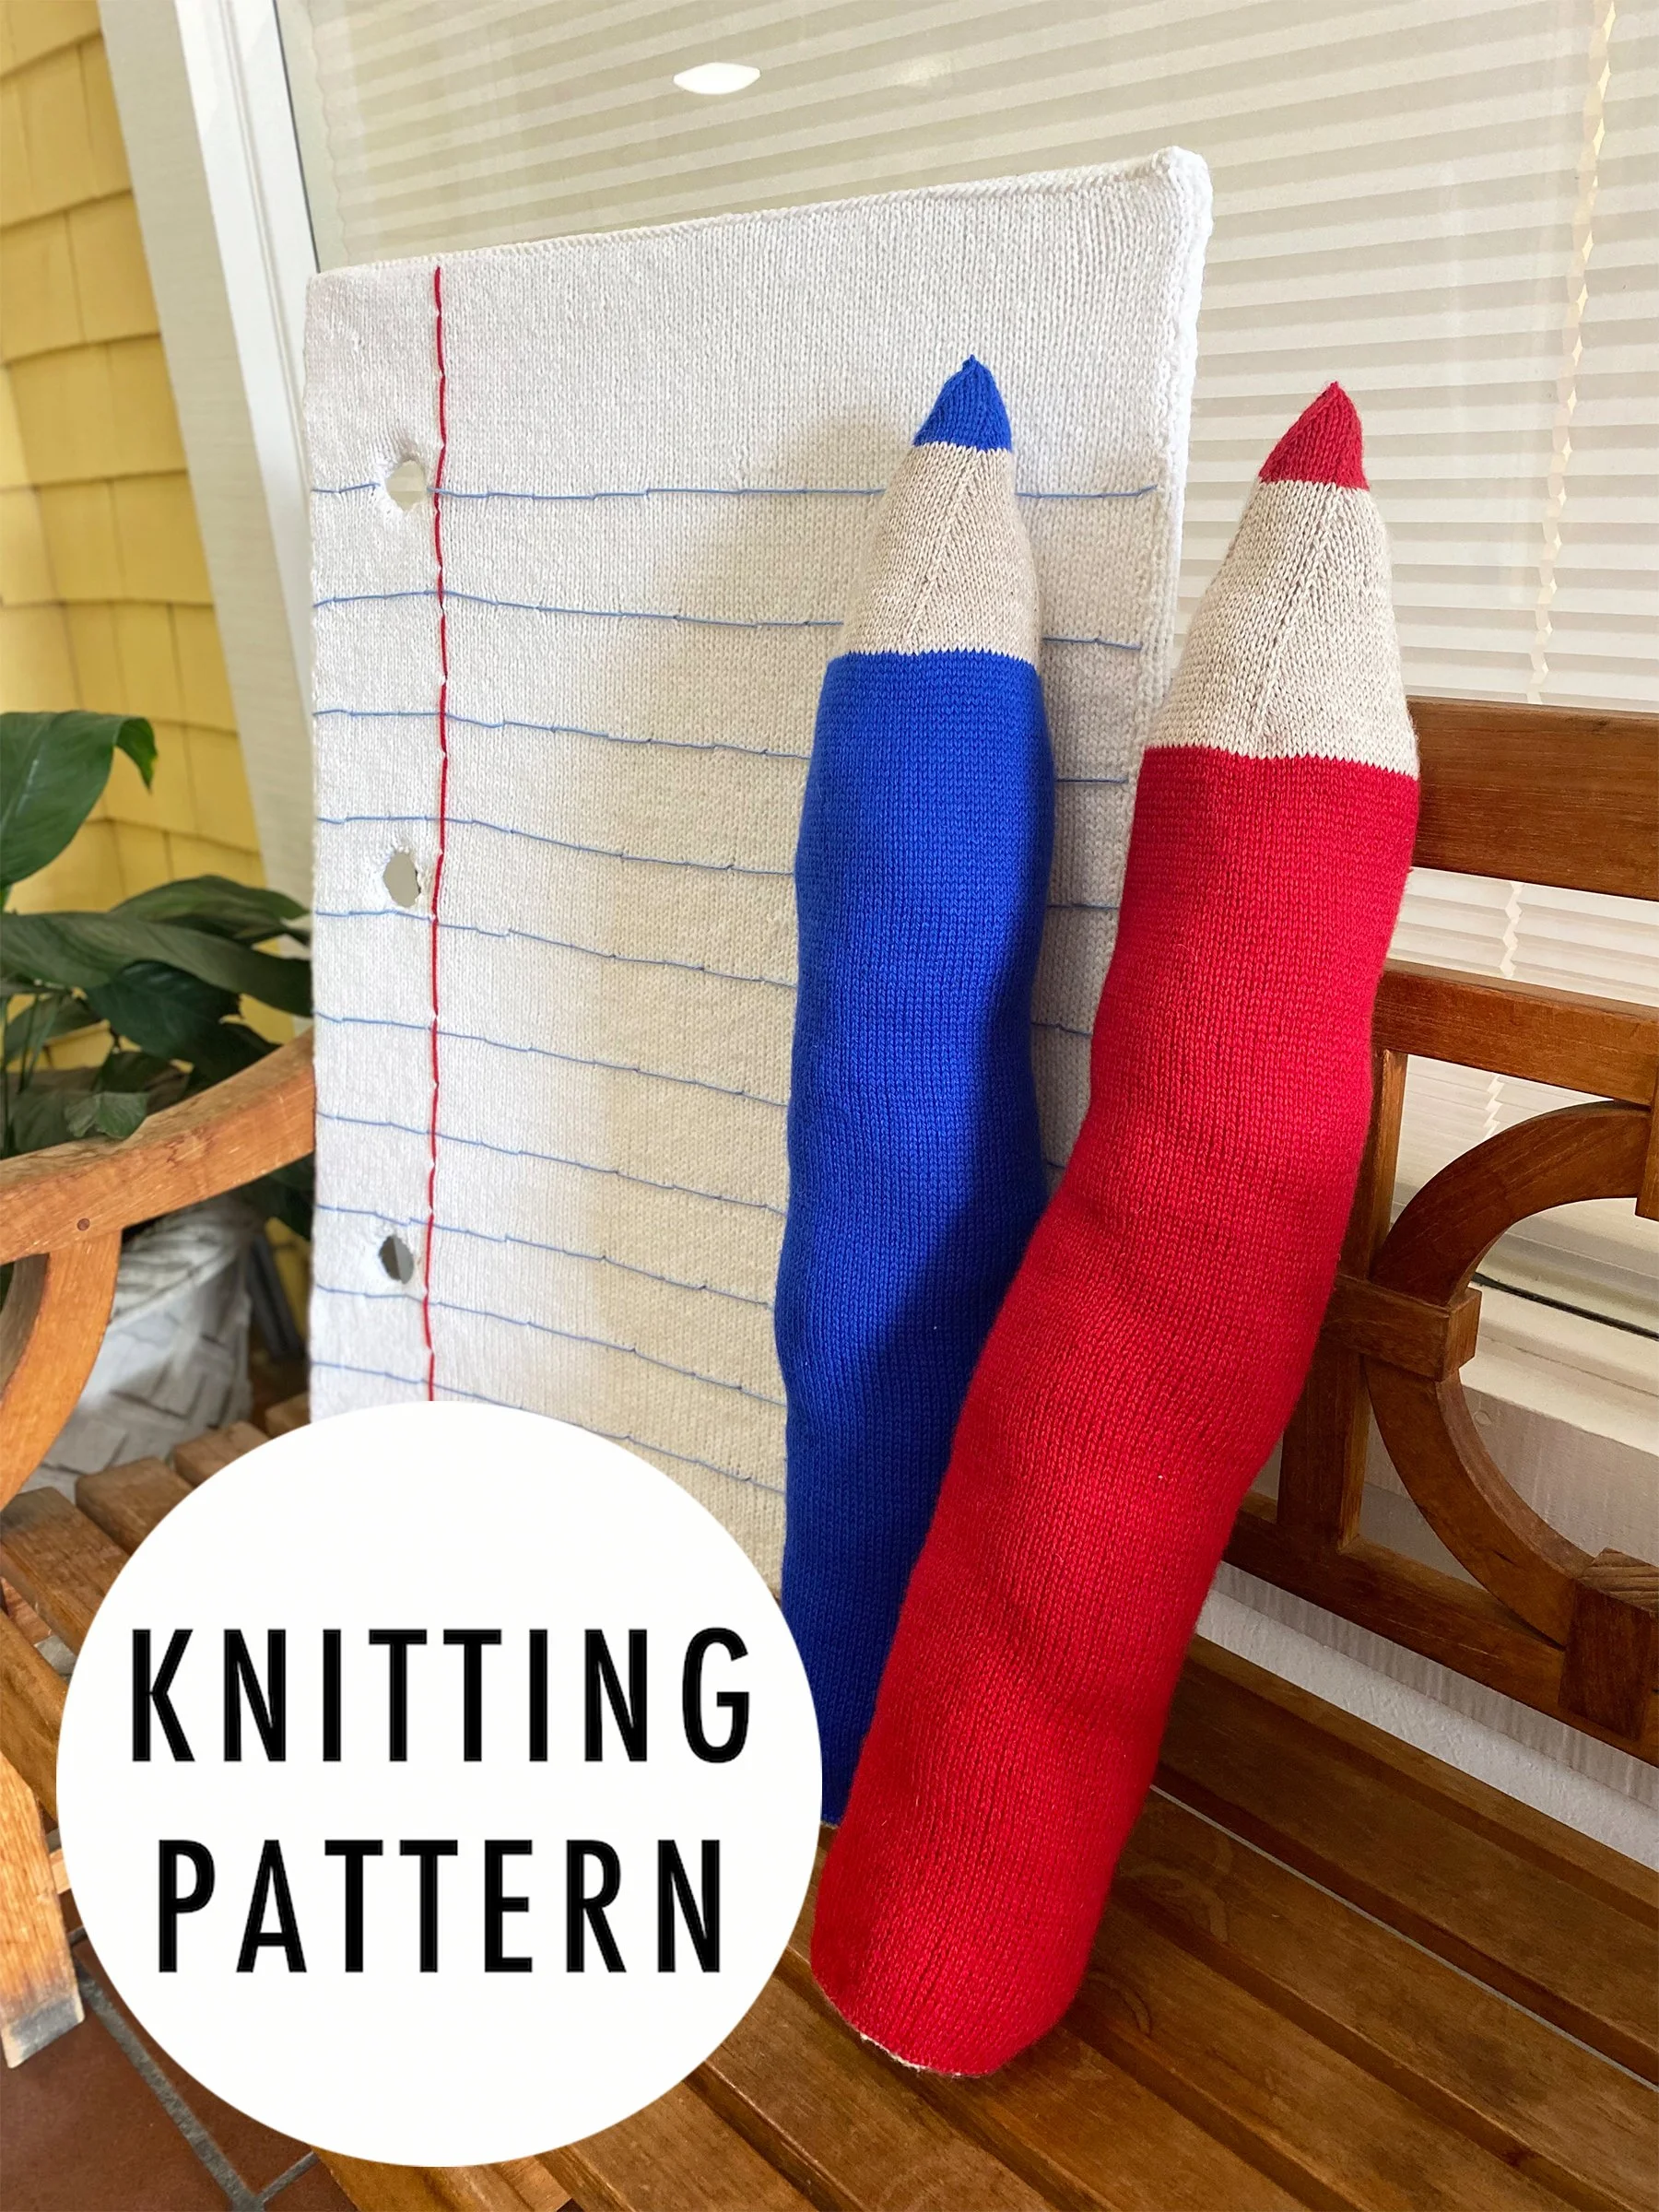
A whimsical oversized toy designed to celebrate “Back to School.” Makes a great gift for teachers or artists!
You can download the corresponding “Binder Paper” pattern guide for free HERE!
I love to see what you make! Share your project on Instagram and tag me @elisemade, or via email to elisemade@gmail.com
Finished Dimensions
30” long x 15” circumference (76.2 x 38.1 cm)
Yarn & Yardage
Berroco Vintage Baby DK
52% Acrylic, 40% wool, 8% Nylon
1.75 oz/50g, 145yds/133m
1 ball in color 10072 Toast (color B)
2 balls in color of your choice (color A)
Sample colors: 10033 Poppy &
10034 Royal Blue
Needles
US 4 (00.0 mm) double pointed needles & 16” circular
or 40” circular for magic loop
Gauge
24 sts and 26 rows in 4”/10cm
Tools
4 stitch markers including 1 unique BOR marker
Tapestry needle
Polyfil stuffing
Cardboard cut into 4” circumference circle
Key
BO – bind off
CO – cast on
K - knit
K2TOG – knit 2 stitches together (decrease)
KFB – knit front and back (increase)
P - purl
PM – place marker
ST/STS – stitch/stitches
Construction
Toy is knit in the round starting from the bottom (flat end) of the pencil by casting on stitches and working outward in simple increases, with color changes creating the pencil base pattern. Tube is then continued in main pencil color. Cardboard reinforcement is sewn into the bottom before continuing to work the colored tube. Simple decreases are used to shape the sharpened end and colored tip of the pencil.
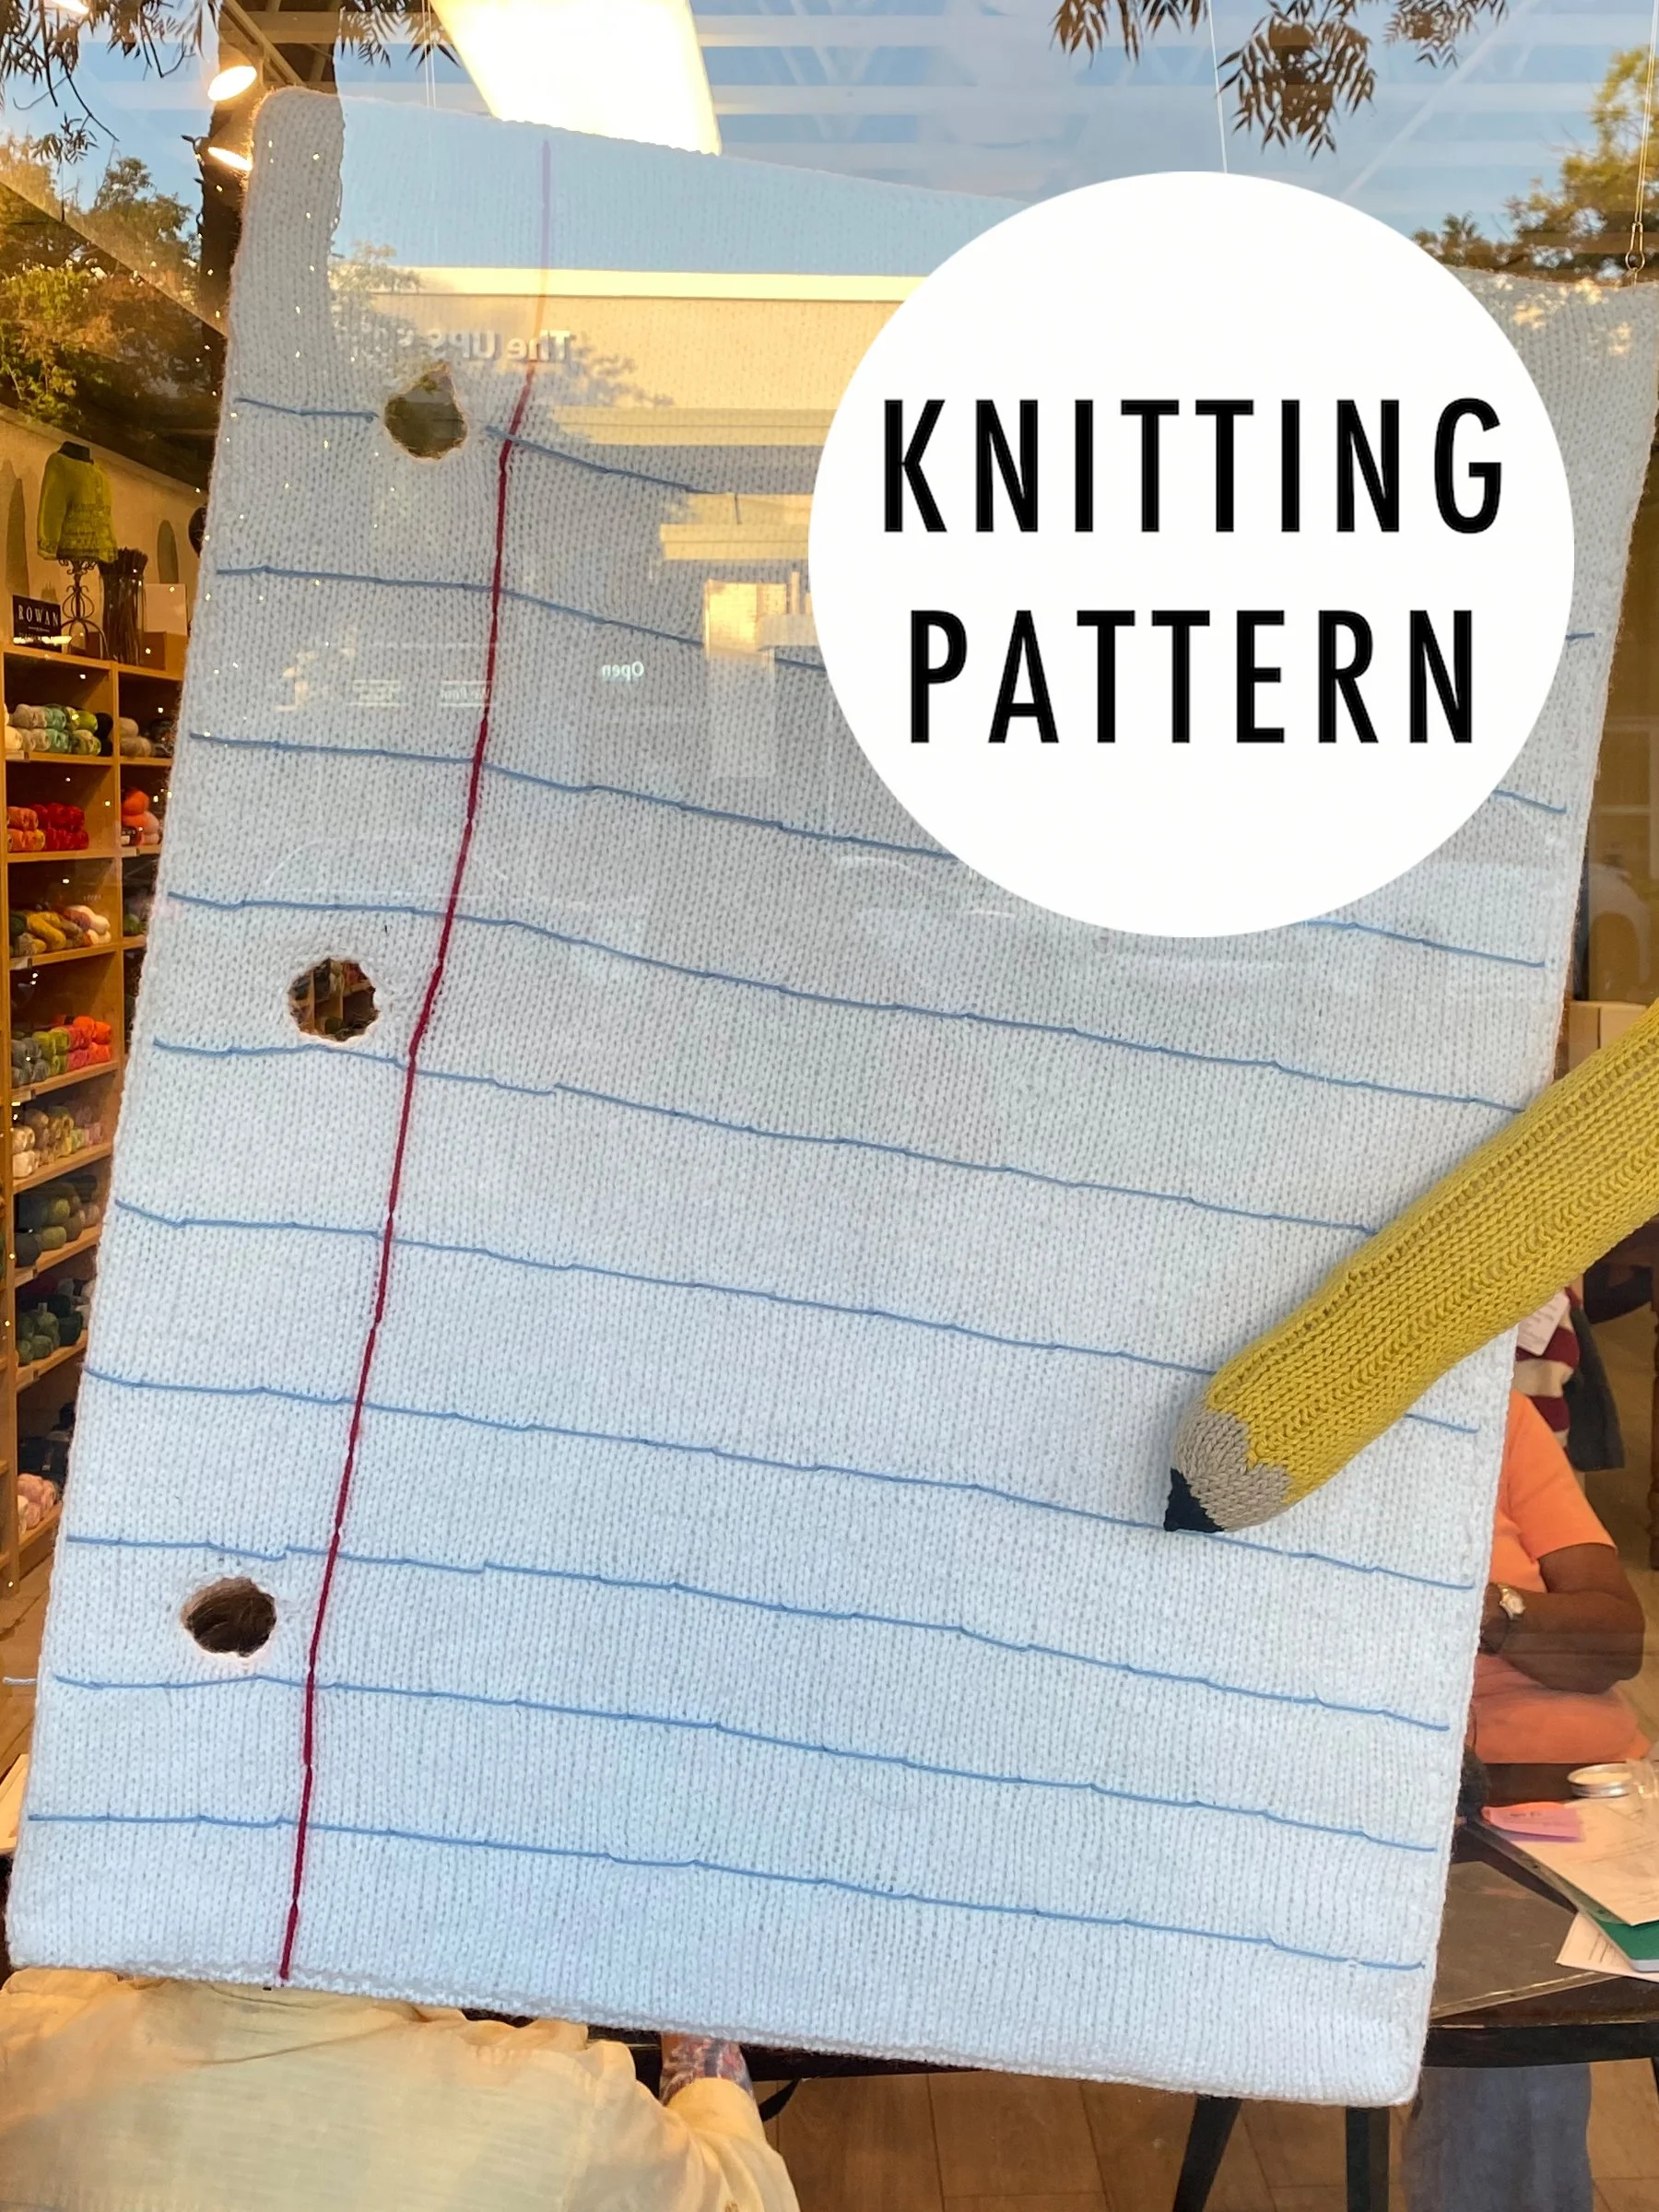
A whimsical oversized toy designed to celebrate “Back to School.” Makes a great gift for teachers or artists!
You can download the corresponding “Giant Colored Pencil” pattern HERE!
I love to see what you make! Share your project on Instagram and tag me @elisemade, or via email to elisemade@gmail.com
Finished Dimensions
24 x 31.5” (61 x 80 cm)
Yarn & Yardage
5 balls of Plymouth Encore
75% Acrylic, 25% Wool
200 yds (182m)/100g
Sample color: 0149 White
or
1000 yards of white worsted weight yarn of your choice
Scrap yarns in light blue and red for embroidery
Needles
40” circular US 8 (5.0 mm)
Gauge
17 sts and 23 rows in 4”/10cm
Tools
Tapestry needle
Poster board information
Key
BO – bind off
CO – cast on
K - knit
K2TOG – knit 2 stitches together (decrease)
KFB – knit front and back (increase)
P – purl
P2TOG – purl 2 stitches together (decrease)
PFB – purl front and back (increase)
ST/STS – stitch/stitches
Construction
A flat panel is knit in stockinette stitch with 3 large “binder holes” created along the left-hand side. A second panel is knit with the holes mirrored on the right-hand side; the two panels are then seamed together around a foam poster board with corresponding holes and embroidered to look like binder paper.
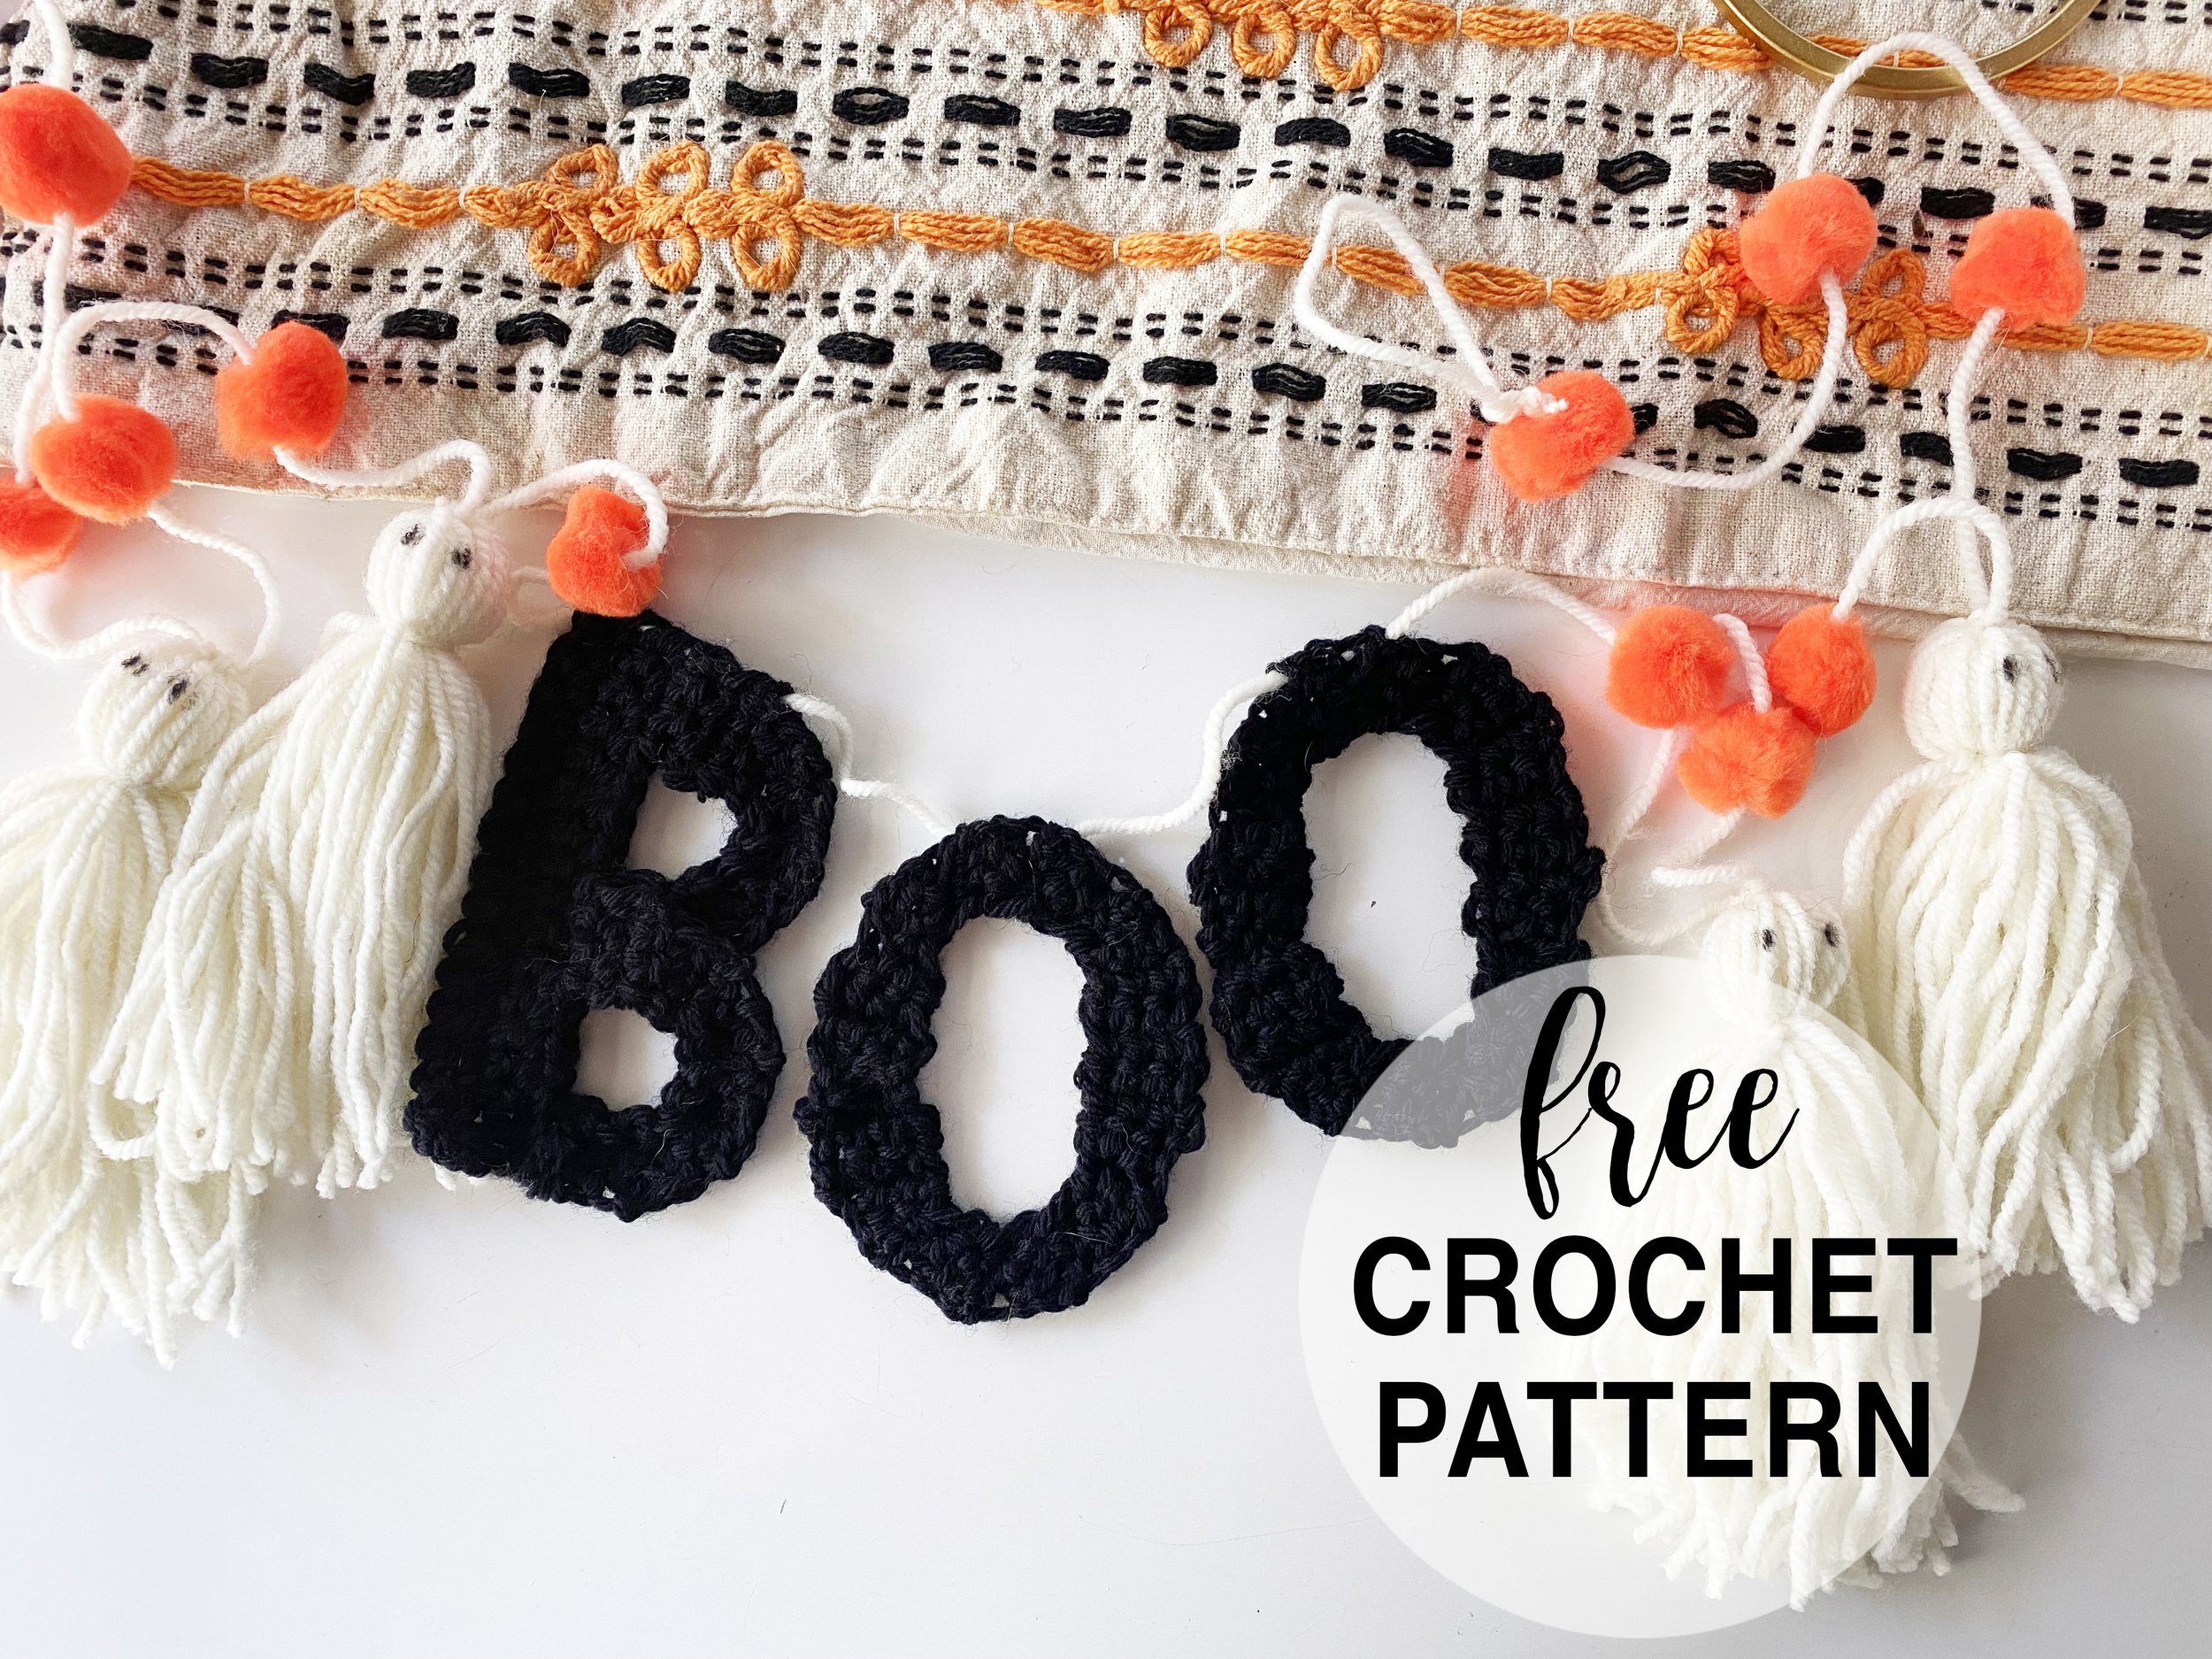
Whip up some spooky halloween decor using simple crochet and a few yarn tassels. Pattern includes instructions for creating letters to spell out “B O O” plus a guide on how to make tassel ghosts.
Yarn/Hook
Worsted weight yarn
G/4.0mm crochet hook
I recommend white yarn for the tassel ghosts and either black or orange for the crochet letters.
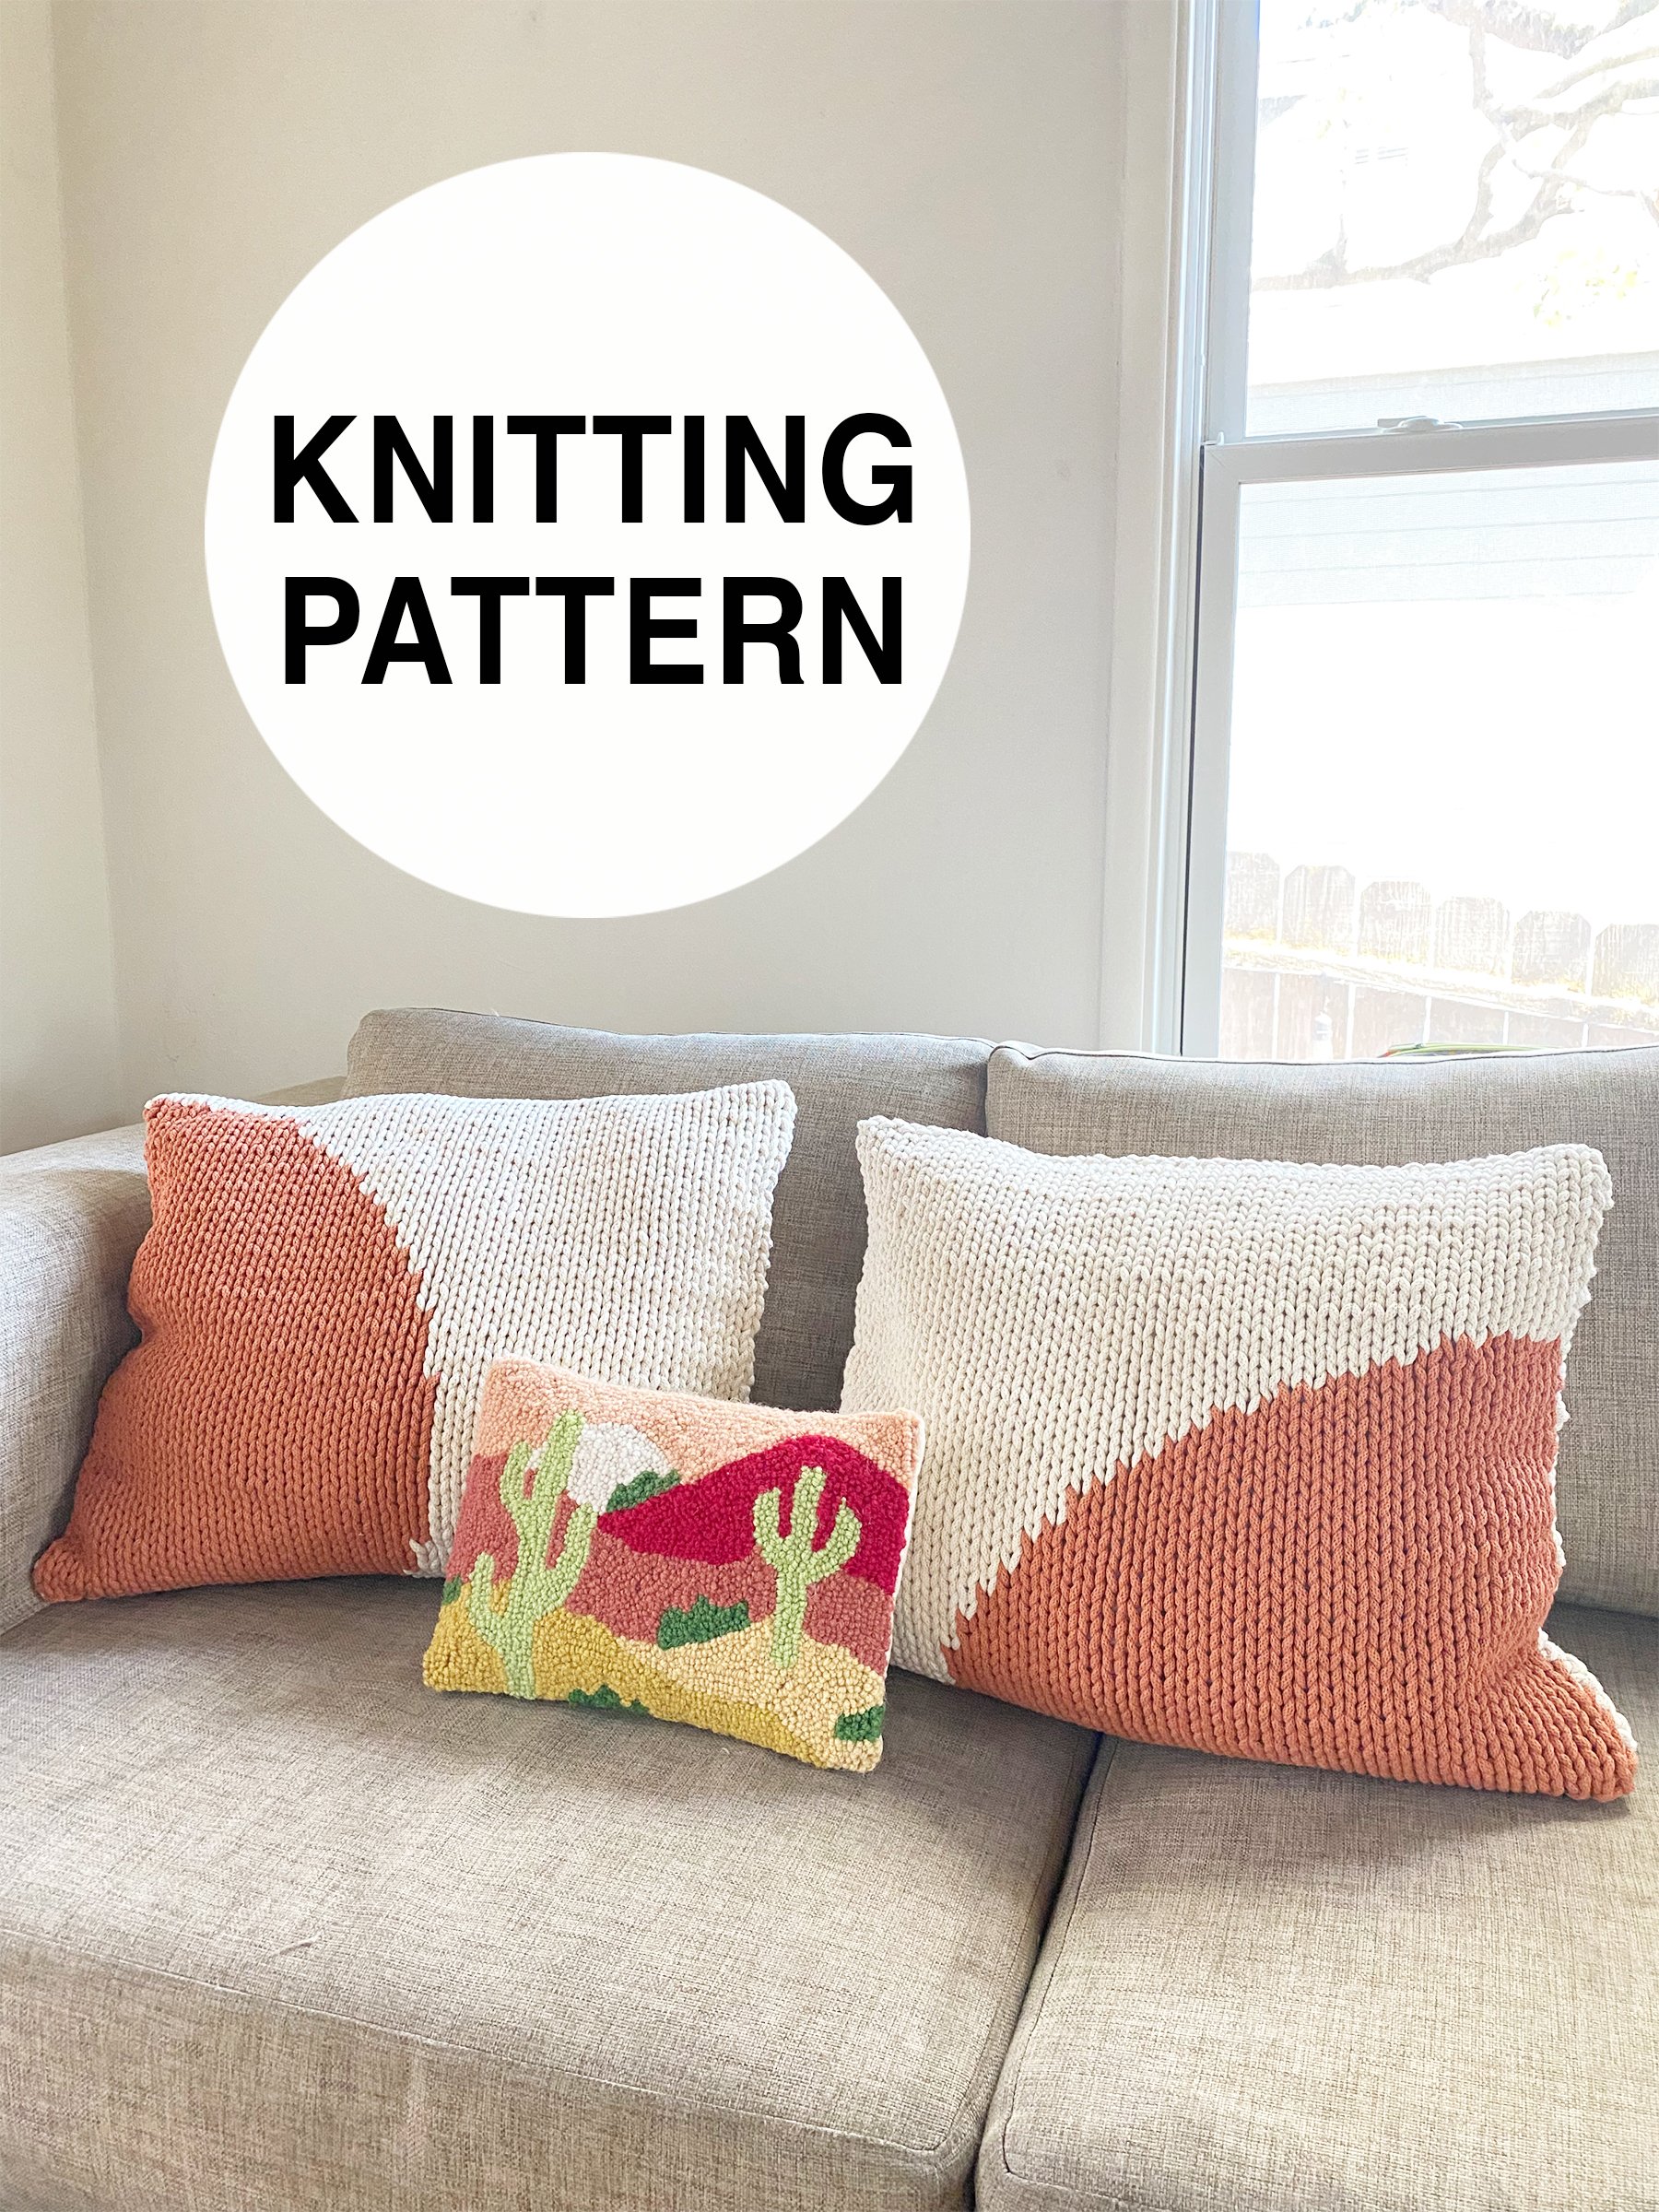
Bring some sophisticated west coast style to your space with these modern pillows, knit in a simple and sophisticated intarsia design perfect for beginners.
Jumbo weight yarn ensures these knit up in no time. Pattern includes video tutorials to add in a zipper so covers can be washable.**
I love to see what you make! Share your project on Instagram using hashtag #SunGlowPillows and tag me @elisemade, or via email to elisemade@gmail.com
Finished Dimensions
Pillows measure approximately 20 x 20” (50.8 x 50.8 cm)
Yarn & Yardage
Bobbiny Premium 5mm Braided Cord
100% Cotton; 109 yds/100 M; 17.28 oz/490 g
for one pillow
MC - 218 yards (2 skeins)
CC – 109 yards (1 skein)
for both pillows
MC – 436 yards (4 skeins)
CC – 218 yards (2 skeins)
or other category 7/jumbo yarn – I would recommend using cotton, cotton blend, or another washable synthetic blend
Needles
32” US 11 (8.0mm) circular needle
Gauge
8 sts and 10 rows in flat stockinette stitch = 4”
Tools
-Large eyed tapestry needle
-Sewing needle
-1 or 2 9” zipper(s) in a color matching your MC (I used these, purchased from Joann’s)
-Sewing thread in a color matching your MC (I used this, purchased from Joann’s)
-20 x 20” pillow inserts (I used these, purchased from Amazon)
Key
CC – contrast color
CO – cast on
BO – bind off
K – knit
MC – main color
P - purl
ST/STS – stitch/stitches
Construction/Skills
Each pillow is knit flat in two panels, a front worked in stockinette stitch with a simple 2-color intarsia pattern, and a back panel knit in garter stitch. Panels are seamed together using mattress stitch leaving a 9” opening at the bottom and a 9” zipper is sewn into the opening.
Zipper Tutorials
Part 1: Pinning in the zipper
Part 2: Sewing in the zipper

Every day is Taco Tuesday with this fun play food set! Single crochet stitches and simple shapes make this a lightning-fast project with maximum cute impact. Perfect for pretend play, learning colors, and sorting practice.
I love to see what you make! Share your project on Instagram using hashtag #CrochetTacoParty and tag me @elisemade, or via email to elisemade@gmail.com
Finished Dimensions
Assembled taco measures approx. 5.5 x 3” (14 x 7.5 cm)
Yarn & Yardage
Worsted weight 100% cotton
Suggested: Lily Sugar’N Cream
100% Cotton; 120 yds/109 M; 2.5 oz/70.9 g
Sample yarns:
Tortillas – Color: Bamboo
Yardage for 4 pieces: 30-32 yards
Steak – Color: Warm Brown
Yardage for 8 pieces: 14-15 yards
Avocado – Color: Sage Green
Yardage for 4 pieces: 4 yards
Hot sauce – Color: Red
Yardage for 4 pieces: 2-3 yards
Hooks
G/4.0mm hook
Tools
Tapestry needle and scissors for finishing
Gauge
Gauge is not important for this project!
Key
Ch - chain
Sc – single crochet
Sl st – slip stitch
St - stitch

A free mini flag pattern to show solidarity with Palestine.
I love to see what you make! Share your project on Instagram and tag me @elisemade, or via email to elisemade@gmail.com
Size
Finished dimensions:
1.5 x 3” (3.8 x 7.6 cm)
Yarn
Scrap worsted weight yarn in RED, GREEN, BLACK, and WHITE.
Needles/Hooks
US 6 (4.0 mm) circular needle
Gauge
Gauge is not important for this project!
Tools
Tapestry needle
Scissors
Construction
Knit from the bottom up in flat intarsia.
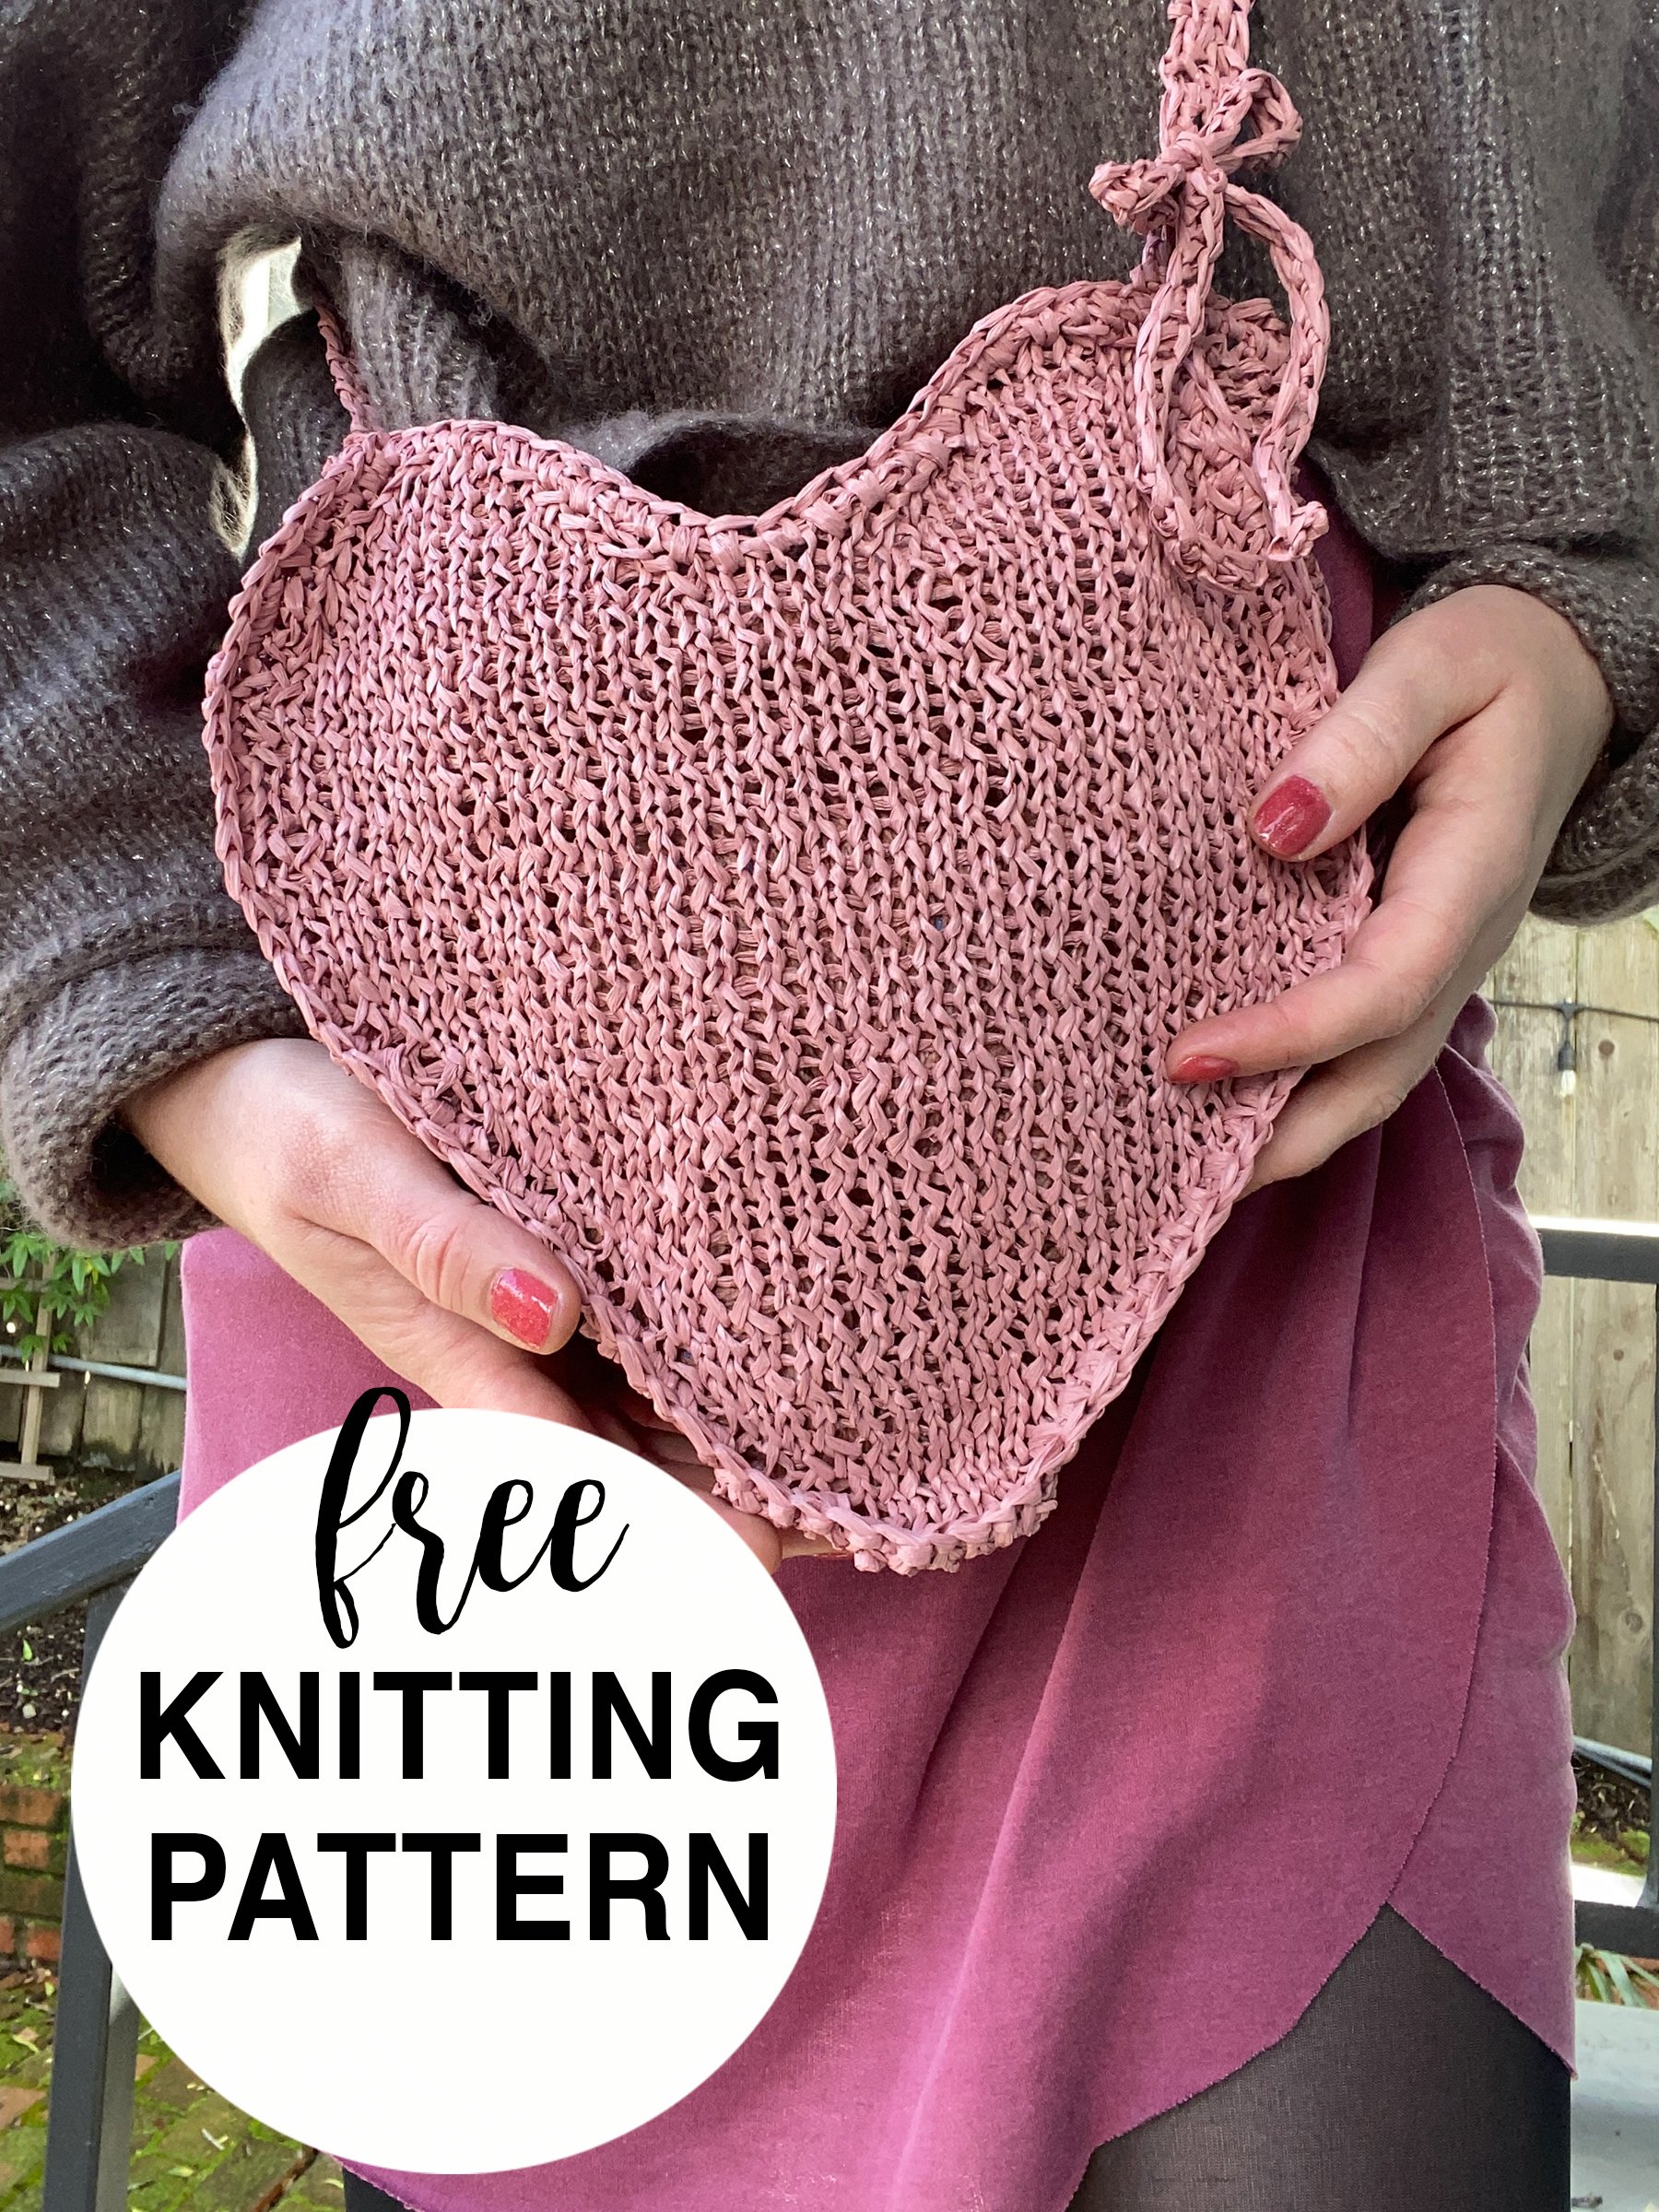
A sweet little raffia purse for all the lovers <3
I love to see what you make! Share your project on Instagram using hashtag #SackdeCoeur and tag me @elisemade, or via email to elisemade@gmail.com
Size
Finished dimensions:
10 x 11” (25.4 x 28 cm)
Yarn
Wool and the Gang “Ra-Ra Raffia”
273 yards / 120 grams
100% viscose
Approximately 180-185 yards / 165-170 meters
Needles/Hooks
US 7 (4.5 mm) circular needle
H/5.0 mm crochet hook for joining
Gauge
On US 7 (4.5 mm), 13 sts and 22 rows in flat stockinette = 4”
Tools
Tapestry needle
Scissors
Key
B/O – bind off
C/O – cast on
K - knit
P - purl
K2T – knit two sts together; single right-leaning decrease
M1L – make one right; single right-leaning increase
M1R – make one left; single left-leaning increase
PSO – pass stitch over to bind off 1
RS – right side
SL1 – slip 1 stitch knitwise
SSK – slip 2 stitches knitwise; knit these 2 sts together through the back loops; single left-leaning decrease
ST/STS – stitch/stitches
SC – single crochet
WS – wrong side
Construction
Two panels are knit flat in a heart shape. Bottom and side panels are knit in one long strip and attached to front and back panels using single crochet stitches. Straps can be worked in either single crochet or knit i-cord by picking up sts in opposite corners, or use a ready-made purse chain or straps.

This is a downloadable PDF knitting pattern for the “Turkey Leg Hat.”
A whimsical holiday knit, the Turkey Leg Hat is constructed by seaming two 3D “turkey legs” to the sides of a simple slouchy hat. Worked up in super bulky weight yarn, this hat is a lightning-fast project that requires only one skein of main color yarn or less per each size. With 4 sizes total included, you’ll want to make one for the whole family!
Pattern Details:
Yarn
Main Color (MC): 76 (86, 96, 106) yards super bulky weight yarn in burnt orange
Secondary Color: approximately 15 yards super bulky weight yarn in white
Recommended:
Lion Brand Wool Ease Thick & Quick in Butterscotch (MC) and Fisherman (CC)
Needles
Size US 13 (9mm) double-pointed or circular needles
Tools
Poly-fill or other stuffing material
Tapestry needle for finishing
Gauge
9 stitches and 12 rows = 4x4”
Sizing
For best fit, choose your size based on the closest finished circumference measurements.
Due to the yarn choice and needle size, finished hats will have about 4-6” of stretch.
To determine size, measure head circumference and subtract 4-6“
Approximate age ranges: Baby (0-2 yrs) Toddler (3-5 yrs), Kids (6-12 yrs), Adult (13+)
Hat finished circumference: 12 (14, 16, 18)“
Key
K - Knit
P - Purl
K2T - Knit two stitches together)
P2T - Purl two stitches together
STS - stitches
MC - main color
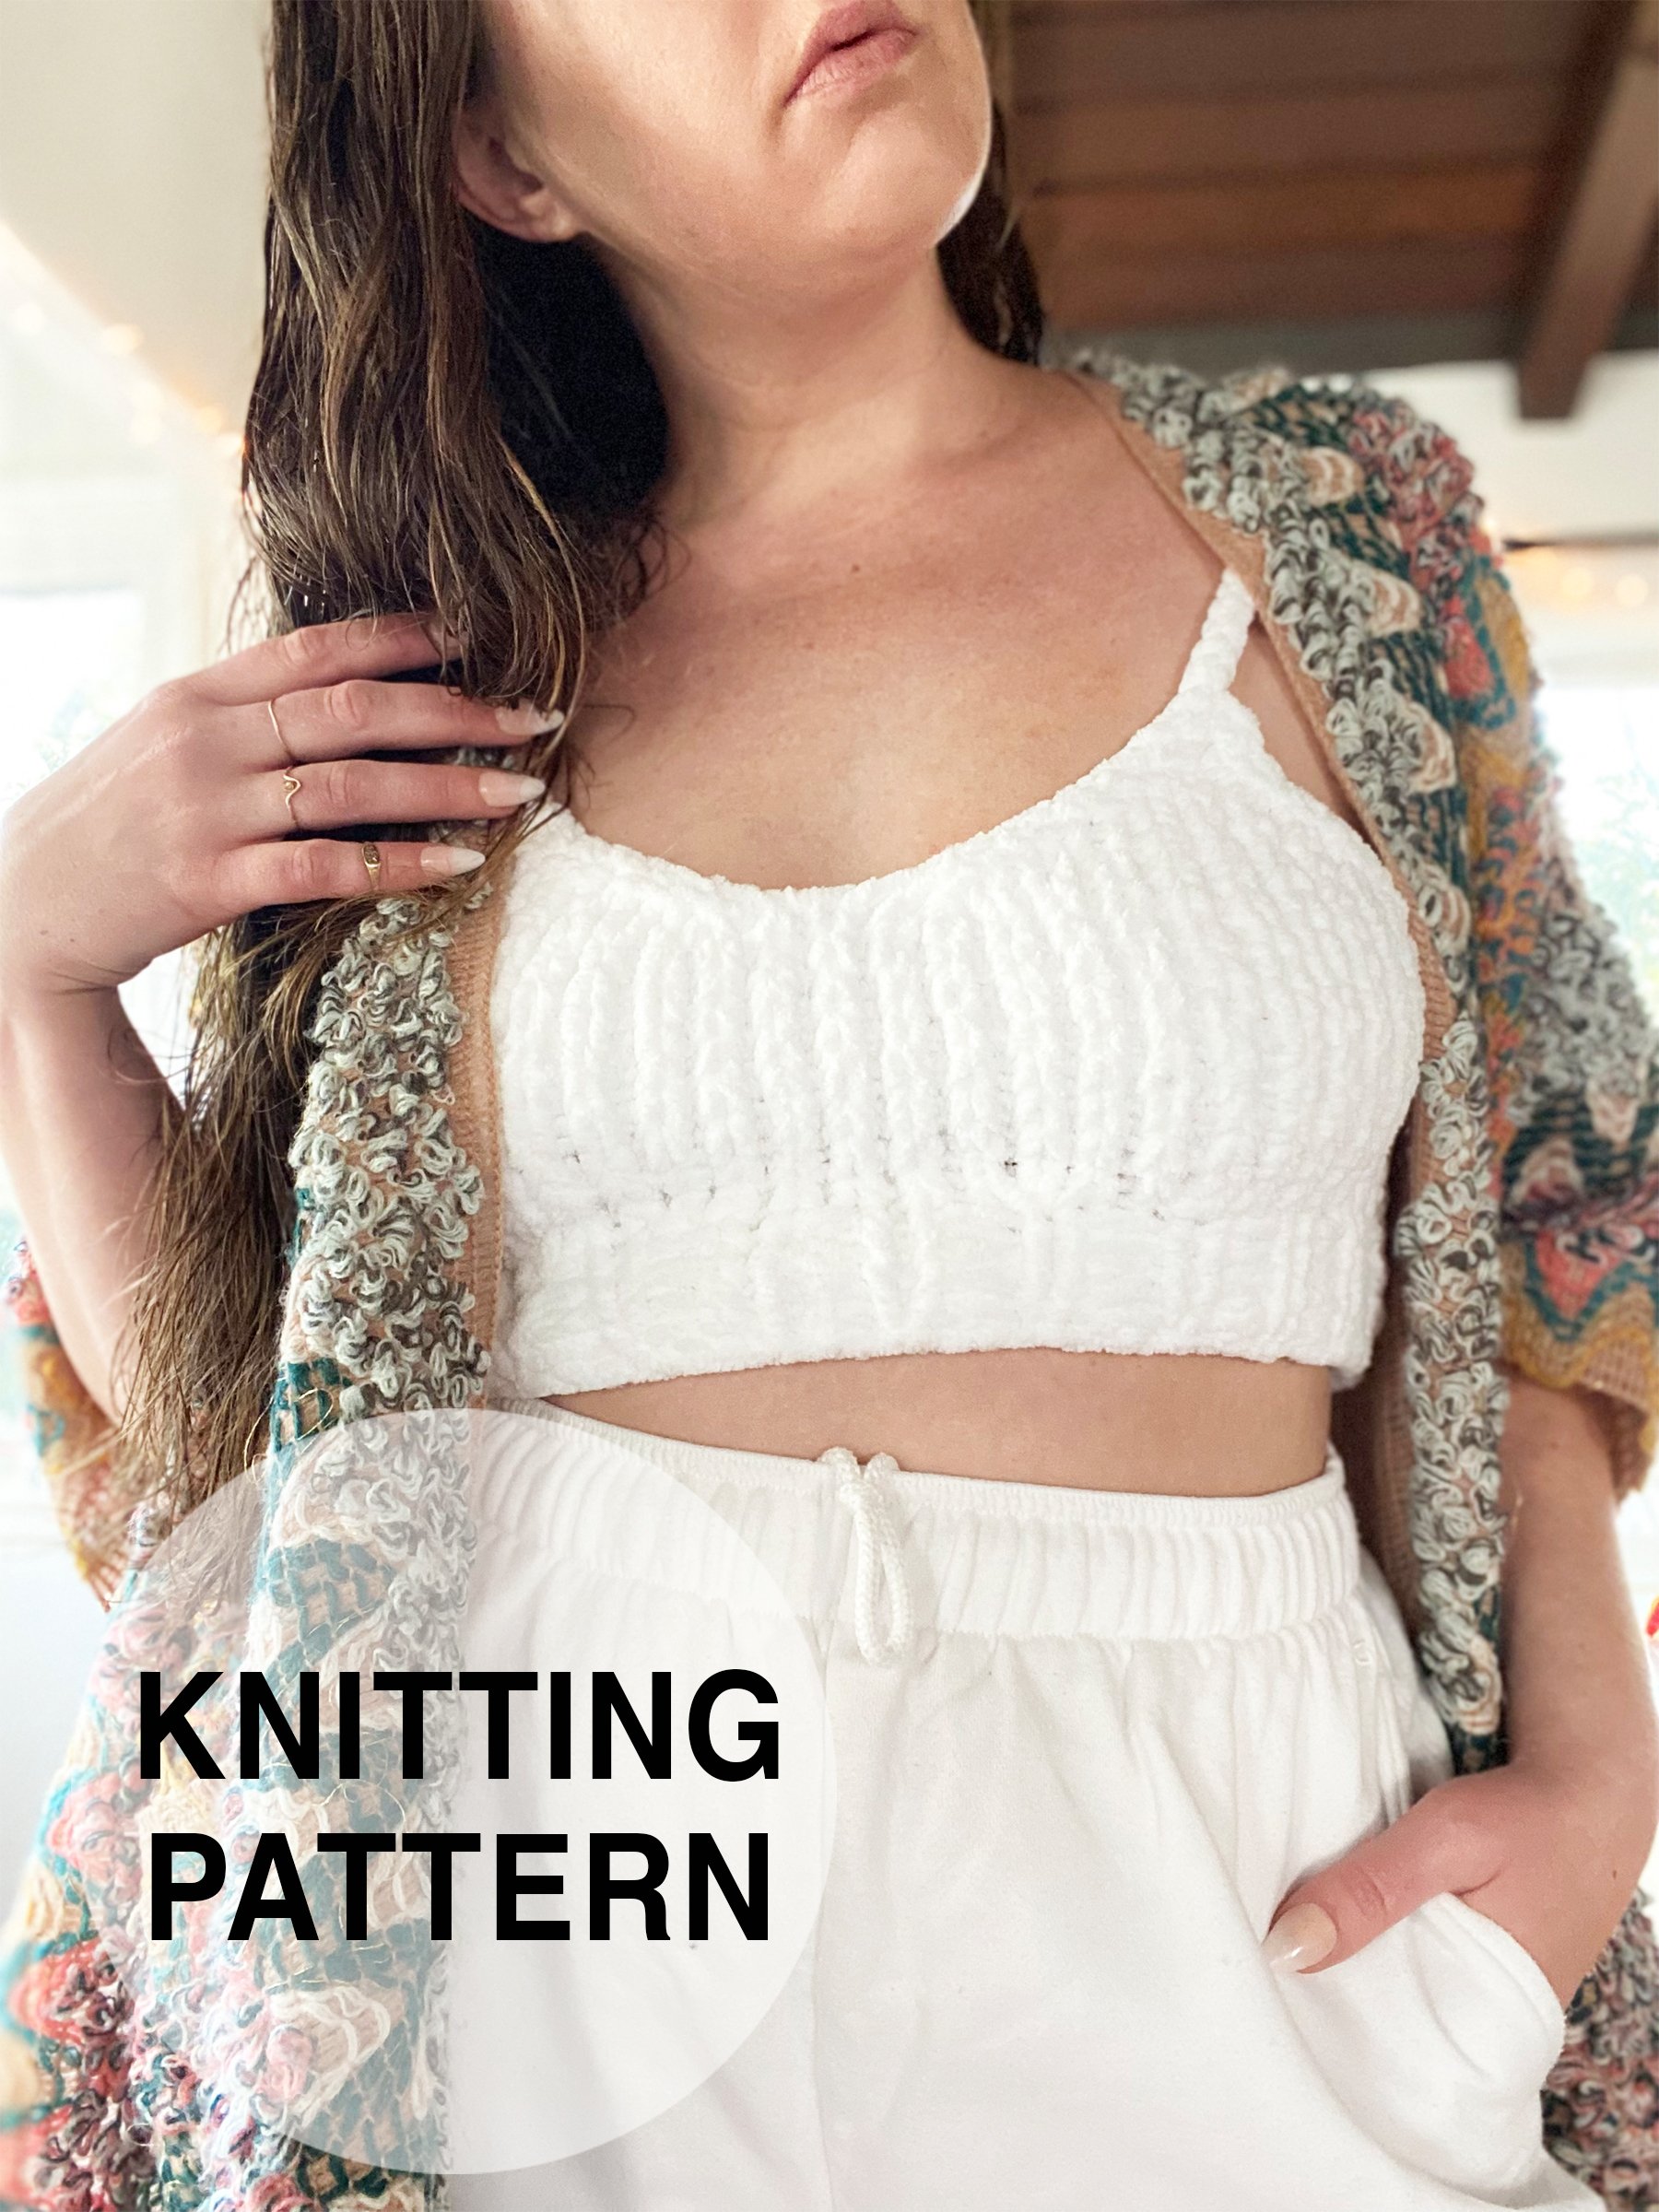
Relax in style with this cozy bralette, a handmade version of the cute furry loungewear sets that are so on trend right now. The unexpected choice of super bulky chenille yarn makes this bralette soft as a cloud and this knit super quick and low- yardage. You’re guaranteed to feel like a goddess ~
I love to see what you make! Share your project on Instagram using hashtag #AphroditeCropTop and tag me @elisemade
Sizing
(1, 2, 3, 4)5, 6, 7, 8{9, 10, 11, 12}
Corresponding to chest measurement:
(28-30, 31-33, 34-36, 37-39)40-42, 43-45, 46-48, 49-51{52-54, 55-57, 58-60, 61-63}”
(71-76, 78.7-83.8, 86-91, 94-99)101.6-106.7, 109-114.3, 116.8-122, 124.5-129.5{132-137, 138.7-144.8, 147.3-152.4, 155-160} cm
Approx. chest measurement of finished garment, once worn/stretched:
(29, 32, 34, 36)40, 44, 46, 49{52, 54, 56, 60}”
(73.6, 81.3, 86.4, 91)101.6, 111.7, 116.8, 124.5{132, 137, 142.2, 152.4} cm
Bralette is meant to be worn with -4 to 0” of ease, depending on your fit preferences.
Due to the extremely stretchy nature of the chenille yarn, bralette sizes were calculated with -8 to -10” of ease, which results in a finished garment with -1 to -4” of ease for each size.
Choose a finished garment size closest to your full bust measurement, subtracting 0-4” based on fit preference. If you are in between measurements by 1-2”, I recommend sizing down.
Yarn
Category 6/super bulky chenille yarn
I am specifically recommending polyester chenille yarns for this pattern (and specifically discouraging the use of velvet yarn, which doesn’t have any stretch).
Please note that even if you meet gauge with non-chenille yarns the bralette will turn out much smaller than you expect (this is because the gauge was calculated specifically to accommodate the large amount of stretch in polyester chenille).
Suggested yarns:
Premiere Yarns Premiere Basix Chenille, 220 yds/201 m, 300g
100% polyester
Bernat Baby Blanket (or Baby Blanket Sparkle)
220 yds/201 m, 300g
100% polyester
Universal Yarns Bella Chenille
131 yds/000m, 100g
100% polyester
Yardage
(100-110, 110-120, 120-130, 130-140)140-150, 150-160, 160-170, 170-180{180-190, 190-200, 200-210, 220-230} yds
(91.4-100.5, 100.5-109.7, 109.7-119, 119-128)128-137, 137-146.3, 146.3-155.4, 155.4-164.6{164.6-173.7, 173.7-183, 183-192, 201-210.3} meters
Needles
US 9 (5.5mm)
Gauge
On US 9 (5.5mm), 8 sts over 12 rows = 4” in flat stockinette
Key
BO – bind off
CO – cast on
K – knit
K2T – knit 2 sts together
KFB – knit front and back
M1L – make 1 left
M1R – make 1 right
M1Lpw – make 1 left purlwise
M1Rpw – make 1 right purlwise
P2T – purl 2 sts together
PM – place marker
RS – right side of fabric
SL1 – slip 1 st knitwise
SSK – slip 2 sts knitwise, knit these sts together through back loops
ST/STS – stitch, stitches
WS – wrong side of fabric
Construction
Bralette is knit flat in one piece and seamed down the sides. Start with the front bottom hem ribbing, then the front body. You will then shape the neckline and work both straps at the same time. Sts are cast on to shape back panel and join straps. Continue working down back body and finish with back hem ribbing

These handwarmer mitts are an homage to the 11 years I lived in Los Angeles. The LA River is not exactly a beautiful landmark; most of what runs through the city is a paved over concrete channel. But if you know, you know that the realest, most exciting, and most vibrant parts of Los Angeles are found close to the river.
A thick band of stockinette stitch evoking the river’s channel runs through the middle of these mitts, surrounded by stretchy ribbing that ensures a comfortably snug fit.
I love to see what you make! Share your project on Instagram using hashtag #LArivermitts and tag me @elisemade, or via email to elisemade@gmail.com
Sizing
Adult Small (Adult Large)
Finished dimensions (unstretched):
10.5 x 5” (26.5 x 12.5 cm)
11 x 5.5” (28 x 14) cm
Yarn
DK or worsted weight wool, or any combo of yarns that meets gauge
Sample: Rowan Alpaca Soft DK
70% wool, 30% alpaca
137 yds/125 m, 50g
Yardage
130 (145) yards
118 (132) meters
Needles
US 6 (4.0mm) 40” circular for magic loop
Gauge
On US 6 (4.00mm), 18 sts in stockinette stitch in the round = 4”
Key
BO – bind off
CO – cast on
K – knit
M1L – make 1 left
M1Lpw – make 1 left purlwise
M1R – make 1 right
M1Rpw – make 1 right purlwise
P - purl
PM – place marker
ST/STS – stitch, stitches
Construction
Mitts are knit from the bottom up in magic loop. Increases are worked in ribbing pattern for thumb gusset. Thumb stitches are held while working upper mitt. Thumb stitches are then worked in ribbing pattern.
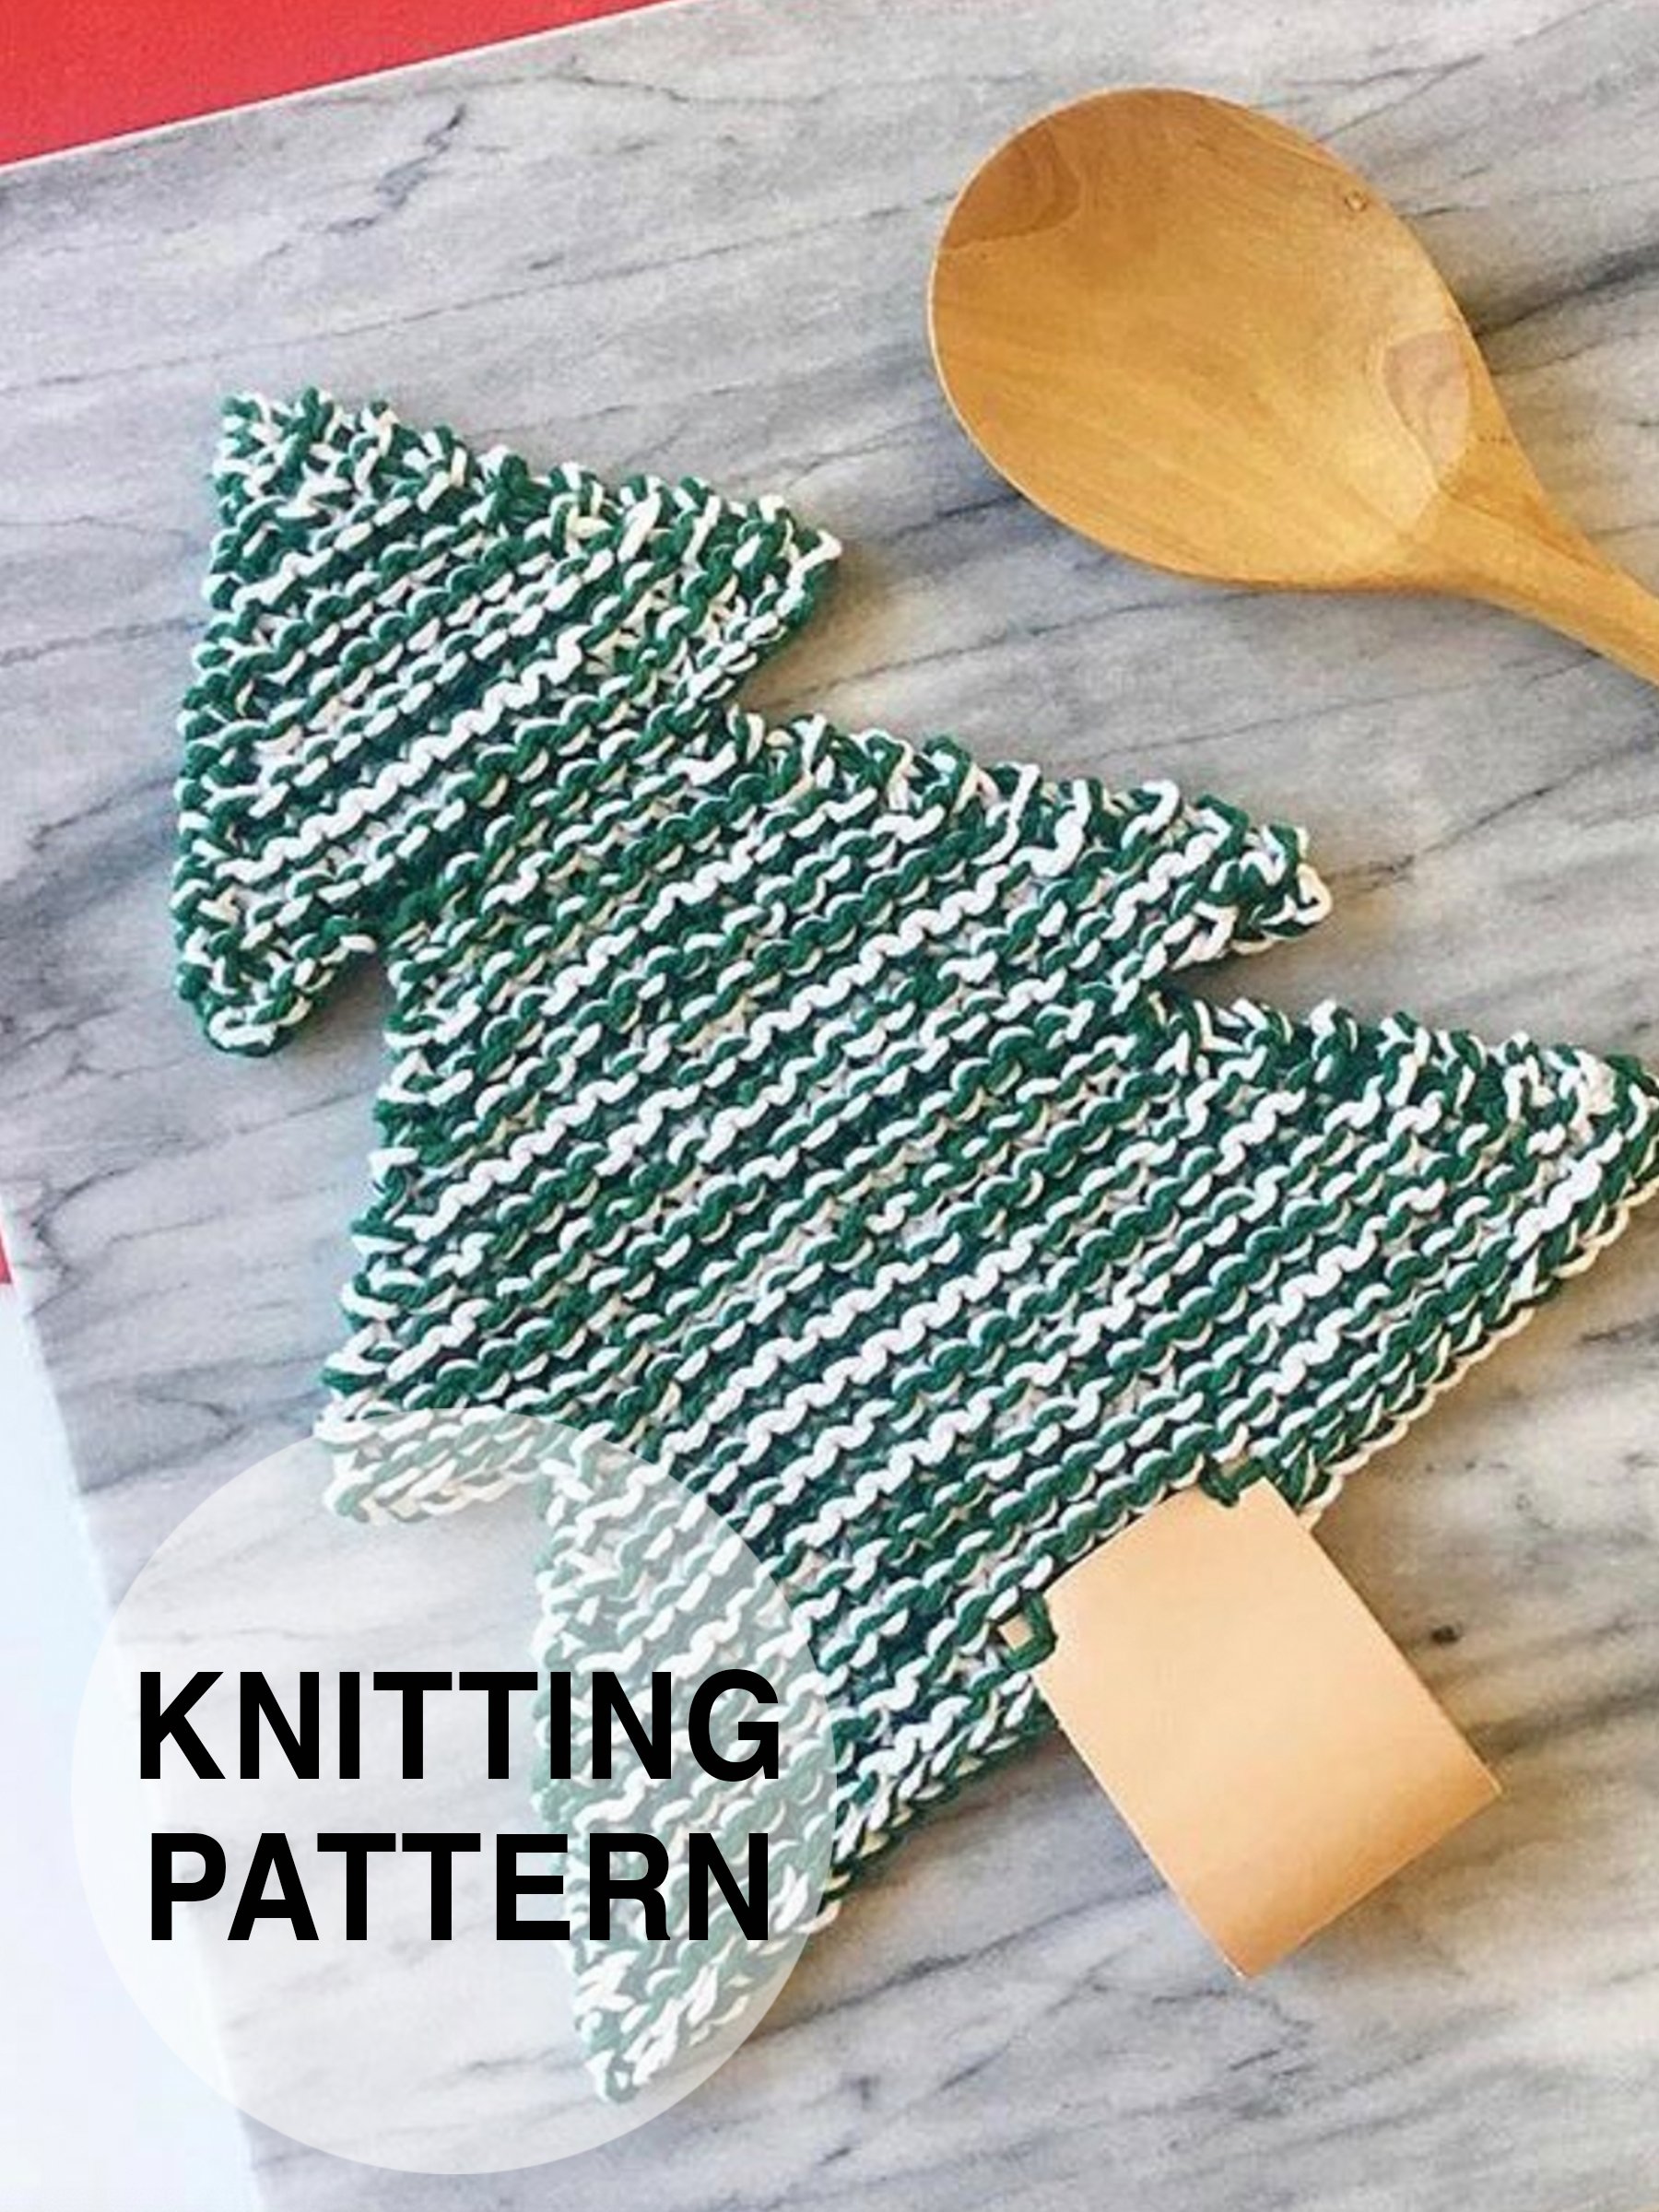
Worsted weight cotton held triple worked on small needles creates a dense and thick fabric that effectively shields hands and countertops from heat. The original Perfect Potholder gets a fun wintertime twist using simple increase and bind off techniques.
I love to see what you make! Share your project on Instagram using hashtag #SnowyPineTreePotholder and tag me @elisemade, or via email to elisemade@gmail.com
Yarn & Yardage
This pattern is made by holding 3 separate strands of yarn together. You will need:
3 balls (or approx. 50 yards for each strand) of category 4/worsted weight 100% cotton in
2 strands of dark green
1 strand of white
Scraps of brown (enough to hold 3 strands triple) for optional i-cord trunk
Recommended: Lily Sugar’n’Cream
Needles
Size US 8 (5.0mm) needles
Bamboo or other wooden needles are recommended for this project
Gauge
15 sts and 15 rows in garter st = 4” (10 cm)
Tools
Tapestry needle for finishing
Optional tools to make leather loop:
Soft leather
1/8” leather punch
Hammer
Ruler
Sharp scissors or exacto knife
(see tutorials page for step-by-step instructions and resources)
Finished Dimensions
Measures approximately 12 x 9” (30.5 x 23 cm)
Key
CO – cast on
BO – bind off
K - knit
K2T – knit two stitches together (1 st decreased)
KF&B – knit into the front and back of stitch (1 st increased)
ST/S – stitch/sts
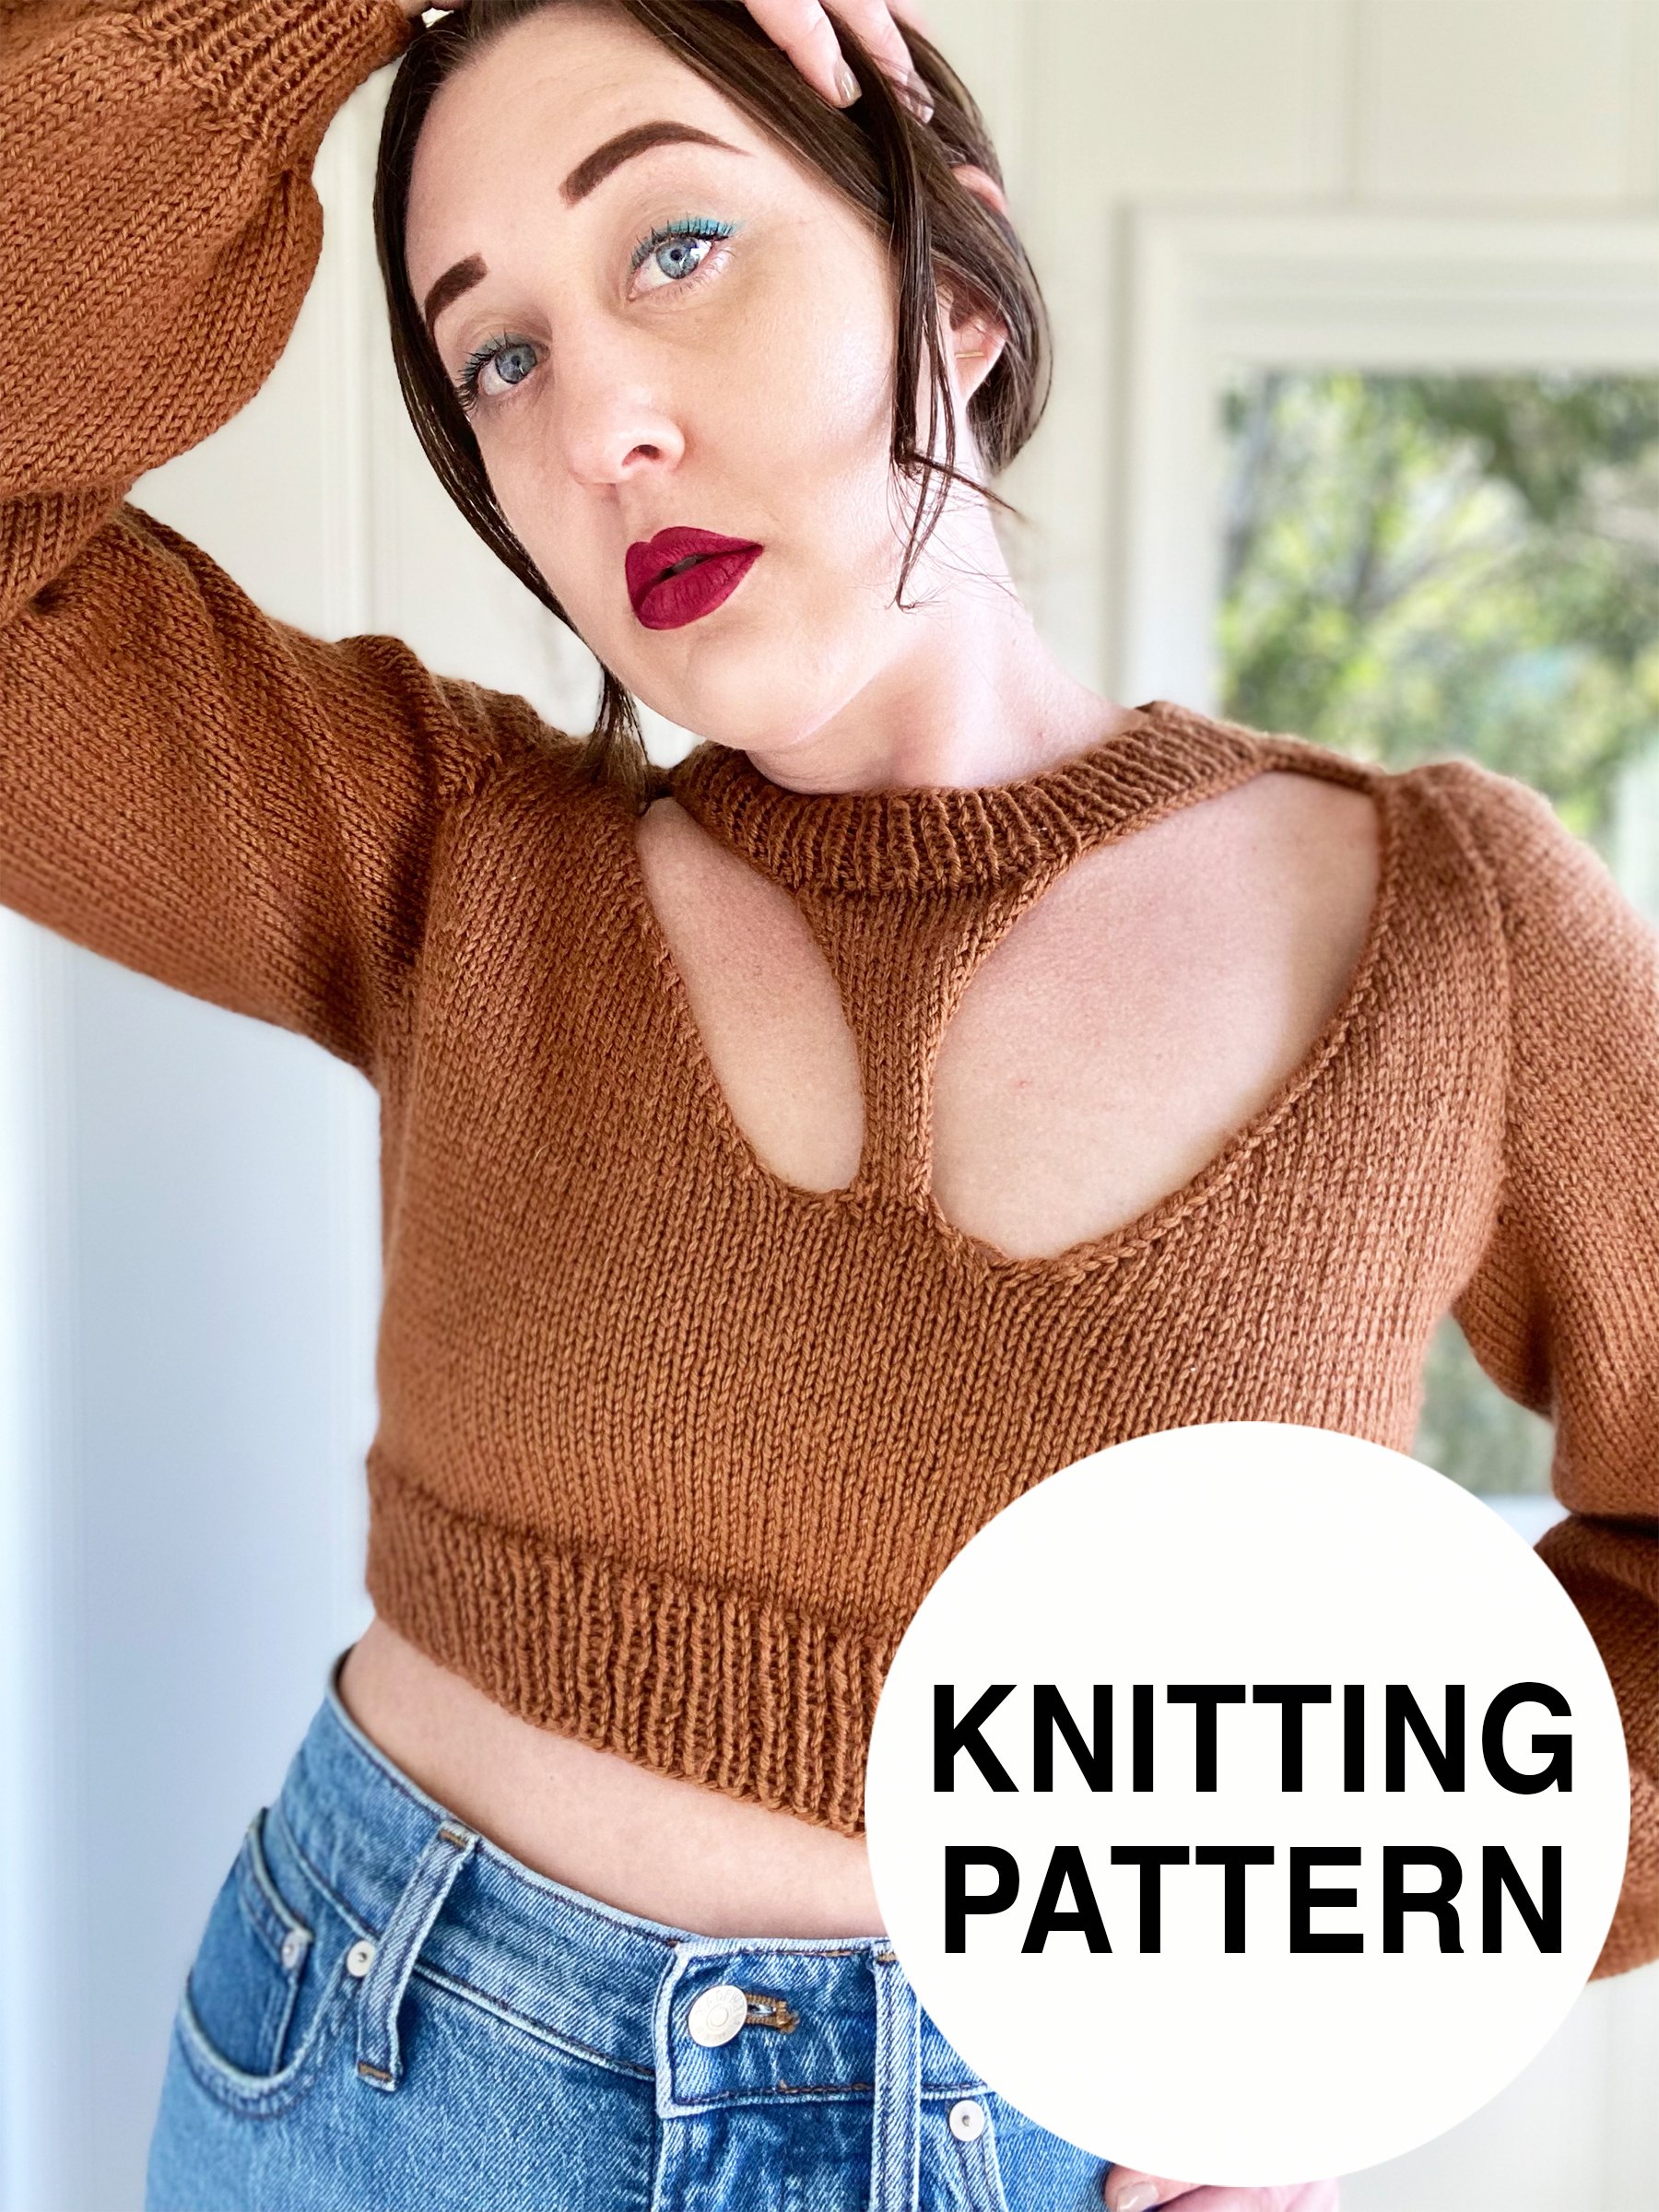
The sexy sister to Vitrine, Curio is a cropped pullover with a triangle bandage neckline and yoke “cutouts.”
Simple techniques and a unique construction come together to create a statement sweater that is engaging for experienced knitters and accessible for adventurous beginners!
I love to see what you make! Share your project on Instagram using hashtag #TheCurioSweater and tag me @elisemade
Sizing
1(2, 3, 4, 5)(6, 7, 8, 9, 10)
Corresponding to chest measurement:
28-30 (32-34, 36-38, 40-42, 44-46)(48-50, 52-54, 56-58, 60-62, 64-66)”
71-76 (81-86, 91.5-96.5, 101.5-106.5, 111.5-117)(112-127, 132-137, 142-147, 152-158, 162.5-167.5) cm
Chest Measurement of finished garment:
30 (32, 34, 40, 45)(48, 52, 56, 60, 62”
Click here to view full size schematic!
Sweater is meant to be worn with 0 to -4” of ease, depending on the fullness of your chest and your fit preferences. If you fall between chest measurements, I recommend sizing down.
Yarn
Worsted weight wool or wool blend, or any combination of yarns that meets gauge
APPROXIMATE Yardage (long sleeves)
775-800(800-850, 850-875, 875-900, 950-1075)(1075-1100, 1100-1200, 1200-1300, 1300-1400, 1400-1500) yards
708-731(731-777, 777-795, 800-822, 869-983)(983-1005, 1005-1097, 1097-1188, 1188-1280, 1280-1371) meters
Needles
Yoke, body & sleeve ribbing: US 4 (3.5mm) 16” and either 24 or 32”
Body and sleeves: US 6 (4.0mm) 16” and 24, 32, or 40”
Tools
BOR marker, Removeable stitch marker, 6 stitch holders or waste yarn, tapestry needle for finishing
Gauge
On US 6 (4.0mm), 20 sts over 20 rows in stockinette = 4”
Techniques
Knitting, purling, simple decreases, slipped stitches, picking up stitches, grafting live stitches together
Construction
Starting with a circular yoke, straps are worked individually using simple decreases and slipped stitches. Live stitches from yoke are held as the body is worked from the bottom up. Live yoke stitches are grafted to live stitches at the front and back neckline, and live stitches at the shoulder are the beginning of a simple set-in sleeve.
Key
B/O – Bind off
C/O – Cast on
CDD – Centered double decrease
K - Knit
K2T – Knit 2 stitches together; single st decrease
M1 – Make 1 (choose either left or right); single st increase
P – Purl
P2T – Purl 2 stitches together; single st decrease
PM – Place marker
PSSM – Place side seam marker
PU – Pick up st
RM – Remove marker
RS – Right side of fabric
SSK – Slip 2 stitches knitwise, knit these stitches together through back loops; single st decrease
SSM - Side seam marker
SSP – Slip 2 stitches knitwise, return these 2 stitches to left needle and purl them together through back loops; single decrease
ST/STS – Stitch/stitches
WS – Wrong side of fabric
After purchase you will receive your PDF file via email. Please note the link to download your patten will expire 24 hours after purchase. Please contact me if you need any assistance downloading your file.You can also purchase this pattern on Ravelry here.
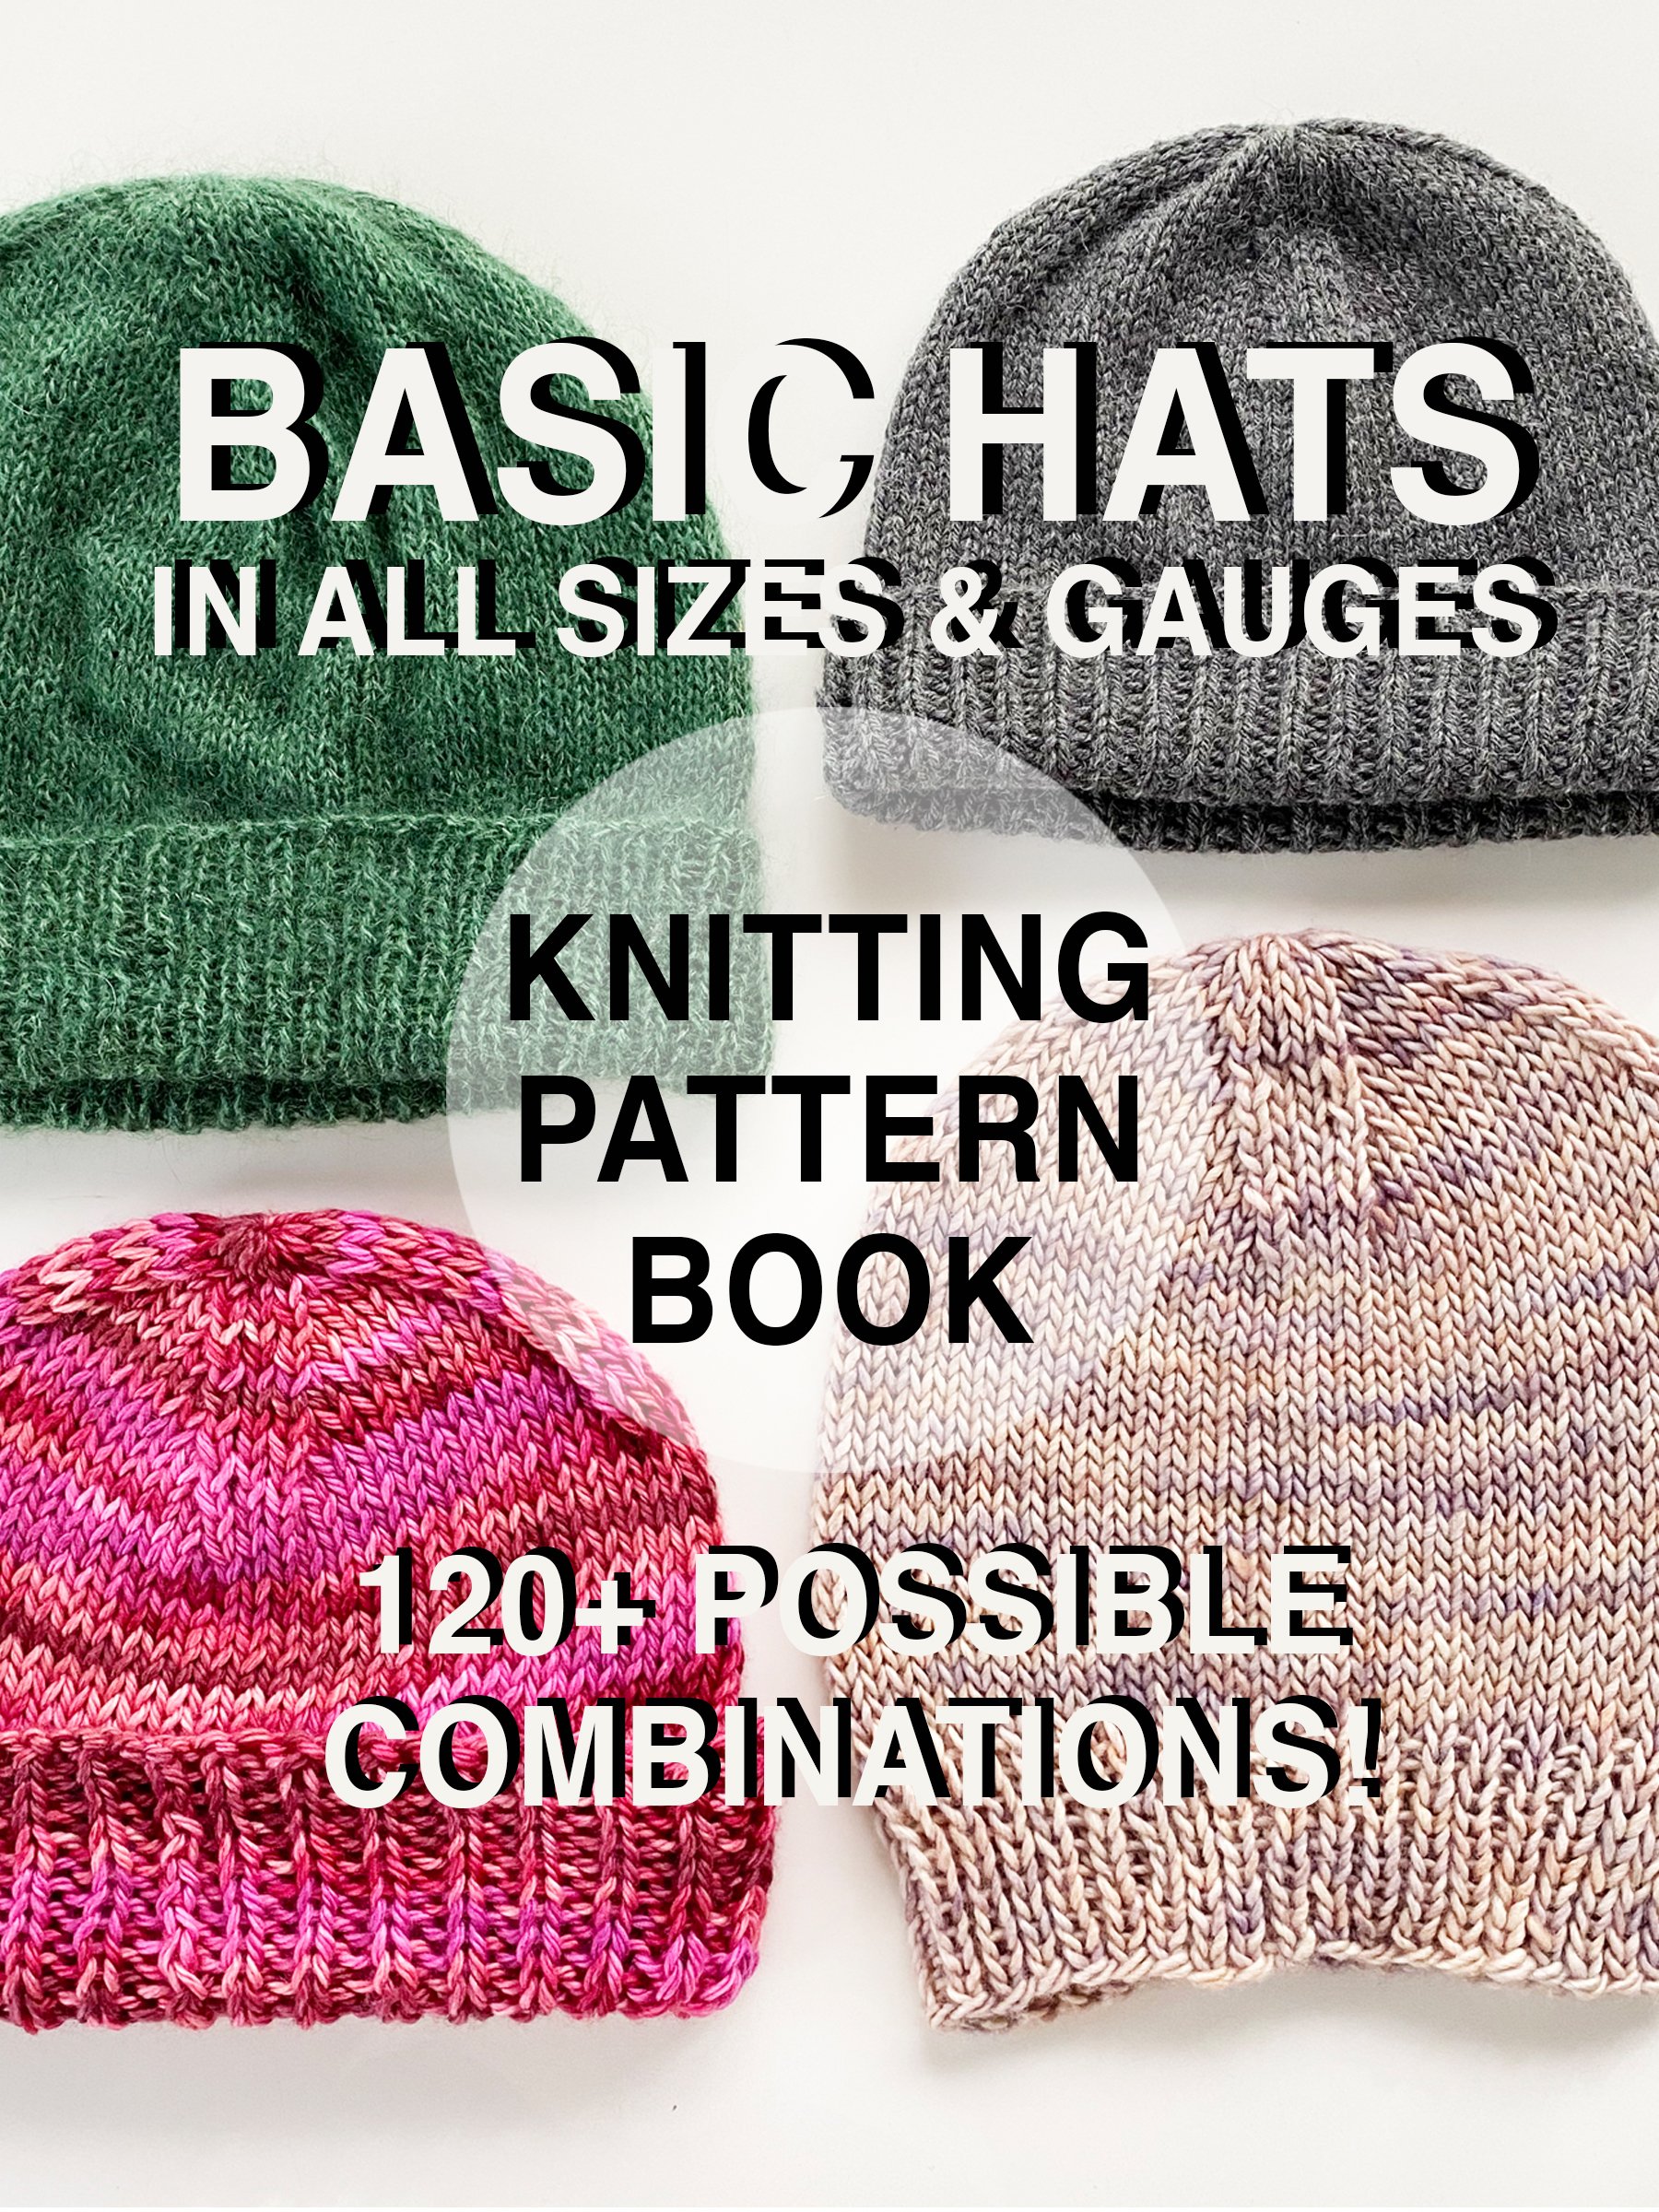
This is a downloadable PDF knitting pattern book.
Over 120+ possible combinations!
Sizing
Baby (Toddler, Child)(Adult 1, Adult 2)
To fit a head circumference of:
14-16 (16-18, 18-20)(21-23, 23-25)”
35.5-40.6 (40.6-45.7, 45.7-50.8)(53.3-58.4, 58.4-63.5)cm
For best fit, choose a size that is 0-4” smaller than your head circumference. Finished hats will have 2-4” of stretch.
Yarn & Yardage
See yardage table on pg 2.
Sample yarns and recommended yarns at different price tiers are listed with each pattern.
All listed yarns are available at Uncommon Threads:
Needles
Fingering/Sport: US 3 (3.25mm)
DK/Worsted: US 6 (4.0mm)
Aran/Chunky/Bulky: US 9 (5.5mm)
Super Bulky: US 11 (8.0mm)
I recommend using a 40” circular and the Magic Loop technique, as you will not need to change or adjust needles for the entire project.
If you prefer to work on 16” circular needles, you will also need corresponding DPNs in that size.
Tools
· 7 stitch markers, plus 1 unique BOR marker (8 markers total; I recommend the Precious Metal set by Cocoknits that will fit up to US 15 needle size)
· Measuring tape
· Scissors
· Tapestry needle
Gauge
Gauges are worked over 4” in the round in stockinette stitch, on respective needle size:
Fingering/Sport: 20 sts/30 rows = 4”
DK/Worsted: 18 sts/30 rows = 4”
Aran/Chunky/Bulky: 14 sts/20 rows = 4”
Super Bulky: 8 sts/12 rows = 4”
Key
BO – bind off
CO – cast on
K – knit
K2T – Knit 2 stitches together; single right-leaning decrease
P – purl
PM – place marker
SSK – Slip 2 stitches knitwise, knit these 2 stitches together through back loops; single left-leaning decrease
ST/STS - stitch, stitches

Grab your essentials and walk out the door in style with this simple and cute crochet bag with fringe detail
I love to see what you make! Share your project on Instagram using hashtag #DailyWalkBag and tag me @elisemade, or via email to elisemade@gmail.com
Sizing
Measures approximately 5 x 4” (12.5 x 35.5 cm)
Yarn & Yardage
120 yards, 4-ply worsted weight 100% cotton
Suggested: Lily Sugar’N Cream
100% Cotton; 120 yds/109 M; 2.5 oz/70.9 g
Hooks
Main Hook: H/8-5.00MM
Strap Hook: F/5-3.75MM
Tools
Tapestry needle
Measuring tape
Scissors
Gauge
10 sts & 14 rows in 4” (10 cm), worked flat in moss stitch
Techniques
Working flat in moss stitch, simple decreases

Create a chic and modern home accessory with some worsted weight cotton and simple crochet stitches. Be prepared to constantly hear, “Where did you get that?”
Sizing
Measures approximately 38 x 22” (96.5 x 56 cm)
Yarn & Yardage
690 yards, 4-ply worsted weight 100% cotton
Suggested: Lily Sugar’N Cream
100% Cotton; 120 yds/109 M; 2.5 oz/70.9 g
Geometric Embellishment: approximately 50 yards contrast color
Hooks
Mat and Bobble Hook: H/8-5.00mm
Trim Hook: F/5-3.75mm
Embellishment Hook (optional): J/10-6.00mm
Tools
Tapestry needle
Progress marker, safety pin, or extra tapestry needle (for marking)
Measuring tape
Scissors
Waste yarn
Gauge
10 sts & 14 rows in 4” (10 cm), worked flat in moss stitch
Techniques
Working flat in moss stitch, crochet bobbles, crochet surface stitches

Using worsted weight cotton and simple crochet stitches, this chic towel is minimum effort and maximum function and style.
Make the matching Bobble Bathmat for the ultimate luxury set.
Sizing
Measures approximately 16 x 24” (40.5 x 61 cm)
Yarn & Yardage
360 yards, 4-ply worsted weight 100% cotton
Suggested: Lily Sugar’N Cream 100% Cotton; 120 yds/109 M; 2.5 oz/70.9 g
Hooks
Towel and Bobble Hook: H/8- 5.00mm Trim Hook: F/5-3.75mm
Tools
Tapestry needle
Measuring tape
Scissors
Gauge
10 sts & 14 rows in 4” (10 cm), worked flat in moss stitch
Techniques
Working flat in moss stitch, crochet bobbles

Be prepared to turn heads in this cropped pullover with a sweetheart neckline and sexy “cut-outs” all around the yoke.
Using simple techniques and a unique construction, Vitrine is accessible for adventurous beginners and engaging for experienced knitters.
I love to see what you make! Share your project on Instagram using hashtag #VitrineSweater and tag me @elisemade
Sizing
1 (2, 3, 4, 5)(6, 7, 8, 9)
Corresponding to bust measurement:
28-30 (32-34, 36-38, 40-42, 44-46)(48-50, 52-54, 56-58, 60-62)”
71-76 (81-86, 91.5-96.5, 101.5-106.5, 111.5-117){112-127, 132-137, 142-147, 152-158) cm
Bust measurement of finished garment:
24 (28, 32, 36, 40)(44, 48, 52, 56)”
61 (71, 81, 91.5,101.5)(112, 122, 132, 142) cm
Sweater is meant to be worn with about 4-6“ of negative ease - choose a size that reflects that bust measurement. For chest sizes 52-62” and those with large cup sizes, I recommend calculating your size with 6-8” of negative ease.
Yarn
DK weight or light worsted wool or wool blend
or any combination of yarn that meets gauge
Sample Yarns:
Short Sleeve: KnitPicks Swish DK
100% fine superwash merino
123 yards/50 grams (color: Bordeaux)
Long Sleeve: Malabrigo Arroyo DK
100% superwash merino
335 yards/100 grams (color: Prussia Blue)
Yardage
Short Sleeve
520-550 (560-600, 800-830, 830-850, 950-975)(1050-1100, 1100-1125, 1125-1300, 1300-1375) yards
475-503 (510-550, 731-760, 760-777, 868-892)(960-1006, 1006-1030, 1030-1188, 1188-1257) meters
Long Sleeve
700-750 (750-800, 800-850, 900-950, 950-1000)(1000-1100, 1100-1200, 1200-1300, 1300-1400) yards
640-686 (686-732, 732-777, 822-886, 886-914)(914-1005, 1005-1097, 1097-1188, 1188-1280) meters
Needles
Yoke, body & sleeve ribbing, i-cord bind off: US 3 (3.25 mm) 16” circular
Body: US 5 (3.75 mm) 16” and 24 or 36“ circular
US 3 (3.25 mm) DPNs for sleeve ribbing (optional)
Tools
12 stitch markers including 1 in a different design to designate BOR
Progress marker
Tapestry needle for finishing
Gauge
On US 5 (3.75mm), 22 stitches over 26 rows in stockinette = 4”
Techniques
Knitting, purling, simple increases and decreases, working two separate groups of live stitches at once, picking up stitches, i-cord bind off, grafting live stitches
Construction
Starting with a circular yoke, straps are worked individually using simple increases, decreases, and slipped stitches. Live stitches from yoke straps are held as the body is worked from the bottom up, ending in shaping the neckline. Live neckline stitches are grafted to live yoke stitches, and stitches are picked up for sleeves.
After purchase you will receive your PDF file via email. Please note the link to download your patten will expire 24 hours after purchase. Please contact me if you need any assistance downloading your file.You can also purchase this pattern on Ravelry here.

This fingering weight cropped tank is business in the front and a party in the back. The modest front panel features a high boatneck that gives way to six delicate cross-back straps that weave through each other.
I love to see what you make! Share your project on Instagram using hashtag #WovenStrapsTank and tag me @elisemade, or via email, to elisemade@gmail.com!
9/20/21: Size 8 and 10 are currently still in testing. I am offering this pattern for free to anyone who would like to knit either size. Please email me at elisemade@gmail.com if you are interested.
Sizing
1 (2, 3, 4, 5)(6, 7, 8, 9, 10)
Corresponding to bust measurement:
28-30 (32-34, 36-38, 40-42, 44-46)(48-50, 52-54, 56-58, 60-62, 62-64)”
71-76 (81-86, 91.5-96.5, 101.5-106.5, 111.5-117)(112-127, 132-137, 142-147, 152-158, 158-163) cm.
Bust measurement of finished garment:
28 (32, 36, 40, 44)(48, 52, 56, 60, 64)”
71 (81, 91, 101.5, 111.75)(122, 132, 142, 152.5, 162.5) cm
Tank is meant have -1 to 0” -2.5 to 0 cm of ease, and fit comfortably around your bust, so choose a size that corresponds with that measurement. If you are between sizes, I would recommend sizing up.
Yarn
Fingering weight wool blend.
Sample Yarns: KnitPicks Hawthorne
80% Fine Superwash Highland Wool, 20% Nylon
357 yards/100 grams (Sample color: Tonal Hand Painted in Astoria)
Malabrigo Sock
100% superwash merino
440 yards/100 grams (color: Velvet Grapes)
ApproximateYardage
275-375 (300-400, 400-450, 450-500, 500-600)(650-700, 700-725, 725-750 750-800, 800-850, 850-950)
Needles
US 3 (3.25 mm) circular needle (body, front, and straps. I would recommend a 32” for the body and a 16” for the straps)
US 2 (00 mm) circular or straight needle (for binding off back sts)
Gauge
on US 3 (3.25 mm), 24 stitches and 34 rows worked flat in stockinette = 4”
Tools
BOR stitch marker
Stitch holders or waste yarn
Tapestry needle for finishing
Key
B/O - Bind off
C/O - Cast on
K - Knit
K2T - Knit 2 stitches together; single right-leaning decrease
P - Purl
PM – Place marker
RS - Right side of fabric
SL1PW - slip one stitch knitwise with yarn in front
SSK - Slip 2 stitches knitwise, knit these 2 stitches together through back loops; single left-leaning decrease
ST/STS - Stitch/stitches
WS - Wrong side of fabric
Techniques
Knitting in the round, purling, simple decreases, working separate groups of live stitches at once, three needle bind off.
Construction
Starting from the bottom up, body is knit to desired length. Back is then bound off leaving live stitches on holders. Front is worked to high neck and stitches are bound off to create the neckline and beginning of the straps. Straps are then worked all together to length and woven through each other before connecting to held stitches at the back.
After purchase you will receive your PDF file via email. Please note the link to download your patten will expire 24 hours after purchase. Please contact me if you need any assistance downloading your file.
You can also purchase this pattern on Ravelry here.
If you need help choosing a size please check out my blog post here, which includes a roundup of my tester photos and their sizes.
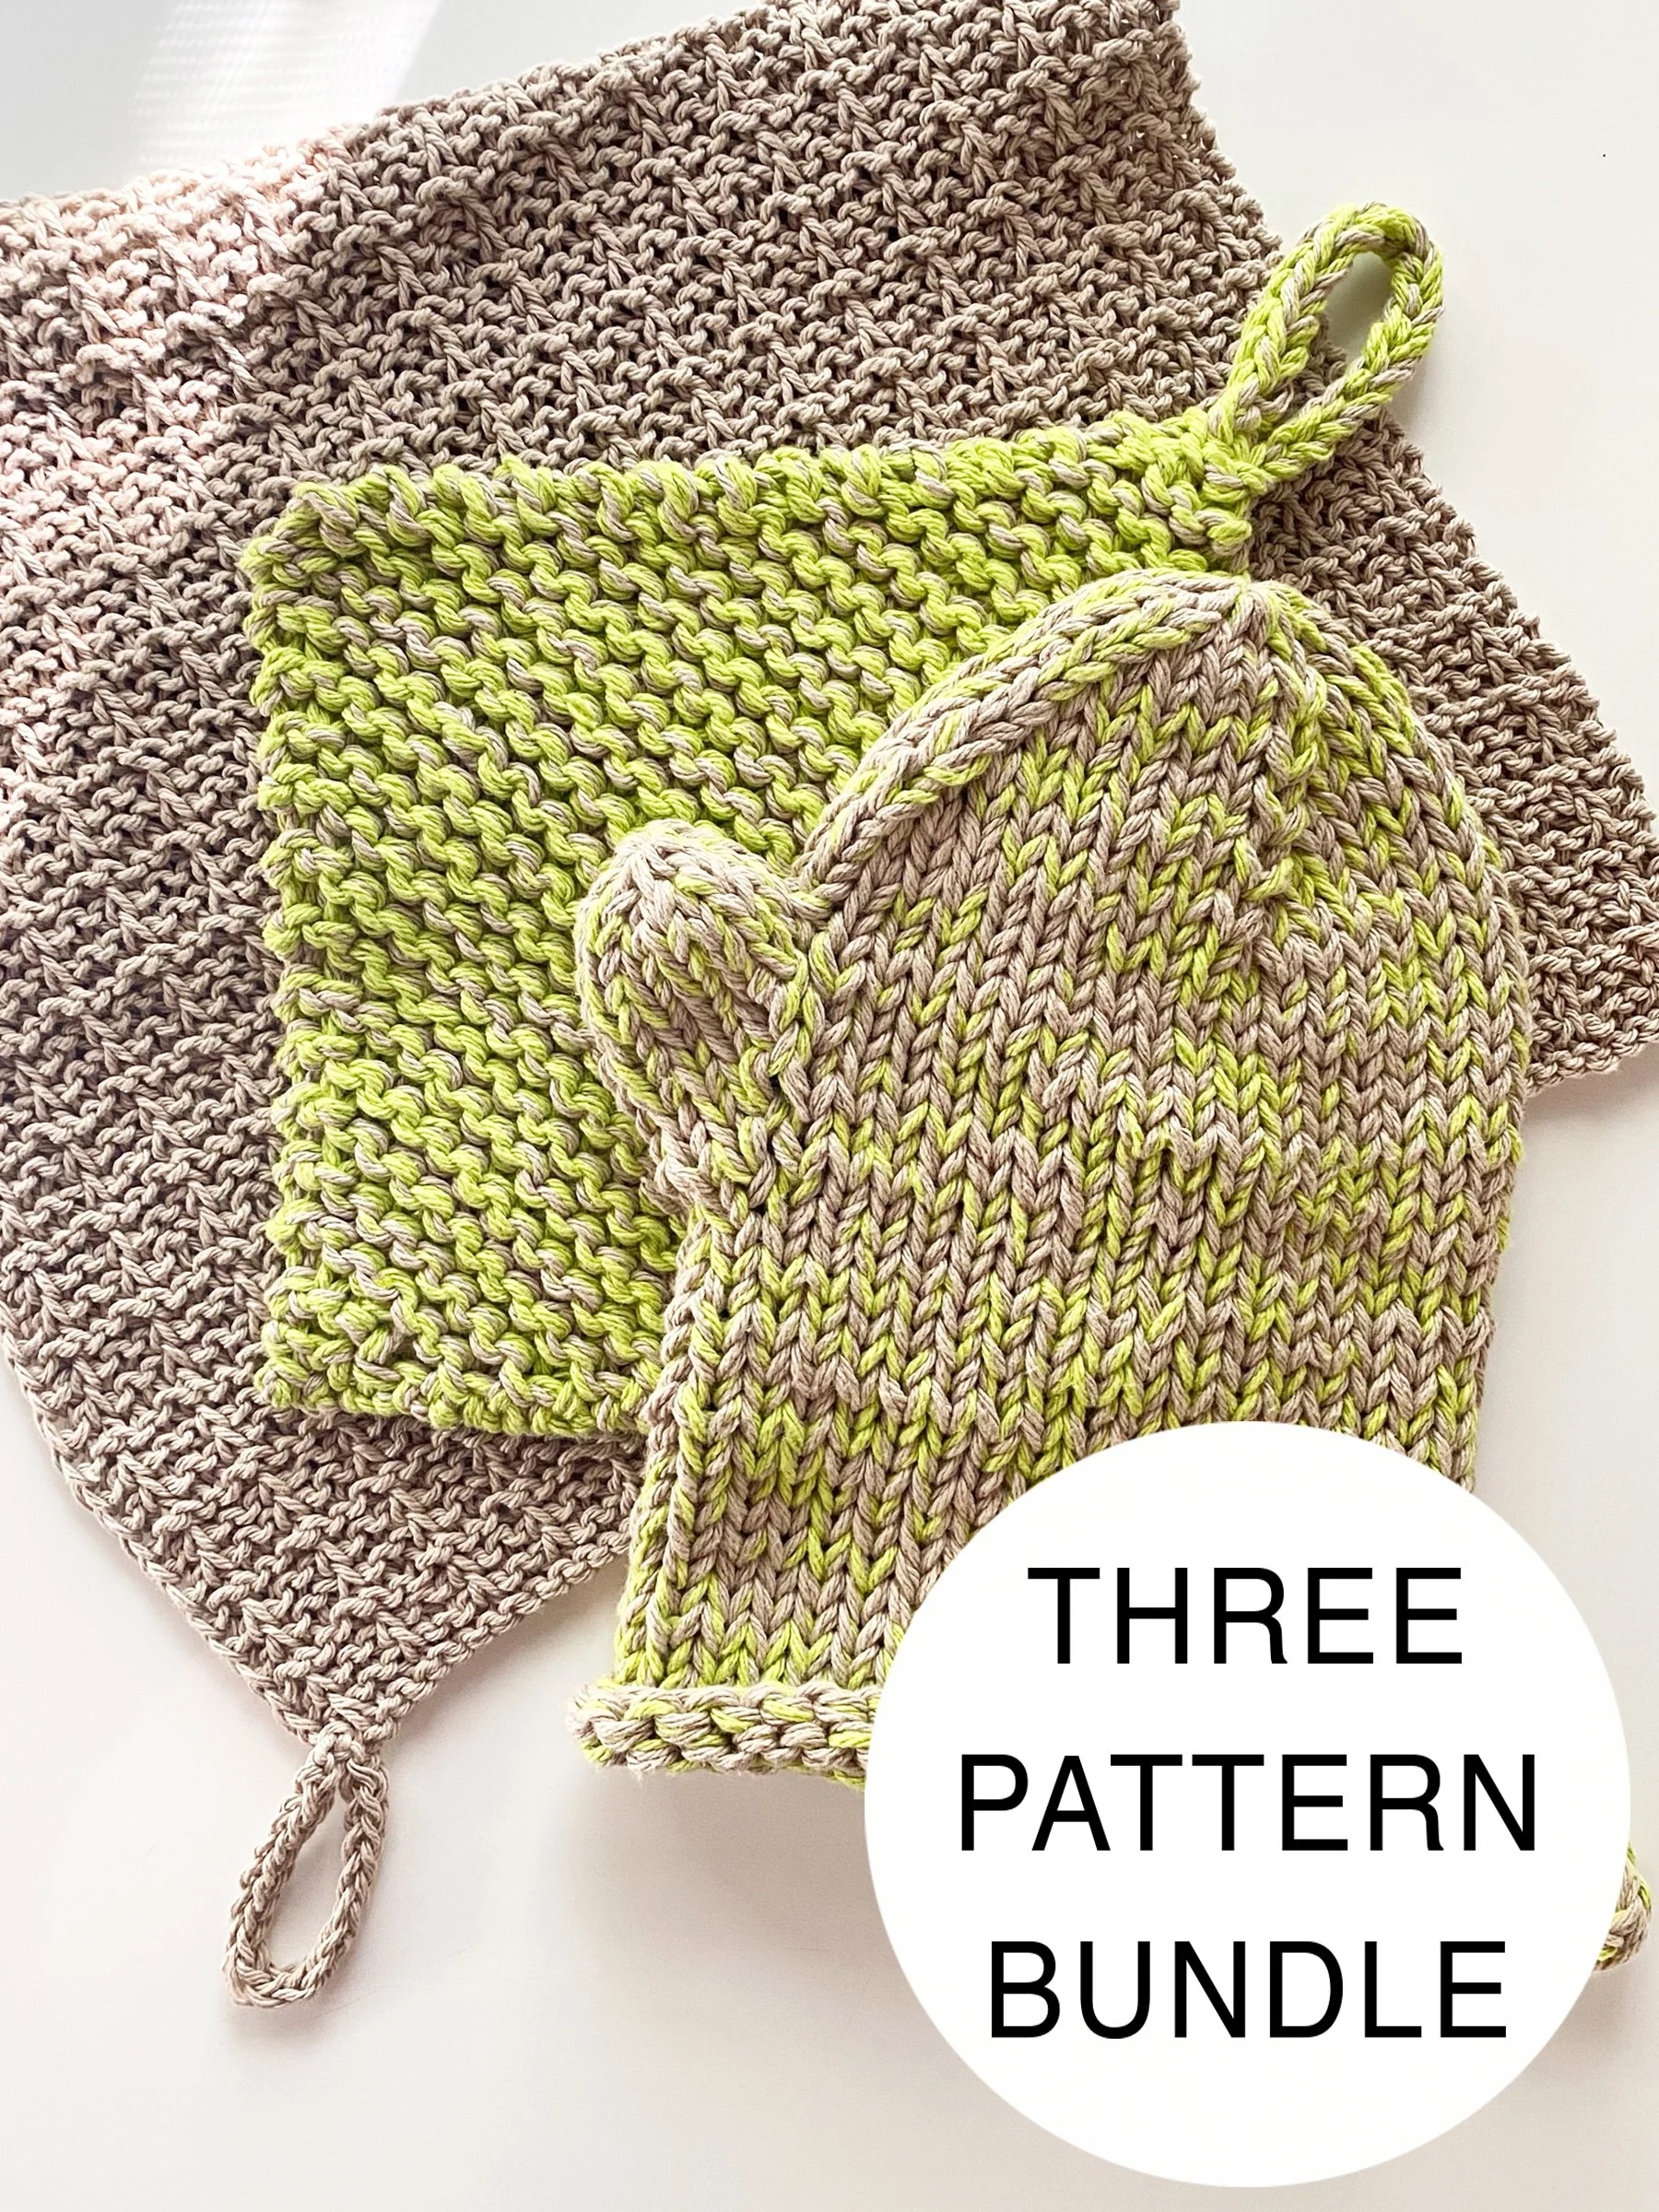
This is a downloadable PDF knitting pattern bundle featuring the Perfect Potholder, Perfect Tea Towel, and Perfect Oven Mitt patterns.
Save $3 by purchasing the pattern bundle!
The Perfect Potholder and Perfect Oven Mitt are made using worsted weight cotton held triple worked on small needles, creating a dense and thick fabric that effectively shields hands and countertops from heat. Pair with the Perfect Tea Towel for the ultimate handmade kitchen set!

Worsted weight cotton held triple worked on small needles creates a dense and thick fabric that effectively shields hands and countertops from heat. Simple lines and finishing techniques elevate this simple knit into a luxe kitchen item perfect for cooks and entertainers. Pair with the Perfect Potholder for the ultimate handmade kitchen set
I love to see what you make! Share your project on Instagram using hashtag #ThePerfectOvenMitt and tag me @elisemade, or via email to elisemade@gmail.com
PATTERN NOTES:
Sizing
Finished dimensions: 11x7” (28 x 18cm)
Yarn
Worsted weight 100% cotton, held triple (meaning you will need three separate balls of yarn to work with, or pull a strand from both ends on one ball)
Recommended: Lily Sugar’n Cream Super Size
113g/4oz, 184m/200yds
Sample 1:* 2 strands Ecru, 1 strand Hot Green
Sample 2:* 3 strands Overcast
Yardage
175-200 (total of three strands together)
Note: two balls of super size will make one mitt + 2 potholders or 2 mitts
Needles
US 8 (5mm)16” circular and/or DPNs for finishing
Gauge
On US 8, 9.5 sts and 15 rows in stockinette in the round = 4”
Tools
BOR marker, two stitch markers, stitch holder or waste yarn, tapestry needle for finishing
Key
B/O – bind off
C/O – cast on
K – knit
K2T – knit 2 stitches together; single right-leaning decrease
M1L – make 1 left; single left-leaning decrease
M1R – make 1 right; single right-leaning decrease
PM – place marker
STS - stitches
Techniques
Knitting in the round, simple increases and decreases, picking up stitches, 2 stitch i-cord
Construction
Mitt is knit in the round from the bottom up, working simple increases to create the thumb and simple decreases to shape the top of the mitt. Stitches are picked up from the body of the mitt to finish the thumb in the round. Stitches are picked up at the bottom of the mitt to make an i-cord loop.

Hardworking worsted weight cotton and a simple and soothing stitch pattern repeat combine to create a beautifully textured home accessory that is perfect for the kitchen or the bathroom.
I love to see what you make! Share your project on Instagram and tag me @elisemade, or via email to elisemade@gmail.com
Pattern Notes:
Finished Dimensions
18 x 22” (45.5 x 56 cm)
Yarn & Yardage
Approx. 360-480 yards of worsted weight cotton
Suggested yarn:
Lily Sugar’N’Cream cotton
Loops and Threads Classic Cotton
Needles
US 8 (5 mm) circular or straight needles
Gauge
11 stitches and 18 rows in pattern = 3x3”
Key
K - knit
K1TBL - knit stitch through the back loops
SL1KW - slip stitch knitwise with yarn in back
SL1PW - slip stitch purlwise with yarn in front
Techniques
Slipped stitches, i-cord finishing

Worsted weight cotton held triple worked on small needles creates a dense and thick fabric that effectively shields hands and countertops from heat. Simple lines and finishing techniques elevate this simple knit into a luxe kitchen item perfect for cooks and entertainers. Pair with the Perfect Oven Mitt for the ultimate handmade kitchen set.
I love to see what you make! Share your project on Instagram and tag me @elisemade, or via email to elisemade@gmail.com
Finished Dimensions
8.5 x 8.5” (21.5 x 21.5 cm)
Yarn & Yardage
Category 4/worsted weight 100% cotton
3 balls with 35 yards each (approximately 105 yards total)
Recommended: Lily Sugar’n’Cream
Loops and Threads Classic Cotton
Note: This pattern is made by holding 3 separate strands of cotton yarn together. You will need 3 separate balls with at least 34 yards each to complete this pattern. I recommend using 2 strands of the same color and 1 strand in a contrast color, but the possibilities are endless!
Needles
Size US 8 (5mm) needles
Gauge
15 sts and 15 rows of garter stitch worked flat in 4”/10cm
Tools
Tapestry needle for finishing
Additional tools to make leather loop:
Soft Leather
1/8” Leather Punch
Hammer
Ruler
Sharp scissors or Exacto knife
Key
BO – bind off
CO – cast on
K - knit
KF&B - knit into the front and back of stitch
(1 stitch increased)
K2T - knit two stitches together
(1 stitch decreased)
ST/STS – stitch/stitches
Construction
Potholder is worked with three strands of worsted weight cotton at a tight gauge to create a thick, heatproof fabric. Starting at one corner, increases are worked to the center of the potholder. Decreases are then worked down to the final corner. Potholder is finished with either an i-cord loop or an applied leather strap.

Inspired by chilly winters and Nordic sweater motifs, Taiga Cowl is a modern and stylish unisex accessory matching the original Taiga Hat. Worked up in worsted-weight yarn, it is a versatile accessory that transitions well from fall to winter, and through the cool transition into spring.
Share your finished cowl with me on Instagram by tagging me @elisemade and using hashtag #taigacolorworkcowl !
Dimensions
13.5 x 12.5” (34 x 31.5 cm)
circumference: 27” (68.5 cm)
Yarn
MC: 210 yards category 4/
medium worsted weight yarn
CC: Approx. 50 yards worsted wool
Sample Yarn:
Lion Brand Re-Tweed
40% wool, 40% polyester 20% acrylic
100 g/3.5 oz, 185 m/202 yds
MC: Arctic Ice
CC: Heather Rose
Needles
Size US 6 (4mm) 16“ circular
Tools
One (1) BOR marker
Tapestry needle for finishing
Gauge
21 stitches/3 colorwork repeats
and 21 rows in the round = 4”
Key
K - Knit
P - Purl
K2T - Knit two stitches together
CC - Contrast color
MC - Main color
Pattern note
An extra step is necessary at the end of each
colorwork round to avoid a color “jog.”
Pattern includes step-by-step photo tutorial.

This is a downloadable PDF knitting pattern for the “Taiga” Colorwork hat.
Inspired by chilly winters and Nordic sweater motifs, Taiga is a modern and stylish unisex beanie with just the right amount of slouch. Worked up in worsted-weight yarn, Taiga is a versatile accessory that transitions well from fall to winter, and through the chilly transition into spring.
Use approximately 120 yards for the main color and less than 5 yards for the colorwork. Taiga can be worked up in two different shades of the same color for a result that is both stunning and neutral enough to match everything. Or, use your imagination and yarn stash to inspire bold contrasting color combinations to make a striking statement piece.———————————————————————————————————————
Yarn
1 skein of worsted weight (category 4) yarn
Suggested: Patons Classic Wool Worsted
Needles
Size US 6 (4mm) circular or double-pointed needles
Tools
Tapestry needle for finishing
Gauge
Work 15 stitches in stockinette over 20 rows
Finished swatch should measure 3.25 x 3.5”
Finished Dimensions
Completed hat measures approximately 9 x 9.5”
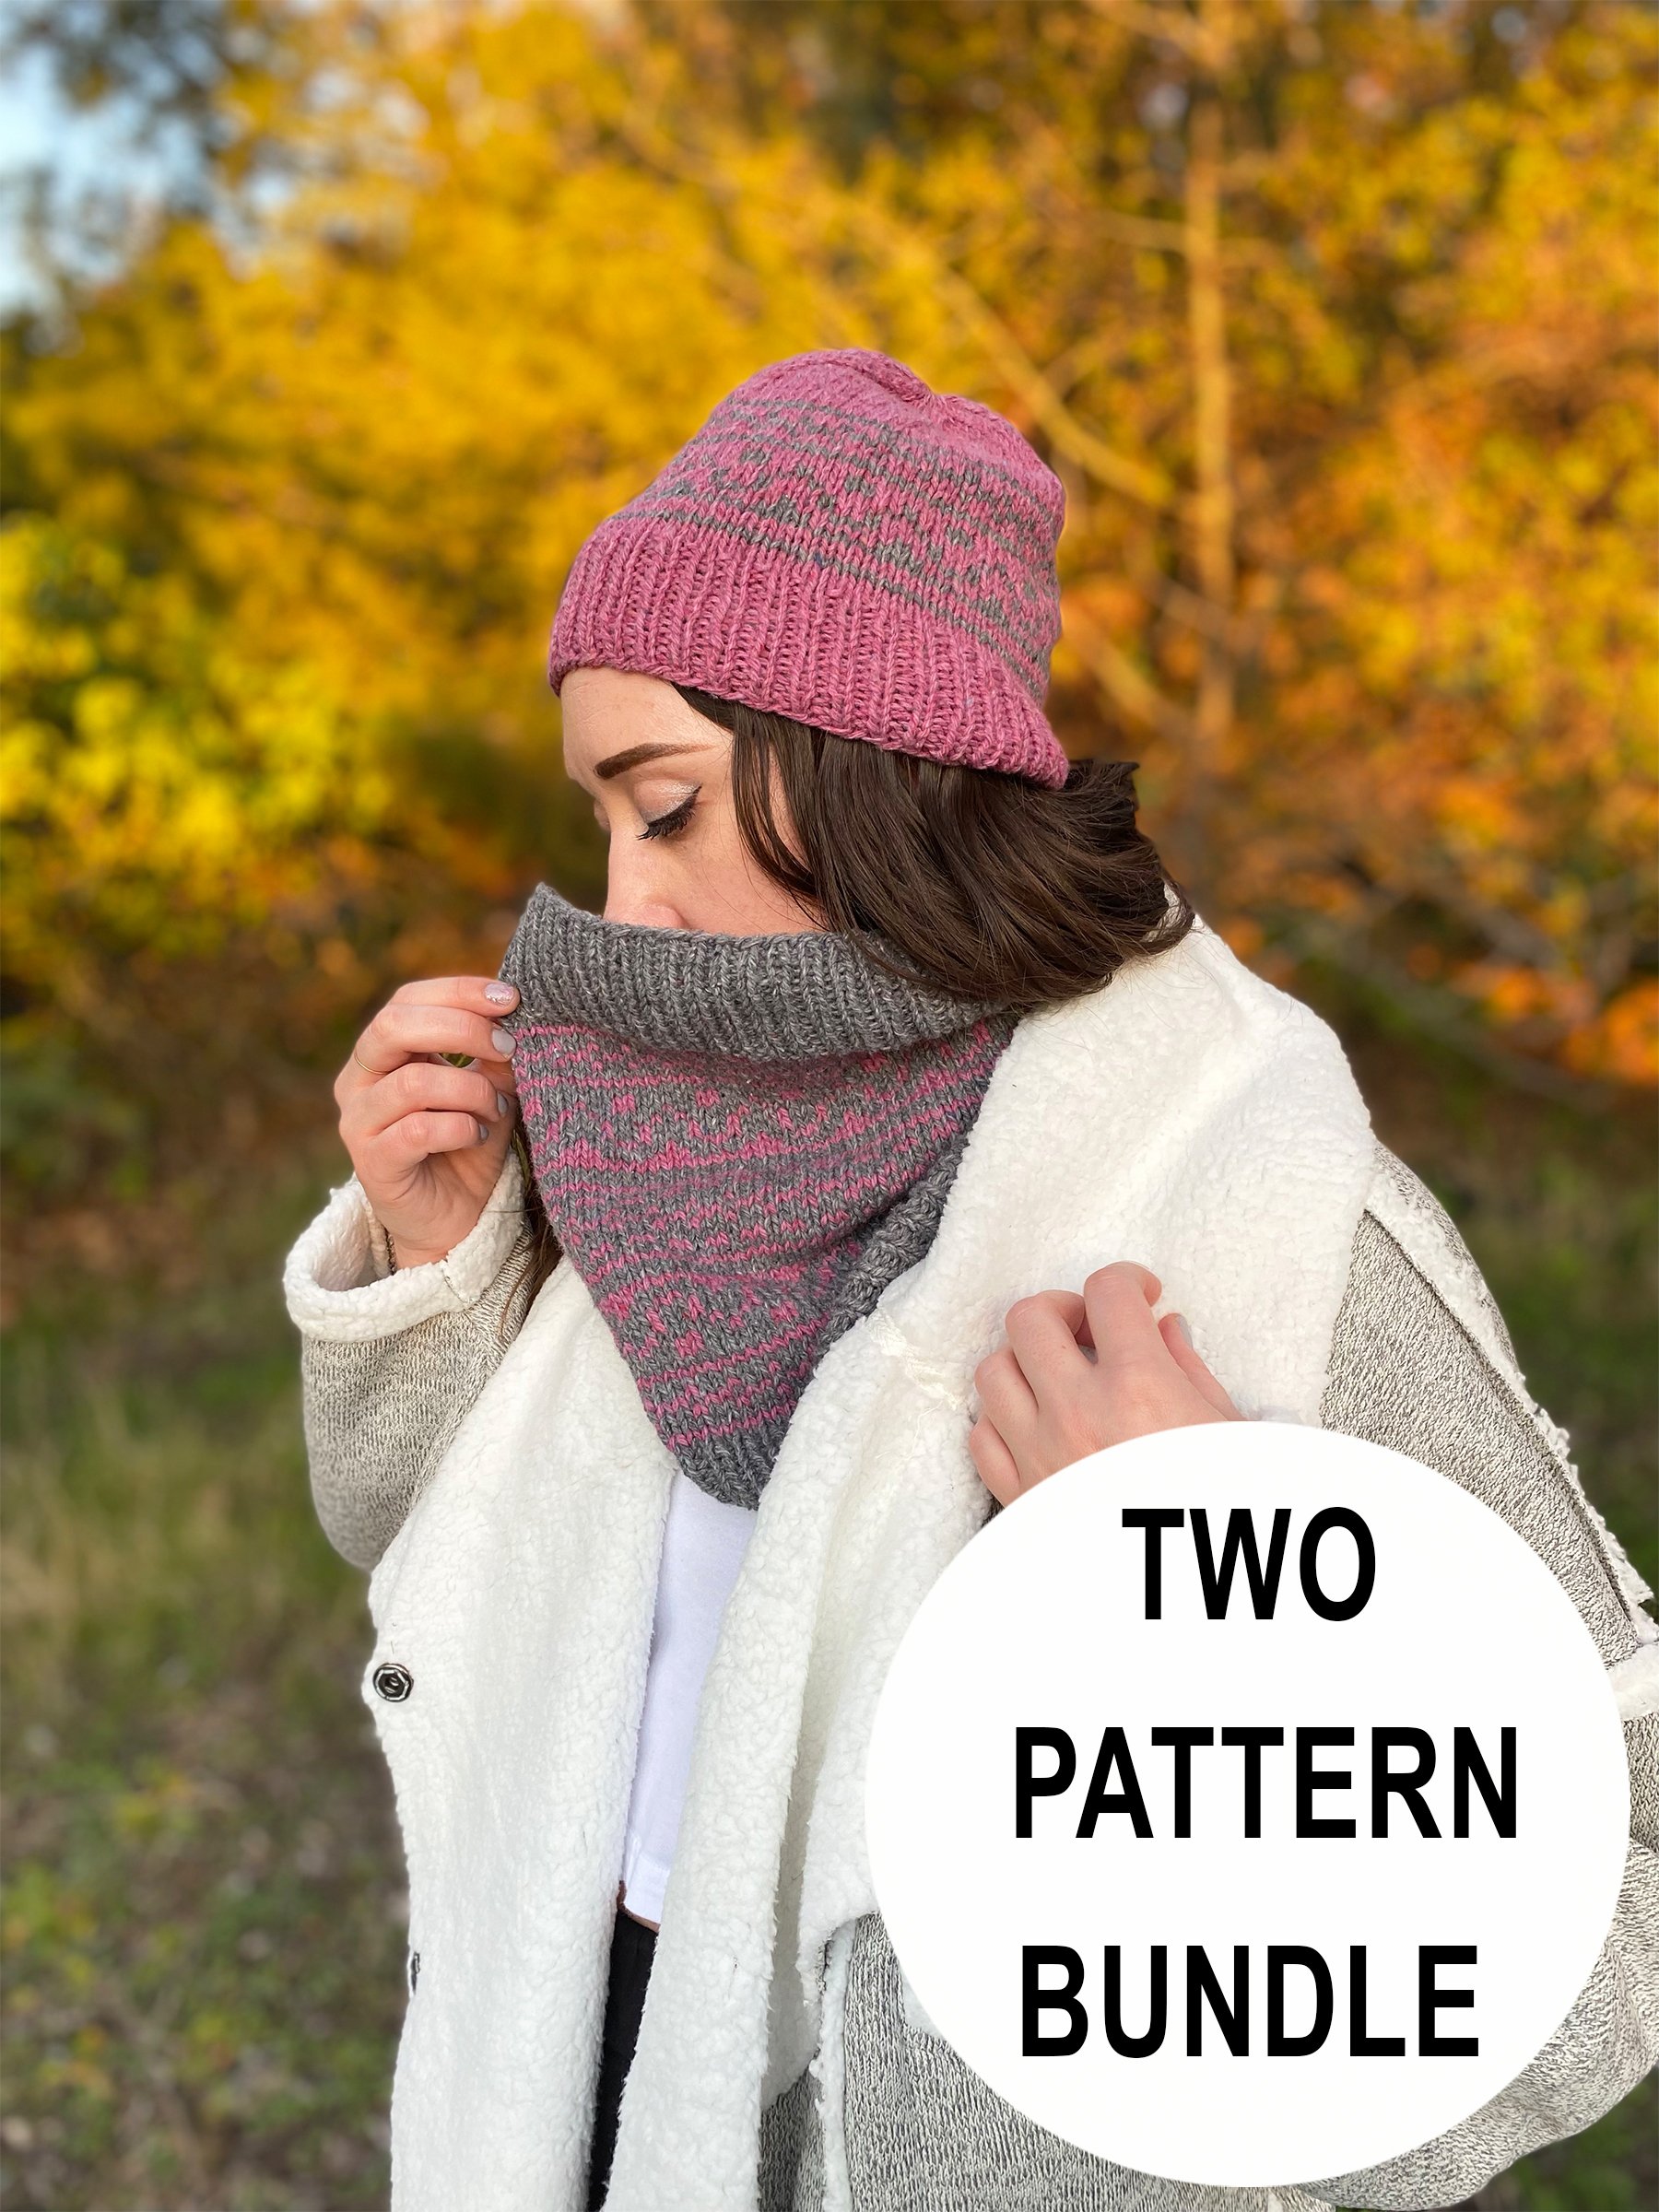
This is a downloadable PDF knitting pattern bundle featuring the Taiga Colorwork Hat and Taiga Colorwork Cowl patterns.
Save $1.50 by purchasing the pattern bundle!
The Taiga pattern collection is inspired by traditional Nordic sweater motifs and the chilly winters they evoke. Simple stranded colorwork in worsted weight looks great in high or low-contrast colors.

This is a downloadable PDF knitting pattern for the “Farraige” cabled hat.
Inspired by traditional Aran fisherman sweaters, Farraige is a double-brimmed cozy hat full of cables and texture. Needing only approximately 200 yards of worsted weight and utilizing a repetitive cabled pattern, Farraige is a great pattern for knitters looking to expand their cabling skills or a meditative and satisfying easy project for cable experts. Add a pompom or not depending on your style!
Yarn:
1 skein category 4/worsted weight yarn
Recommended: Lion Brand Wool Ease
Needles:
Size US 6 (4mm) circular or double-pointed needles
Tools:
Cable needle or extra DPN for cable rows
Tapestry needle for finishing
Gauge:
22 stitches in 1x1 ribbing over 24 rows = 4x4”
Finished Dimensions:
With brim folded up, hat measures 8 x 9.5”
Key:
K - Knit
P - Purl
C6F - Slip 3 stitches onto cable needle and hold in front of work. Knit next 3 stitches from the left needle, then knit the 3 stitches on the cable needle
C2F - Slip 1 stitch onto cable needle and hold in front of work. Knit next stitch from the left needle, then knit the stitch on the cable needle
C2B - Slip 1 stitch onto cable needle and hold in back of work. Knit next stitch from the left needle, then knit the stitch on the cable needle
P2T - Purl two stitches together to decrease
K2T - Knit two stitches together to decrease
CDD - Central double decrease
Pattern includes both written and charted instructions, and includes a step-by-step tutorial for the CDD decrease.

This is a downloadable PDF knitting pattern for the “Architrave” Colorwork hat.
A worsted weight hat in a beanie style with just a little bit of slouch, the Architrave Hat is a perfect timeless unisex accessory. Inspired by geographical and architectural features, the simple colorwork design is modern and understated. Knit up with one skein of worsted weight wool and a couple yards of a contrast color, Architrave is a quick and easy project with stunning results!
———————————————————————————————————————
Yarn
1 skein of worsted weight (category 4) yarn
Suggested: Patons Classic Wool Worsted
Needles
Size US 6 (4mm) circular or double-pointed needles
Tools
Tapestry needle for finishing
Gauge
Work 15 stitches in stockinette over 20 rows
Finished swatch should measure 3.25 x 3.5”
Finished Dimensions
Completed hat measures approximately 9 x 9.5”
A friendly little pothos is the perfect way to recycle your le fermiere crocks.
Find handmade candles in recycled crocks by elisemade here.
Finished Dimensions
In crock: approx. 7 x 7” (17.5 x 17.5 cm)
Yarn & Yardage
Soil: 2g/5.5 yds DK weight in brown
Pothos: 12g/32 yds DK weight in green
Needles
US 2 (2.75mm) using preferred small circumference method (DPNs, magic loop, or 2 circulars)
Gauge
26 sts and 36 rows in 4”/10cm in stockinette stitch in the round
Tools
Tapestry needle
Polyfil stuffing
22 gauge green floral wire
Wire cutters
Clean & empty La Fermiere crock, or other 3x3” (7.5 x 7.5 cm) container
Hot glue gun or other strong adhesive
Key
BO – bind off
CO – cast on
CDD – centered double decrease; slip two stitches knitwise, then knit the next stitch. Pass 2 slipped stitches over as if to bind off (2 stitches decreased)
K - knit
K2TOG – knit 2 stitches together (right-leaning decrease)
KFB – knit front and back (increase)
M1L – make one left (left -leaning increase)
M1R – make one right (right-leaning increase)
P - purl
SL1KW – slip one stitch knitwise with yarn in back
SKP – slip 1 stitch purlwise, knit the next stitch; pass slipped stitch over
SSK – slip 2 stitches knitwise, knit these 2 sts together through the back loops (left-leaning decrease)
ST/STS – stitch/stitches
YO – yarn over
Note: instructions written inside square brackets are worked as a repeat across the round
Construction
Soil is knit starting at the bottom in round stockinette and then shaped with simple directional decreases. With remaining live stitches, color is changed and pothos stem is knit in icord then shaped into leaves. Additional vines and leaves are knit starting with shorter icord and seamed to original vine piece