
DIY: Free Knit I-Cord Workout Headband Pattern
i love to knit i-cord! it is fun and fast, and can be used in so many different applications from borders and edges to embellishment. many years ago i designed a simple headband by attaching an elastic hair tie to the ends of a section of i-cord, and the best workout headband was born!
i’m a big fan of those skinny elastic workout headbands, and i particularly love this i-cord version. it’s soft and stretchy, and the knit texture of cotton yarn stays put in your hair without pulling.

the best part is this project is lightning fast: you can make one from start to finish in around 40 minutes or less! i have one in just about every color. they also make great gifts!
this pattern is set up as a step-by-step photo tutorial to walk you through the entire process. i also put together a little video showing how to make a 3-stitch i-cord in case you’ve never made it before!
this tutorial is also available as a FREE pdf download!

This is a free downloadable PDF knitting pattern for the I-Cord Workout Headband.
**PLEASE NOTE: this is a free PDF pattern. Skip the billing field at checkout to receive the free download and confirmation.
Inspired by those cute elastic workout headbands, this knit version employs stretchy and comfortable i-cord and snag-free, metal-free elastic hair ties to create a super cute and functional hair accessory.
Absolutely essential for working out or whenever you need to hold back your hair, this i-cord headband stays in place and won’t cause headaches or hurt your ears. Use any worsted weight/category 4 100% cotton to make them easily machine washable with your workout gear!
This is a SUPER QUICK and SUPER EASY pattern yielding a headband you will wear, wash, and re-wear all the time. Grab some yarn and whip up this project in around 40 minutes or less!
This pattern includes a step-by-step photo tutorial to walk you through the entire process.
For a video tutorial on how to work a 3-stitch i-cord, check out my video tutorial here:
https://www.youtube.com/watch?v=kKamKP6ZVYw&t=21s
Purchase my recommended metal-free hair ties on Amazon here:
Yarn:
5-6 yards of any worsted weight / category 4 100% cotton
Needles:
2 x size US 6 (4mm) double-pointed needles
A 16” or shorter circular needle will also work perfectly fine!
Tools:
snag-free elastic hair ties
measuring Tape
scissors
tapestry needle for finishing
Gauge:
4 rows of i-cord = 1”
Finished Dimensions:
Approximately 17.5” unstretched
One size fits most - directions are included in the pattern on how to customize the size
For more information, see:https://www.elisemade.com/blog/i-cord-workout-headband
here’s what you’ll need to make your own:


Materials
yarn: approximately 6 yards of a worsted weight/category 4 cotton yarn
recommended: Lily sugar’n’cream
needles: size US 6 (4.0 mm)
I recommend using two (2) double-pointed needles, but a short circular needle will work perfectly fine!
tools: metal-free elastic hair ties (click here to purchase), tapestry needle, scissors, measuring tape
gauge: 4 rows of i-cord = 1”
finished dimensions: approximately 17.5” unstretched
customization notes: the length of your finished i-cord should be approximately 5-6” smaller than your head circumference
part 1: make the i-cord

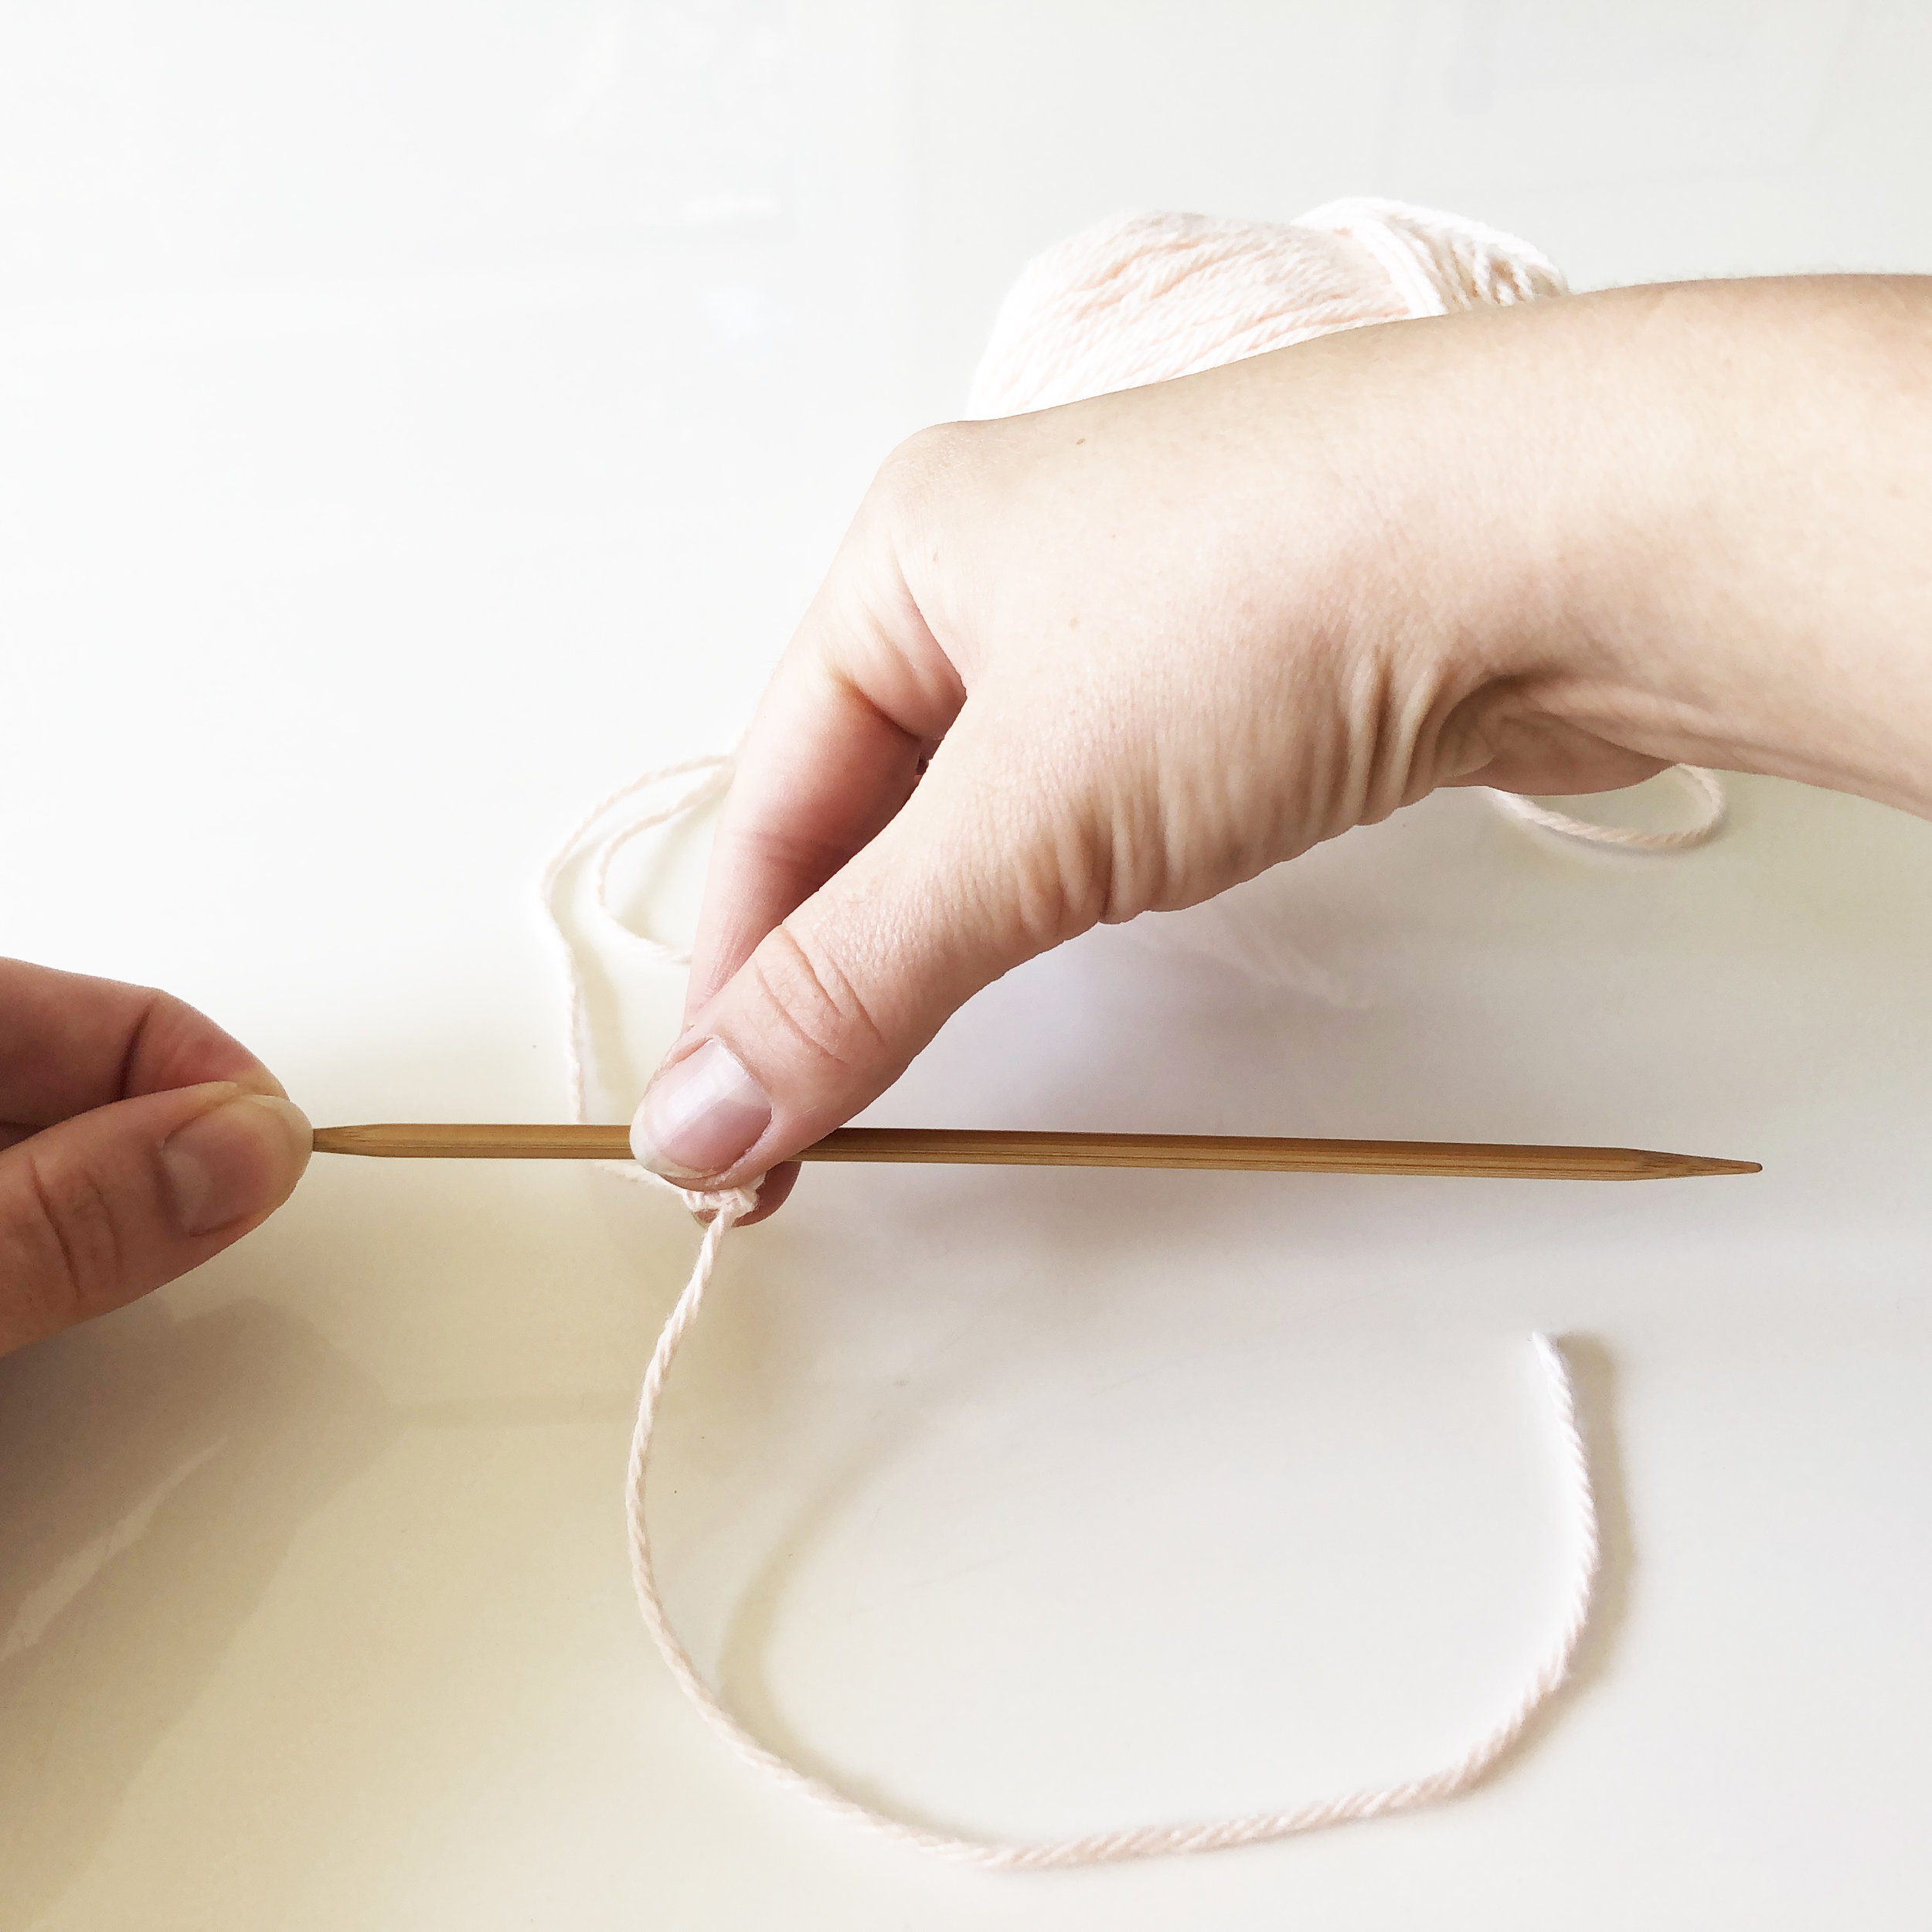
step 1: measure out a 12” length of yarn. cast on three stitches.
you should have a remaining tail measuring approximately 10”.

step 2: knit all stitches across the row.
note: the working yarn is attached to the first of the 3 stitches (the first stitch on the left-hand side).


step 3: without turning your work, slide stitches to the other side of the needle, from the left-hand side to the right-hand side.
note: the working yarn is now attached to the back of the last of the 3 stitches (the stitch the furthest to the left).

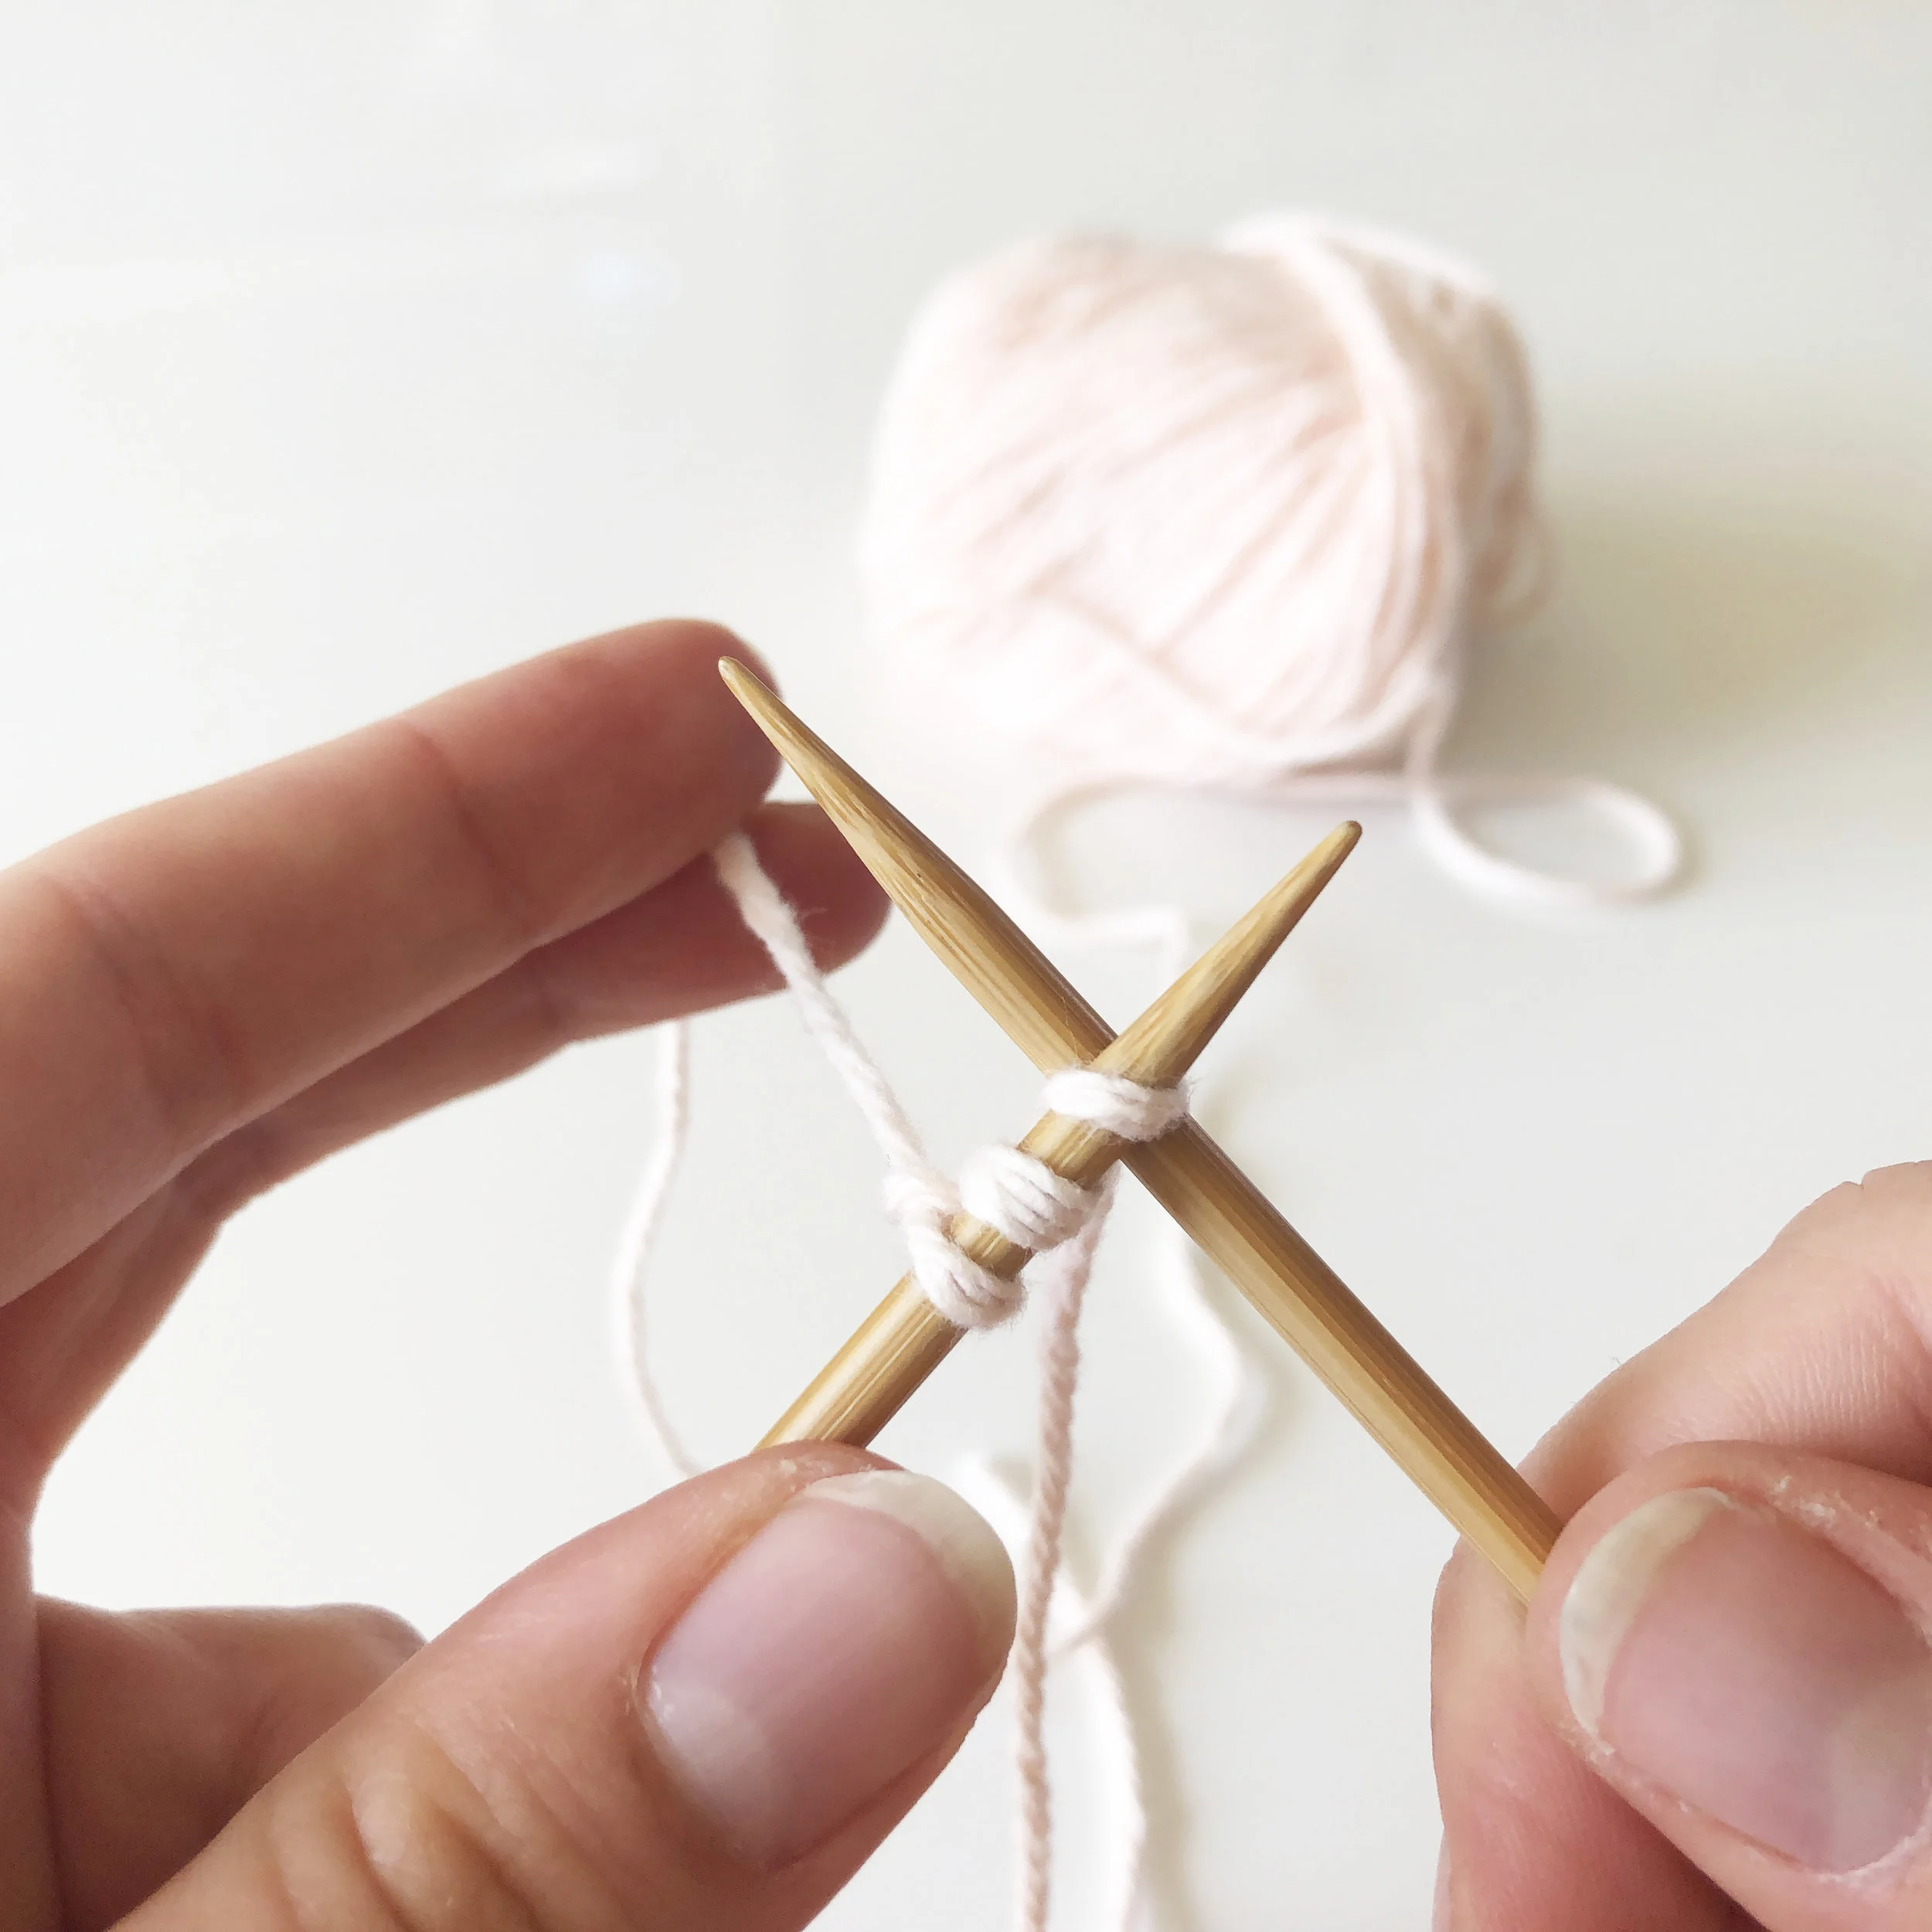
step 4: insert your needle into the now-first stitch (the right-most stitch) and pull the working yarn around. Knit into the stitch and across the row as normal.
watch the tutorial video:
repeat steps 3 and 4 until your i-cord measures approximately 15” (or approximately 5-6” smaller than your total head circumference).
bind off as normal. Break yarn leaving an approximate 10” tail.
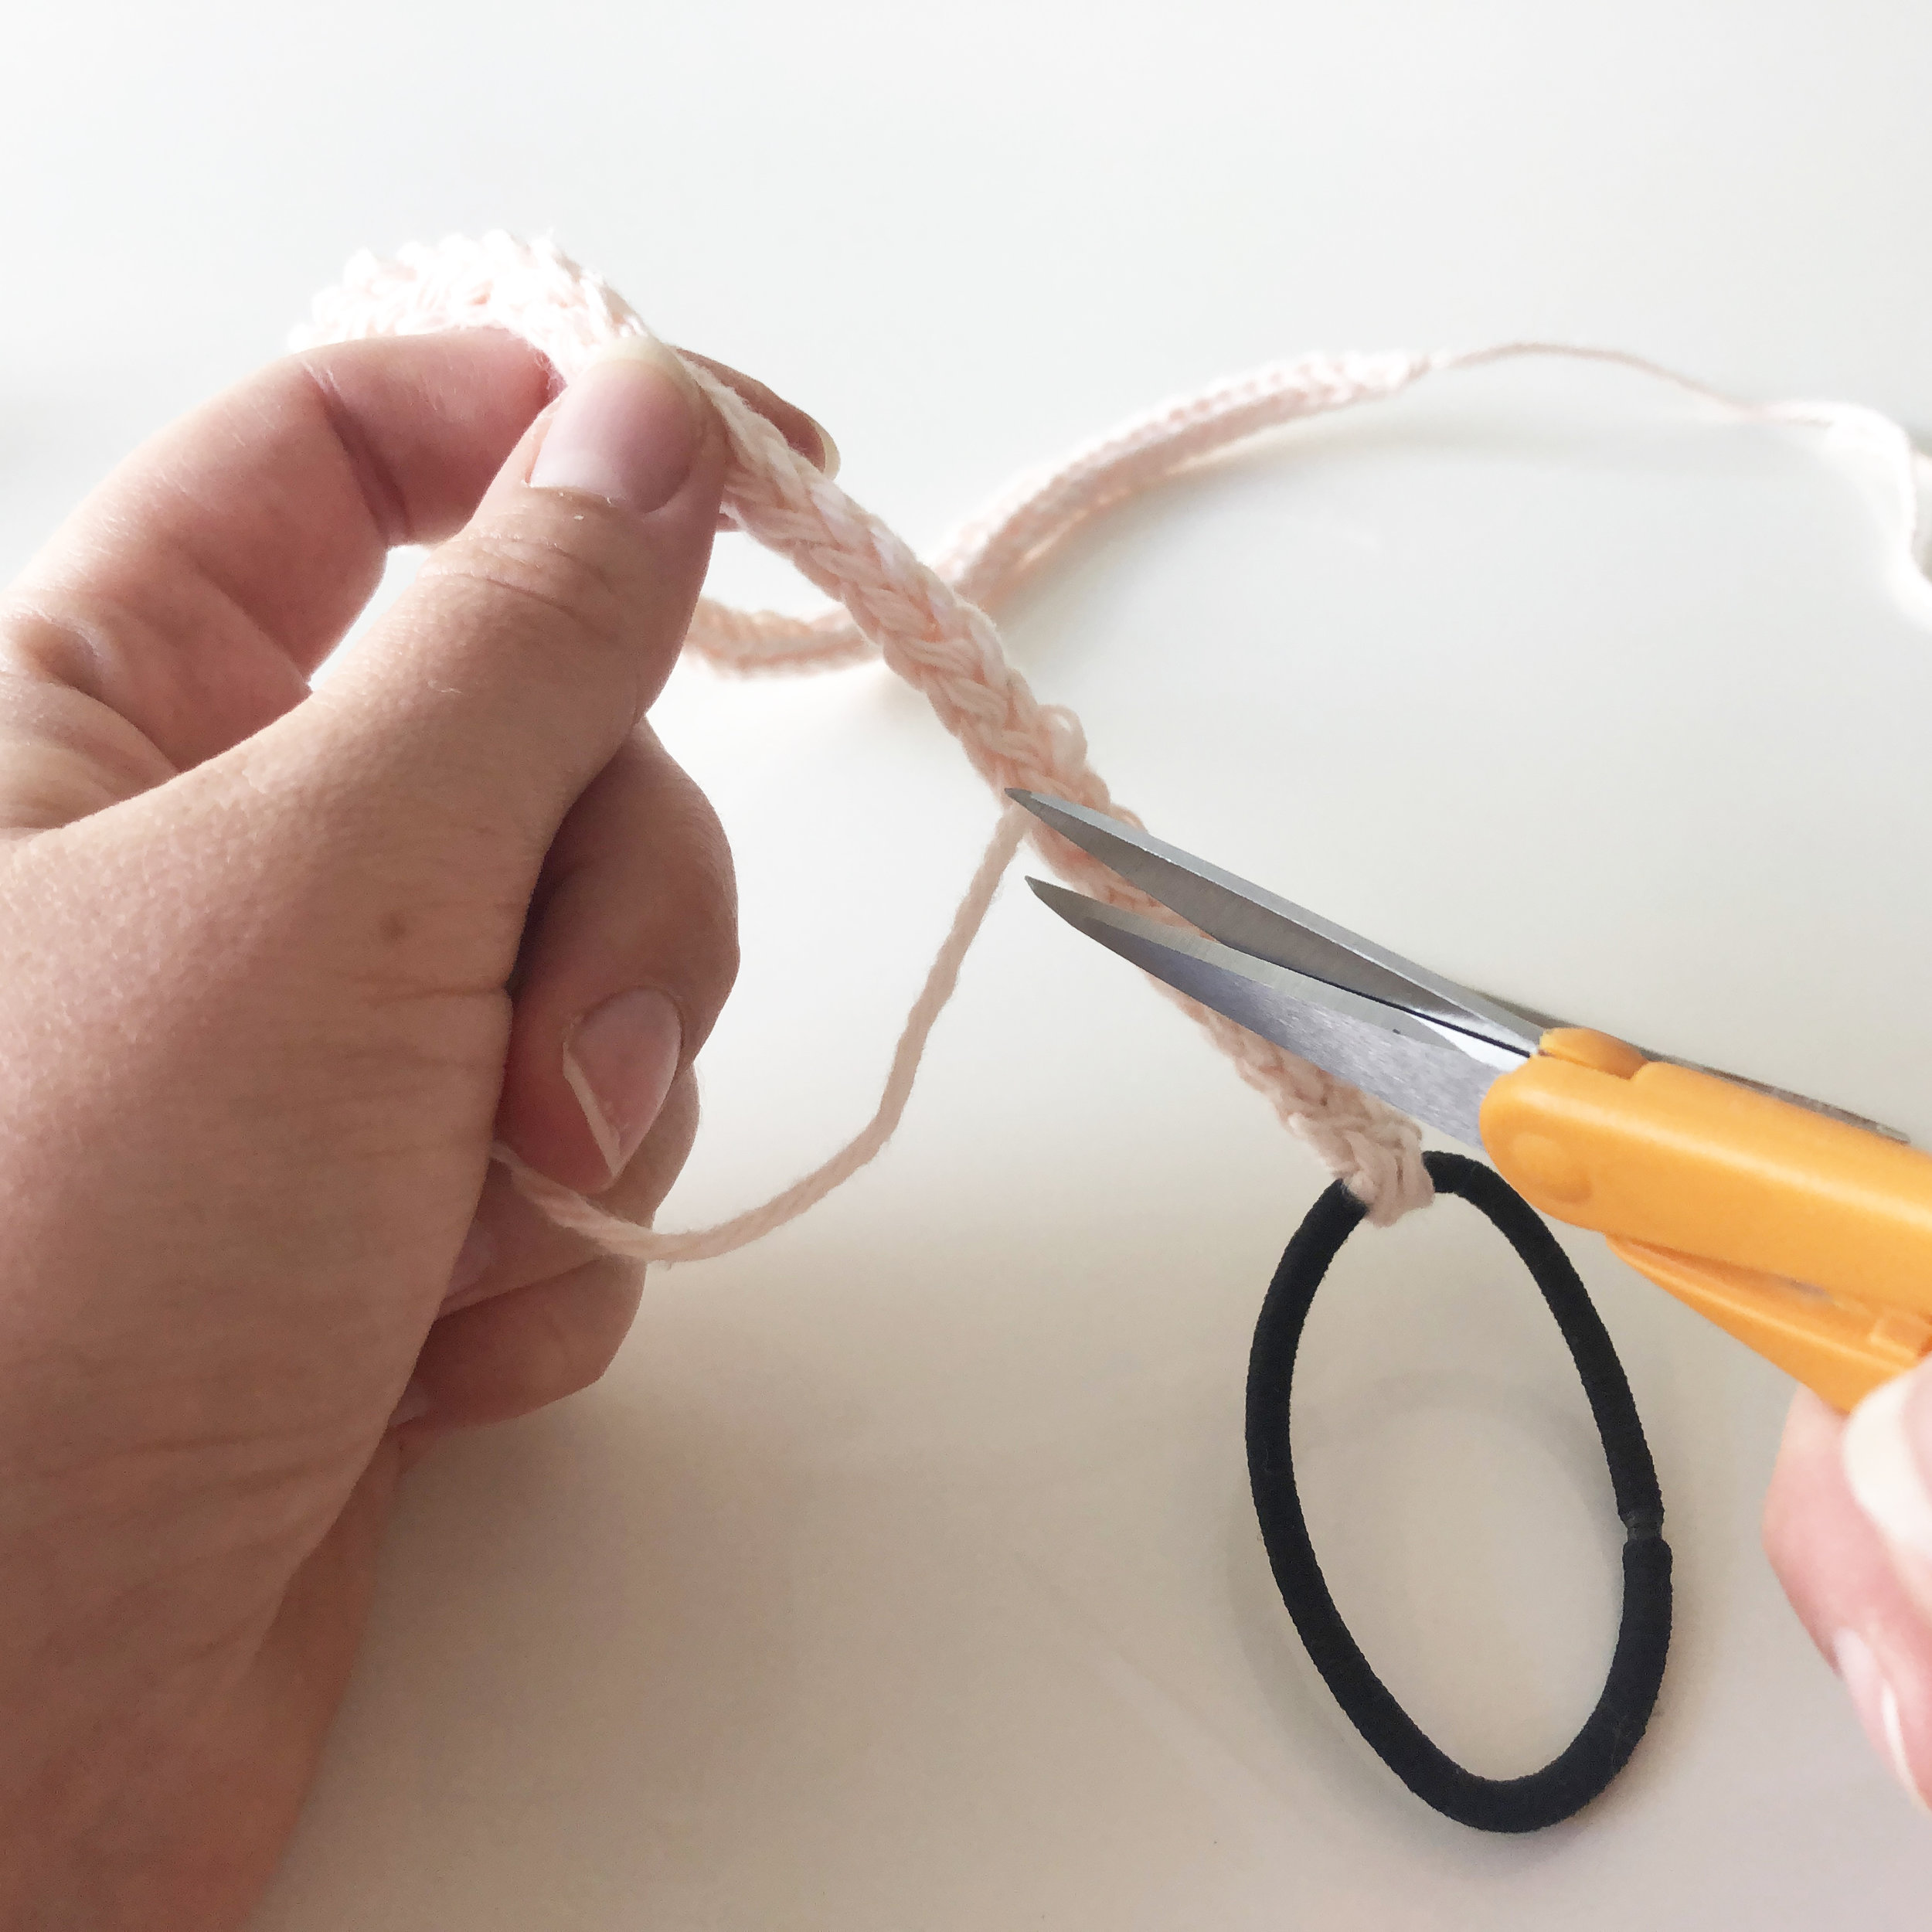
part 2: attach the elastic hair tie

1. gather supplies
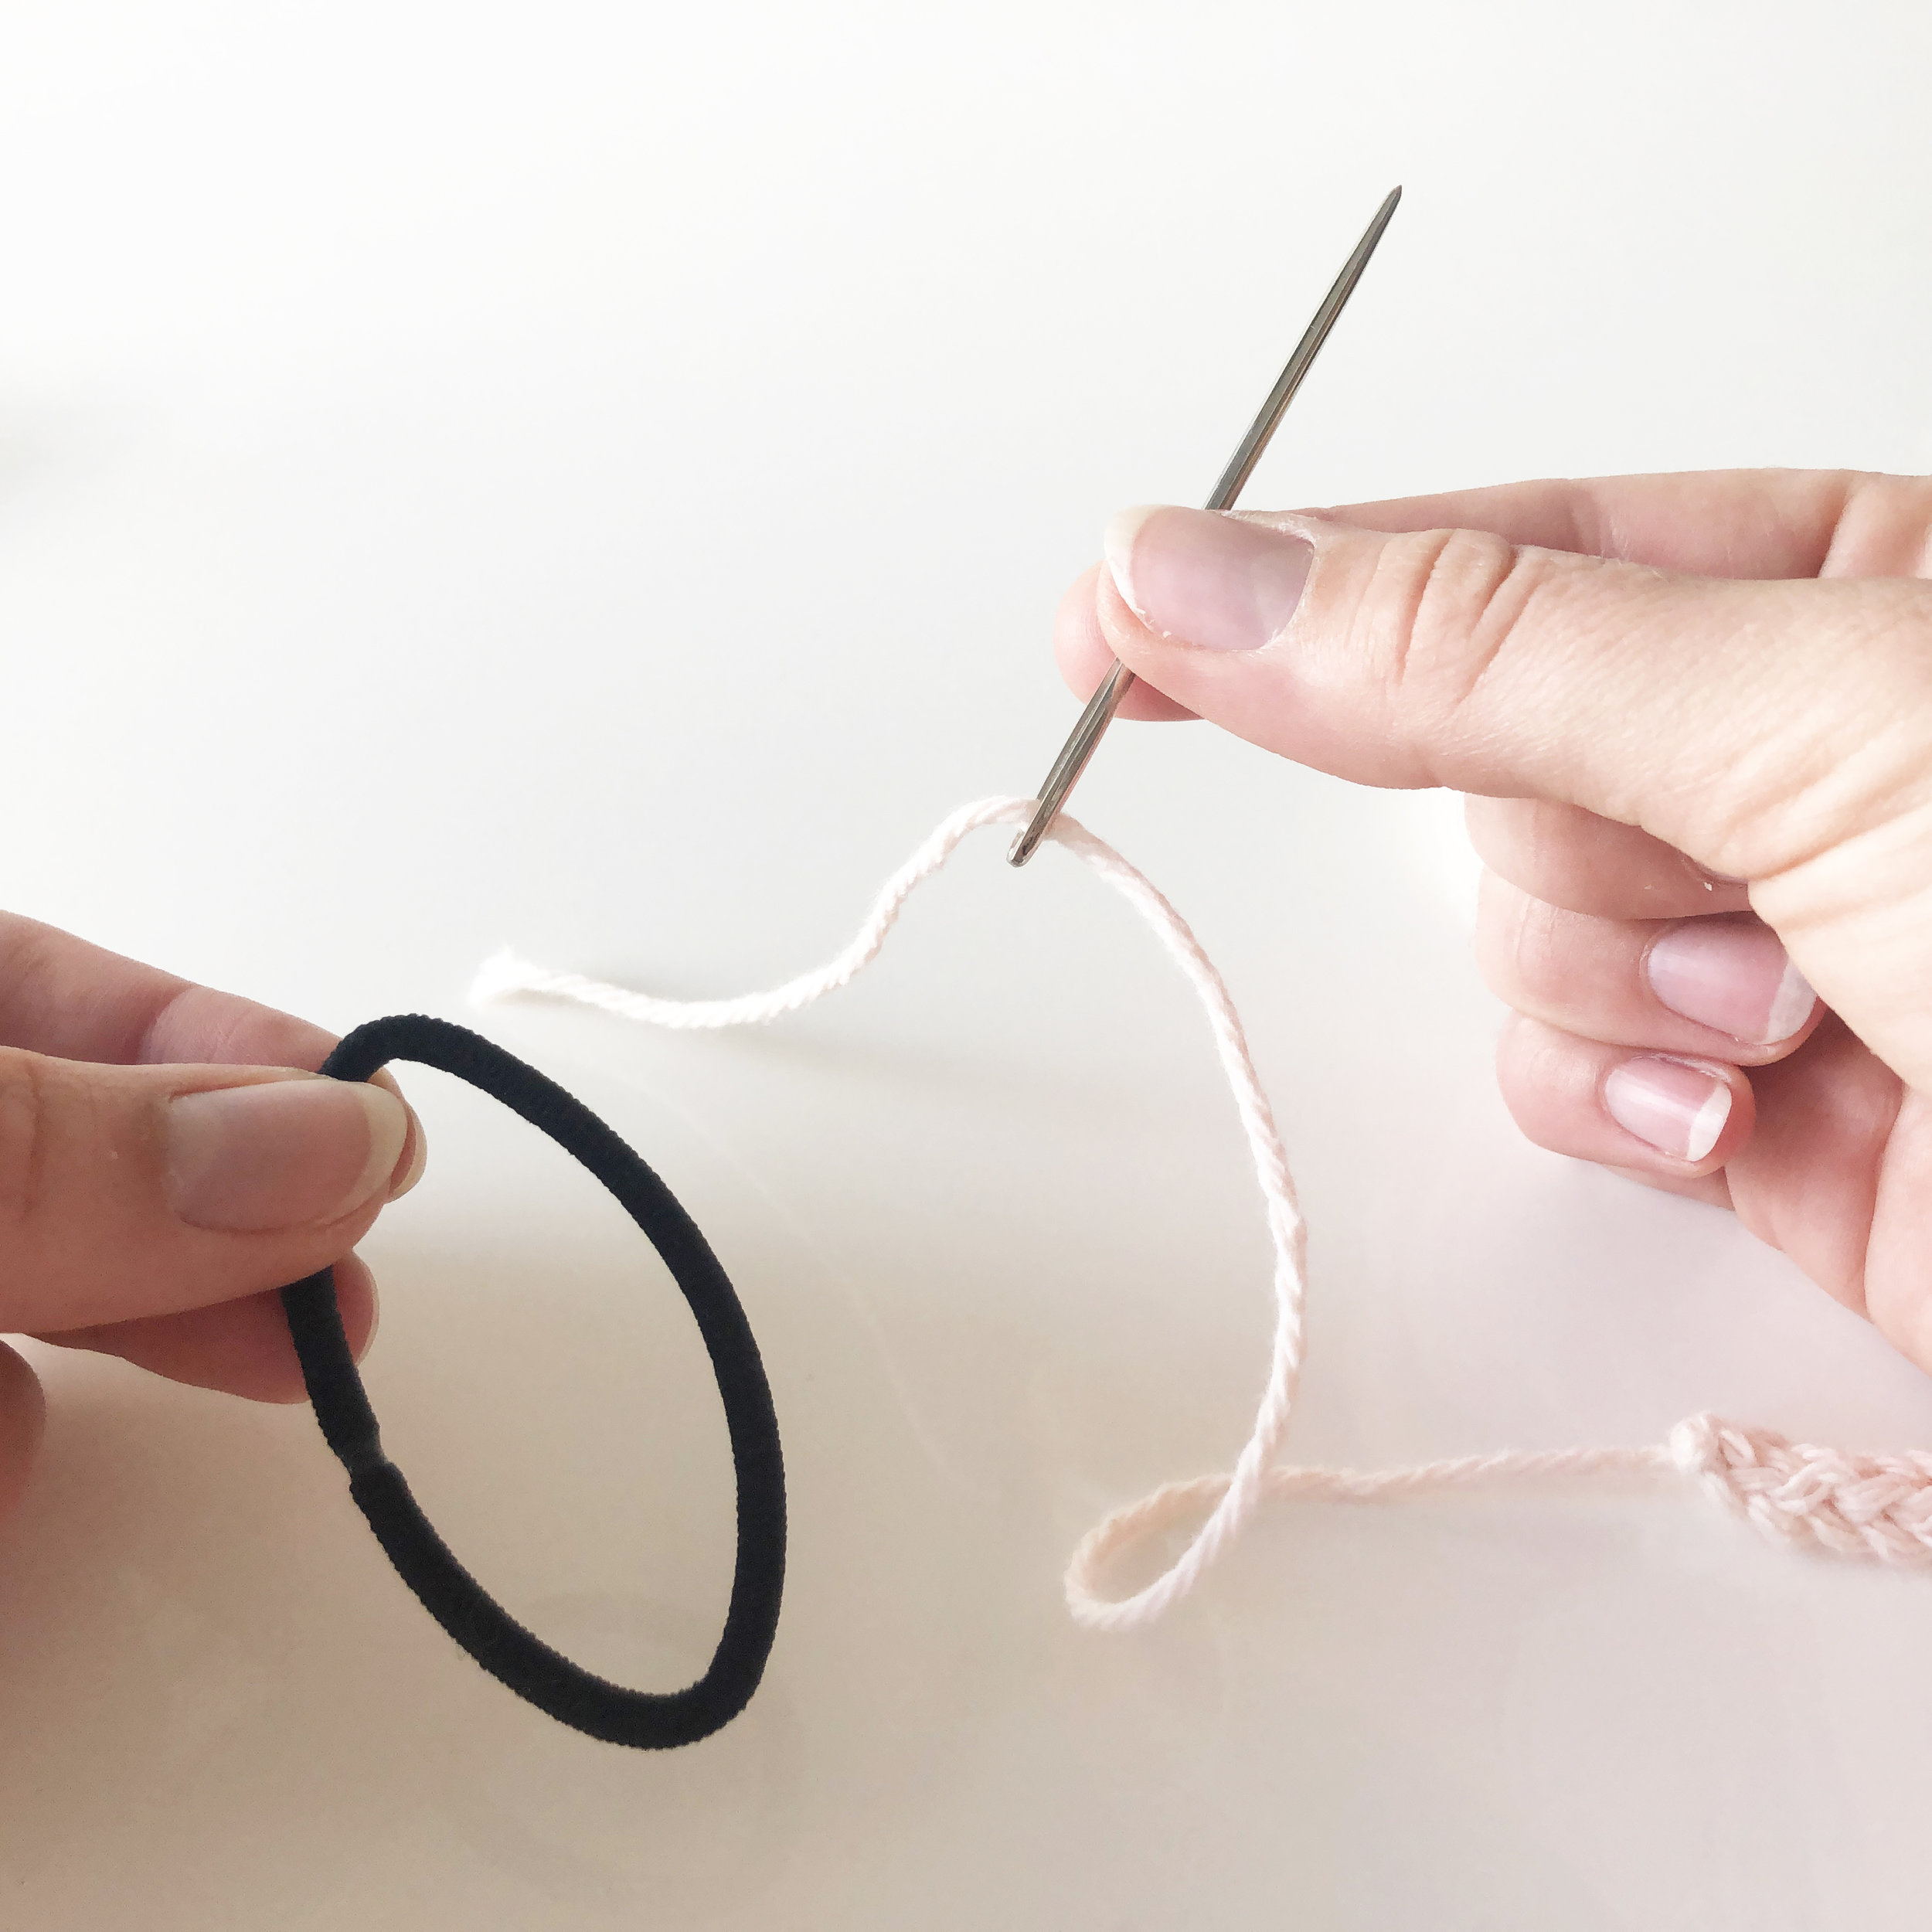
2. thread tapestry needle

3. run needle through elastic

4. pull tight to base of i-cord

5. insert needle into bound off stitches of i-cord

6. pull needle through and pull tight to elastic

7. repeat 3-4 times until i-cord is tightly secured

8. to finish, insert needle into base of i-cord

9. guide needle up 1-2” through the middle of the i-cord
10. pull yarn through and trim

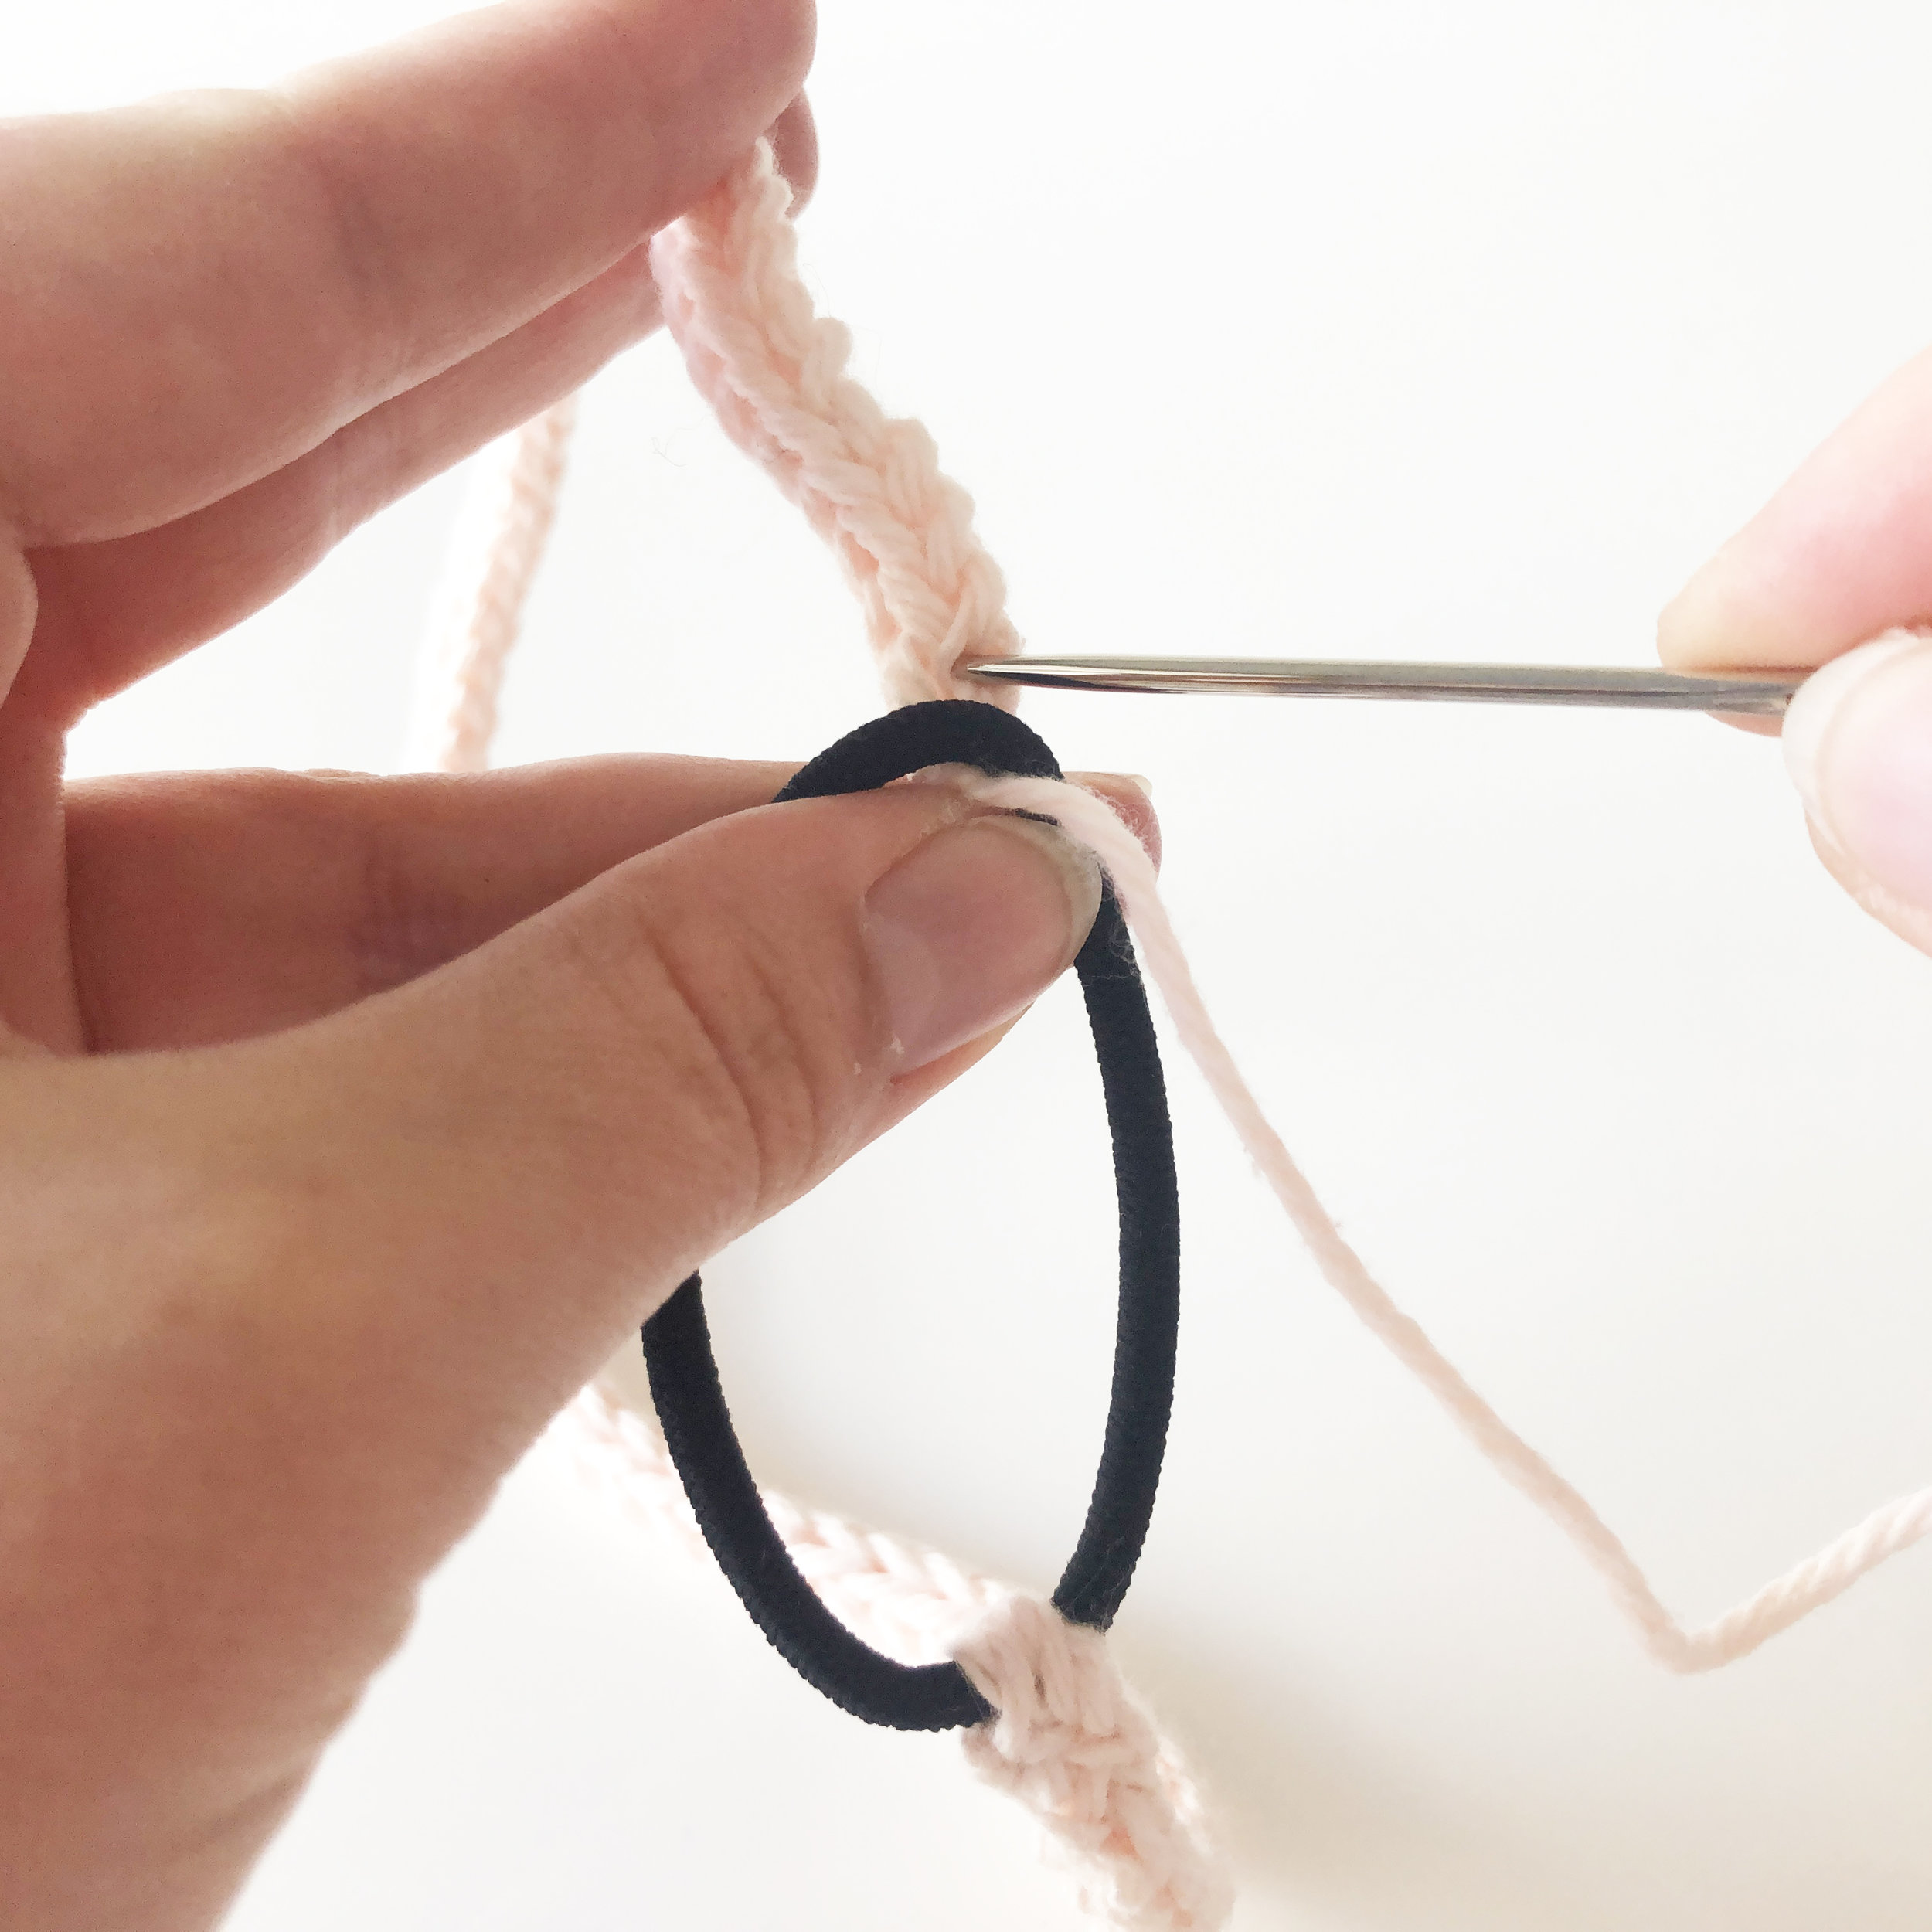
11. repeat directions on the other side!
enjoy your new headband!
if you have pattern questions or need support, please email me at elisemade@gmail.com.
please share your projects on instagram using #icordworkoutheadband and by tagging me @elisemade!